FacebookTwitterDiggGoogle BookmarksRedditLinkedinRSS Feed
Welcome, Guest
Username: Password: Remember me
This section of The Interchange provides a space where members of the Reading Modeler community can showcase their Reading modeling efforts. If you've got a project that you'd like to share, start a new topic and "show and tell" the group how you did it!

TOPIC: Walthers 5517 Becomes 3615

Walthers 5517 Becomes 3615 8 years 1 month ago #5179

  • 2771-chris
  • 2771-chris's Avatar
  • OFFLINE
  • Road Foreman of Engines
  • Posts: 634
  • Thank you received: 94
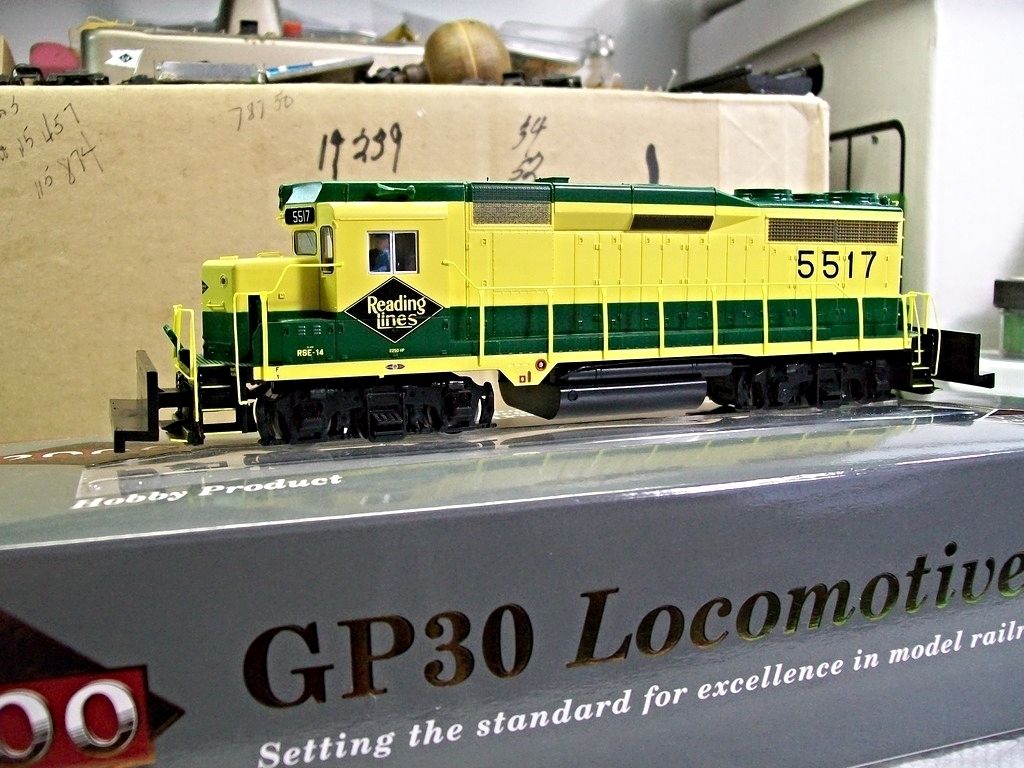
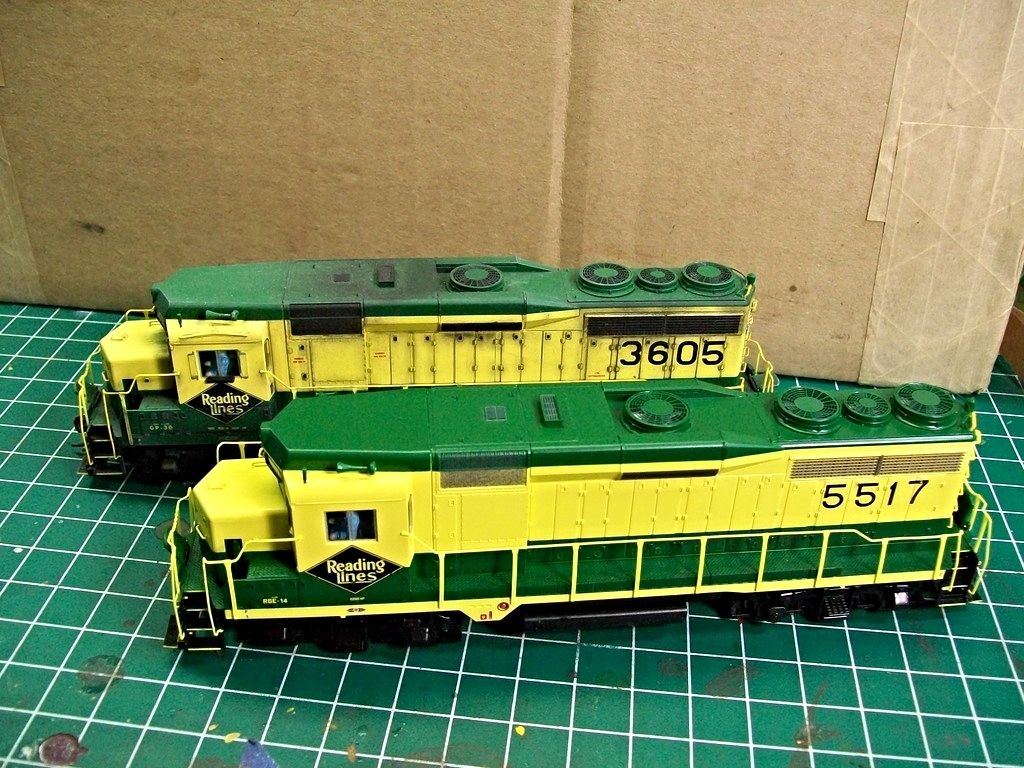
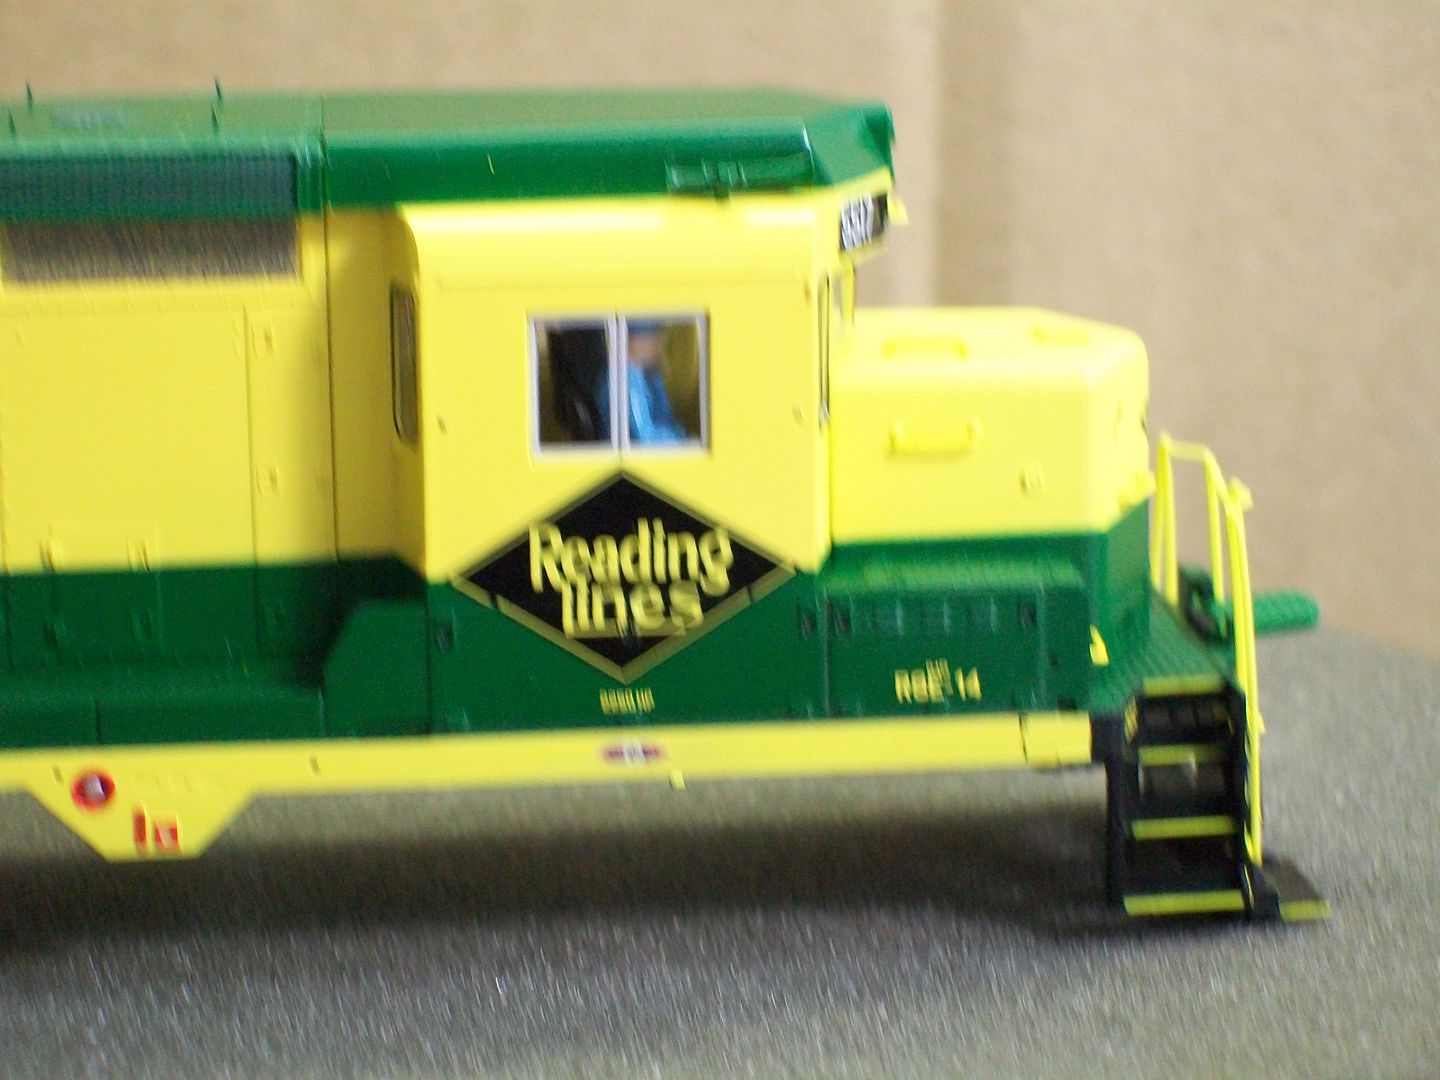
Because of the yellow applied to the Walthers RDG 30 I thought I'd never pick up another factory painted unit...I was wrong.I was running my two factory painted models with two of my custom painted units and the contrast in the yellow, along with the weathering,really gave the models a prototypical look about them.I found this 5517 on line for a great clearance price and I thought I'd show my conversion from start to finish


Some of this might be common knowledge but I'll cover AtoZ in my process.Once completed we'll get 5517 (3615) up to par with my 3605/06.


If interested...stay tuned.
The administrator has disabled public write access.
The following user(s) said Thank You: JoannaBill

Walthers 5517 Becomes 3615 8 years 1 month ago #5182

  • 2771-chris
  • 2771-chris's Avatar
  • OFFLINE
  • Road Foreman of Engines
  • Posts: 634
  • Thank you received: 94
Disassembly...
Hold the unit upside down and remove the coupler screws and the two screws in front of the fuel tank...there is no need to remove the fuel tank at this time.I do wear nitril gloves as not to get finger prints all over the body.Be mindful when removing the shell so you don't break off the bell mounted on the underside of the body.Its a very small window in the frame that the bell has to pass through.Another thing to be mindful of is the front led is secured to the cab roof with some black tacky glue...just work the shell off gently and there are no problems.
Removing the hand rails...
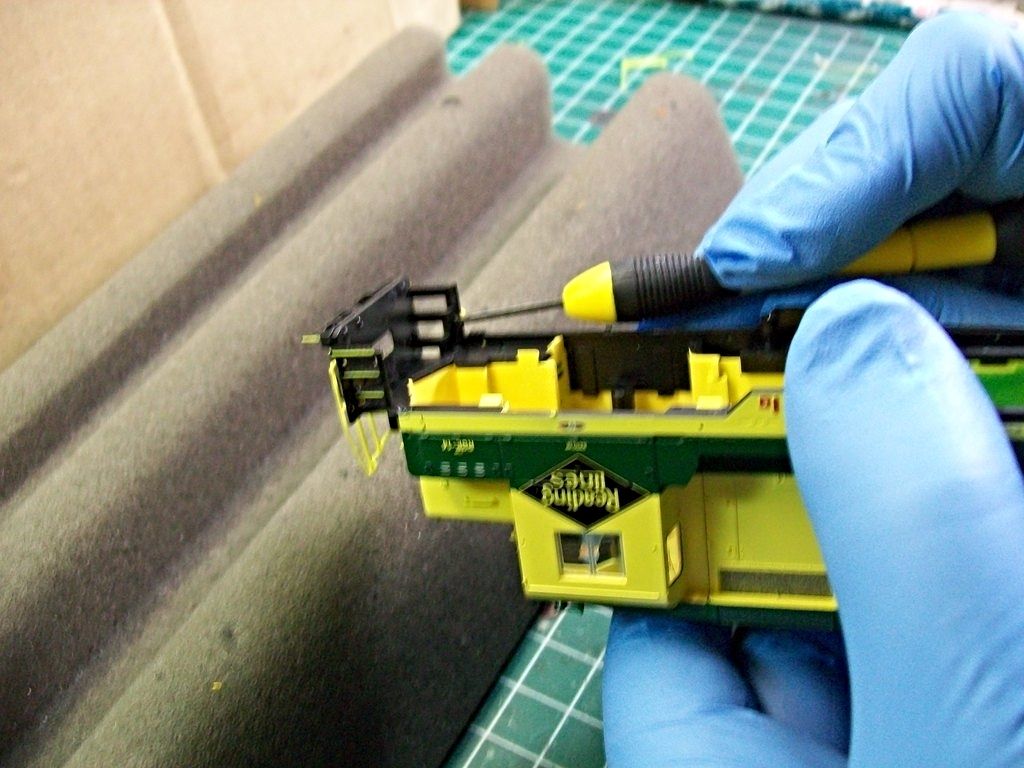
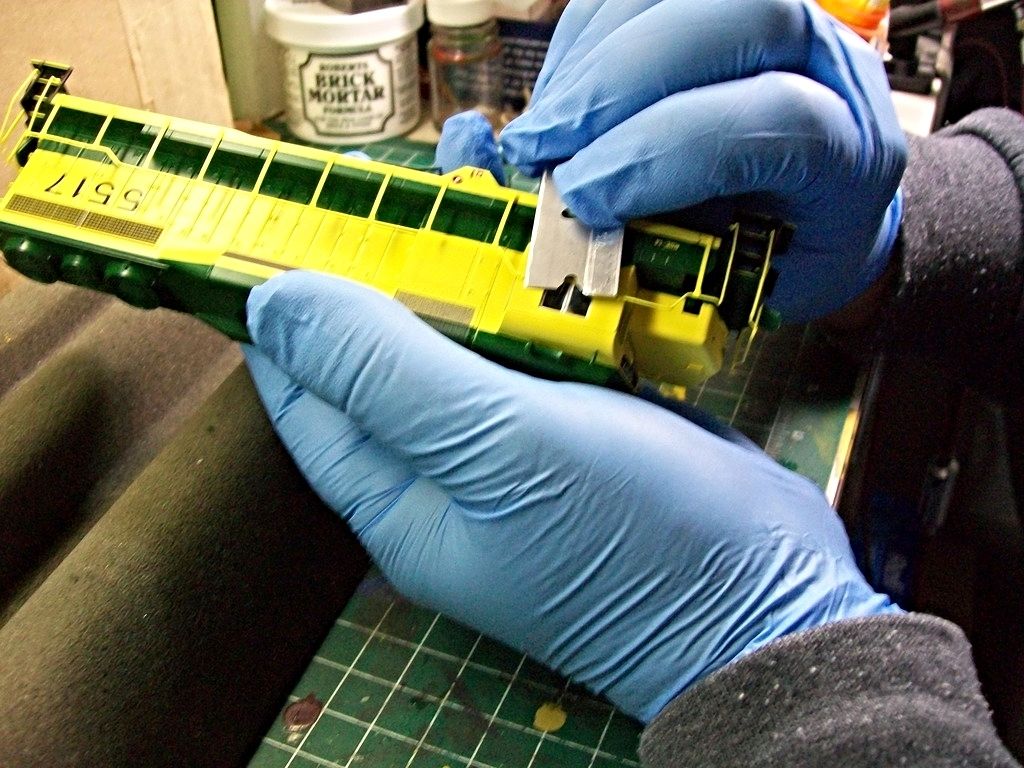
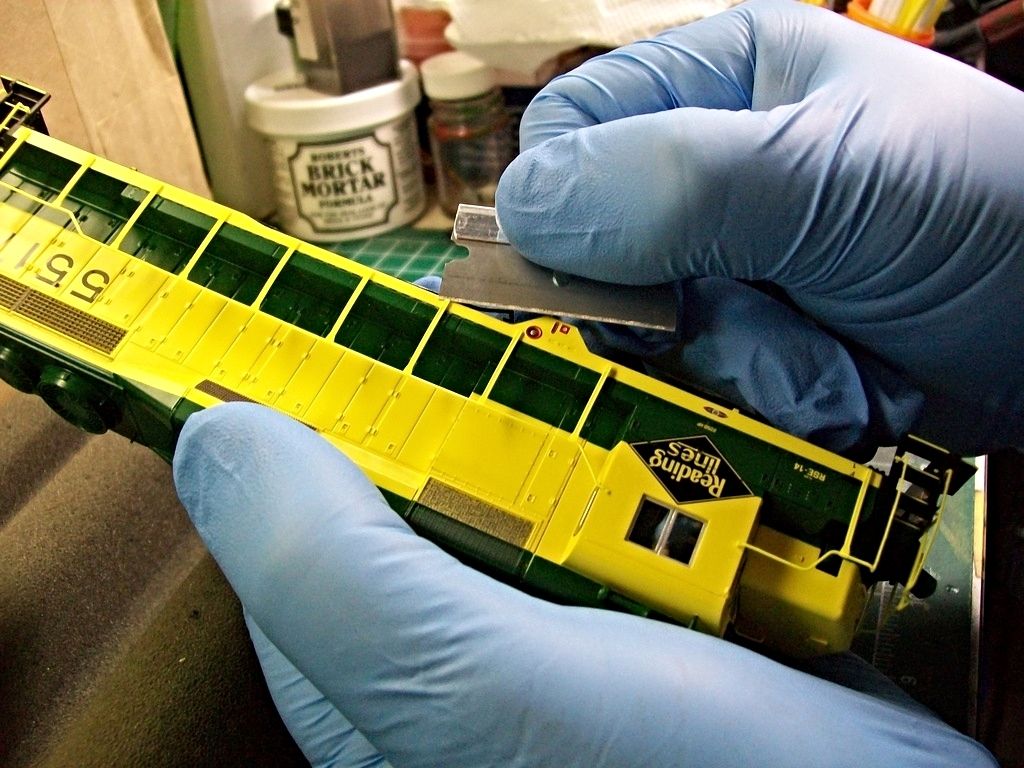
When removing hand rail on factory painted models I use three tools...a small flat head screw driver,straight razor blade and angled tweezers.
First on a P2K unit I use the screw driver and push it out from the back of the mounting hole at the steps as illustrated below.

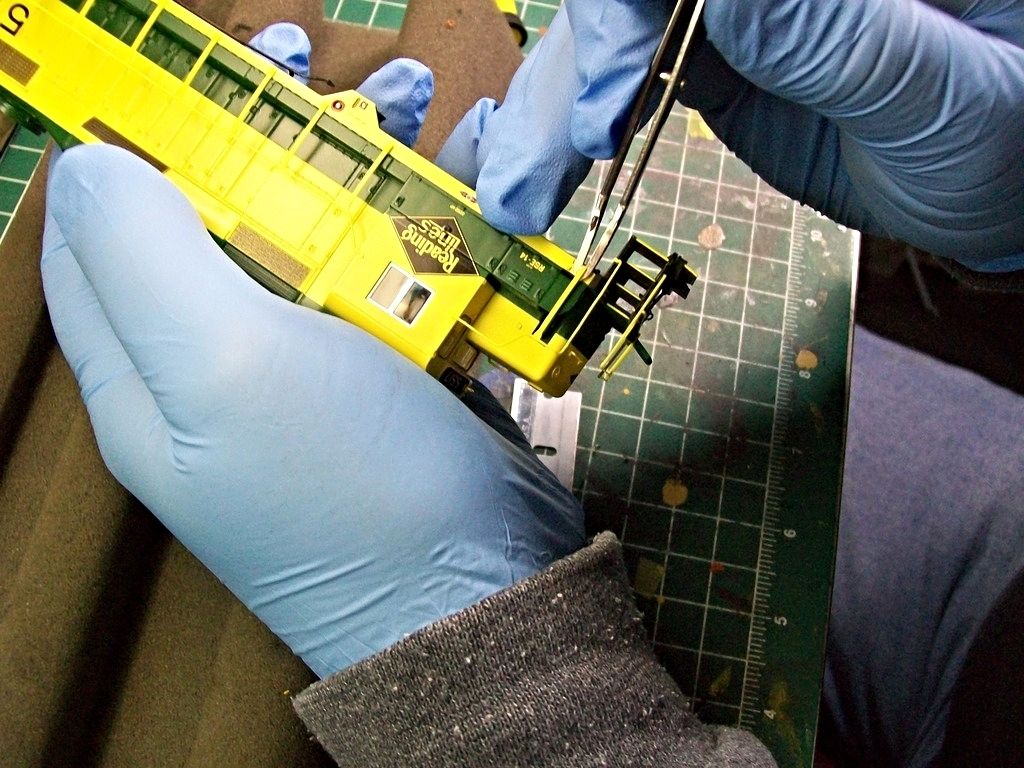
Next comes the razor...Although my screw driver has a fine edge its not thin enough to get under the stanchions and cab mount without causing damage.The razor's edge fits under nicely...just take it slow and use it as a prying tool.Illustrations of the razors use are pictured below.


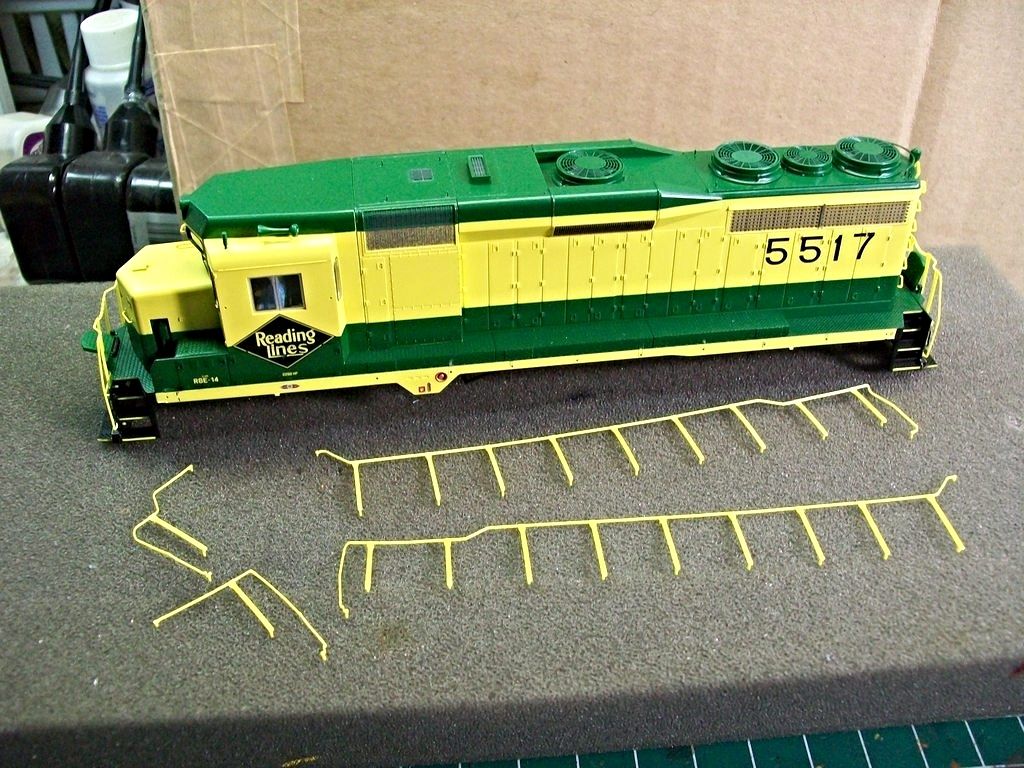
Once there is enough separation from the mounting holes I use the angled tweezers to remove them the rest of the way.


As you could see there's no damage done to the paint or railings.


I do not remove the end railings for this project.They can be removed in the same way as the others.The problem with the end railings is the wire mounted grab bar on the pilot gets in the way.
The administrator has disabled public write access.

Walthers 5517 Becomes 3615 8 years 1 month ago #5183

  • 2771-chris
  • 2771-chris's Avatar
  • OFFLINE
  • Road Foreman of Engines
  • Posts: 634
  • Thank you received: 94
Removing the numbers.
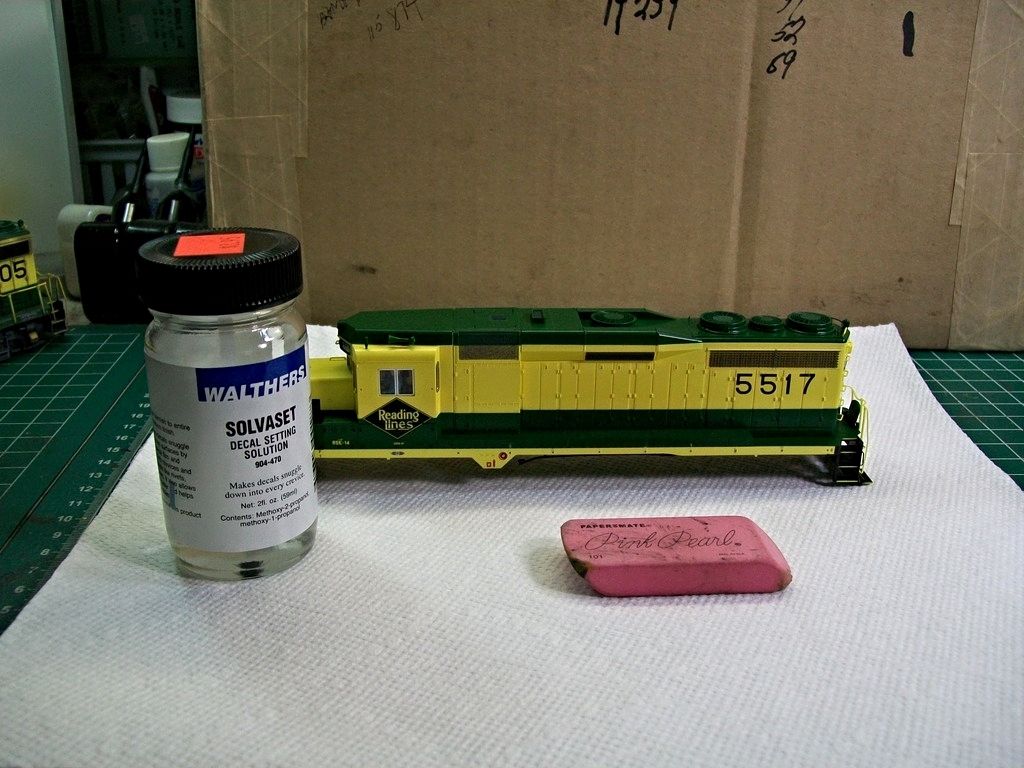
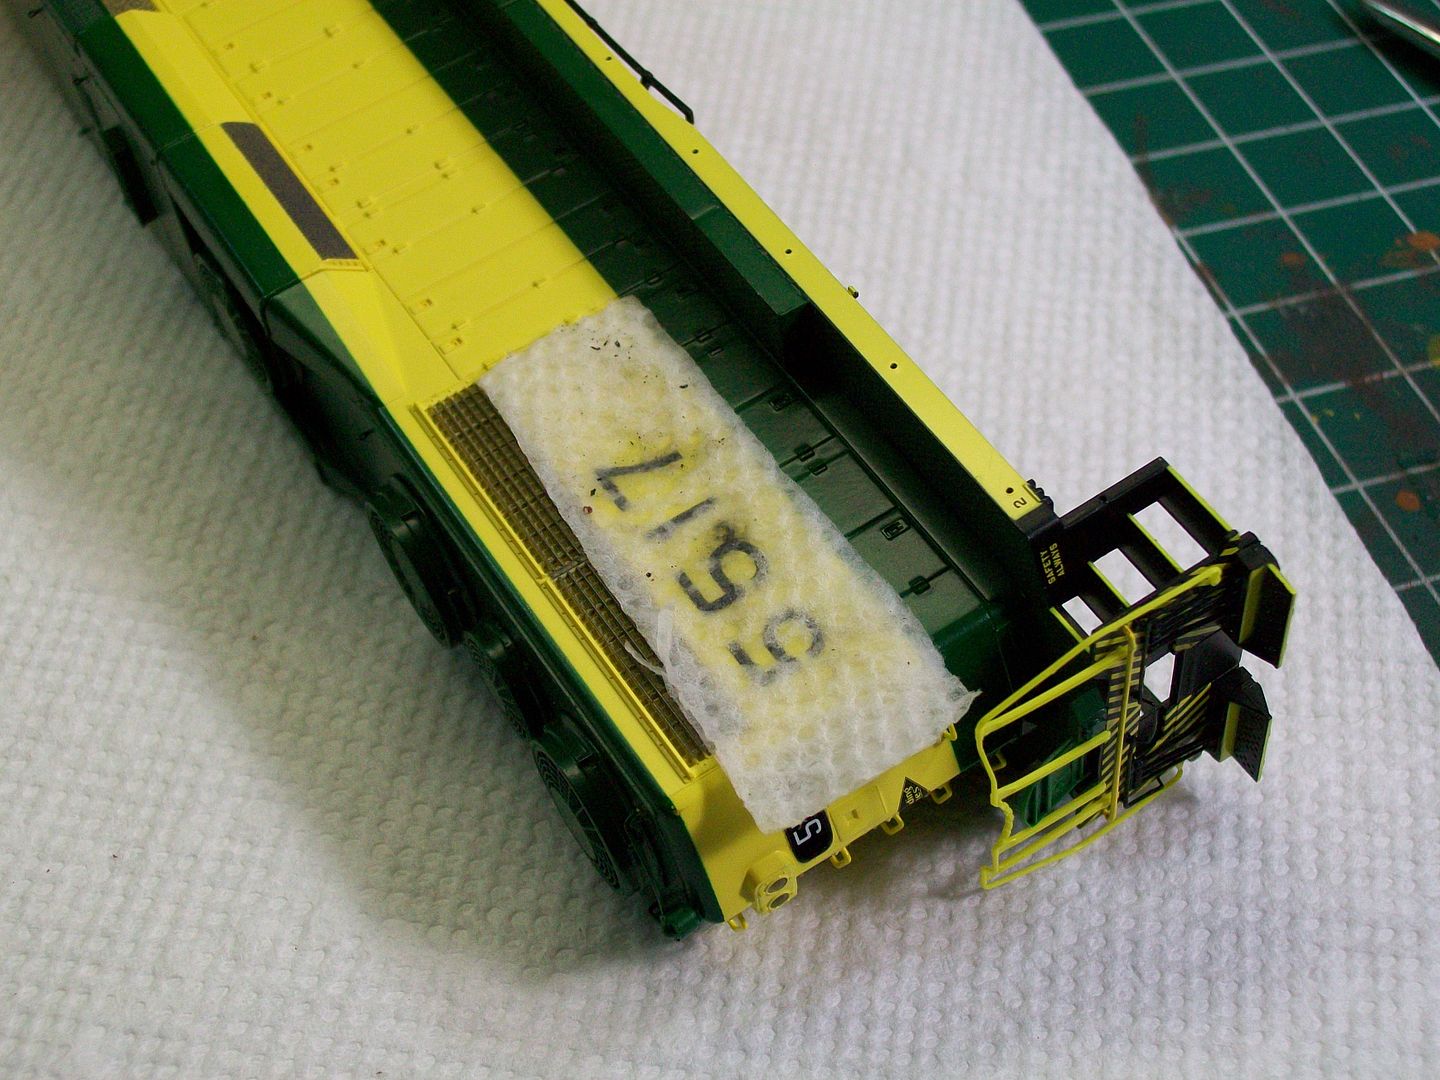
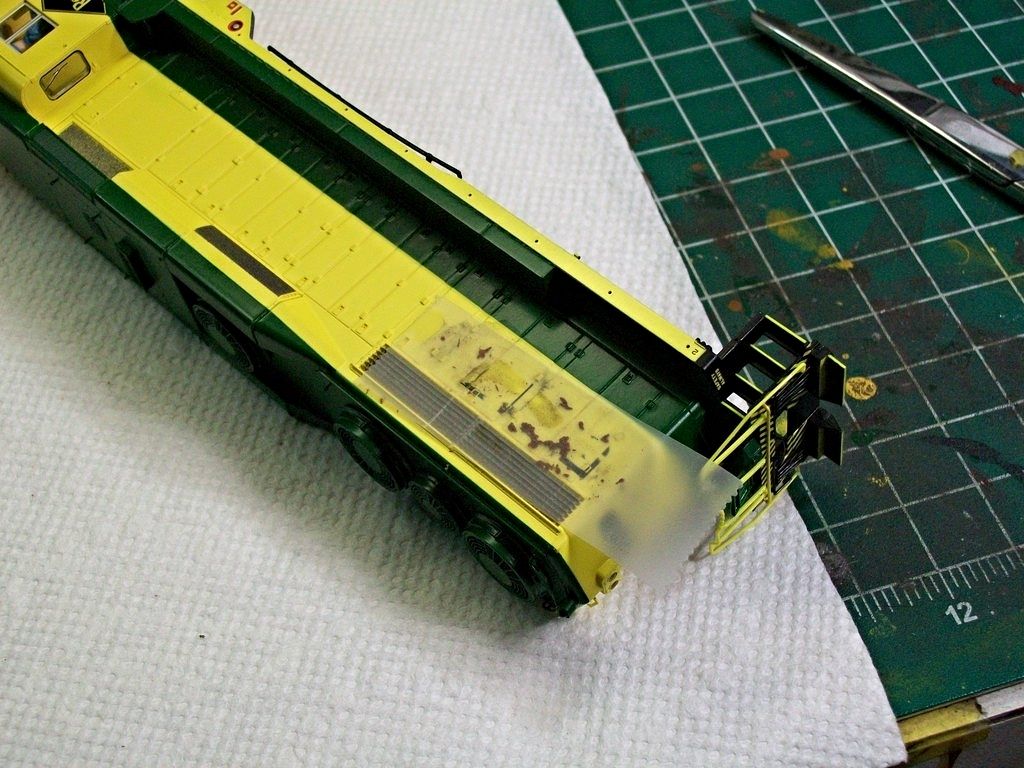
To remove the numbers on the factory painted model I use Walthers solvaset,pink pearl eraser,scotch tape and a small piece of paper towel.

First I apply the solvaset to the model and lay over a piece of paper towel and apply more to the paper towel.The paper towel absorbs and helps prevent the solution from evaporating too quickly...I let it sit for about 15 minutes before I try using the eraser to remove the printed on number.If the printing is still to stubborn to remove I reapply the solution and let it sit some more.I have found that some are a little tougher to remove then others.

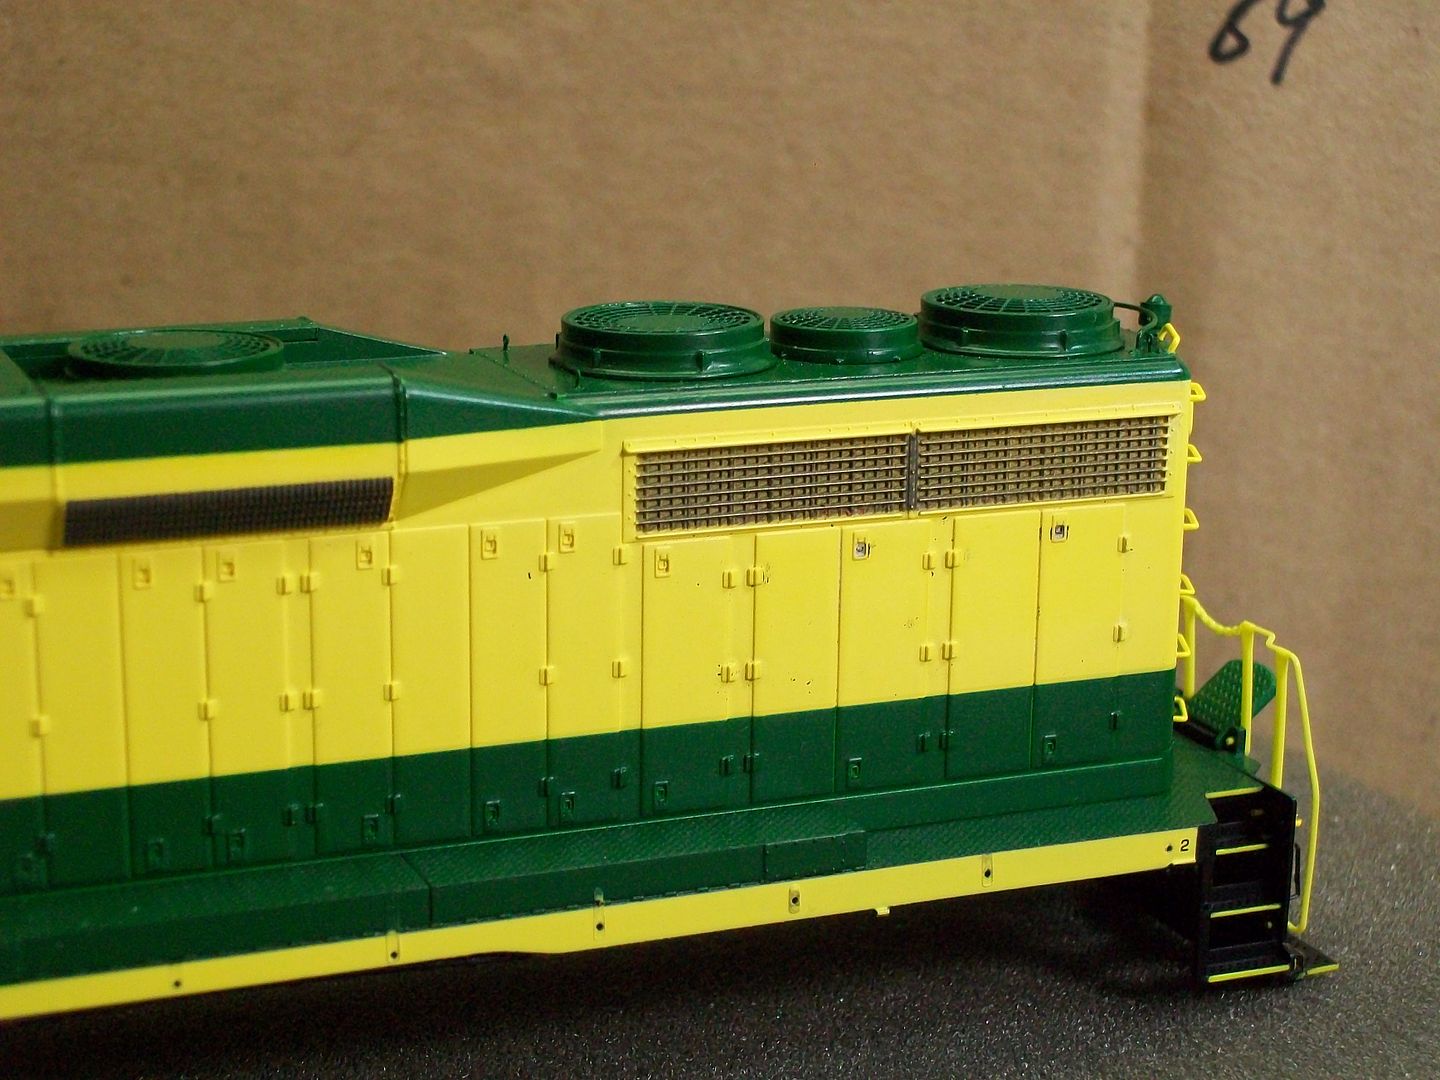
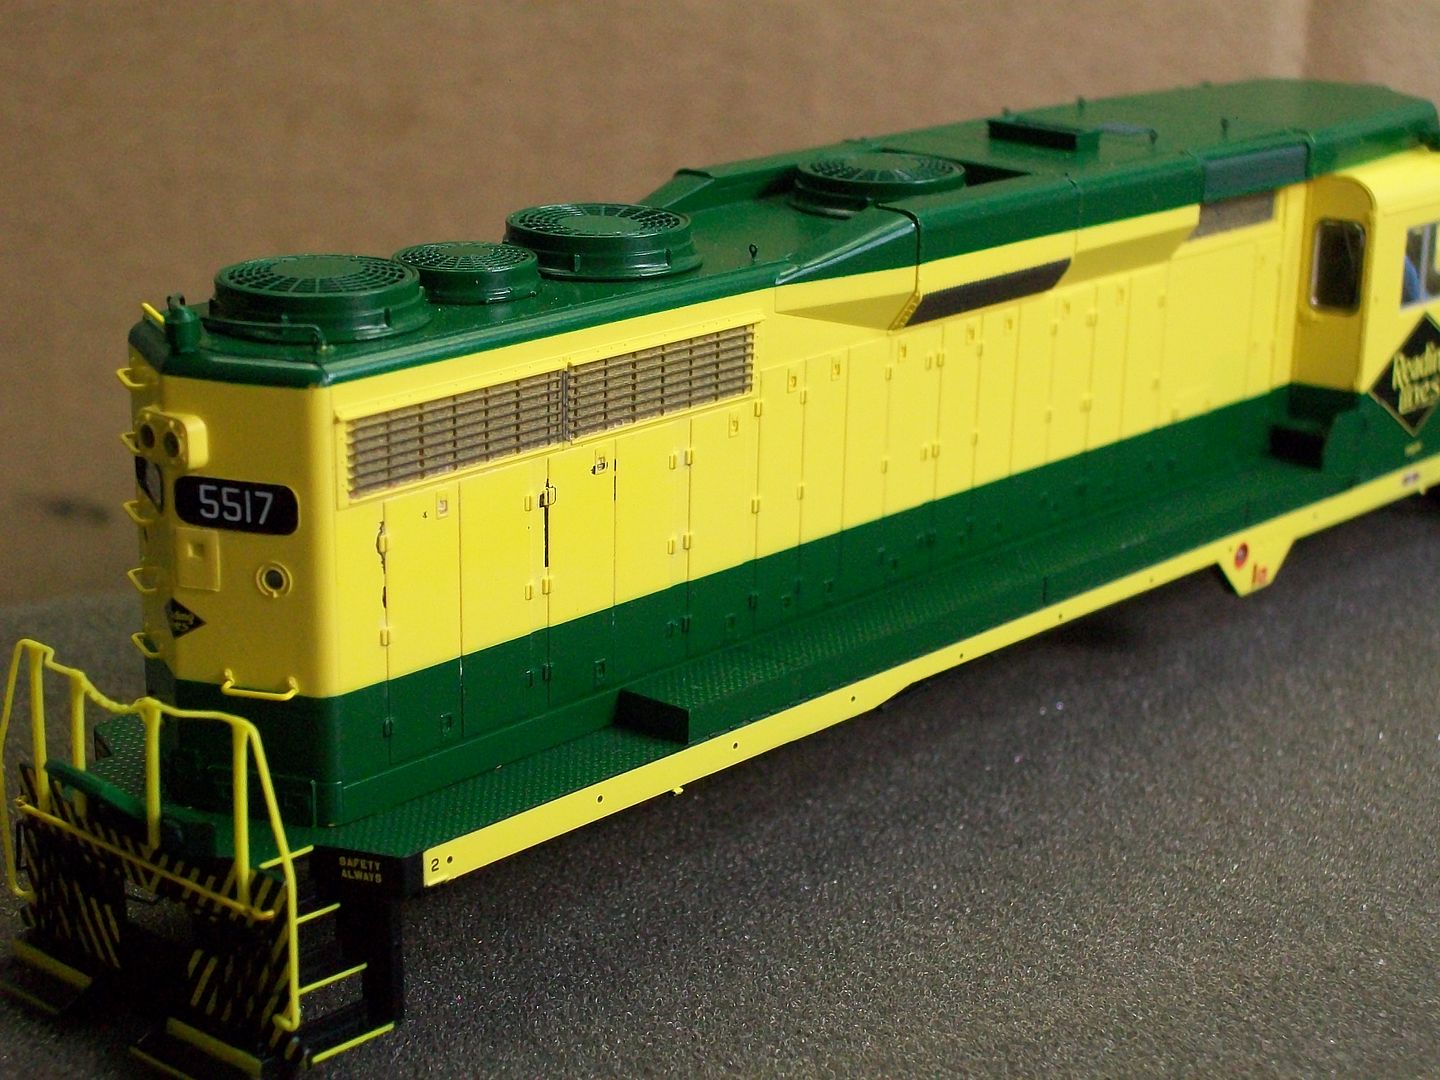
After using the eraser I use the tape to remove parts of the printing and eraser residue.Just keep repeating the process till all the printing is gone.I've used this process on units from most of the manufacturers and never had any problems concerning damage to the paint.

Pictures of the final results.
Side one

Side two

In the second picture you could see the printing left behind in the door edges.This is of no concern because it will be taken care of in the weathering process.
Sorry for the quality of the next picture.

Concerning the 2250hp under the diamond and the class RSE-14 on the battery box door...these will stay.The F1,builder plate and 2 on the side frame will just be painted over and new decals applied.
I'm using two prototype pictures of the 3615 from the Kim Piersol collection as reference for this unit.One of the pictures is dated 3/1/1973 the other 6/5/1976 and both show the class and hp marking stayed in the same location after the side sill was painted green.
The administrator has disabled public write access.
The following user(s) said Thank You: rdg1187prr

Walthers 5517 Becomes 3615 8 years 1 month ago #5184

  • HoboPiker
  • HoboPiker's Avatar
  • OFFLINE
  • Conductor
  • Posts: 227
  • Thank you received: 53
03/18/2016: Just viewed your posting of the finished model on the layout. Casey, very impressive modeling, especially the weathering. What next? Figures moving in prototypical fashion? <VBG> Thanks for sharing your method of lifting off the lettering. With three undecs from the original run near the bottom of my project list, I shunned the latest run due to the too light and too bright yellow factory paint, but your rework is the cat's meow of the units once the yellow faded and the grim built up. The layout scenery effects are to be envied.
The administrator has disabled public write access.
The following user(s) said Thank You: 2771-chris

Walthers 5517 Becomes 3615 8 years 3 weeks ago #5192

  • 2771-chris
  • 2771-chris's Avatar
  • OFFLINE
  • Road Foreman of Engines
  • Posts: 634
  • Thank you received: 94
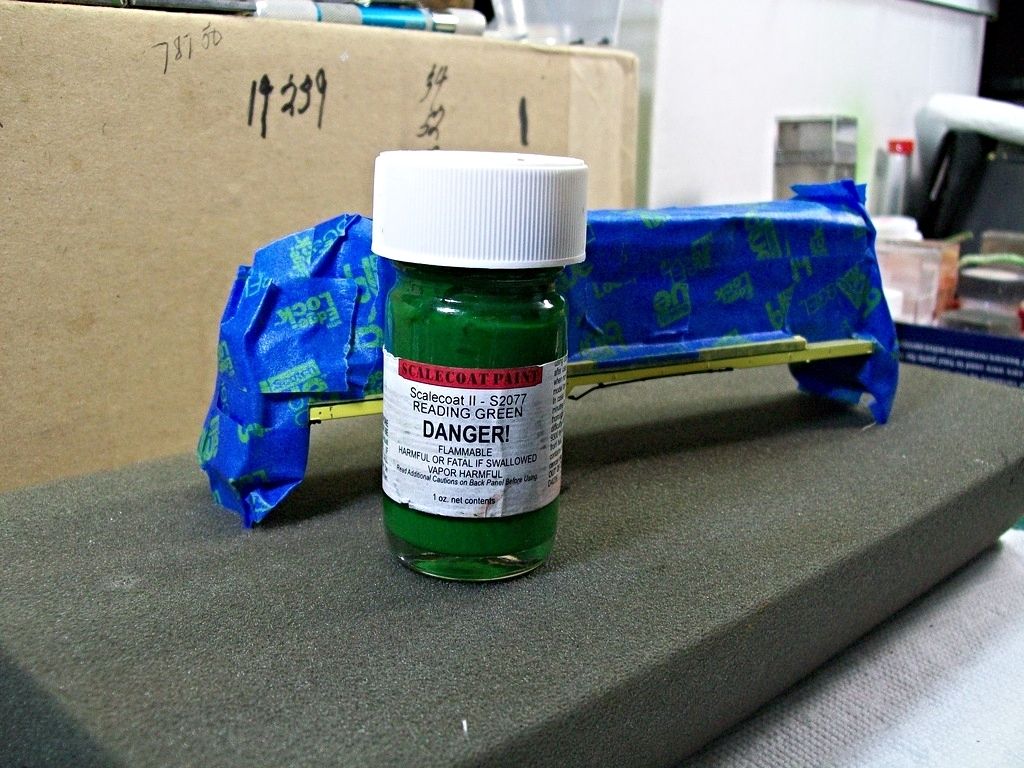
On to the paint booth.I found that SCII RDG green is a very close match...but not exact.


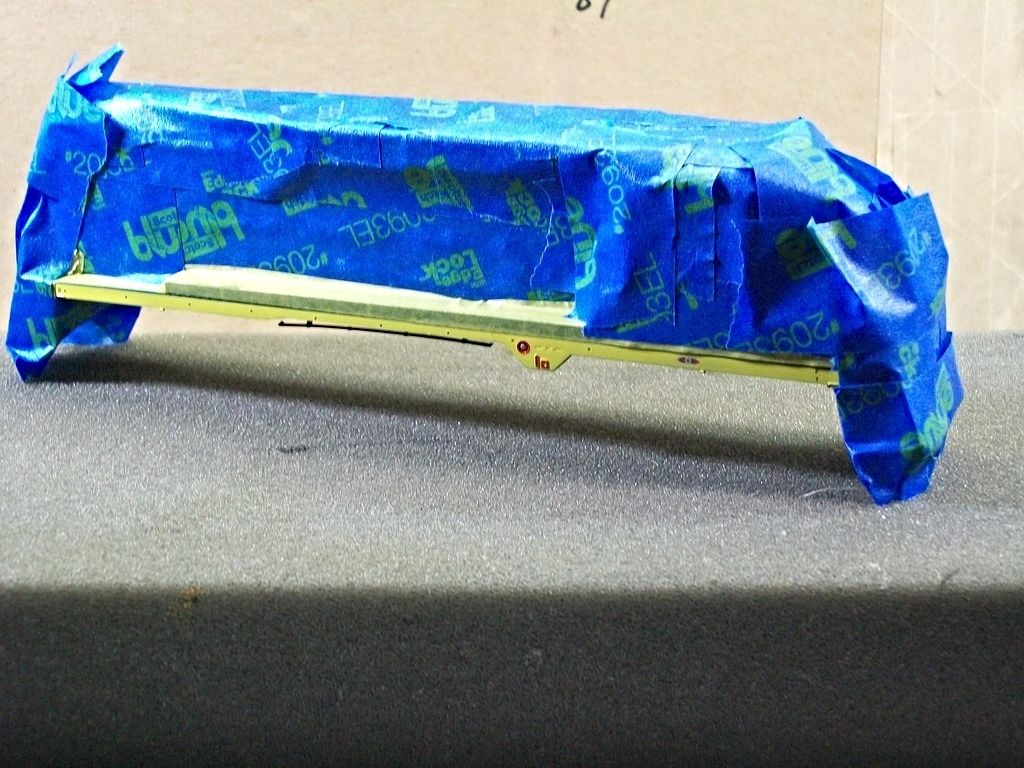
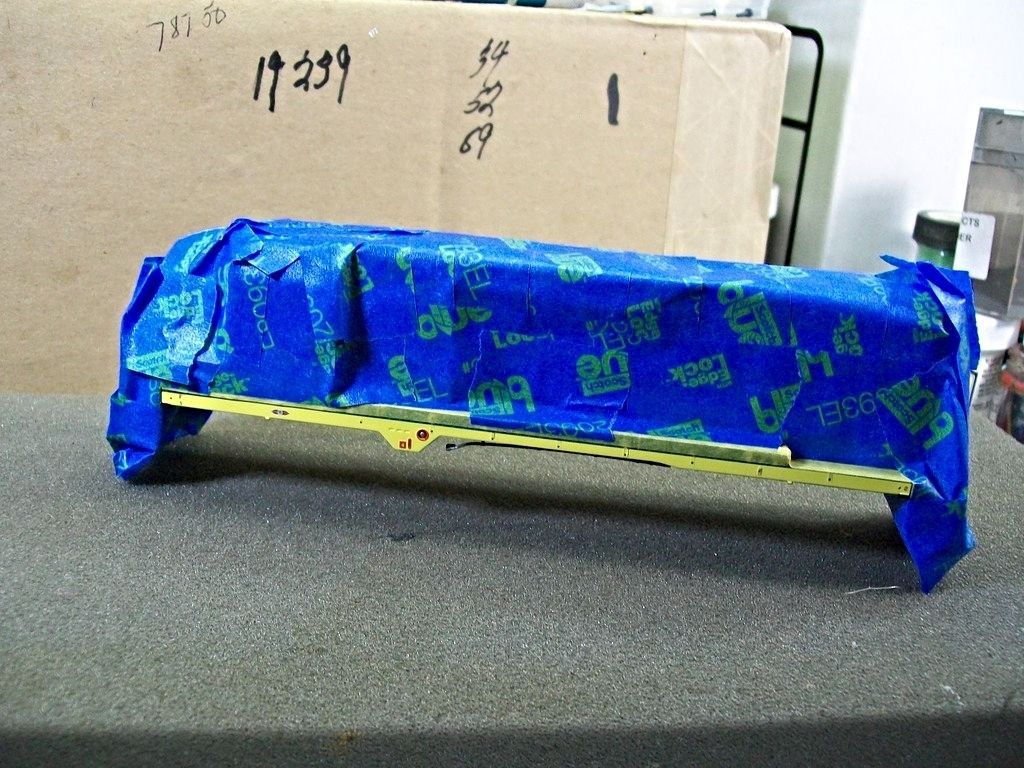
It actually takes more time masking,setting up the airbrush and clean up then it does applying the paint.I use Tamyia masking tape near the side sill the rest of the model is wrapped with Scoth painters tape.Its important to cover both sides of the pilot so over spray doesn't find its way onto the pilot through the coupler box opening.Also be careful not to let the over spray find its way to the inside of the window glazing.


Notice there is some green showing above the yellow side sill frame...this will have no effect on the finished product.

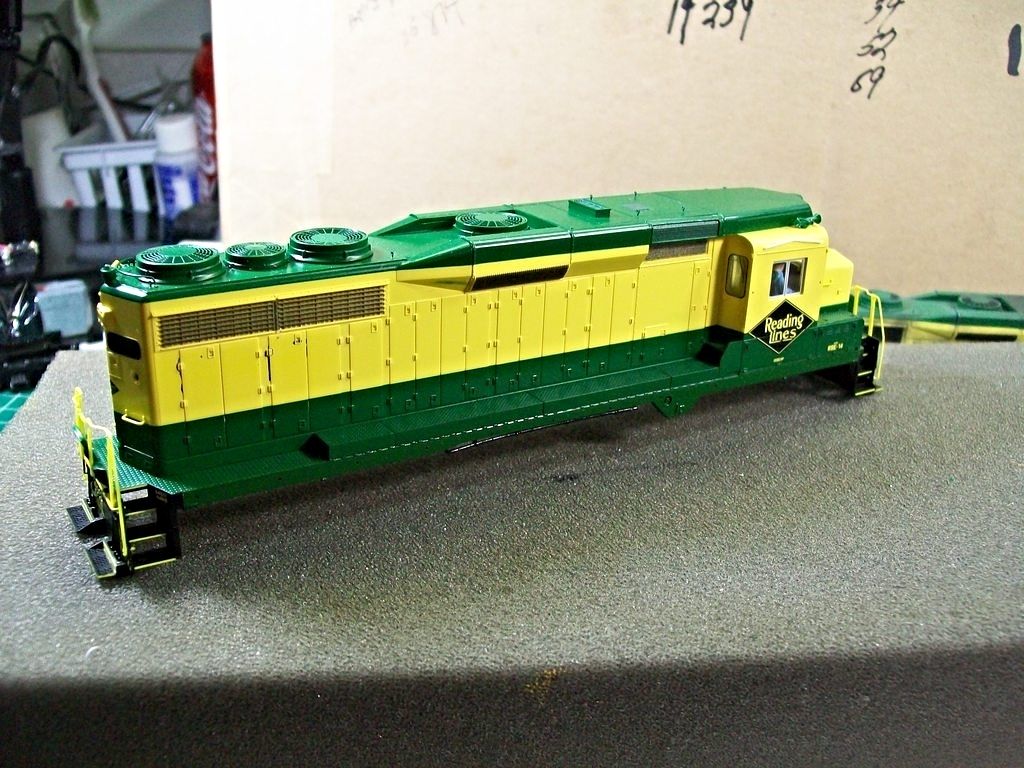
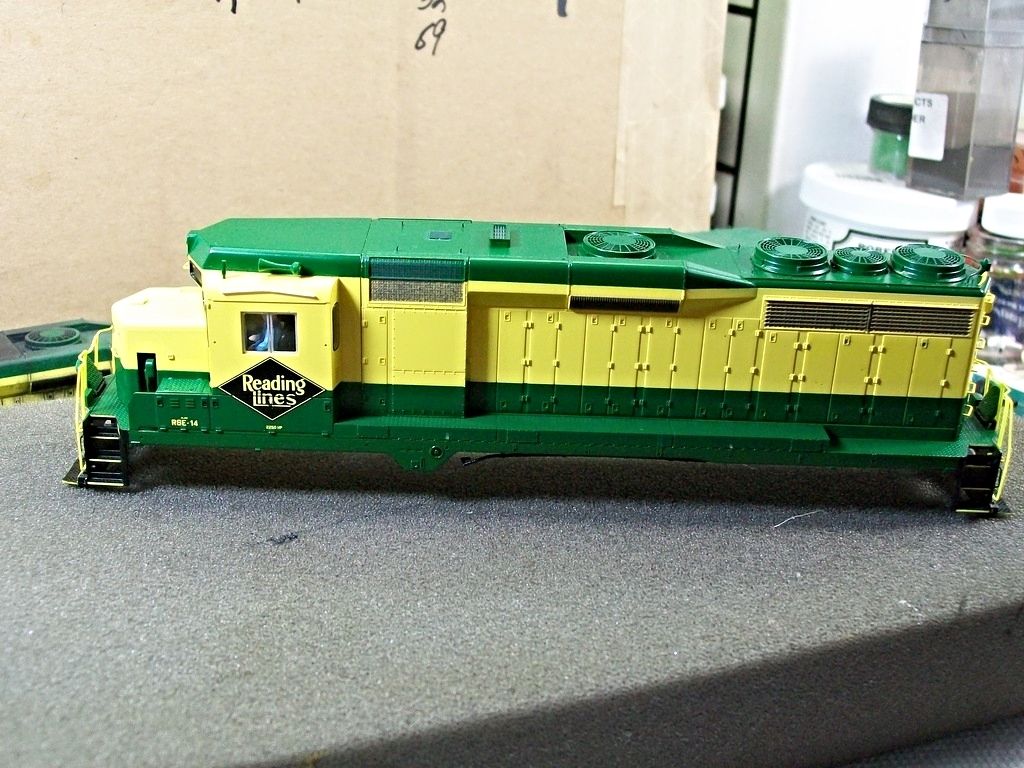
Paint application completed.
Side one

Side two


I allowed the paint to dry a good 24hrs before continuing.
Last Edit: 8 years 3 weeks ago by 2771-chris. Reason: spelling
The administrator has disabled public write access.

Walthers 5517 Becomes 3615 8 years 3 weeks ago #5195

  • 2771-chris
  • 2771-chris's Avatar
  • OFFLINE
  • Road Foreman of Engines
  • Posts: 634
  • Thank you received: 94
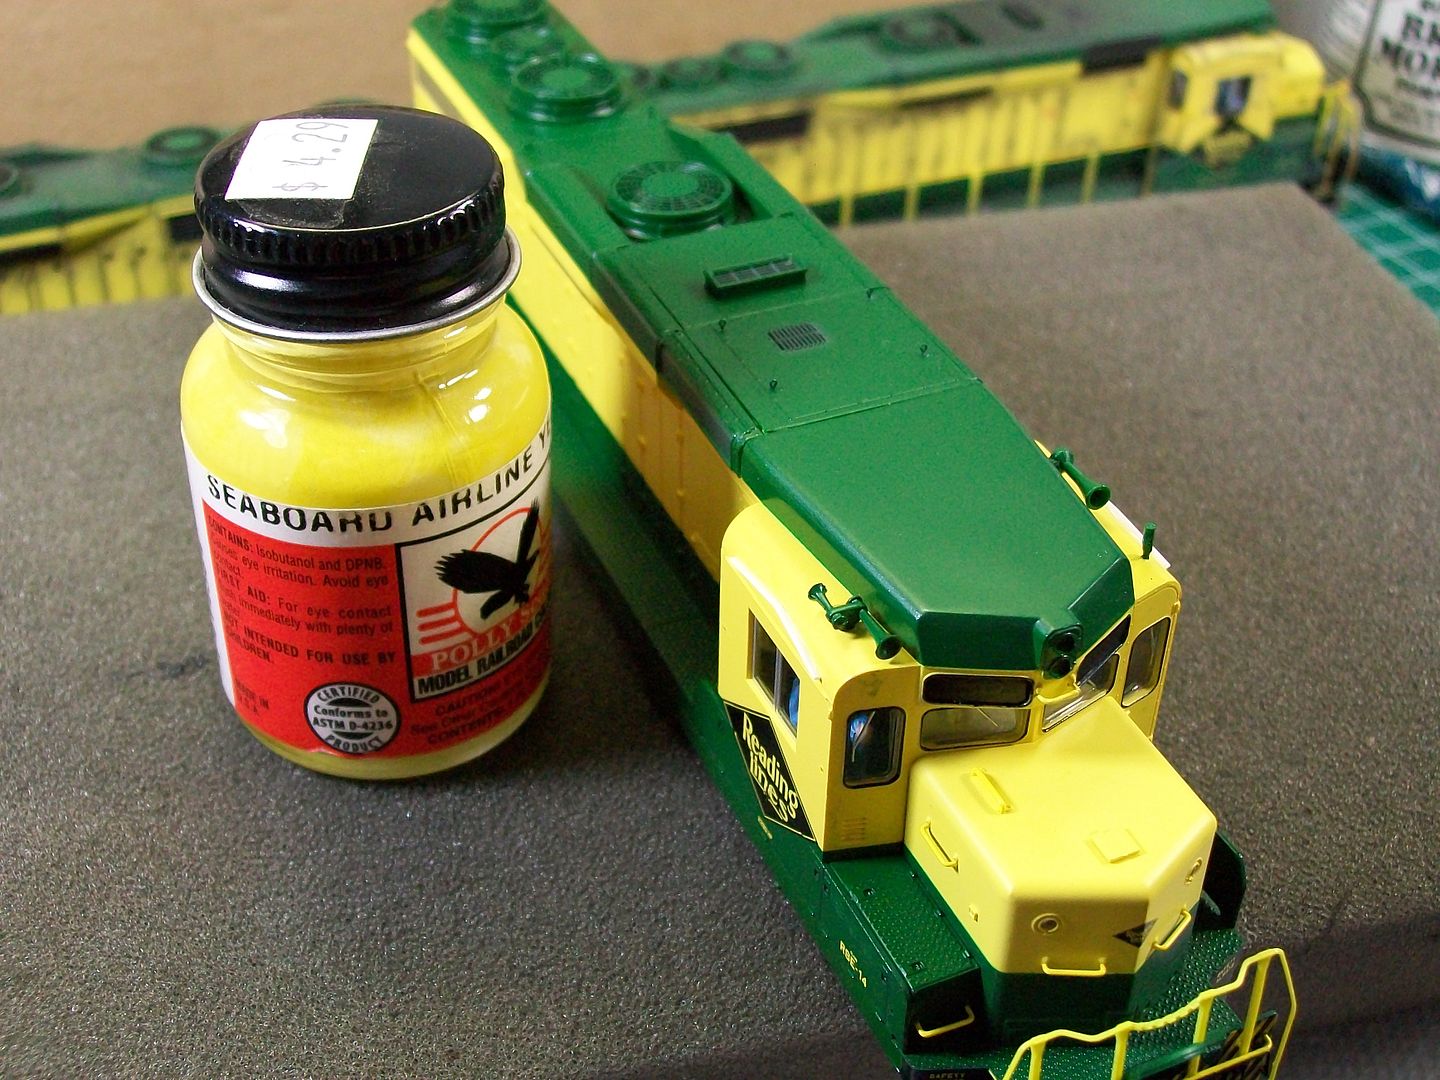
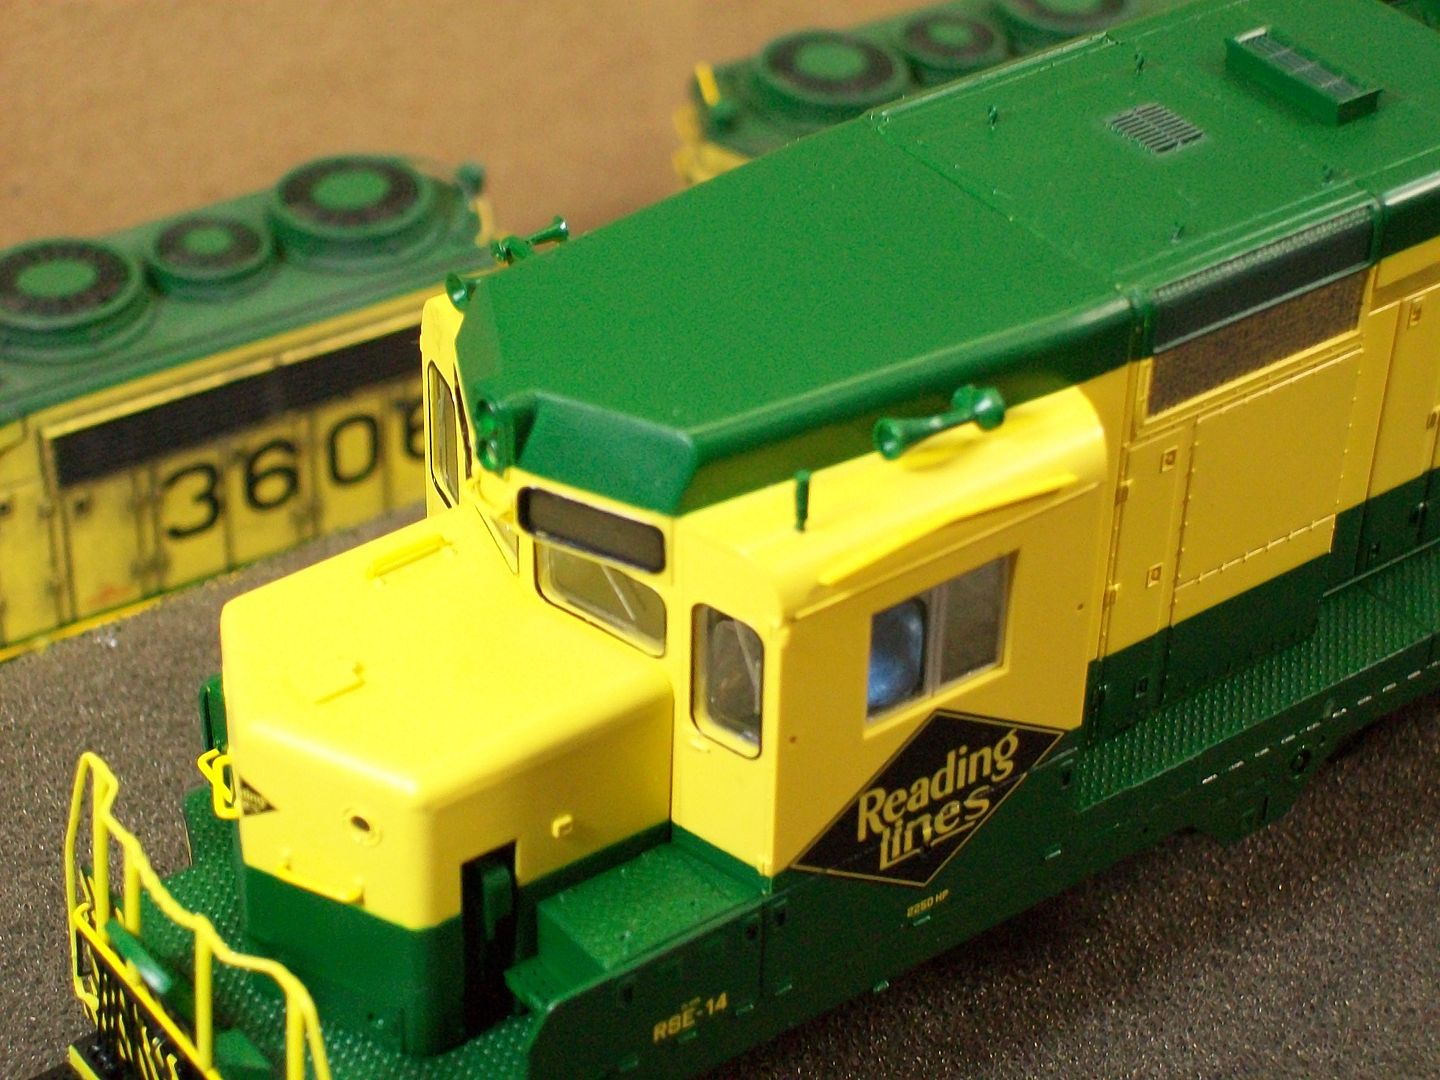
If you noticed on the last two pictures I applied the drip strips to the cab roof...I would like to refer to my C424 build page 3 as to my process for adding the strips instead of re-hashing it here.For those who might be interested,Bowser offers the RDG drip strips in their Cal-Scale line of parts #190-615.
After the strips were secured with glue I hand painted them using PS Seaboard Airline yellow...it matches up well with the factory applied paint.

I also painted out the numbers on the number boards using SCII engine black.This eliminates the lit number boards but for me its no big deal...as long as you could see the road number I'm happy.
The administrator has disabled public write access.
The following user(s) said Thank You: JoannaBill
Time to create page: 0.134 seconds

Today's Image

Did You Know?

December 24, 1859
A new terminal opened at Broad and Callowhill Streets in Philadelphia, north of the old facility at Cherry Street.

Downloads

Operations Information

Click Here!A variety of Reading Company operations related documents, etc. that may be of use in your modeling efforts.

Operations Paperwork

Click Here!A variety of Reading Company operations paperwork, such as train orders, clearance forms, etc. that will help you operate your Reading layout in a prototypical manner.

Timetables, Rulebooks, Etc.

Click Here!Public Timetables, Employe Timetables, and Rulebooks that provide much useful operational information.

Modeling Goodies

Click Here!Signs, billboards, and other FREE goodies for your use.  We ask only that you help spread the word about The Reading Modeler!

Rolling Stock Reference

Click Here!Downloadable reference documents on the various classes of Reading Company Freight and Passenger rolling stock.

Thanks for Your Support!

If you find the content on The Reading Modeler valuable, won't you please consider supporting our efforts? Your donation will help to offset operating costs and acquire new material to share on the site. Thank you!

Amount: 

Advertisements