FacebookTwitterDiggGoogle BookmarksRedditLinkedinRSS Feed
Welcome, Guest
Username: Password: Remember me
This section of The Interchange provides a space where members of the Reading Modeler community can showcase their Reading modeling efforts. If you've got a project that you'd like to share, start a new topic and "show and tell" the group how you did it!

TOPIC: I-7 2-8-0

I-7 2-8-0 8 years 3 weeks ago #5220

  • Casey
  • Casey's Avatar
  • OFFLINE
  • Conductor
  • Posts: 209
  • Thank you received: 57
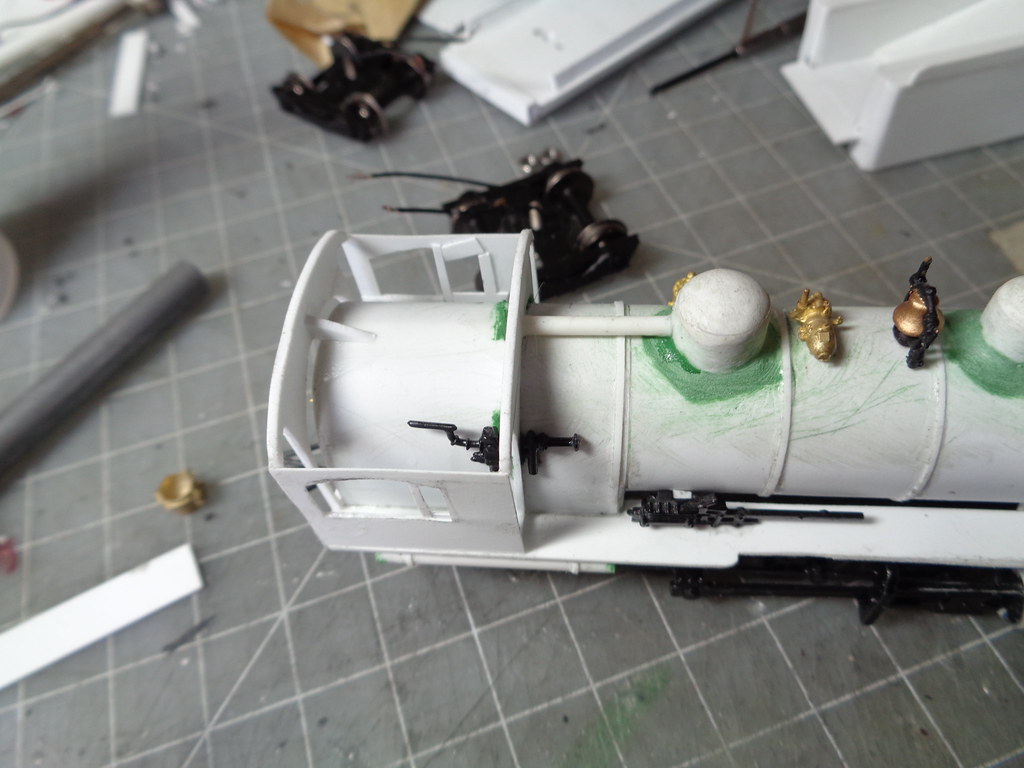
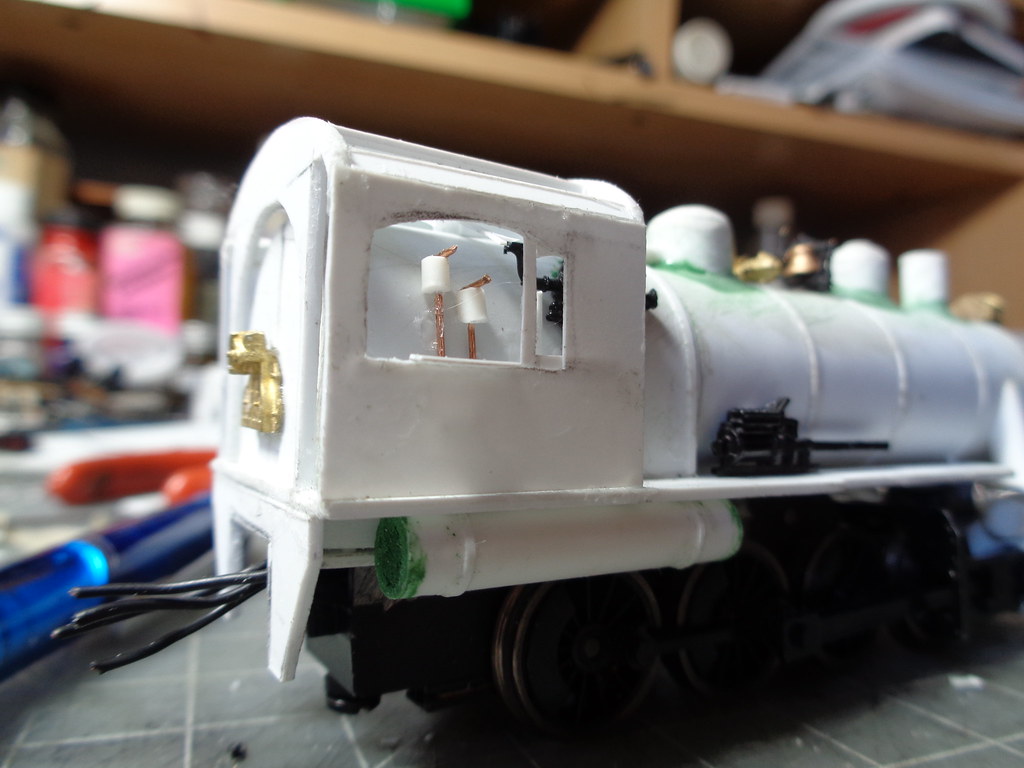
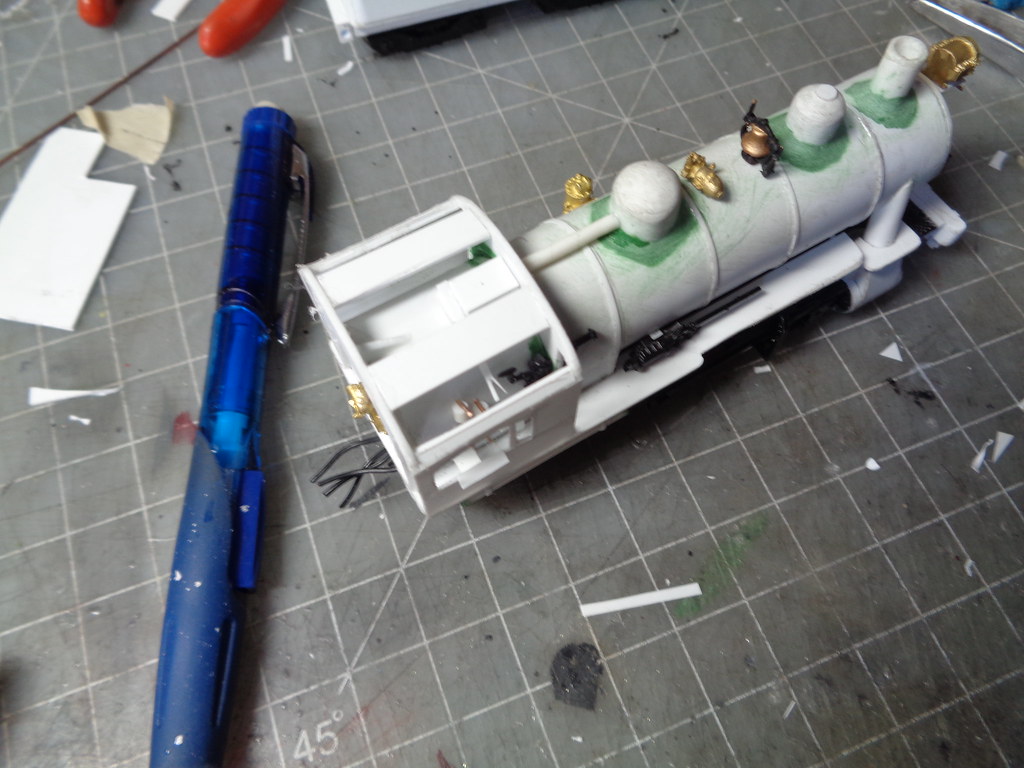
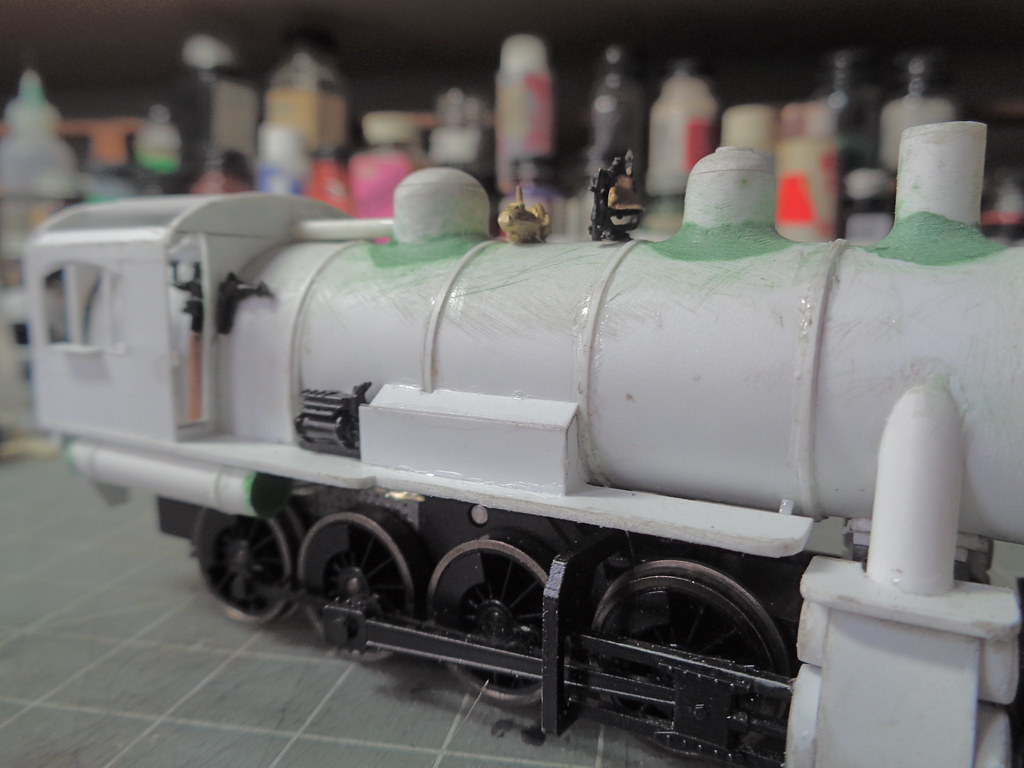
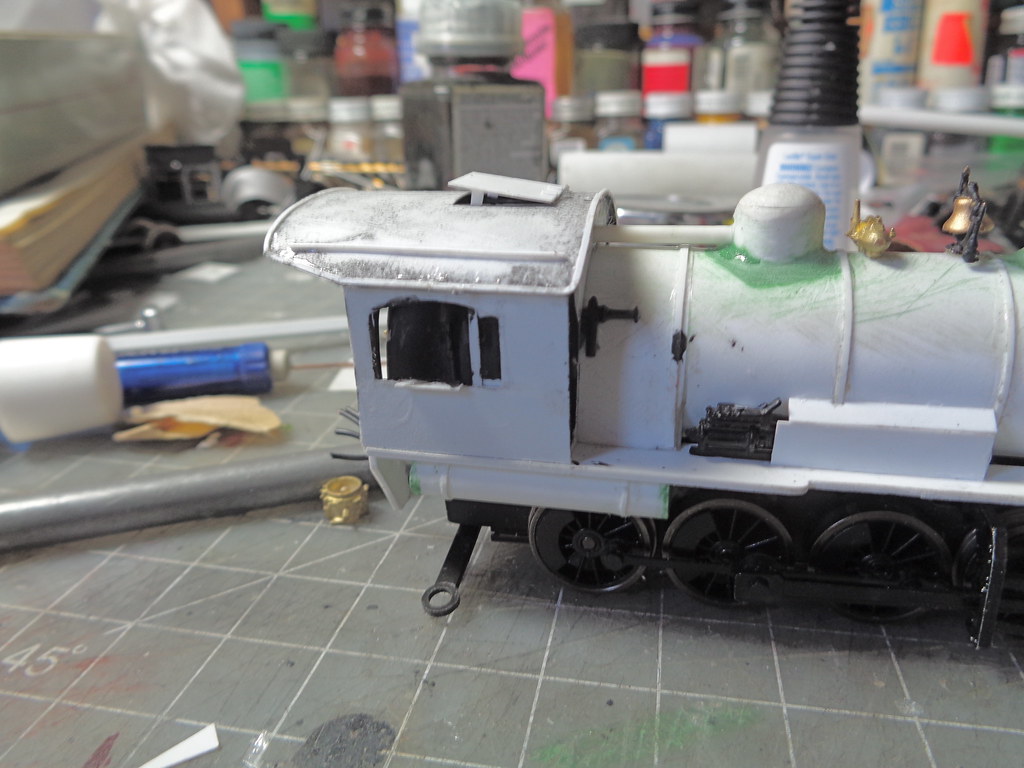
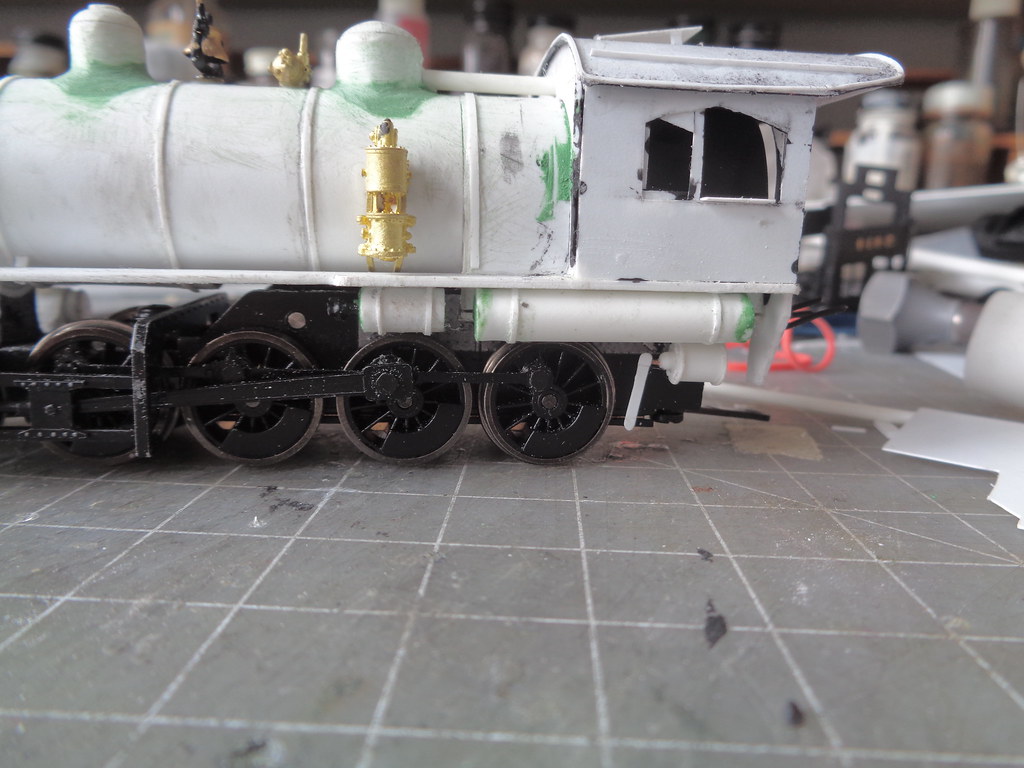
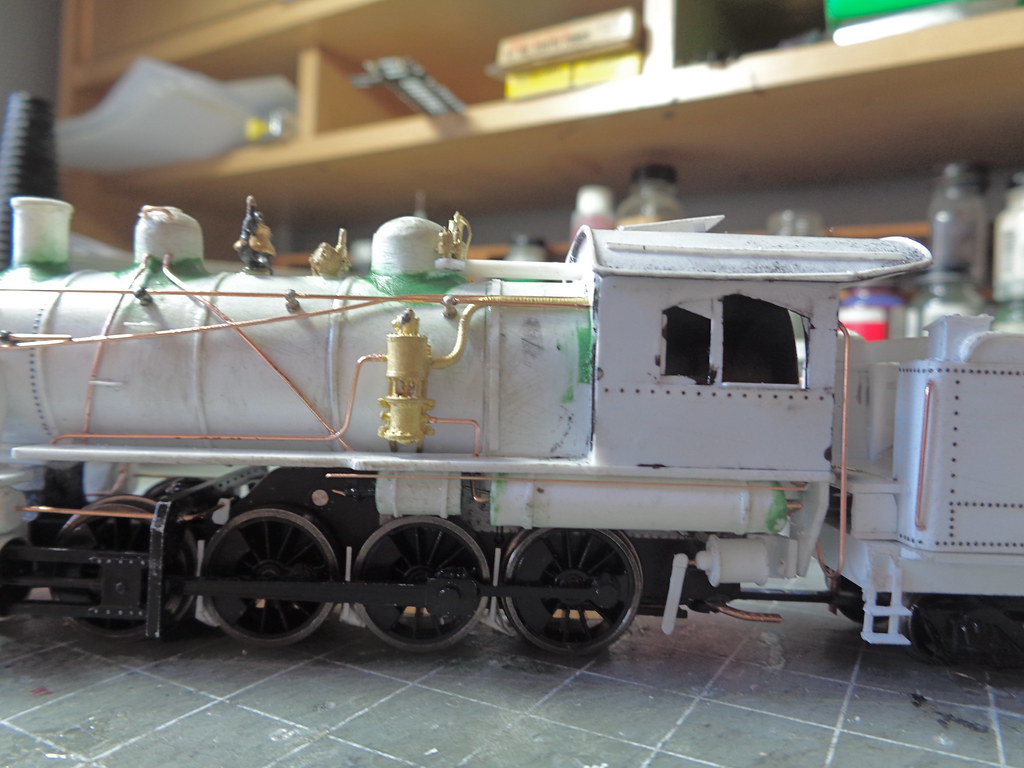
Before putting a roof on the cab, I wanted to get some resemblance of some controls in the cab. I started with the injector lifter which is a reused from a spectrum 2-8-0 and cut in half to sit on either side of the cab wall.


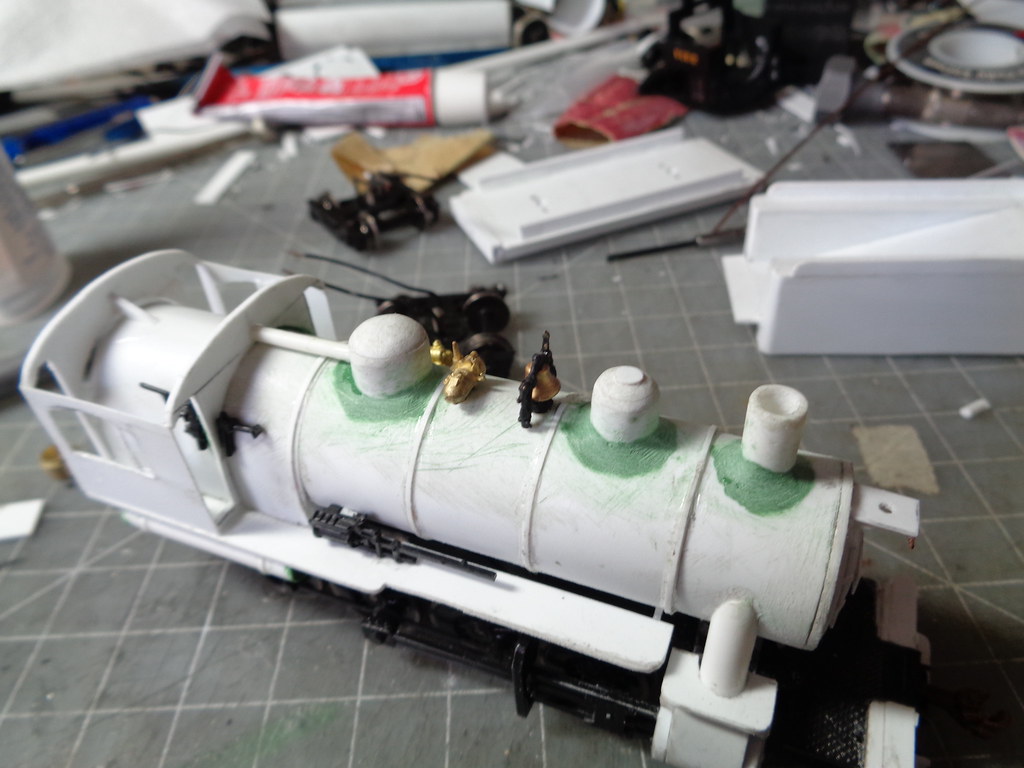
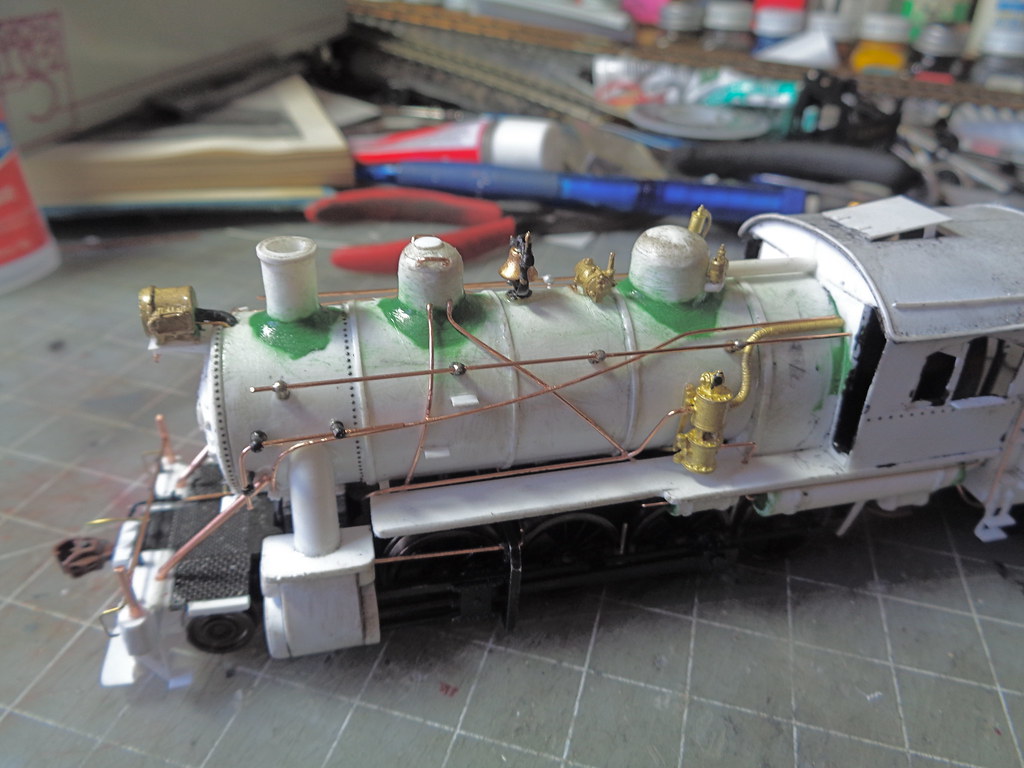
While I was at it, the bell, generator, and power reverse were placed. The power reverse is another reused spectrum part.


Some quick resemblance of break valves, throttle and reversing lever were added made from styrene. Then roof supports were added to make sure the roof doesn't want to bend down.


While the cab controls were setting I made the power reverse linkage cover. Made with .010, using the smokebox front as a guide for the curved front of the box that hugs the boiler.


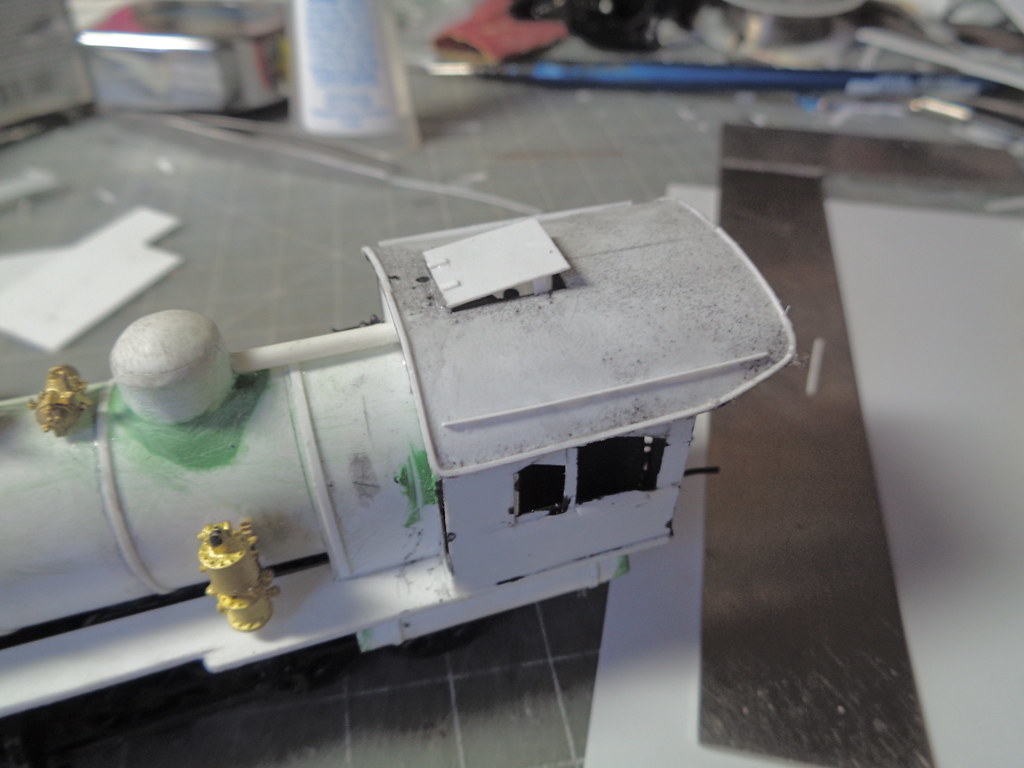
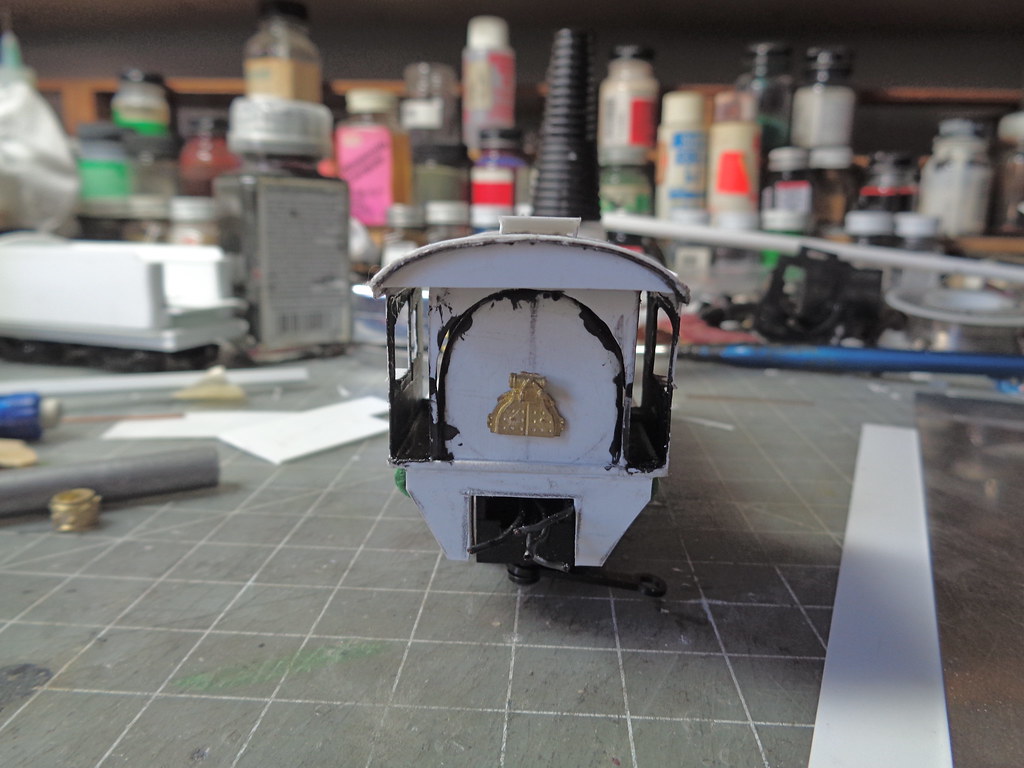
Before the roof goes on the interior of the cab is painted black since the roof is glued down and painting would be quite difficult. The rood is a sheet of .010 rolled a little to sort of hold the shape for eyeballing line up. Once the main sheet is set up the vent is cut out. The under side of the roof gets a quick shot of black before getting glued down. After set the outer trim, gutters and vent are added, all .010.


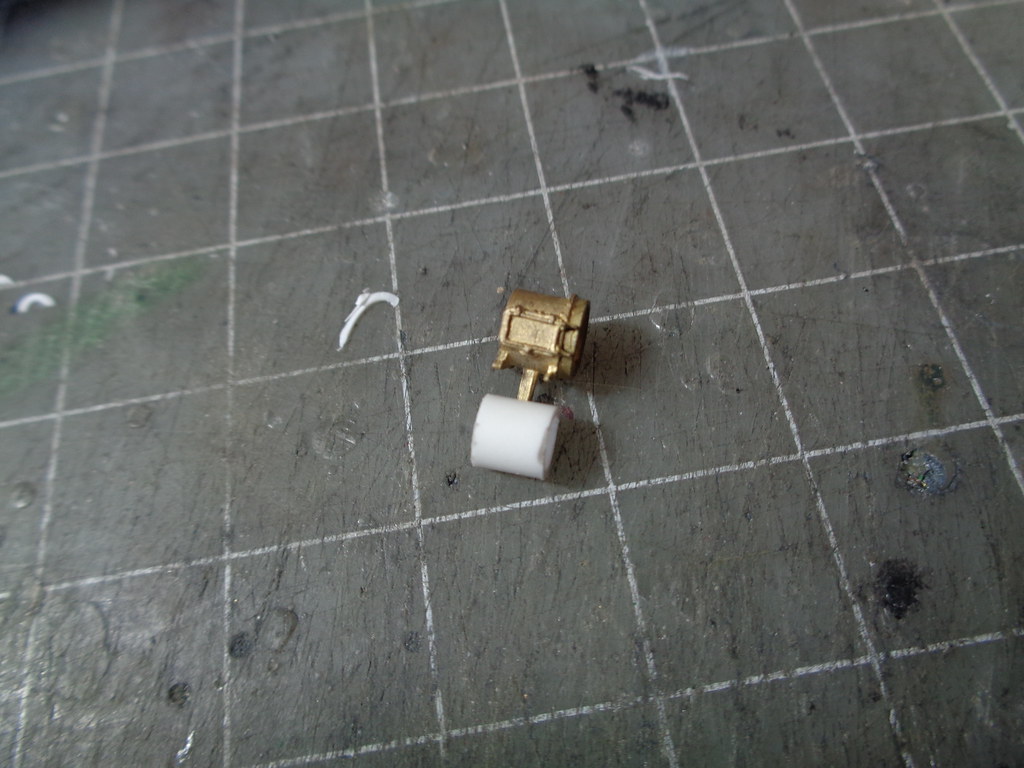
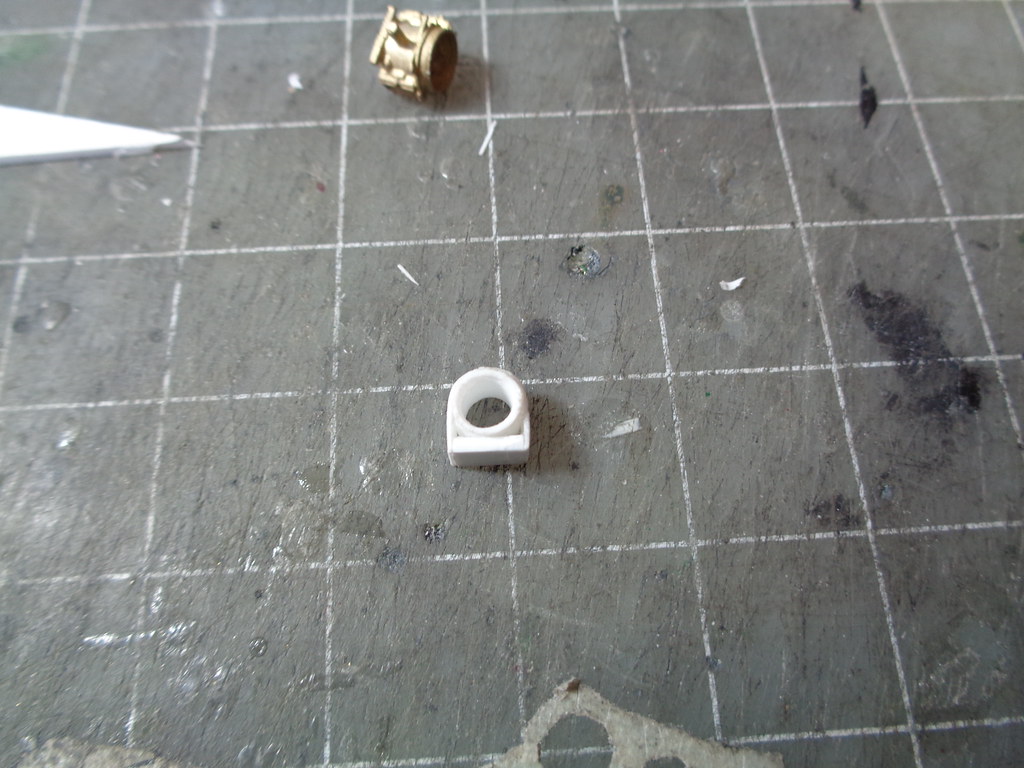
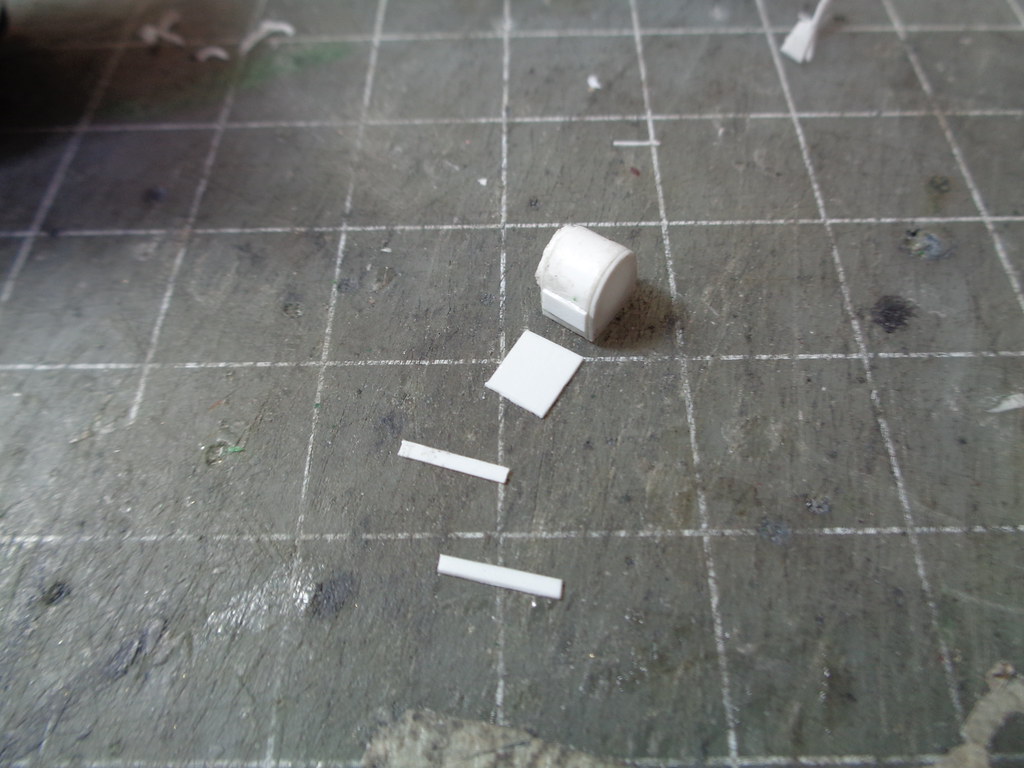
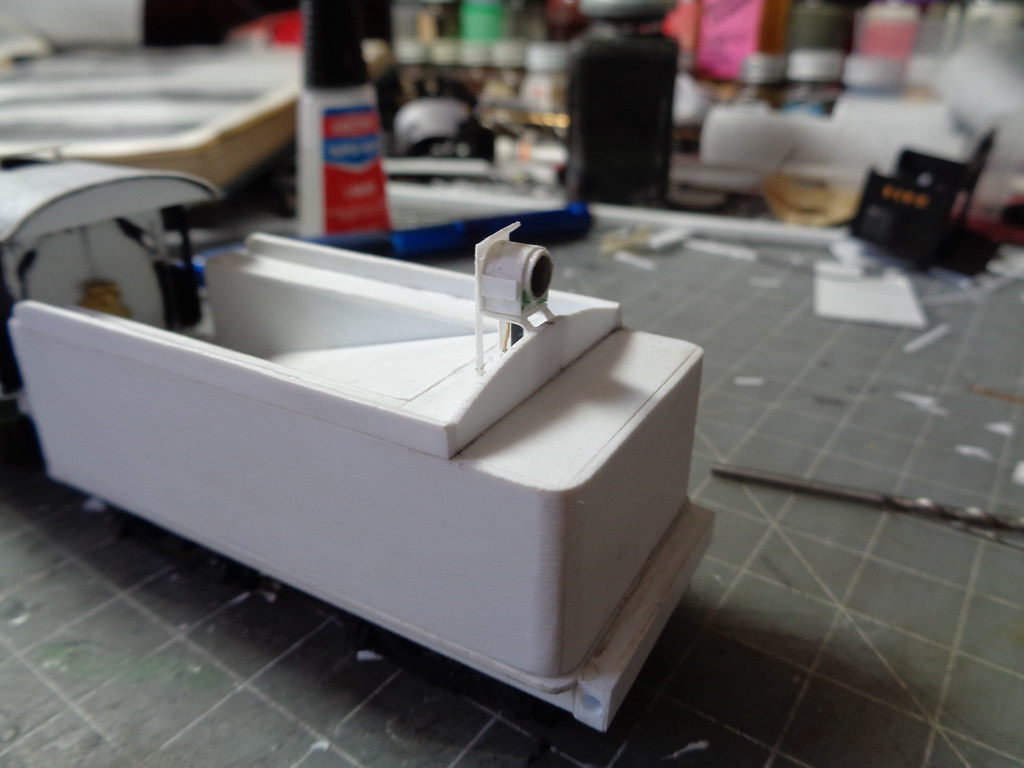
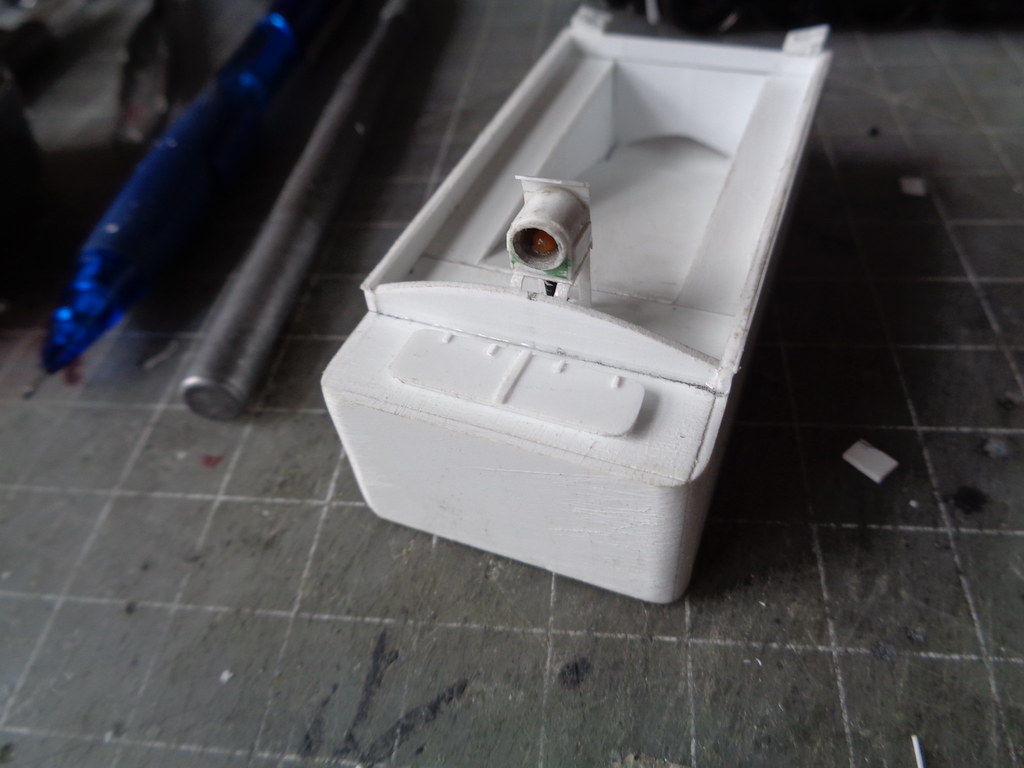
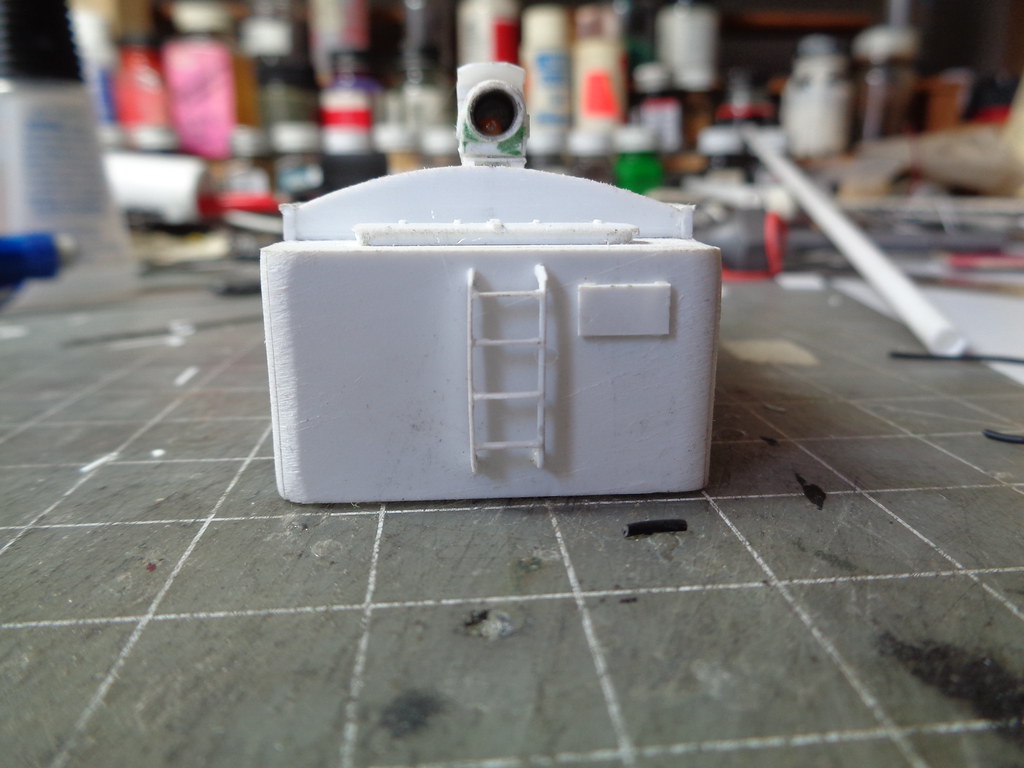
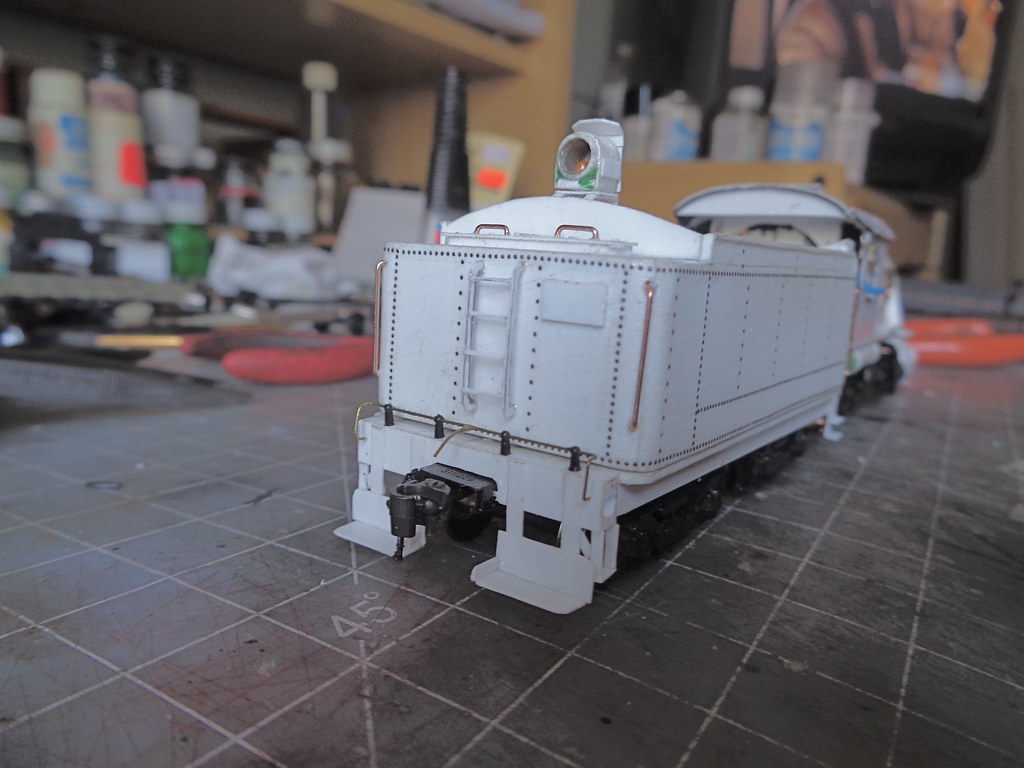
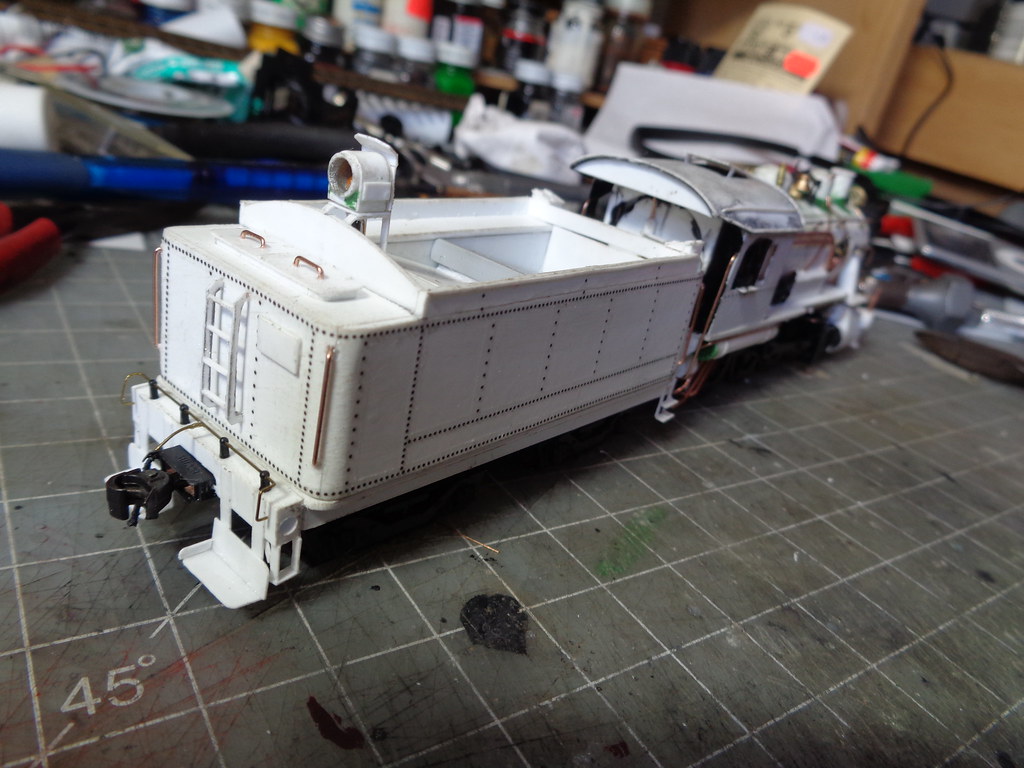
Instead of using a calscale casting for the tender light I went for making the Reading style back up light that look like and upside down U. Starting with a piece of styrene tube about the size of a sunbeam headlight.


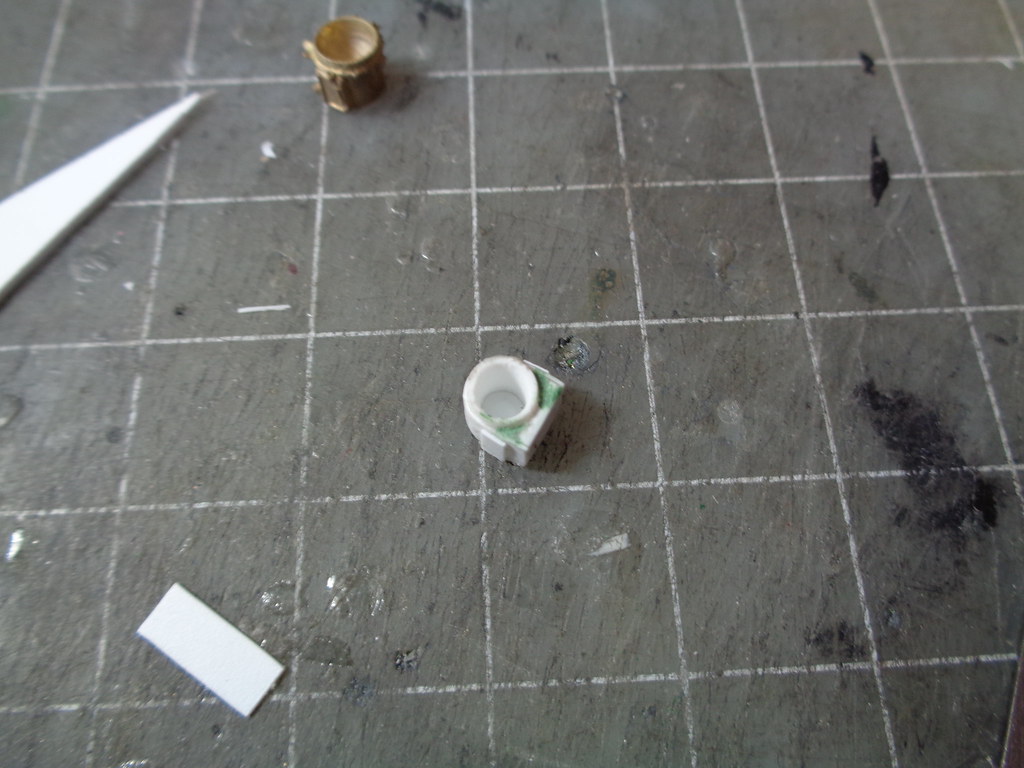
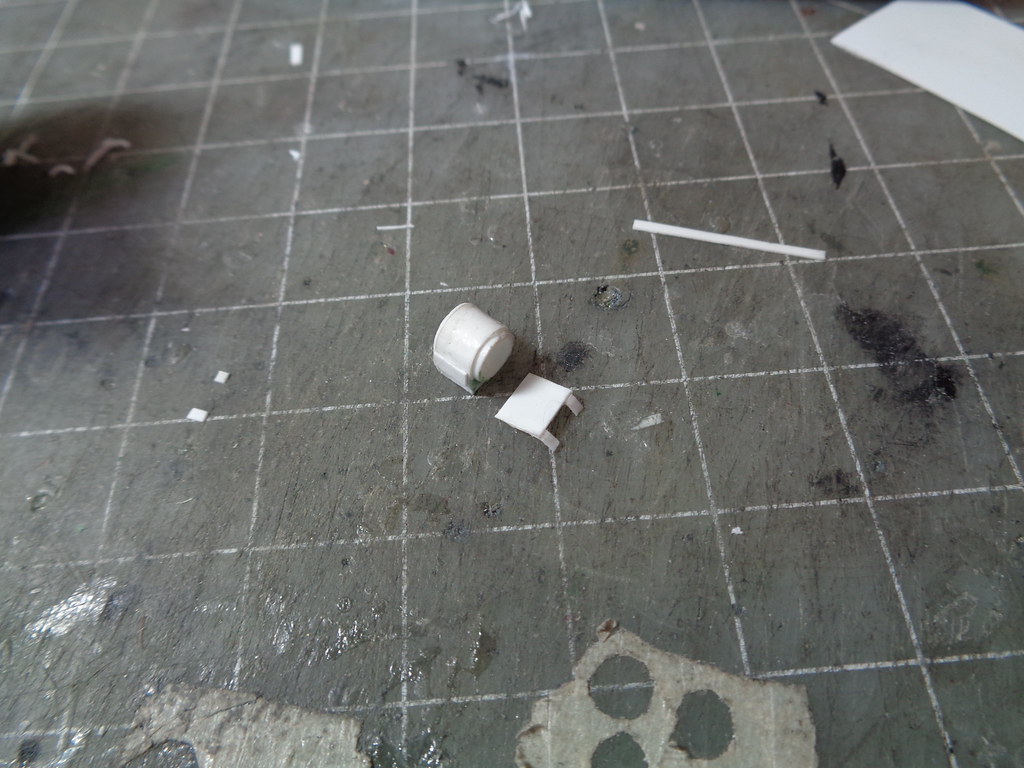
The tube piece is set on a piece of .040 and a piece of .010 is wrapped around making the U shape.


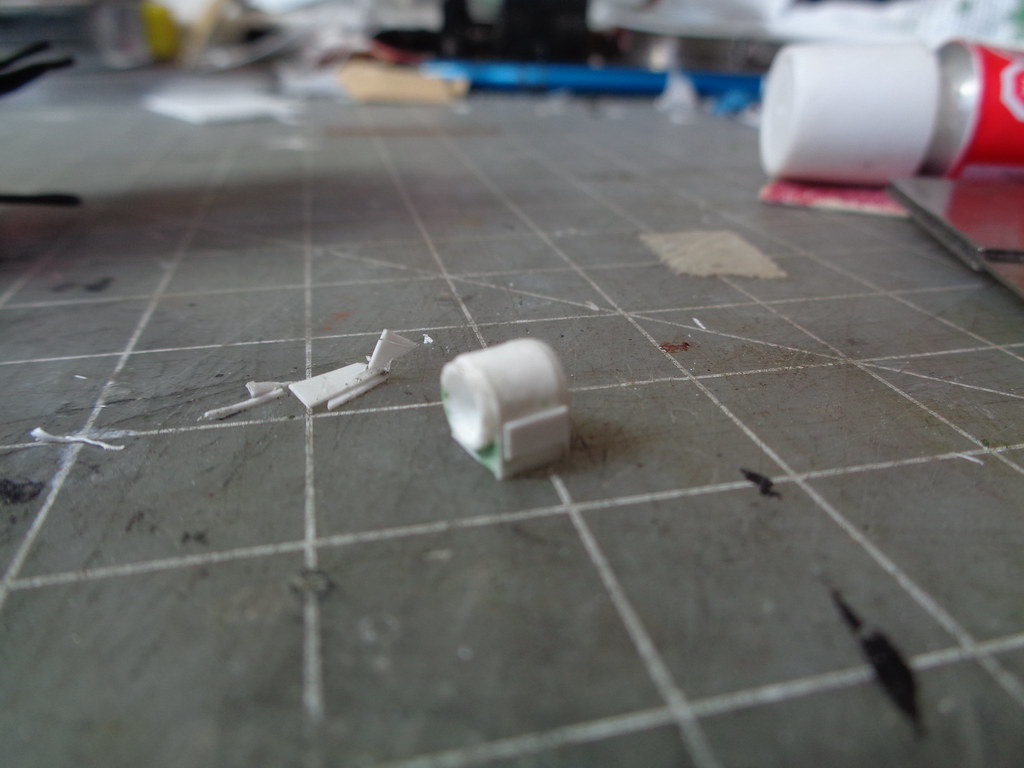
A backer piece of .010 is loosely fit and then trimmed flush. The holes in the front are filled and number boards are added made to about the size of the calscale casting.


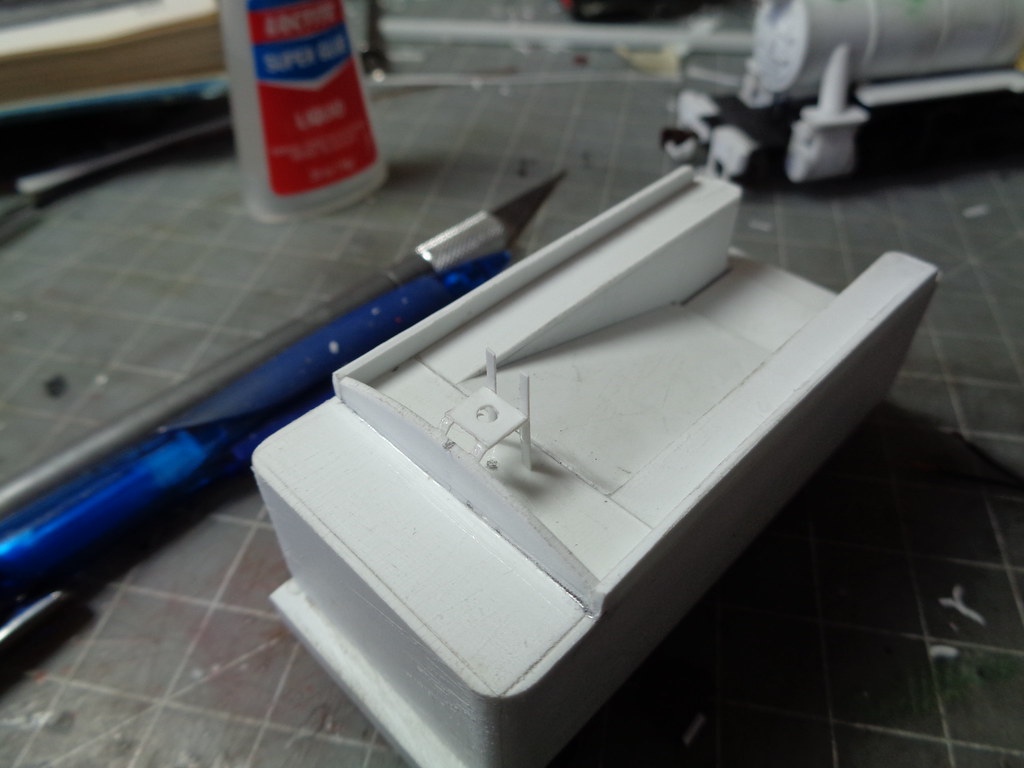
The bracket it sits on starts as the base plate and the mounting rails which are glued to the edge of the base plate.


Once set the section sticking out is bent down at about 45 degrees and can be glued to the tender.


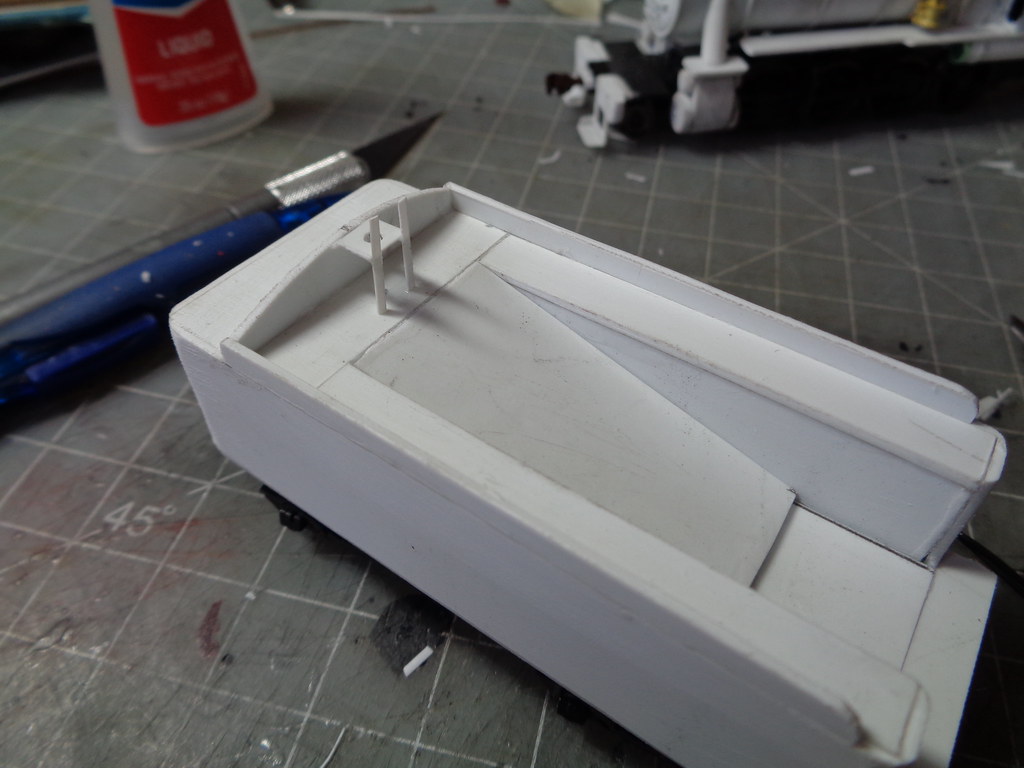
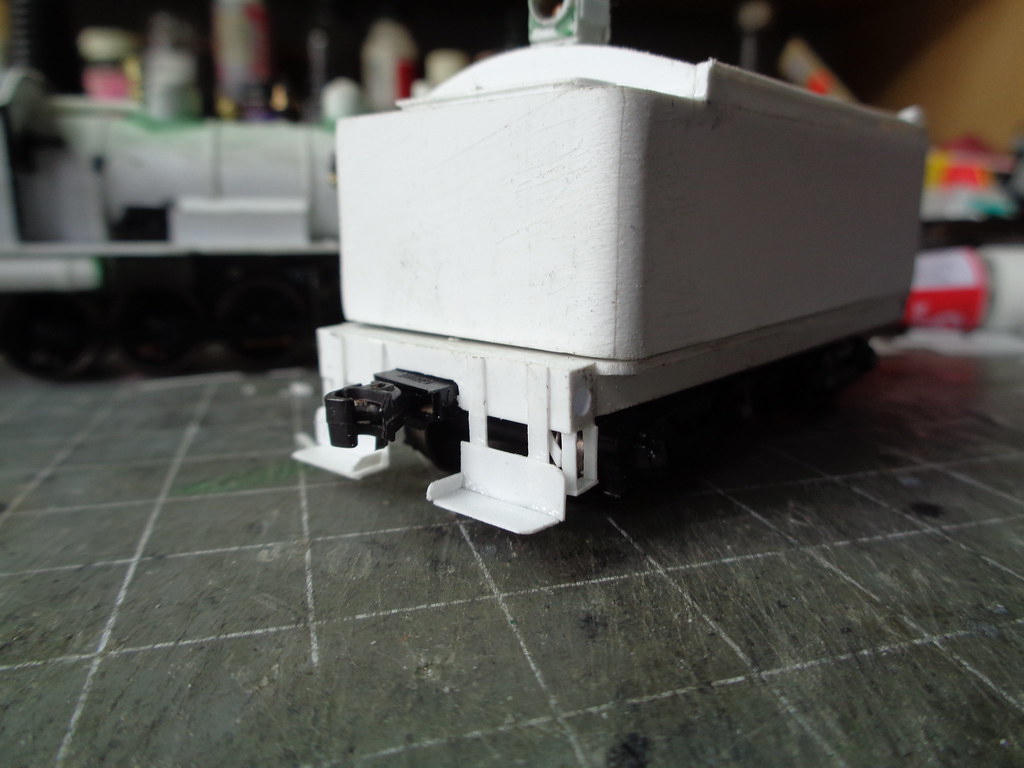
On I-7s and tenders like it, the headlights actually sit over the coal. After the base is set on the rear bunker sheet, vertical braces are set and extra tall to so the headlight proctor has something to "bolt" to.


The headlight protector is then set using .010 and then the light is self is placed. I am reusing the LED lights from the roundhouse model and have the light coming from under instead of from the back. The inside of the light got a quick coat of silver to not be white.


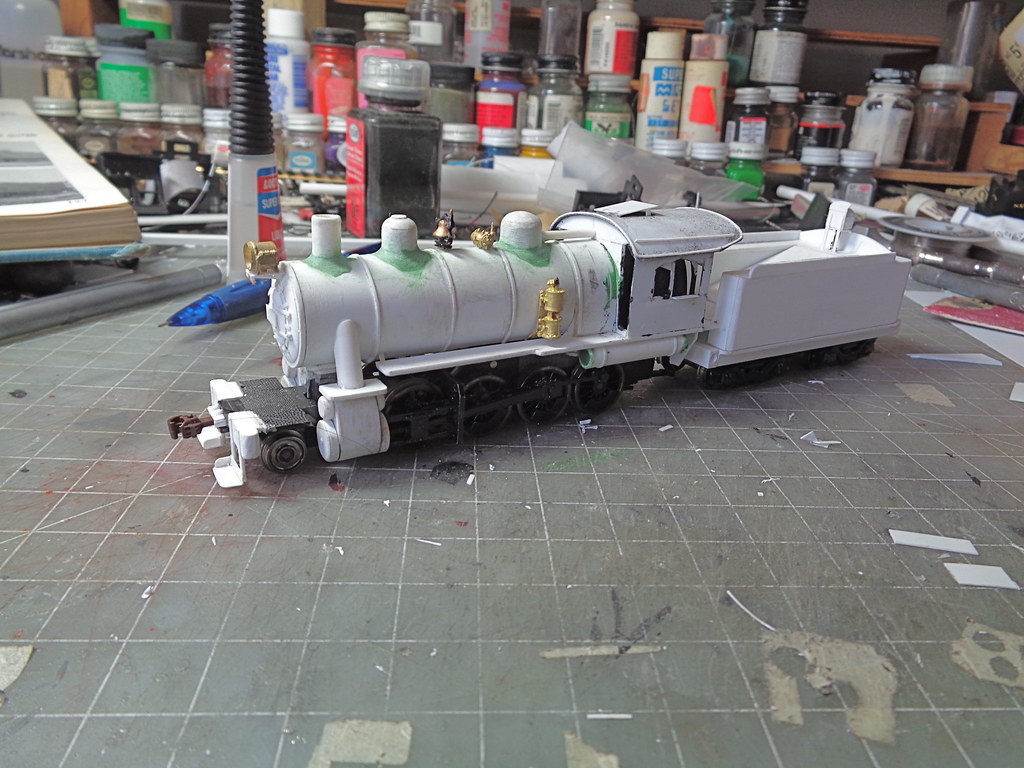
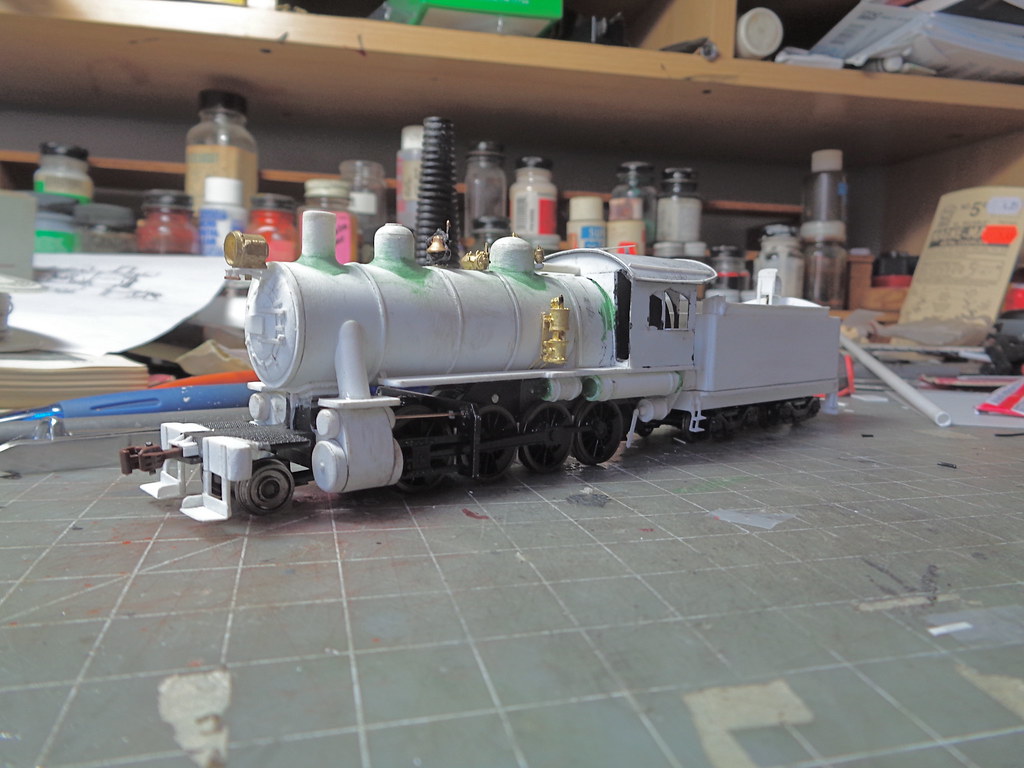
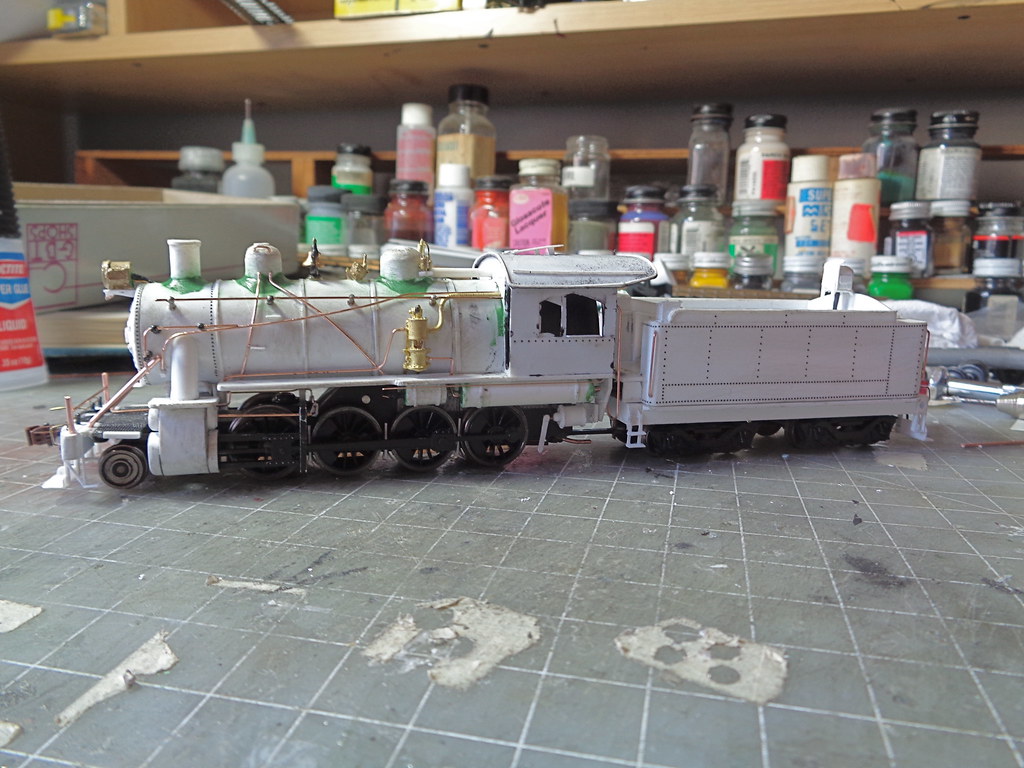
Here is the current overview.


The administrator has disabled public write access.
The following user(s) said Thank You: tcalvin48

I-7 2-8-0 8 years 2 weeks ago #5249

  • Casey
  • Casey's Avatar
  • OFFLINE
  • Conductor
  • Posts: 209
  • Thank you received: 57
Work this week was a lot of little things. Thinking a trip to the hobby store was needed for break cylinders, I decided to just try and make them. A styrene tube piece was capped with .010 then a piece of rod was centered on a side. The rod was drilled for a .020 wire and a .010 arm was glued to the wire.


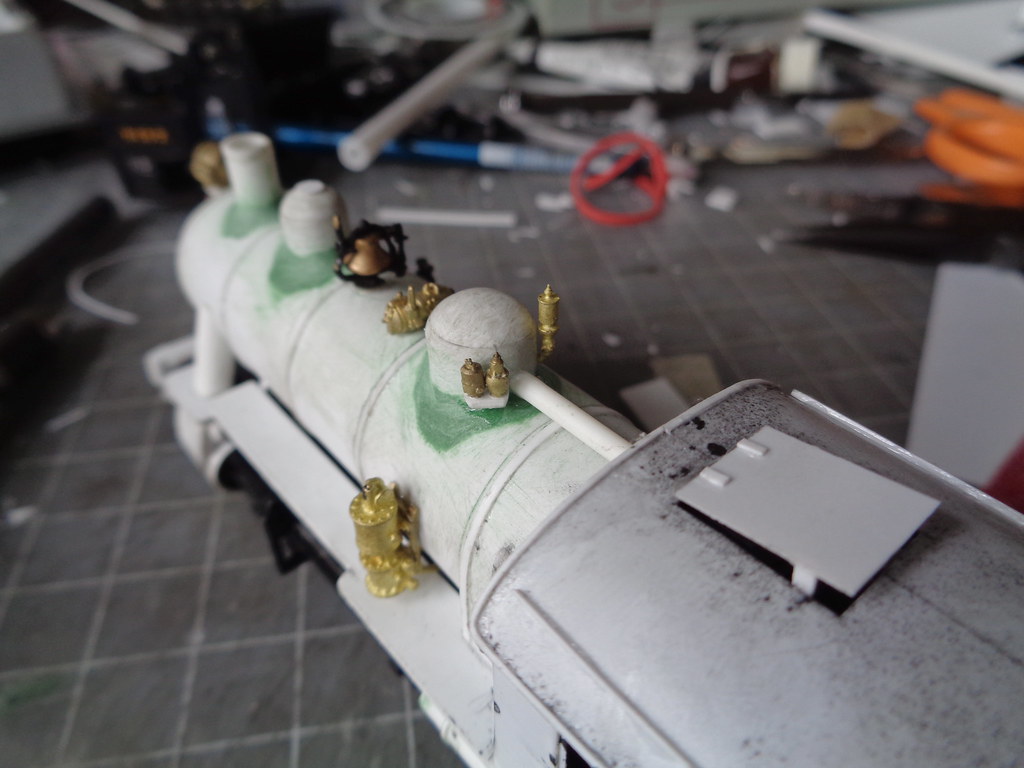
Seeing a rear angle of an I-2 (basically the same engine but smaller) gave me the safety valve set up. for a while I thought there was only one valve figuring that was wrong. In most 3/4 views the one valves is hidden perfectly by the one sitting in front of it.


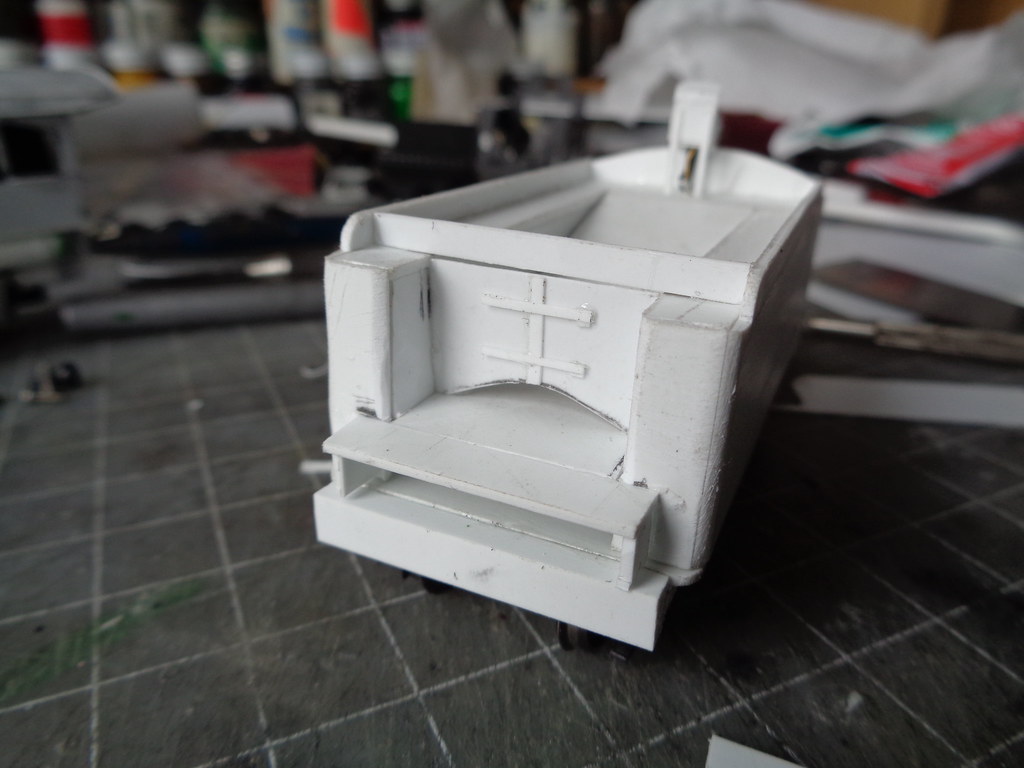
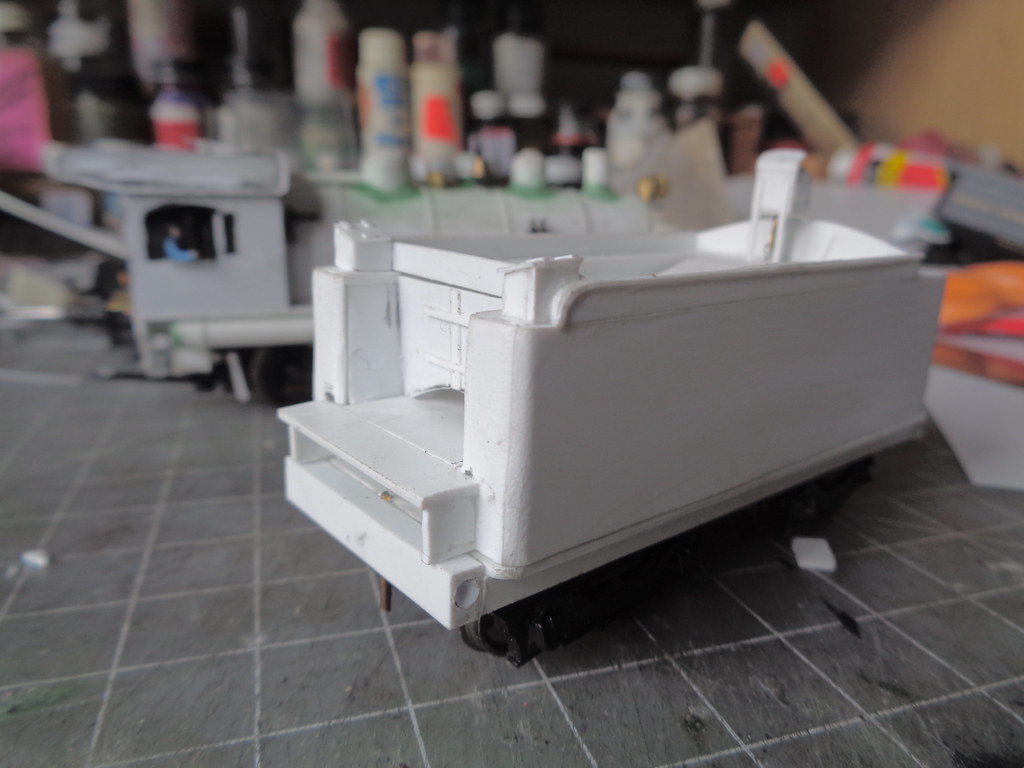
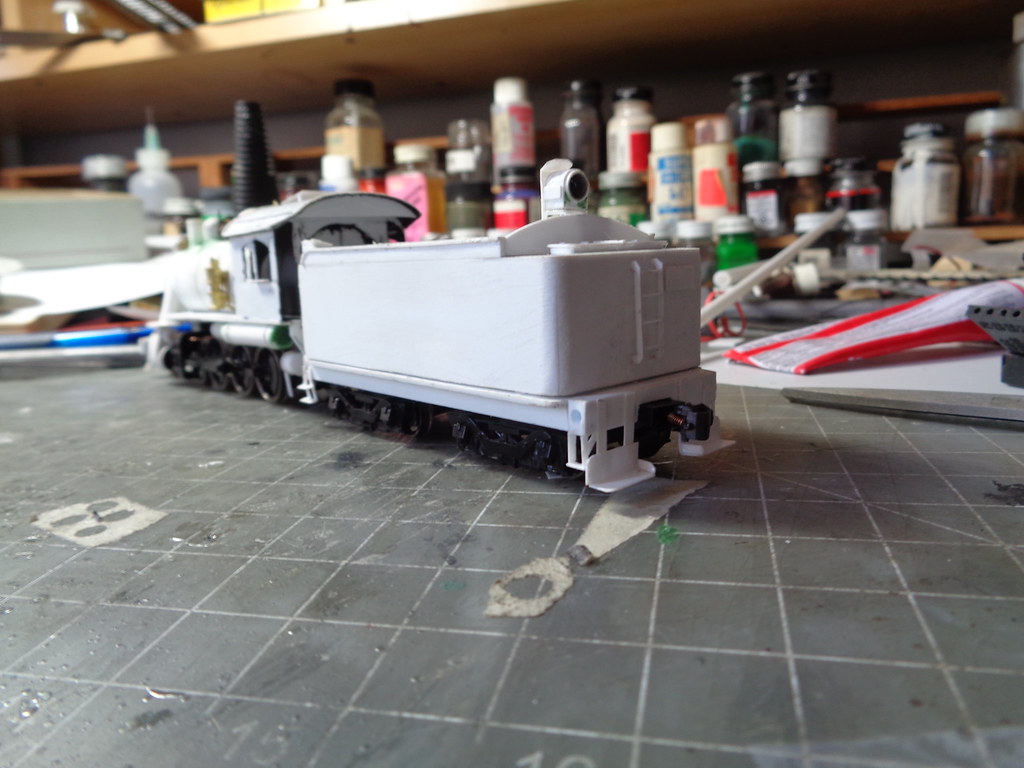
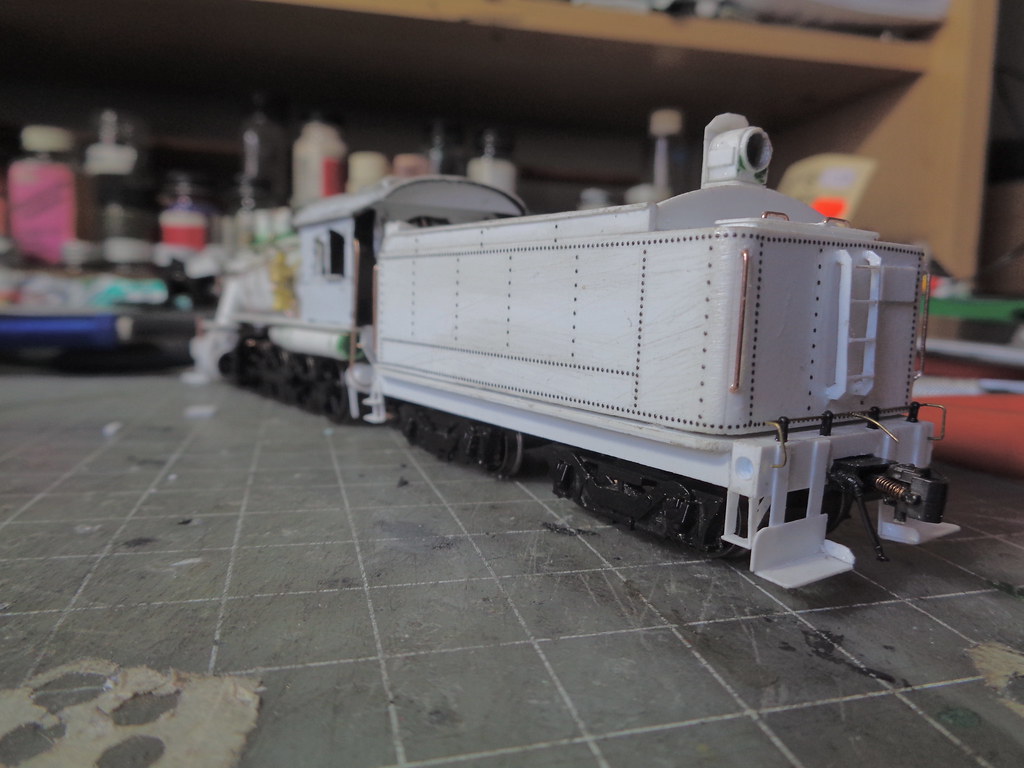
Focus then shifted to the tender, the coal bunker doors made using .010 styrene.


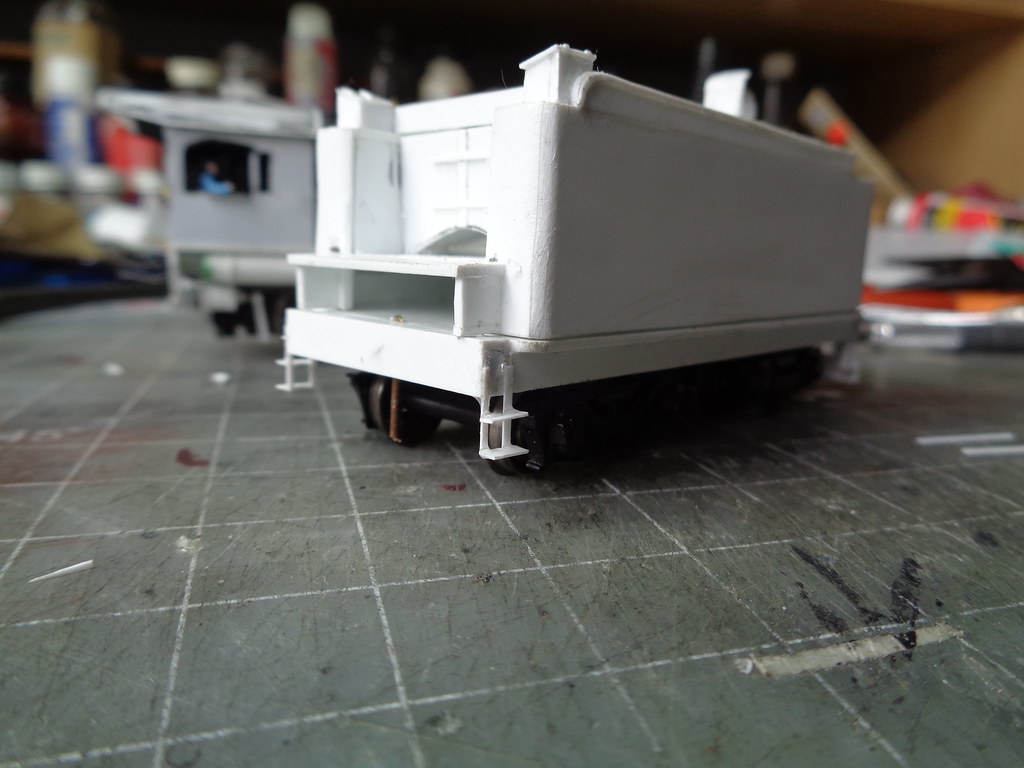
Boxes were then added in front of the bunker on top of the tank, seen on almost every tender of this type. The trim around the bunker was also added which is a strip of .010.


The water hatch is made with a base of .040 topped with .010. Strips of .010 are used to make the hinges and hatch split.


On the frame the steps and foot boards were added all made of .010.


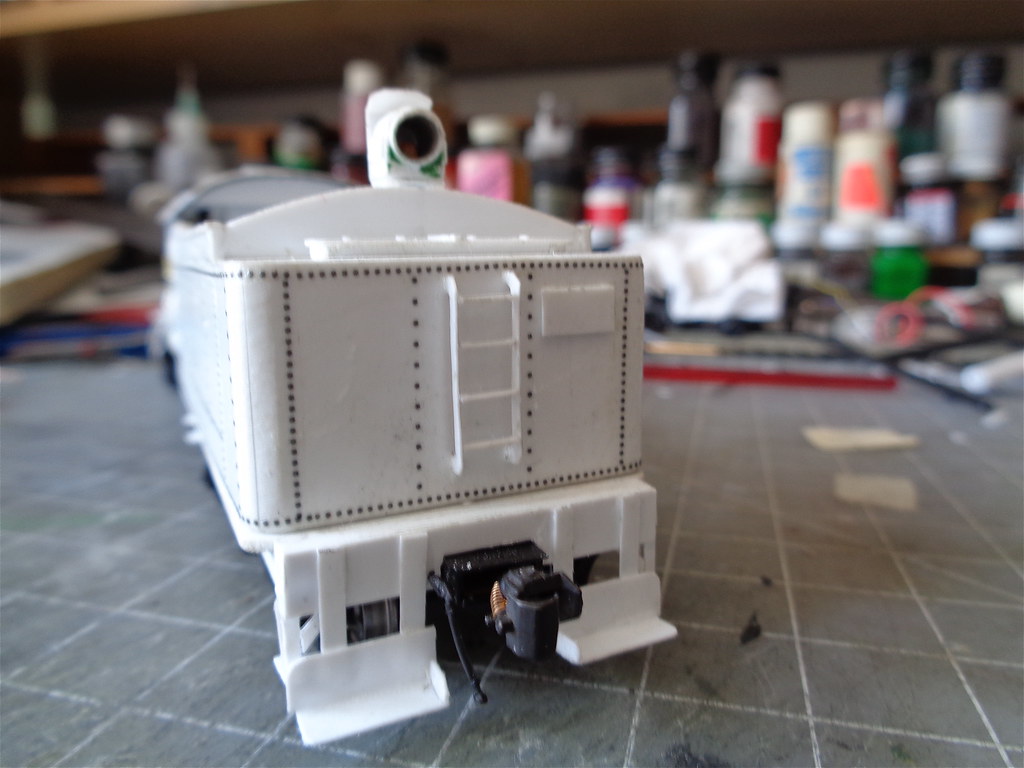
Lastly for tender the ladder and rear number board were added, once again all .010 styrene. The number board is spaced off the tender .010 with strips on both sides of the rectangle.


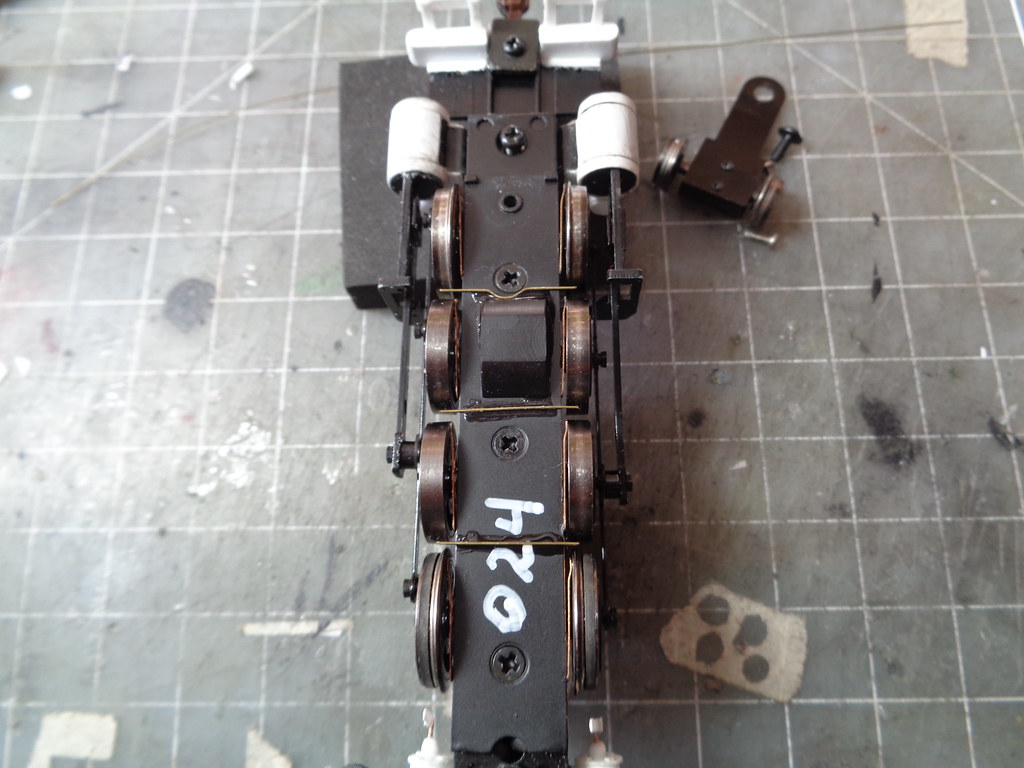
Wanting to get a test run in, I wanted to get the brake shoes in first to make sure they don't interfere with the running gear. This was started by gluing wire bases to the bottom cover plate.


The shoes are a simple design being a triangle with a curved bottom and a strip on top as a swing arm. The shoe is drilled and fit to the wire frames.


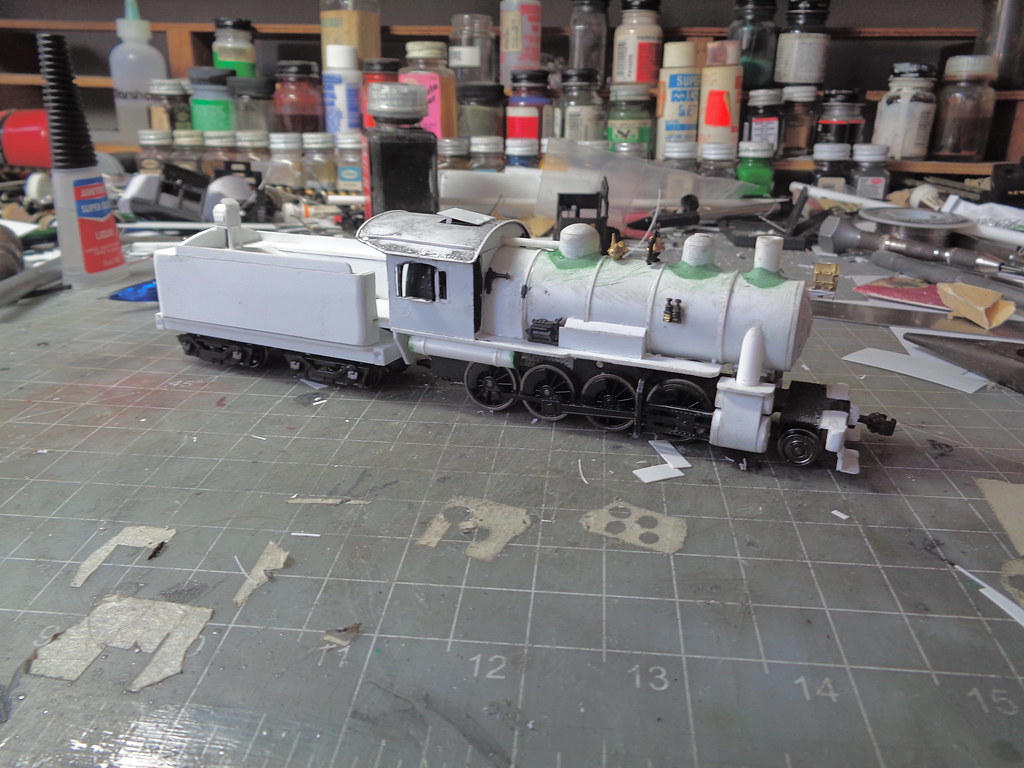
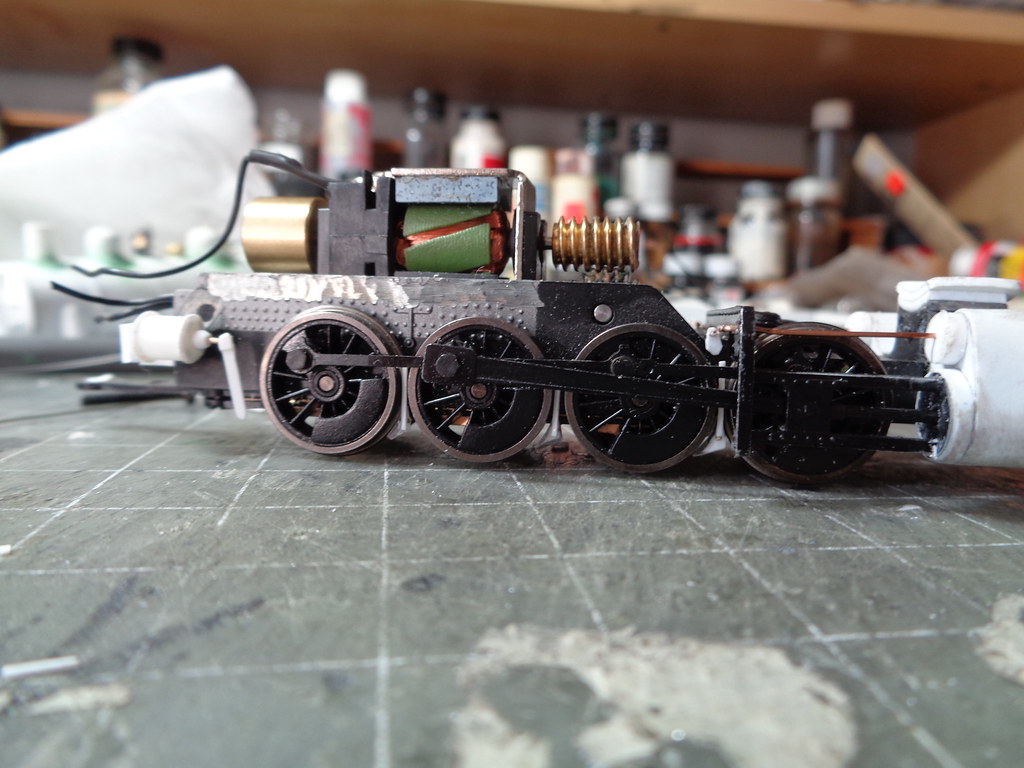
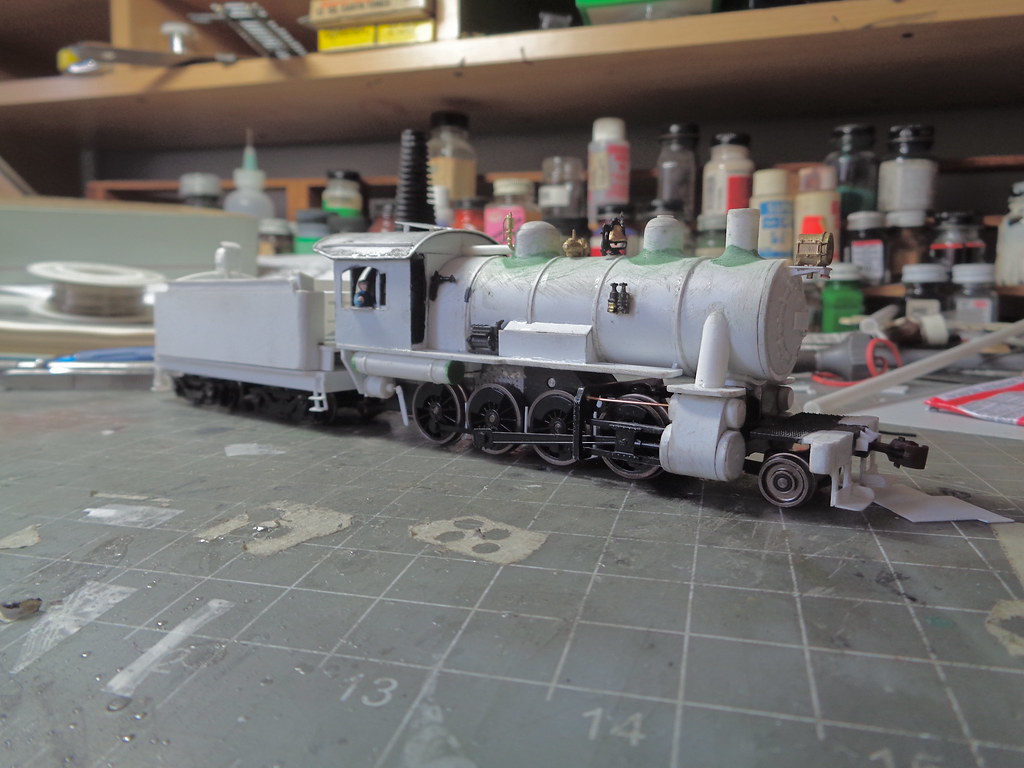
The engine ran well in the test run, not having to tweak the shoes, here is how it sits now.


Last Edit: 8 years 2 weeks ago by Casey.
The administrator has disabled public write access.
The following user(s) said Thank You: tcalvin48

I-7 2-8-0 8 years 1 week ago #5252

  • Casey
  • Casey's Avatar
  • OFFLINE
  • Conductor
  • Posts: 209
  • Thank you received: 57
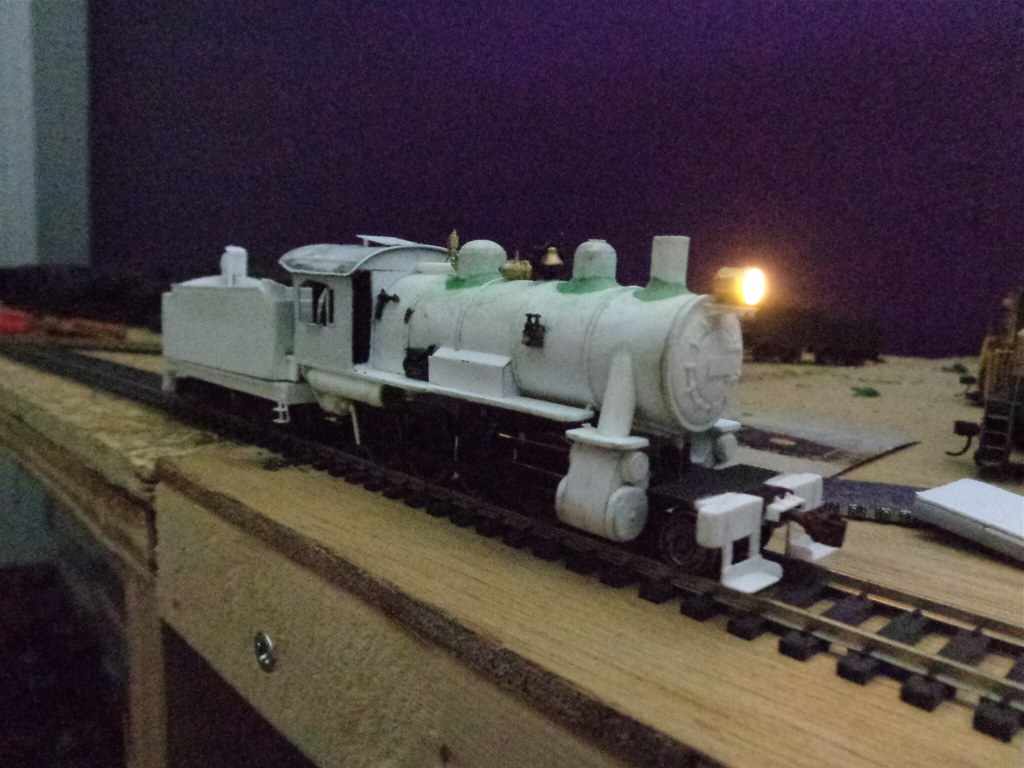
Another quick light test was done before the next step.


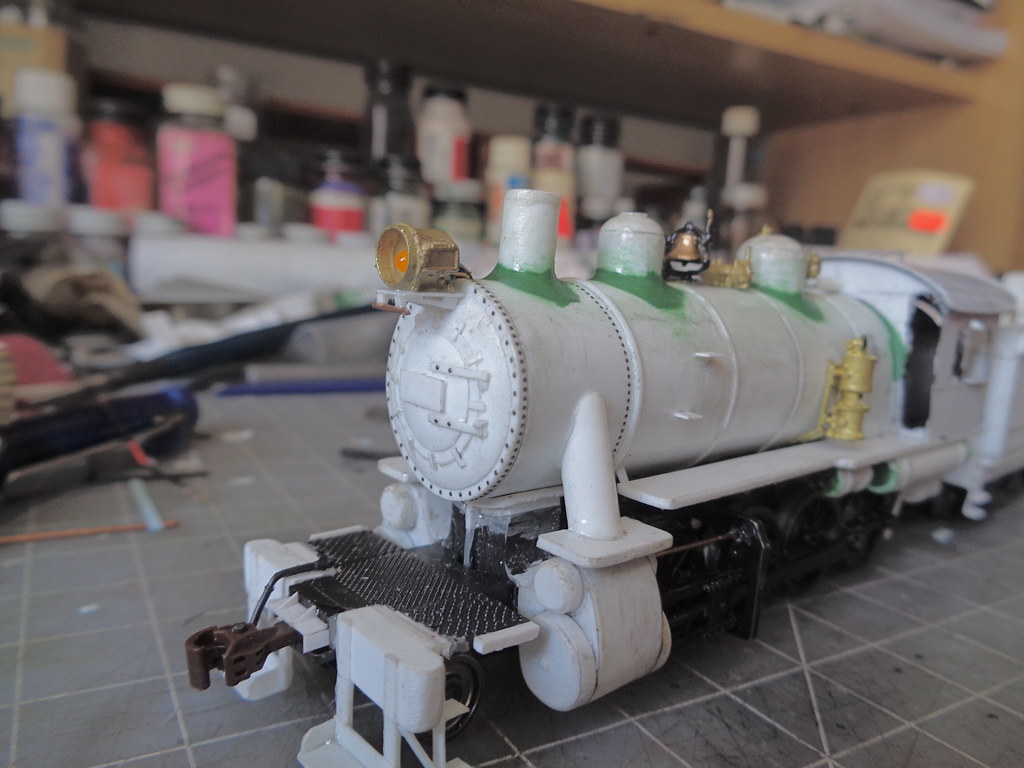
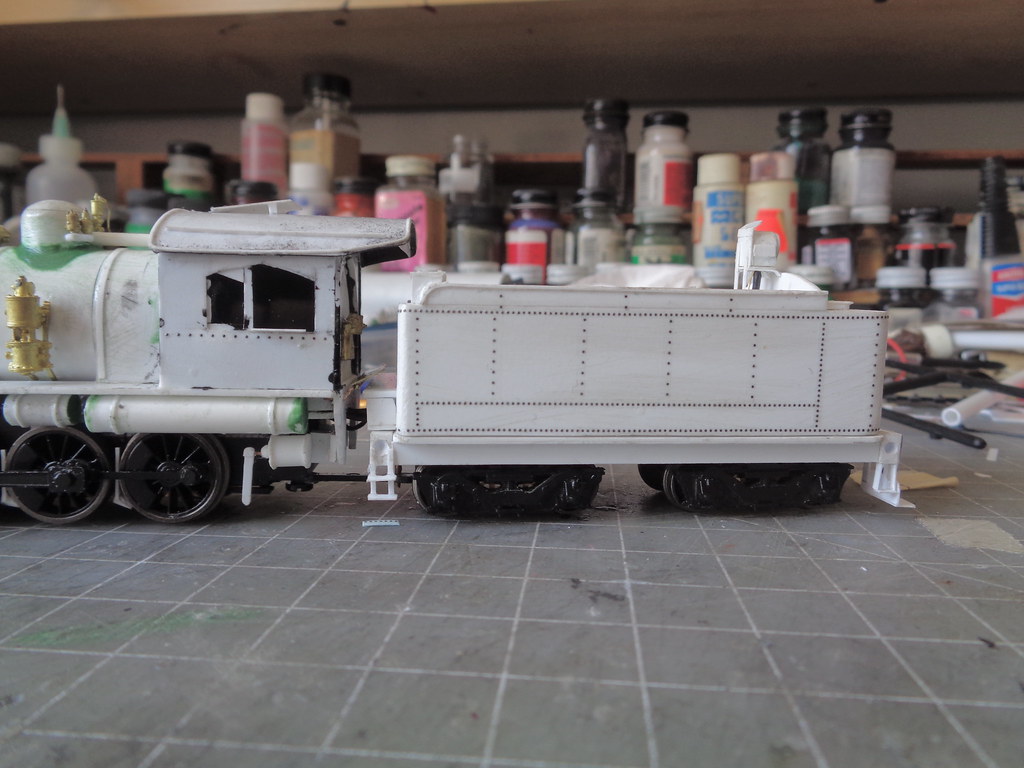
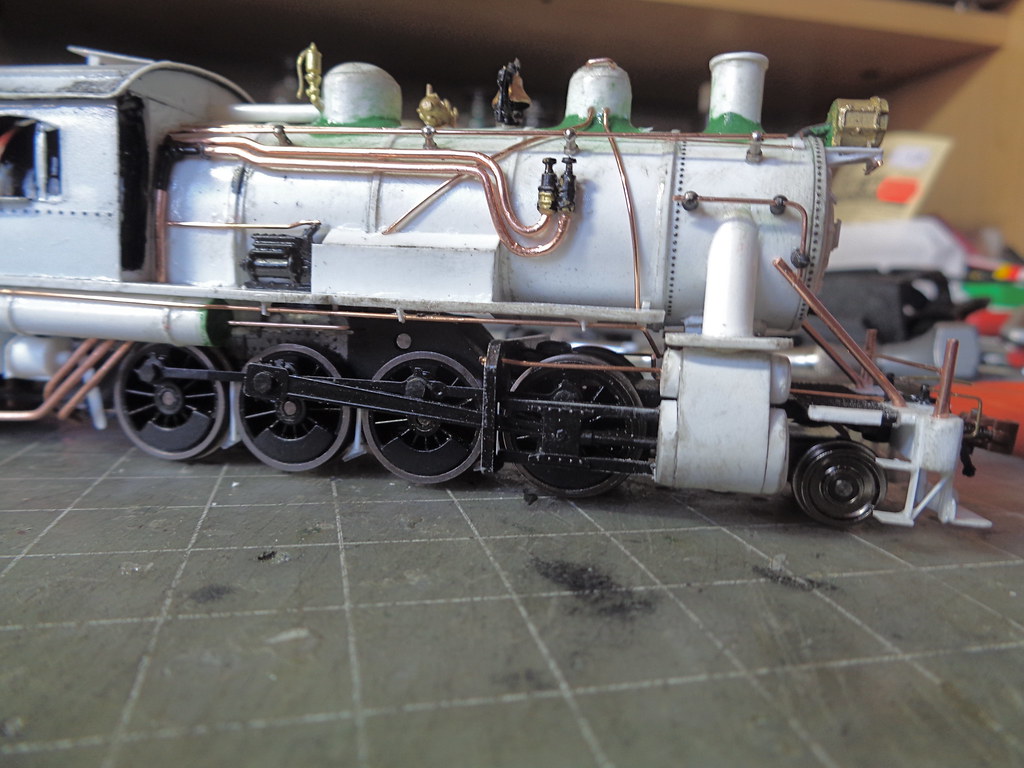
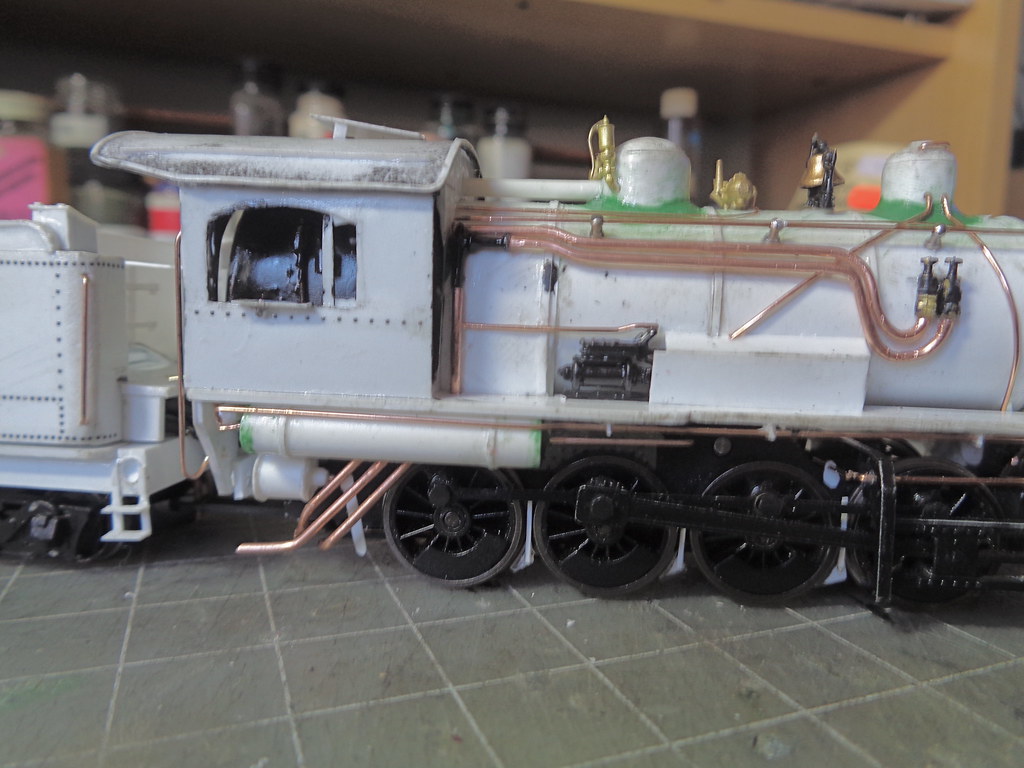
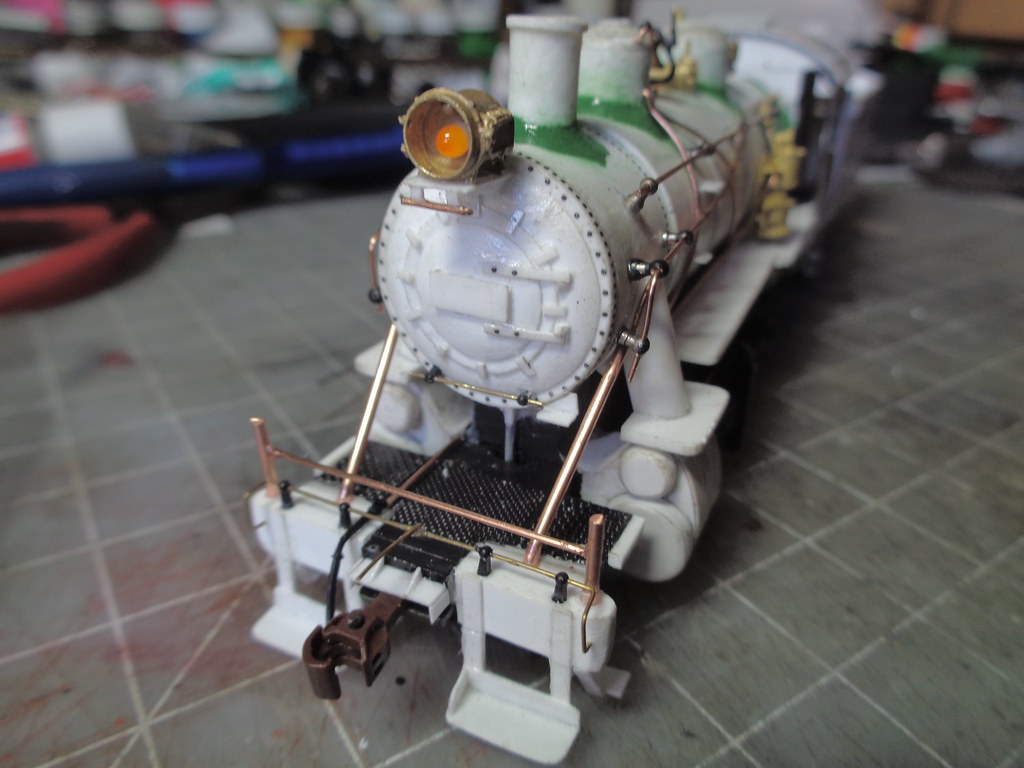
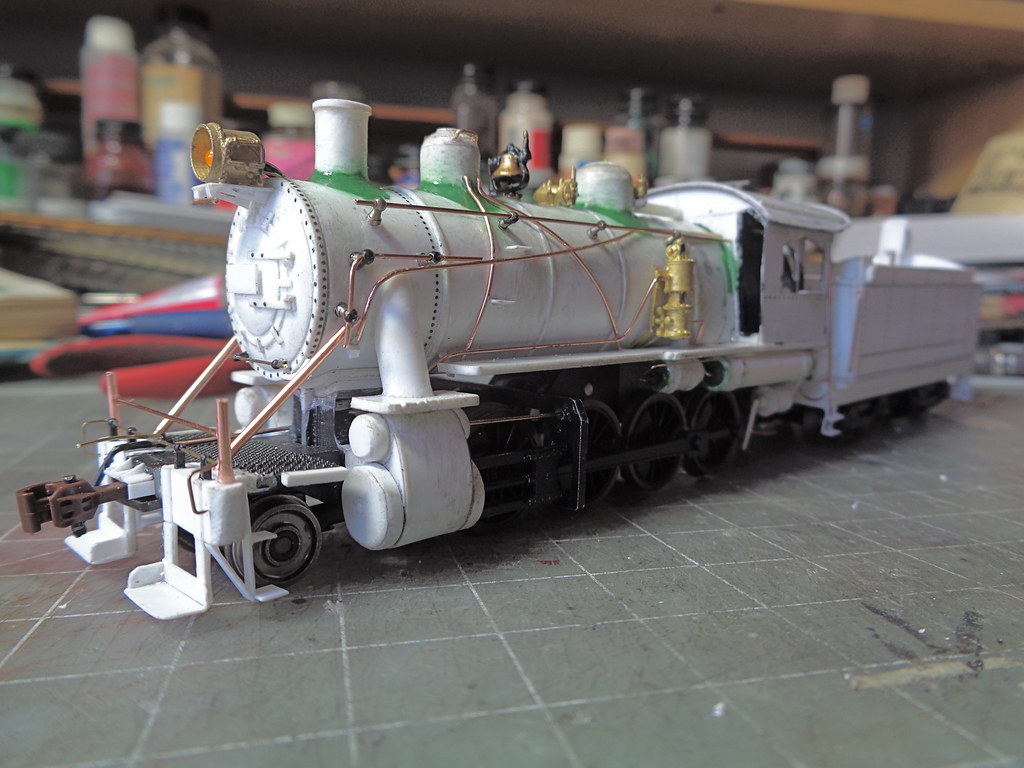
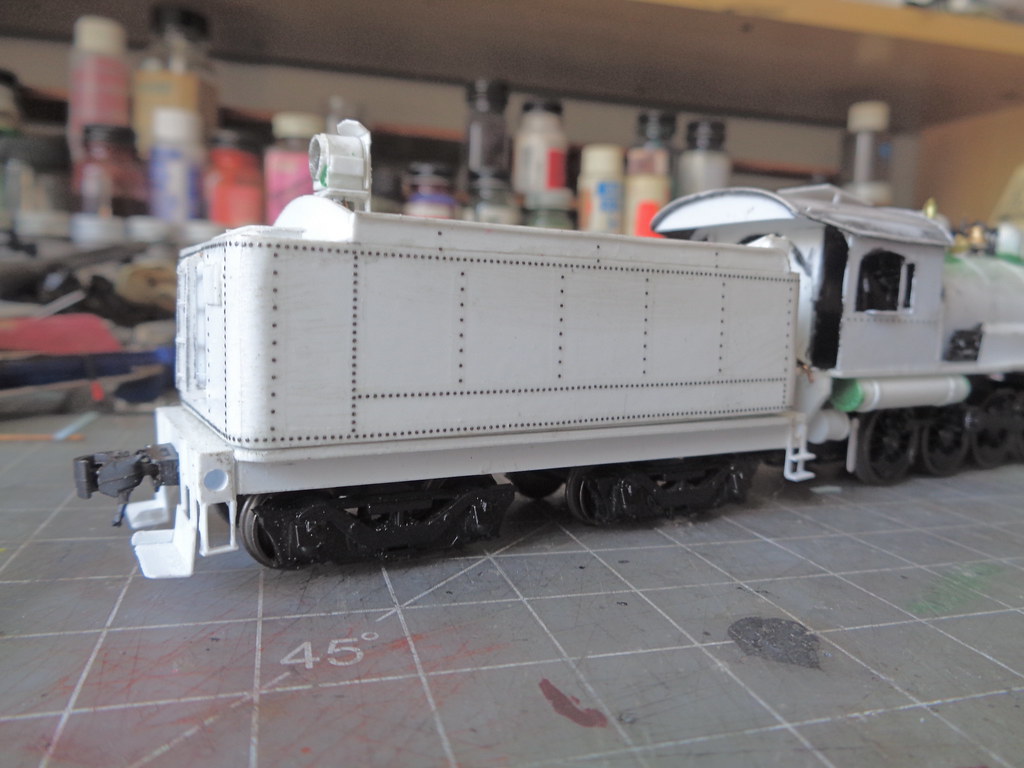
Next was rivet decals, mostly the smoke box and tender. The tender has somewhat of an odd pattern, but I saw it in a few images of I-7 tenders.


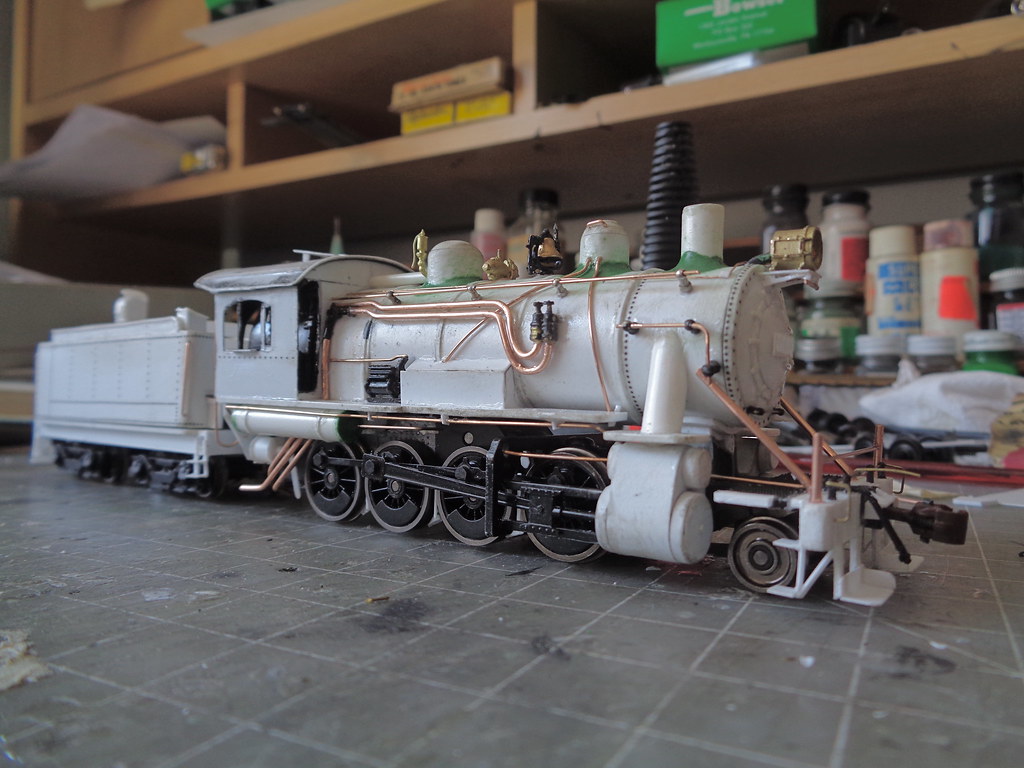
Final detailing took place over the last couple days but moved along rather quickly. Next will be paint and then delivery to the Reading. The bell ropes and cab doors will be done after some base coats of paint.


The administrator has disabled public write access.
The following user(s) said Thank You: tcalvin48

I-7 2-8-0 8 years 2 days ago #5267

  • Casey
  • Casey's Avatar
  • OFFLINE
  • Conductor
  • Posts: 209
  • Thank you received: 57
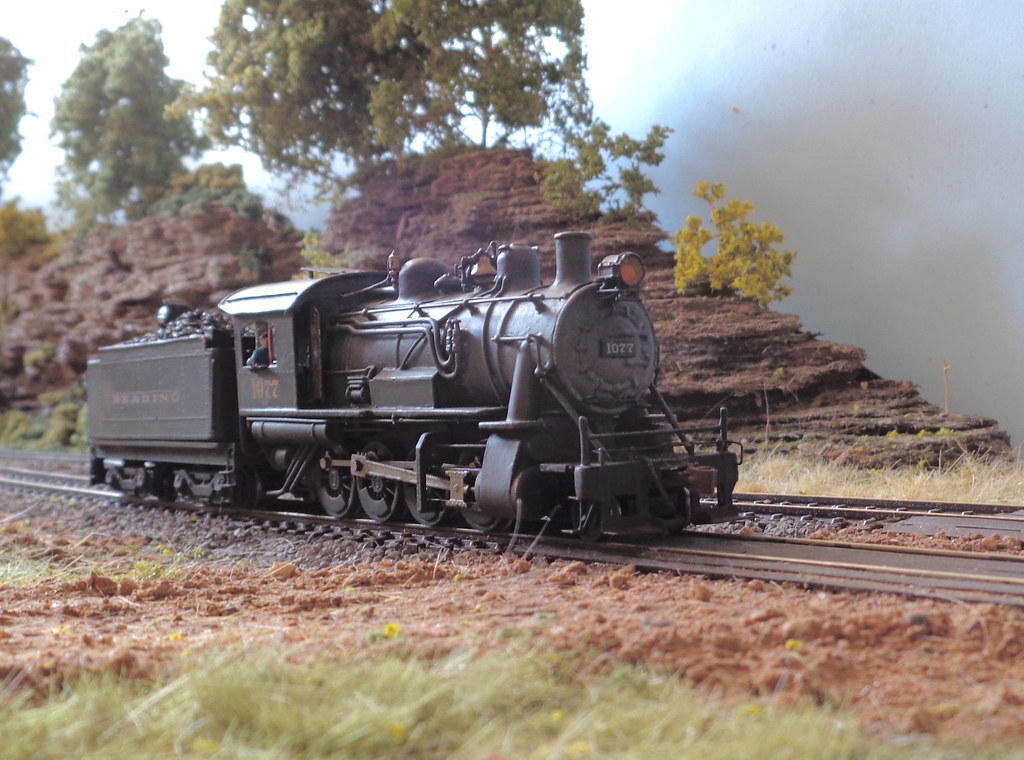
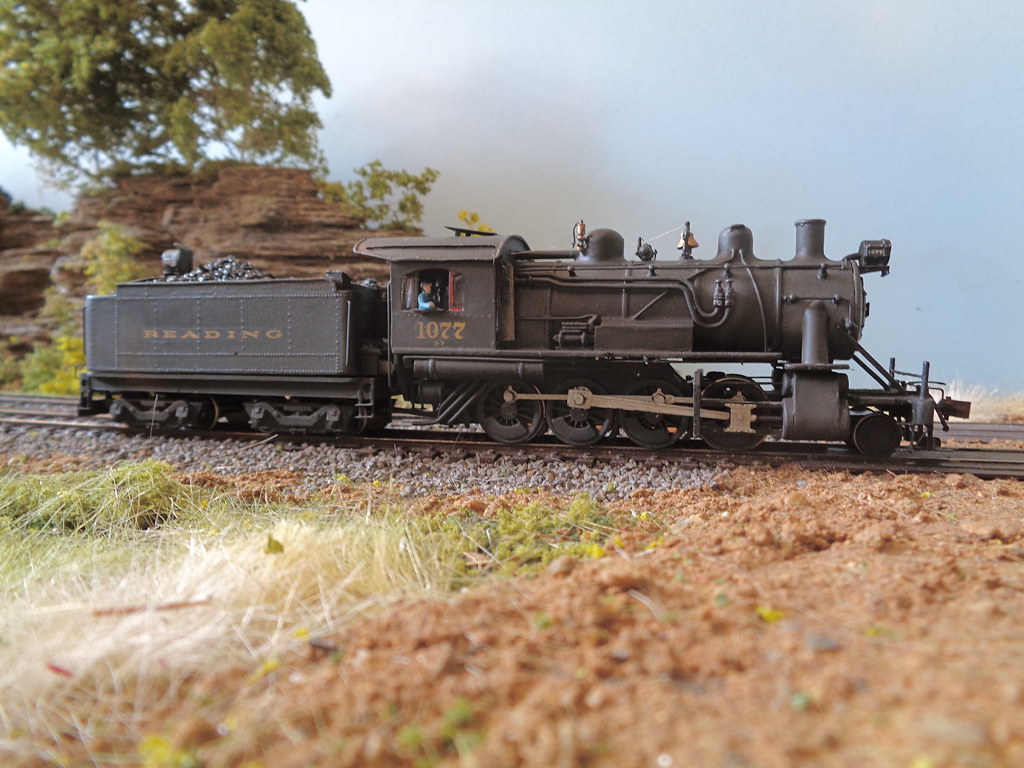
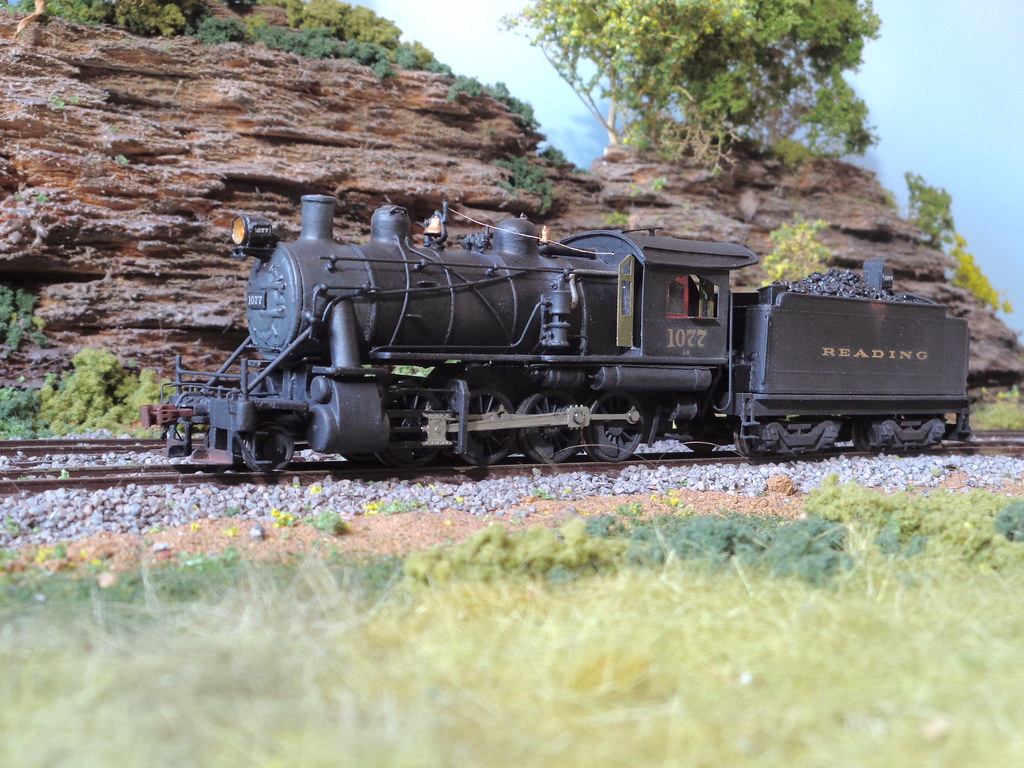
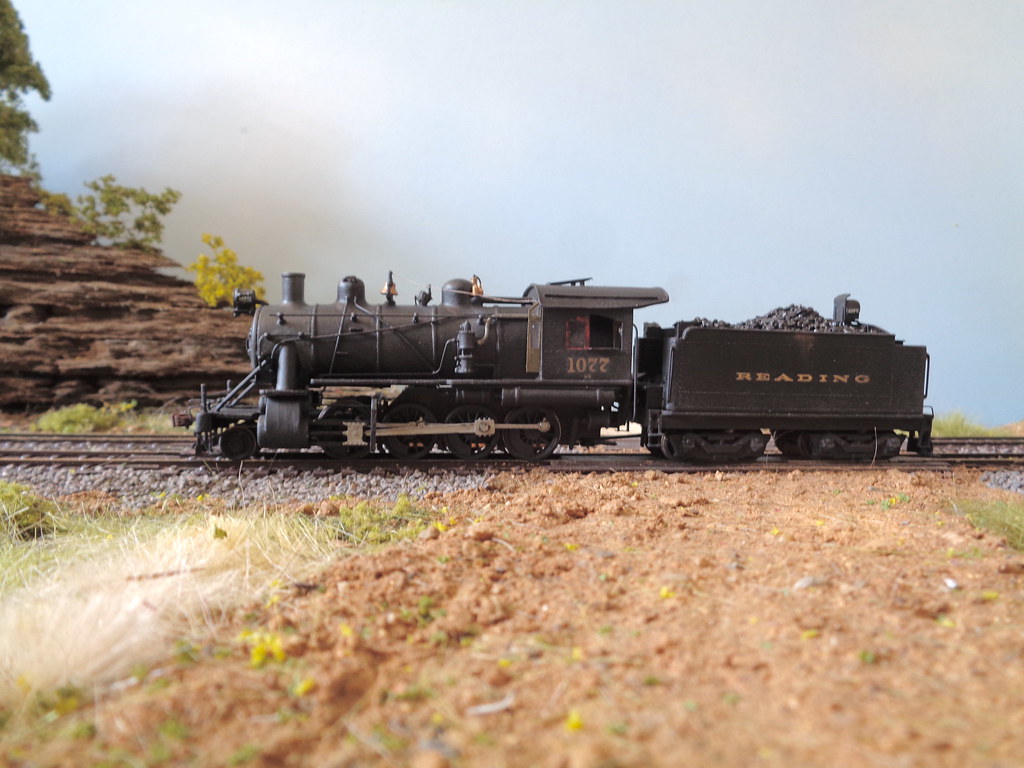
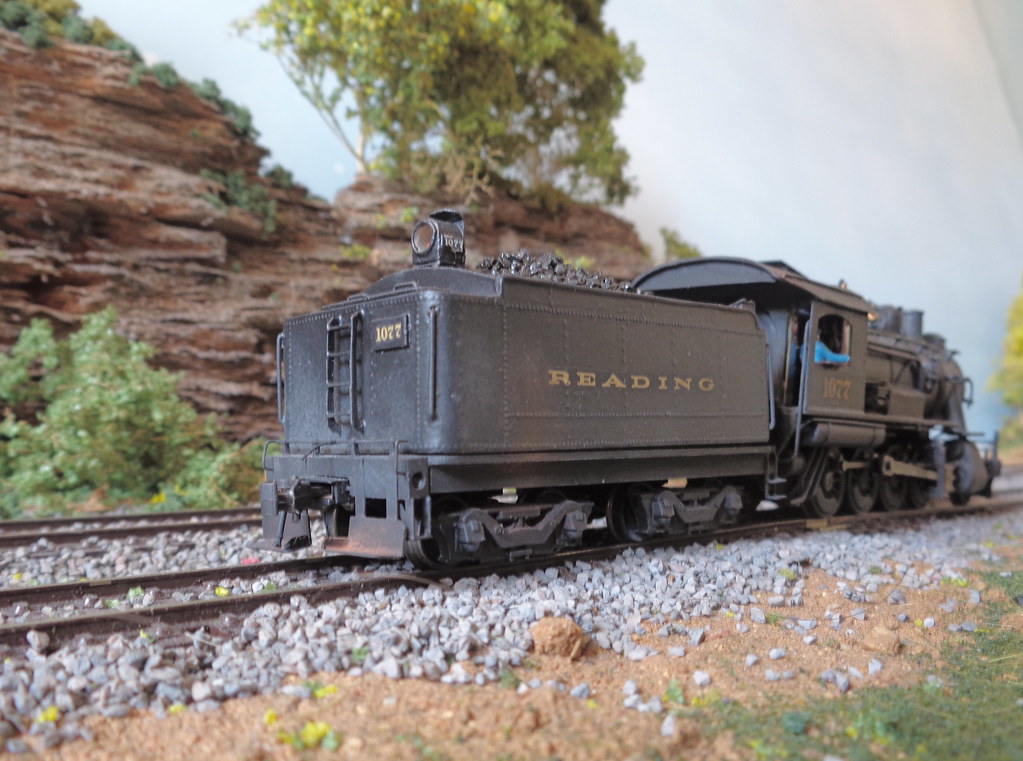
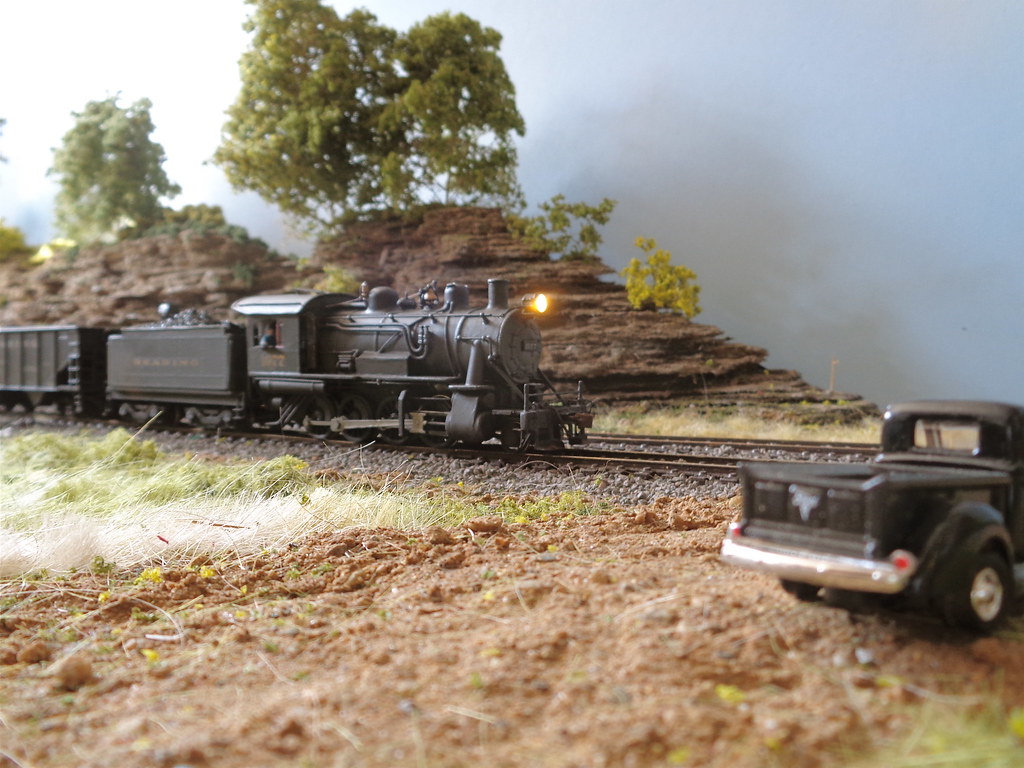
The I-7 is ready for service. It preforms well pulling 20 cars no problem. I haven't pushed it to slipping yet so I'm not sure it's full limits. Decals are champion, a show find.
I may take the rest of the day off, before starting the next thing, haha.


and a video.

Last Edit: 8 years 2 days ago by Casey.
The administrator has disabled public write access.
The following user(s) said Thank You: tcalvin48

I-7 2-8-0 8 years 1 day ago #5269

  • Turboboost910
  • Turboboost910's Avatar
  • OFFLINE
  • Conductor
  • Posts: 250
  • Thank you received: 17
your work motivates me to get going! I plan on getting back into my N scale T-1 scratch build when i return home next month!
The administrator has disabled public write access.

I-7 2-8-0 7 years 11 months ago #5271

  • Casey
  • Casey's Avatar
  • OFFLINE
  • Conductor
  • Posts: 209
  • Thank you received: 57
I'll be looking forward to seeing it!
The administrator has disabled public write access.
Time to create page: 0.143 seconds

Today's Image

Did You Know?

March 8, 1900
Construction of the new P&R locomotive shops at Reading, PA began.

Downloads

Operations Information

Click Here!A variety of Reading Company operations related documents, etc. that may be of use in your modeling efforts.

Operations Paperwork

Click Here!A variety of Reading Company operations paperwork, such as train orders, clearance forms, etc. that will help you operate your Reading layout in a prototypical manner.

Timetables, Rulebooks, Etc.

Click Here!Public Timetables, Employe Timetables, and Rulebooks that provide much useful operational information.

Modeling Goodies

Click Here!Signs, billboards, and other FREE goodies for your use.  We ask only that you help spread the word about The Reading Modeler!

Rolling Stock Reference

Click Here!Downloadable reference documents on the various classes of Reading Company Freight and Passenger rolling stock.
Thanks for Your Support!

If you find the content on The Reading Modeler valuable, won't you please consider supporting our efforts? Your donation will help to offset operating costs and acquire new material to share on the site. Thank you!

Amount: 

Advertisements