FacebookTwitterDiggGoogle BookmarksRedditLinkedinRSS Feed
Welcome, Guest
Username: Password: Remember me
This section of The Interchange provides a space where members of the Reading Modeler community can showcase their Reading modeling efforts. If you've got a project that you'd like to share, start a new topic and "show and tell" the group how you did it!

TOPIC: RDG C424

RDG C424 11 years 2 months ago #292

  • 2771-chris
  • 2771-chris's Avatar
  • OFFLINE
  • Road Foreman of Engines
  • Posts: 634
  • Thank you received: 94
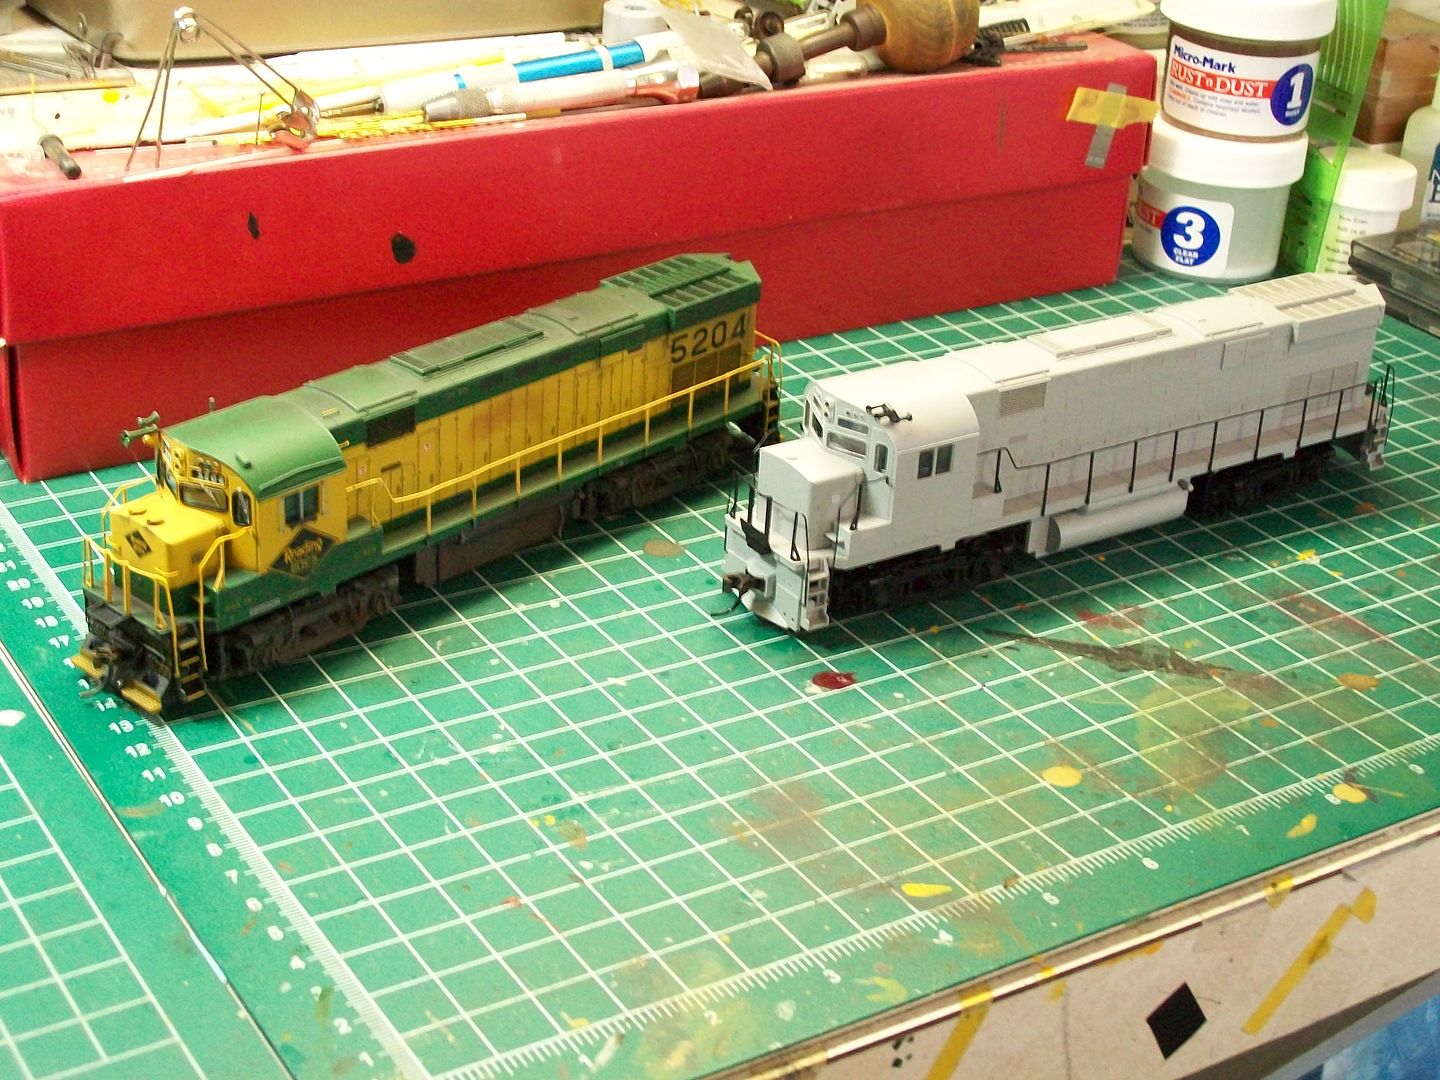
I had one undec.unit sitting in my inventory so I thought I'd share my process from start to finish.As we know RDG had ten of these units (5201/5210.When completed this will be the 6th C424 added to my roster.Two units are factory paints,the rest I did.So,let's get started.Warning...When completed this unit may not be 100% prototipical,so please don't hold that against me.
Alright let's match this undec.with the finished 5204.


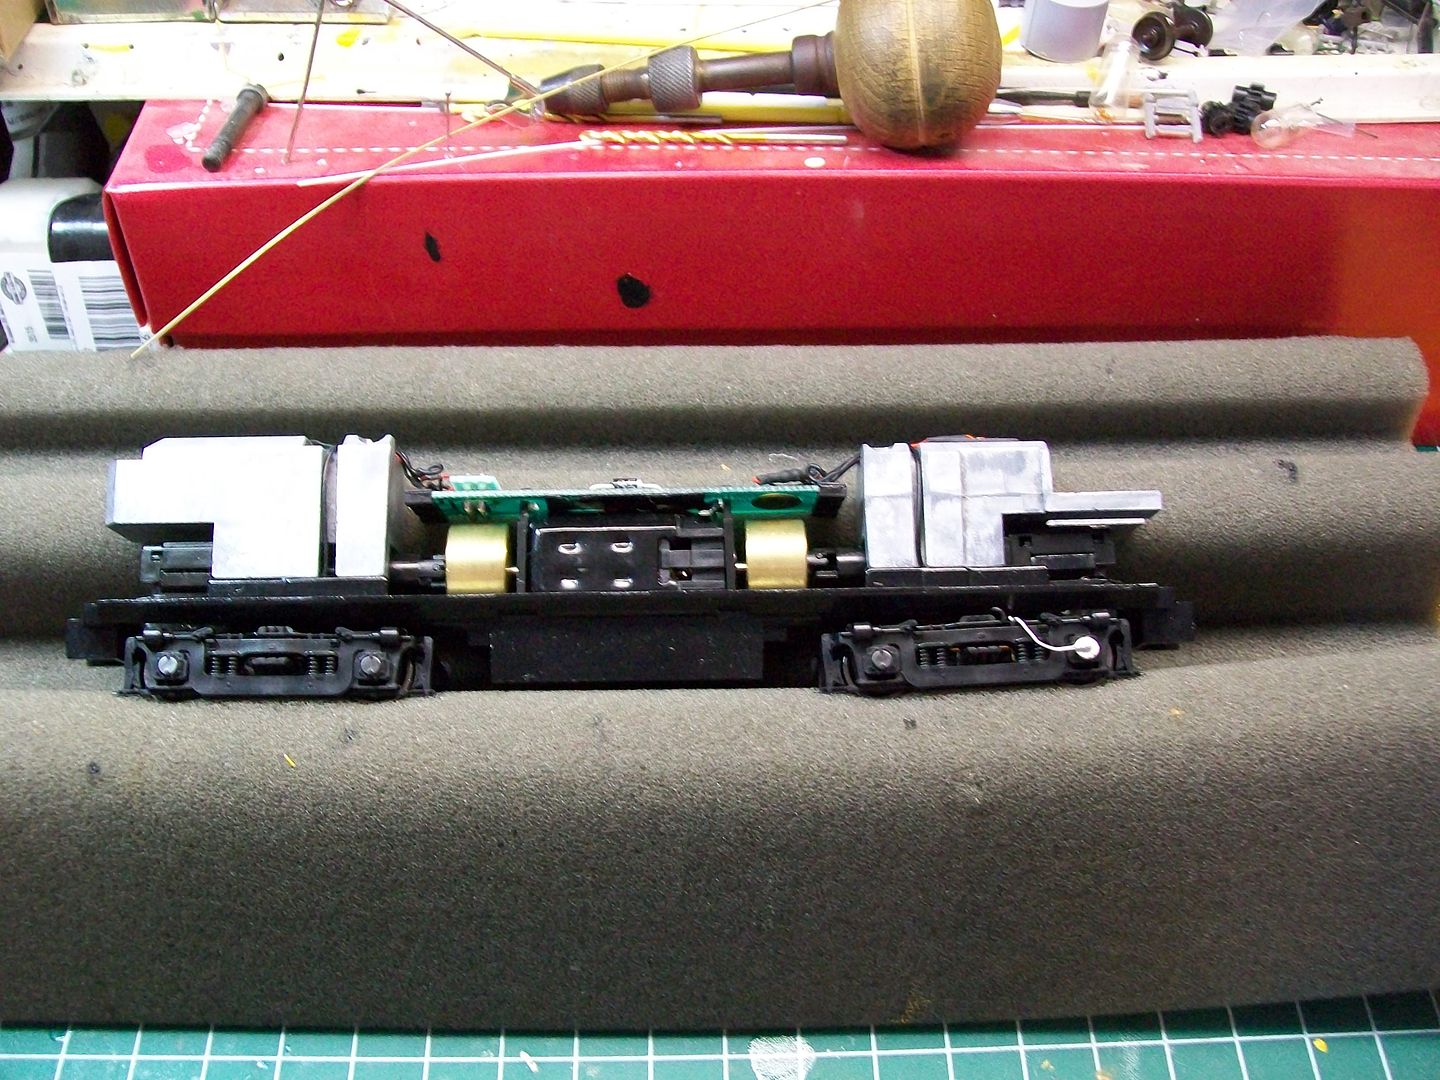
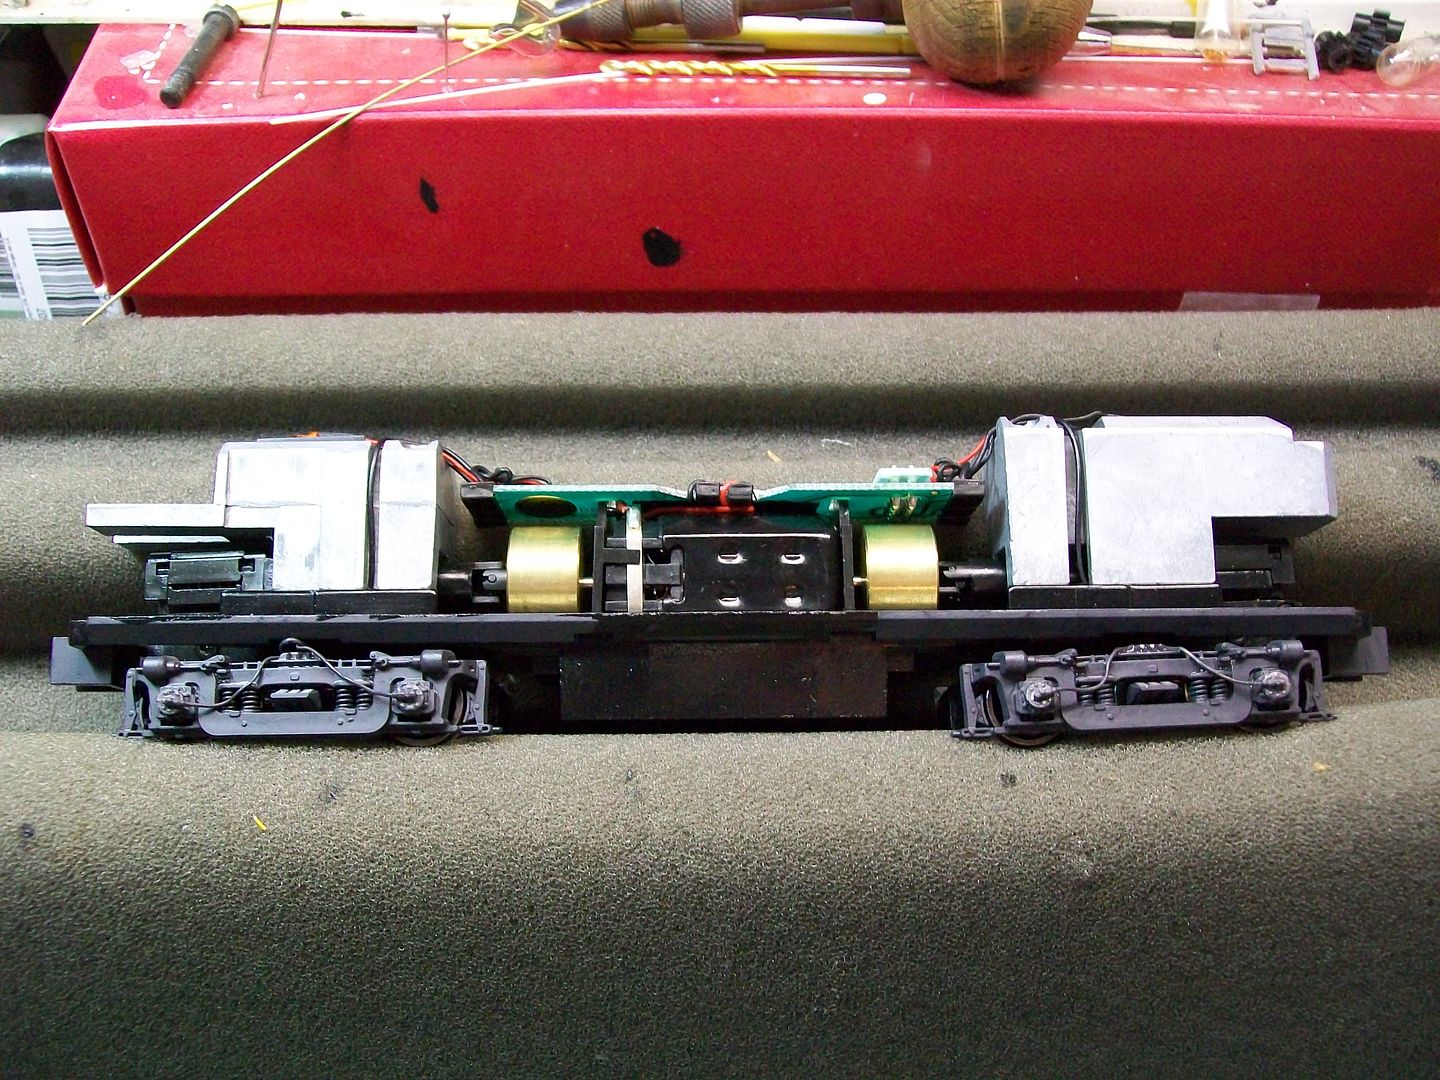
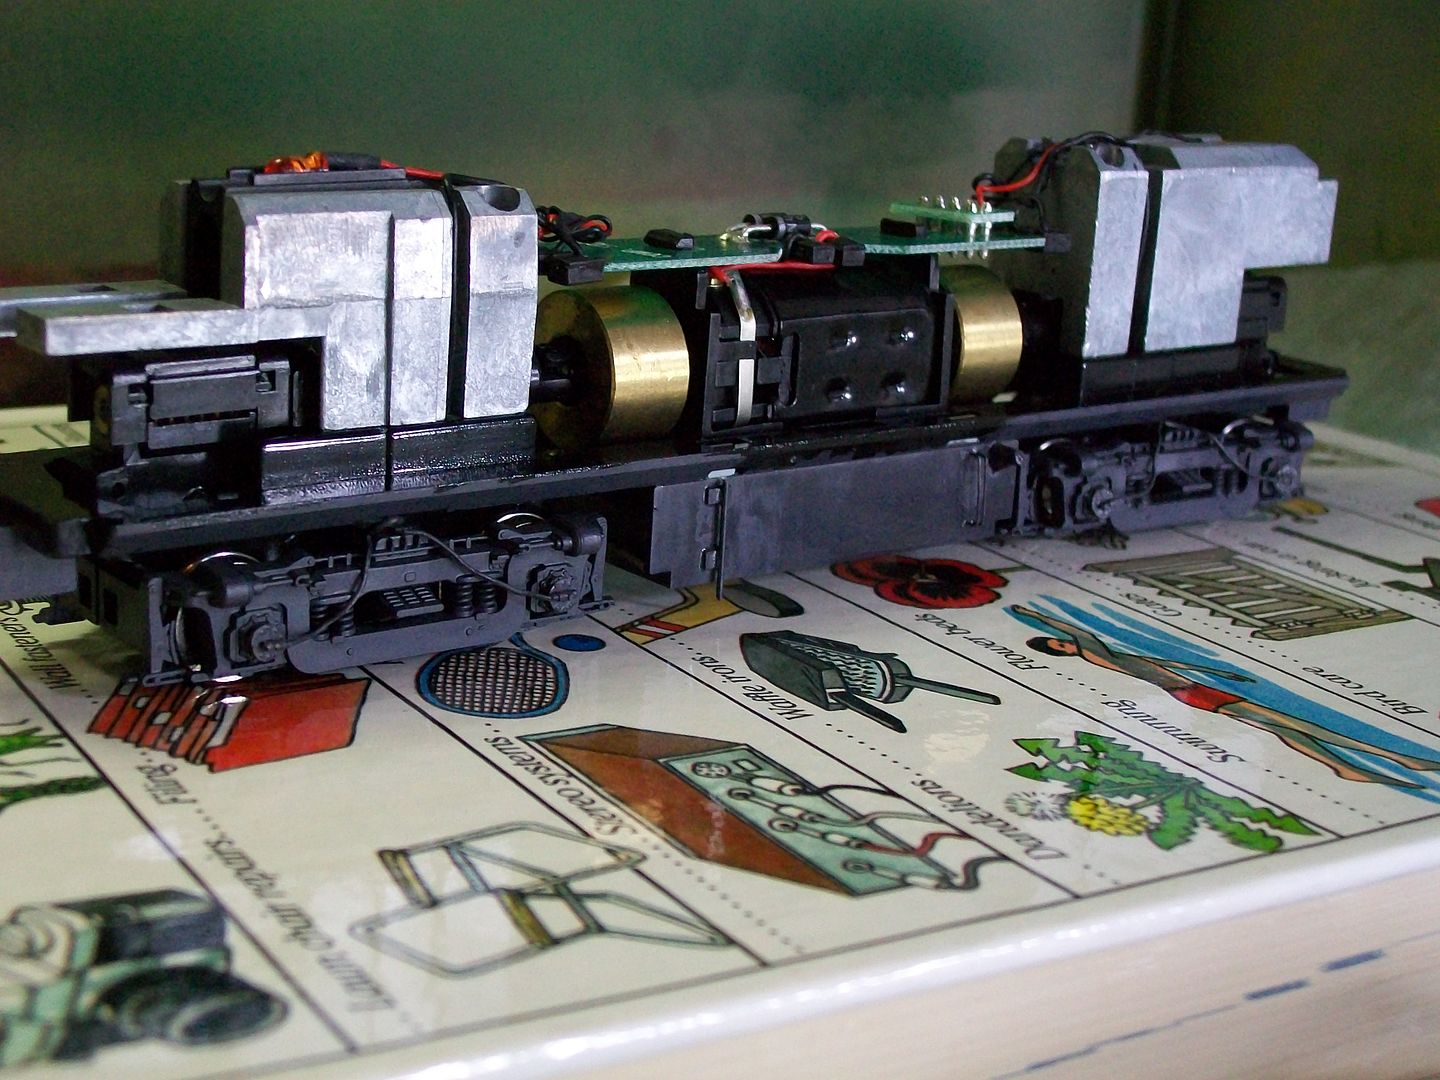
I started by disassembling the model.Take your time when doing this so nothing gets lost or damaged.


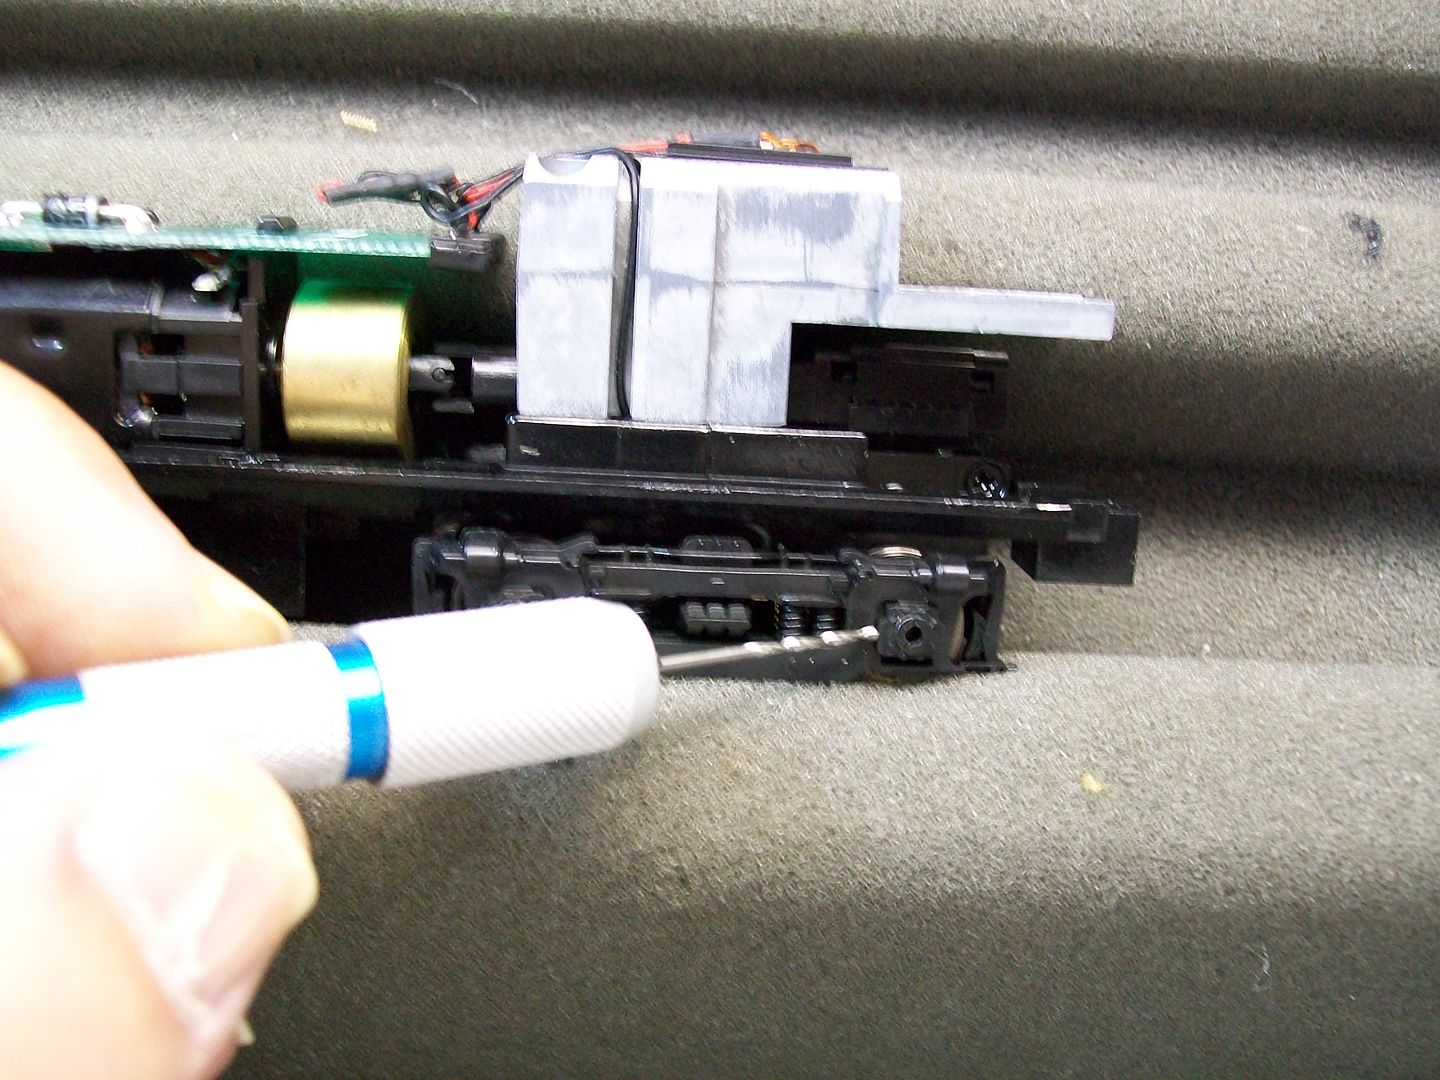
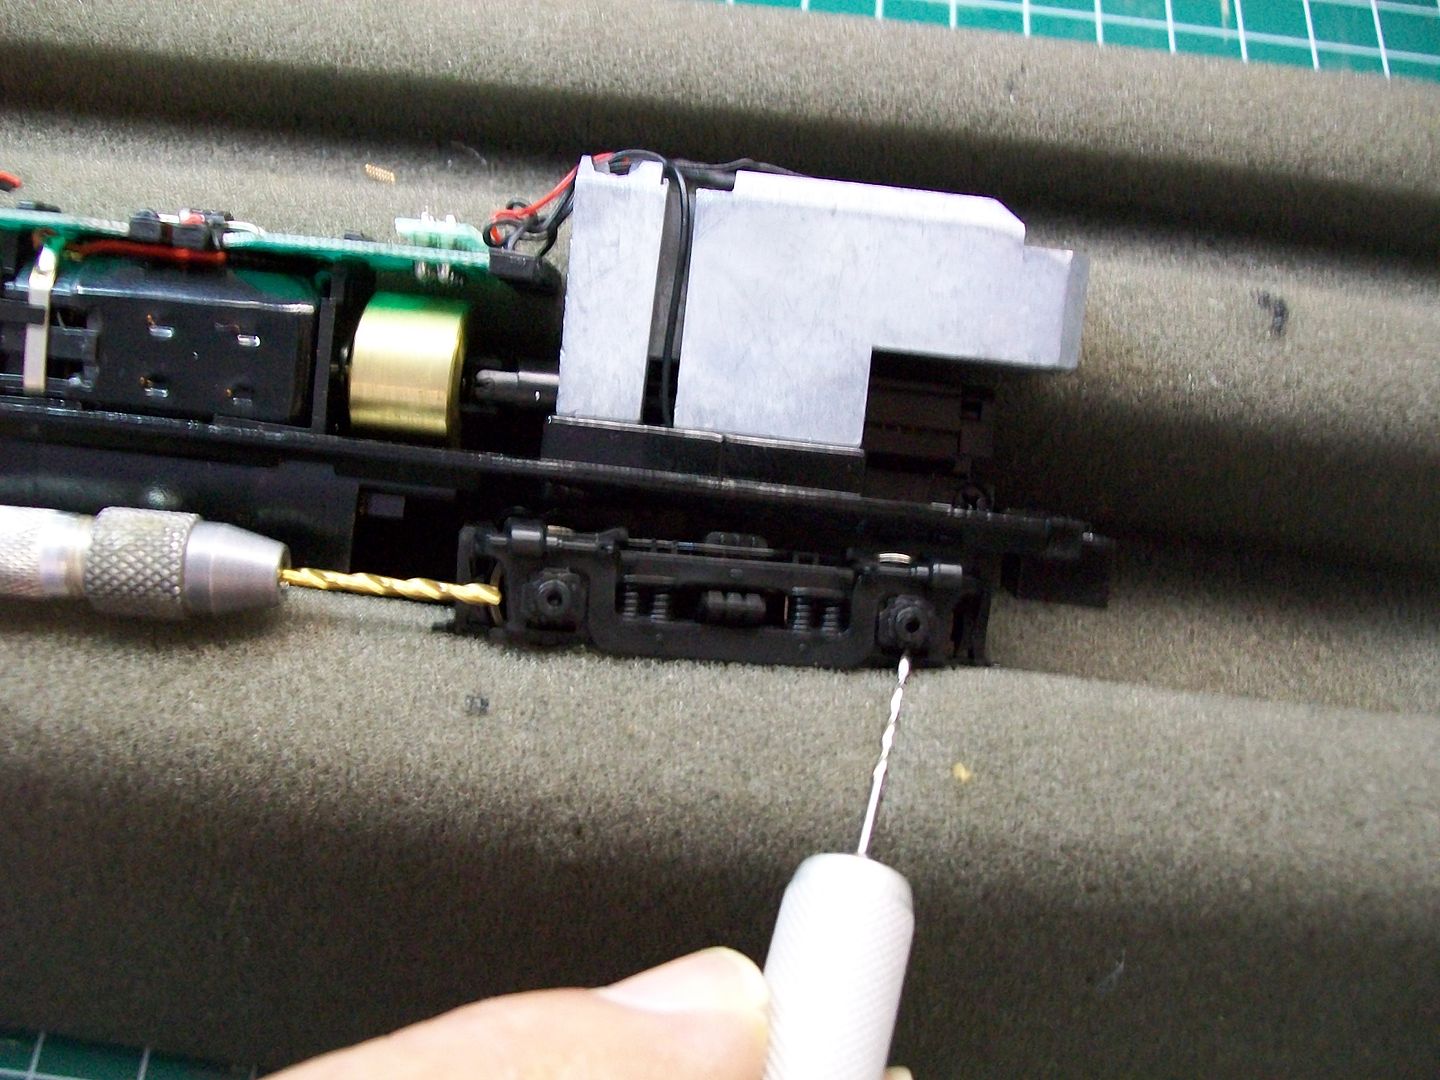
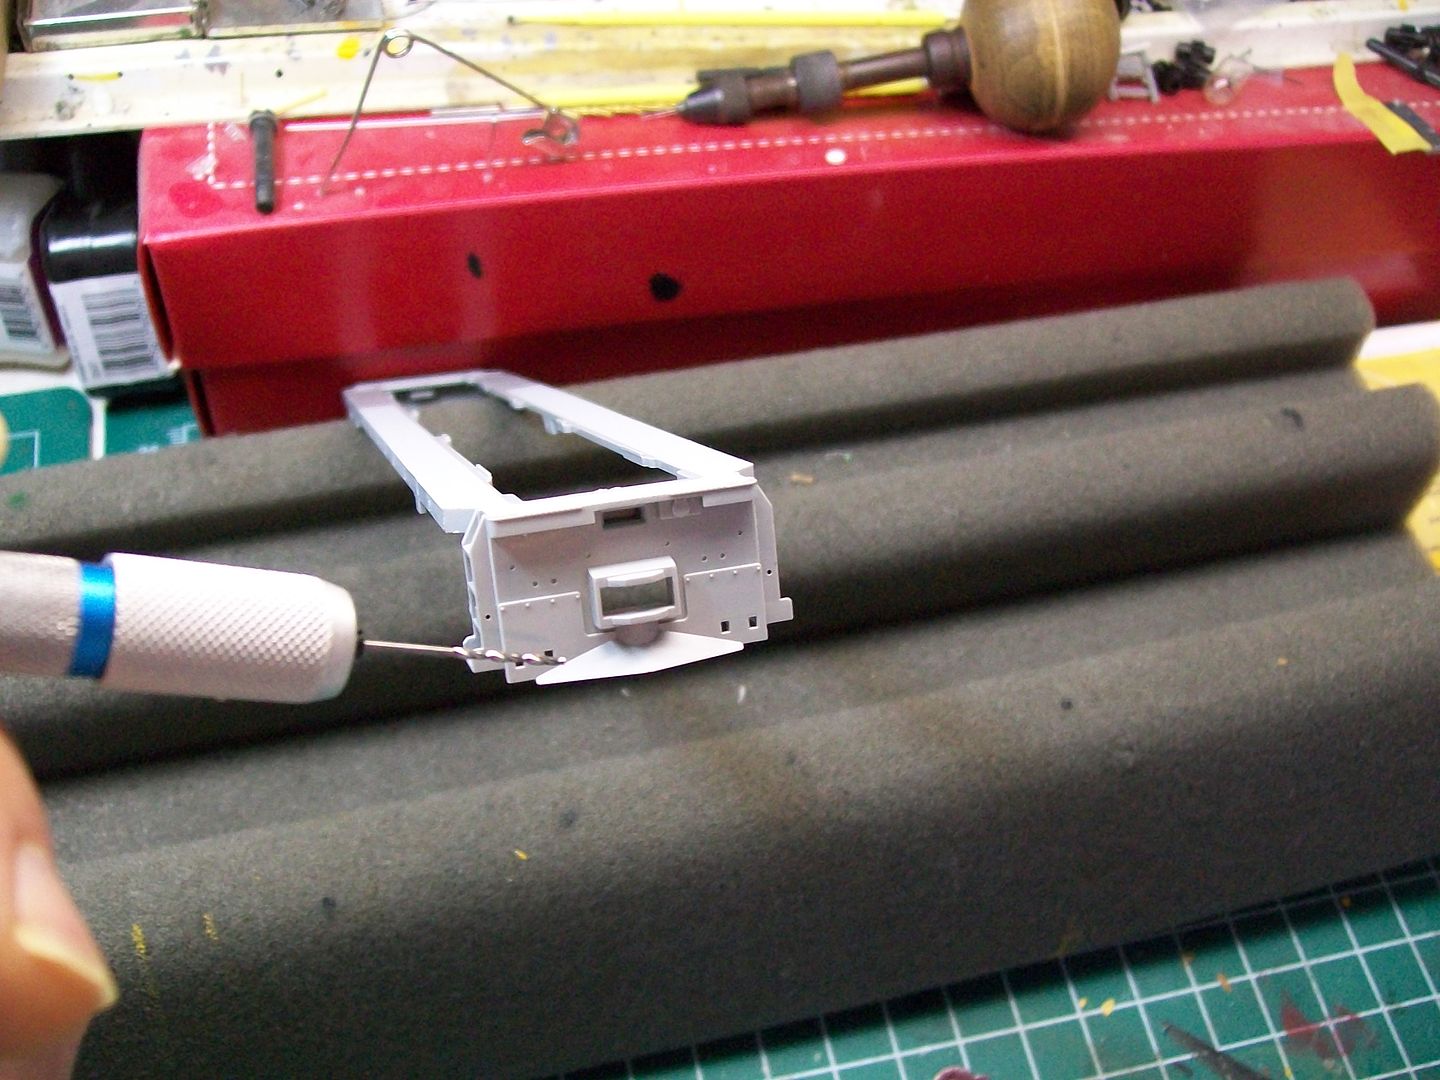
I started from the ground up.First I used a pin and eyeballing the center of the journals I made my score for the drill.I drilled out the pilot hole and then made it bigger with a larger bit.I'm sorry,I'm not sure of the number size of the bits.On the engineer's side I drilled out the front truck journal for the speed recorder,all truck journals on the fireman's side are drilled for the wheel slip recorders.


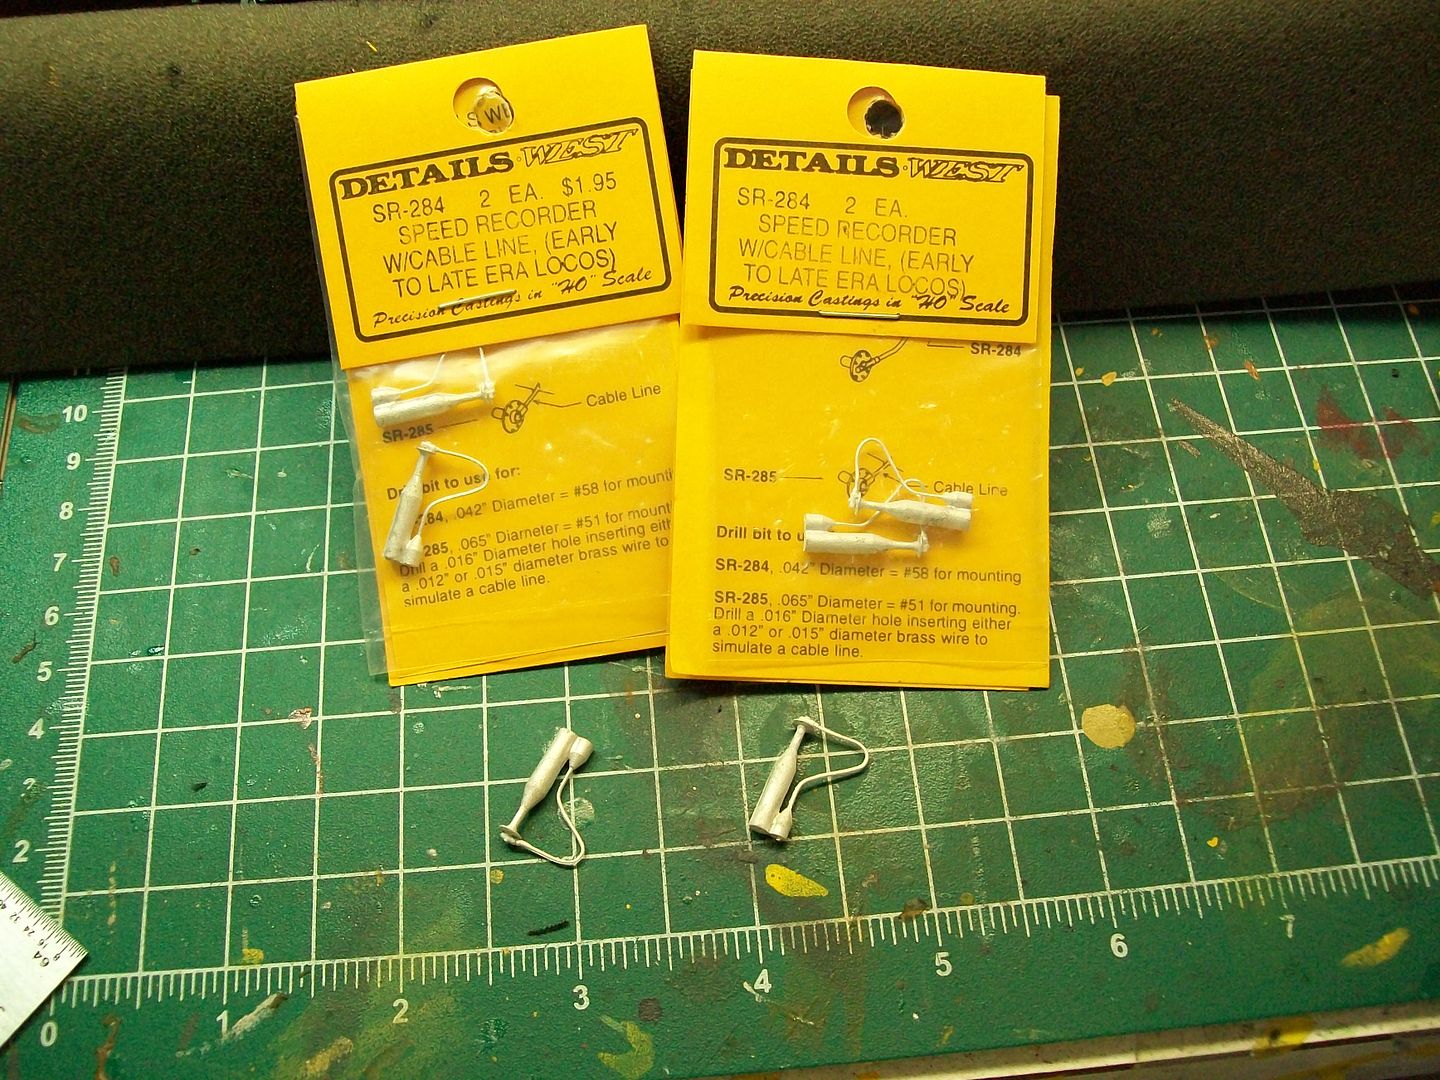
I used Details West part #sr 284.

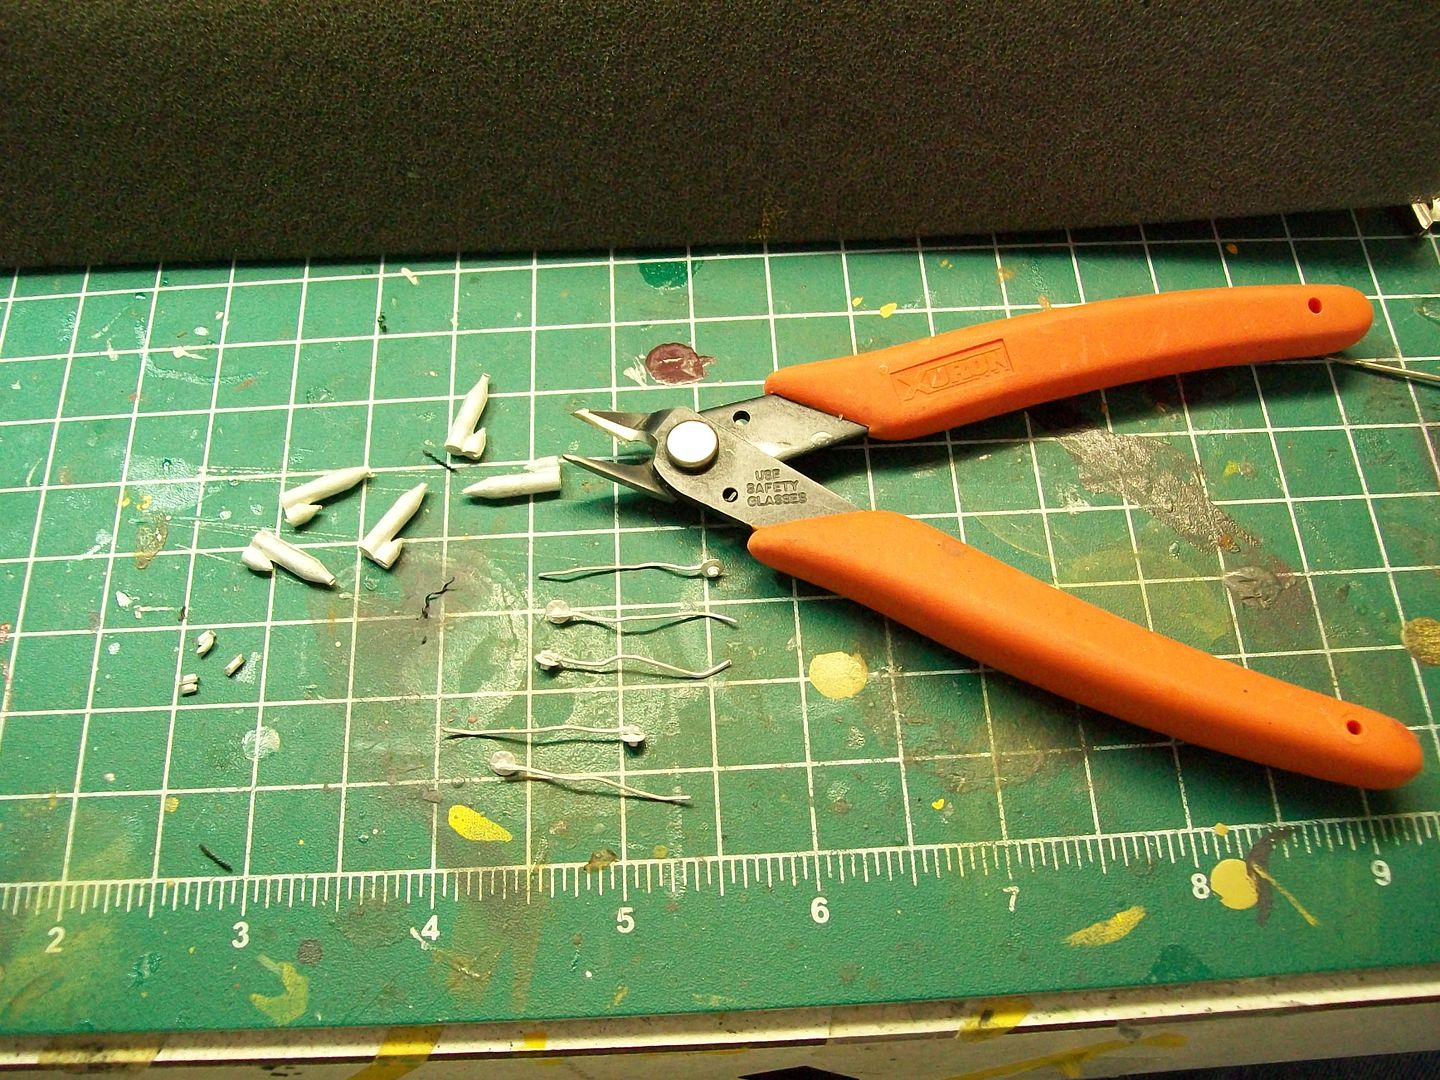
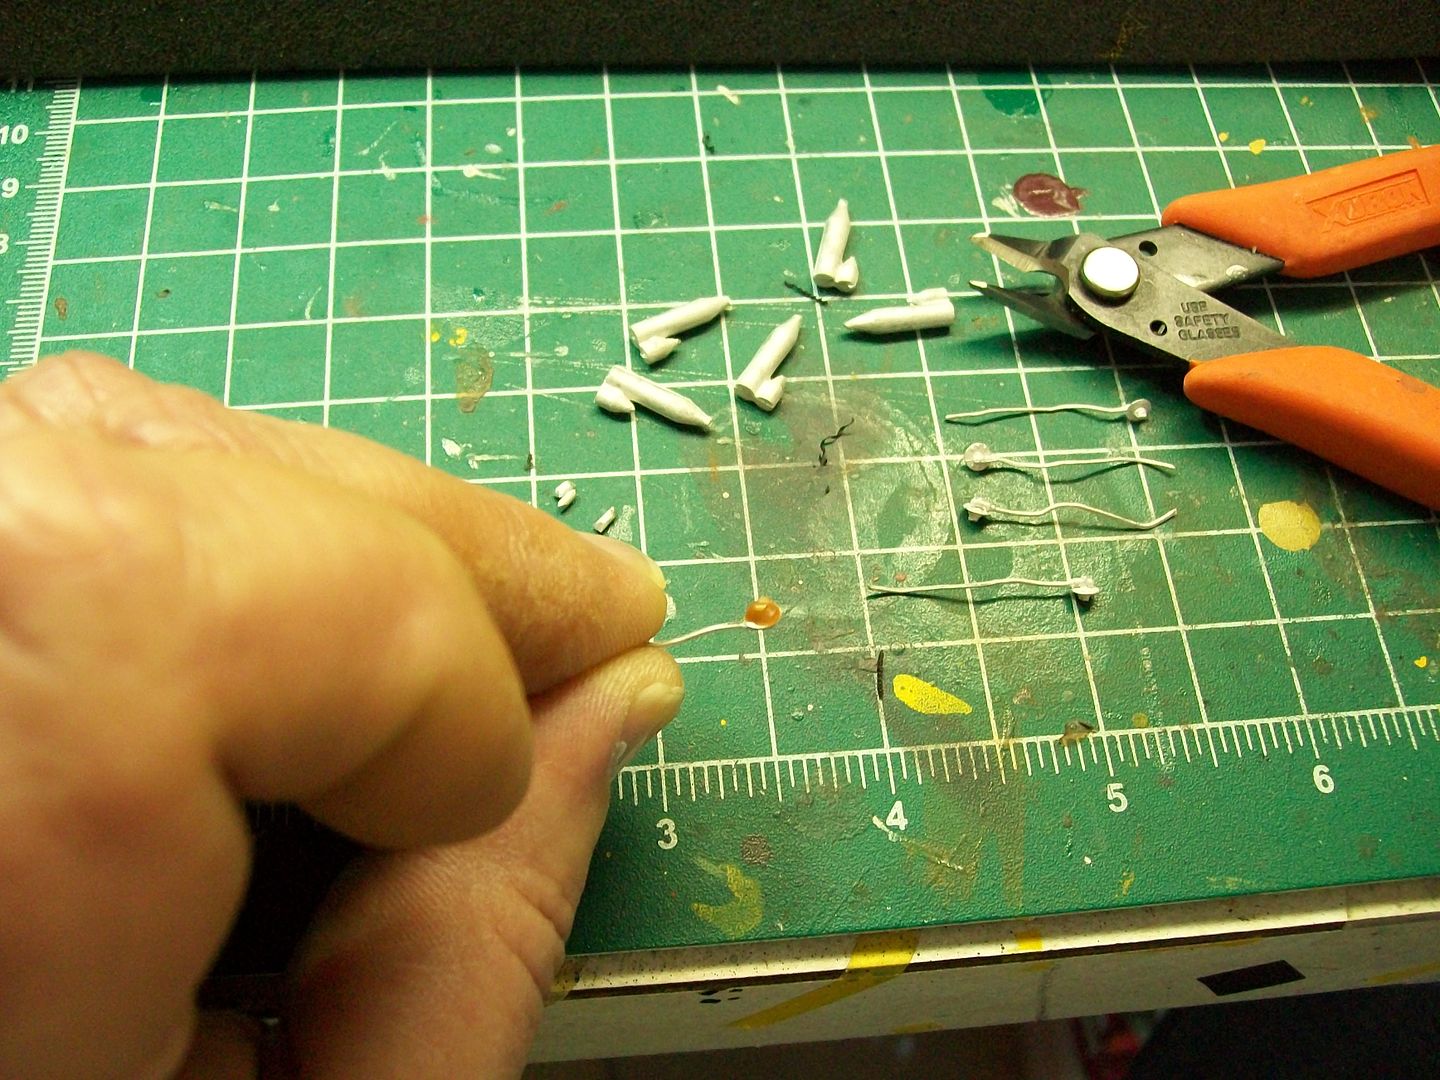
I removed them from their casting trees and straitened the cables.I find it easier to mount them when the cables are strait.


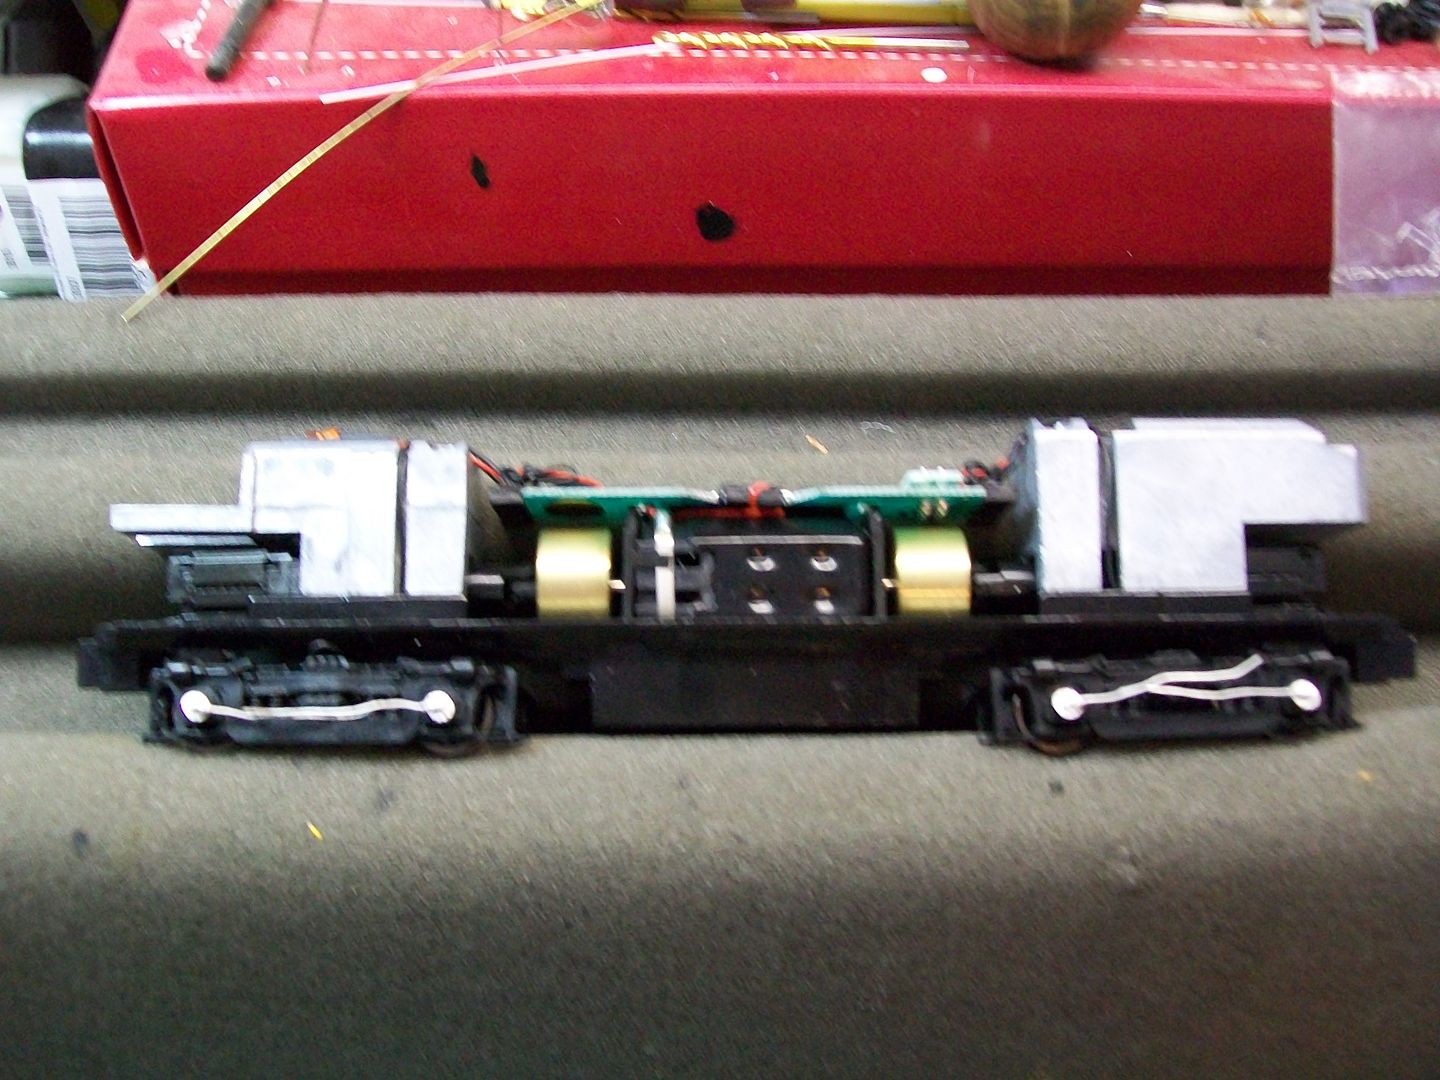
I mount them to the trucks using Wather's Goo.


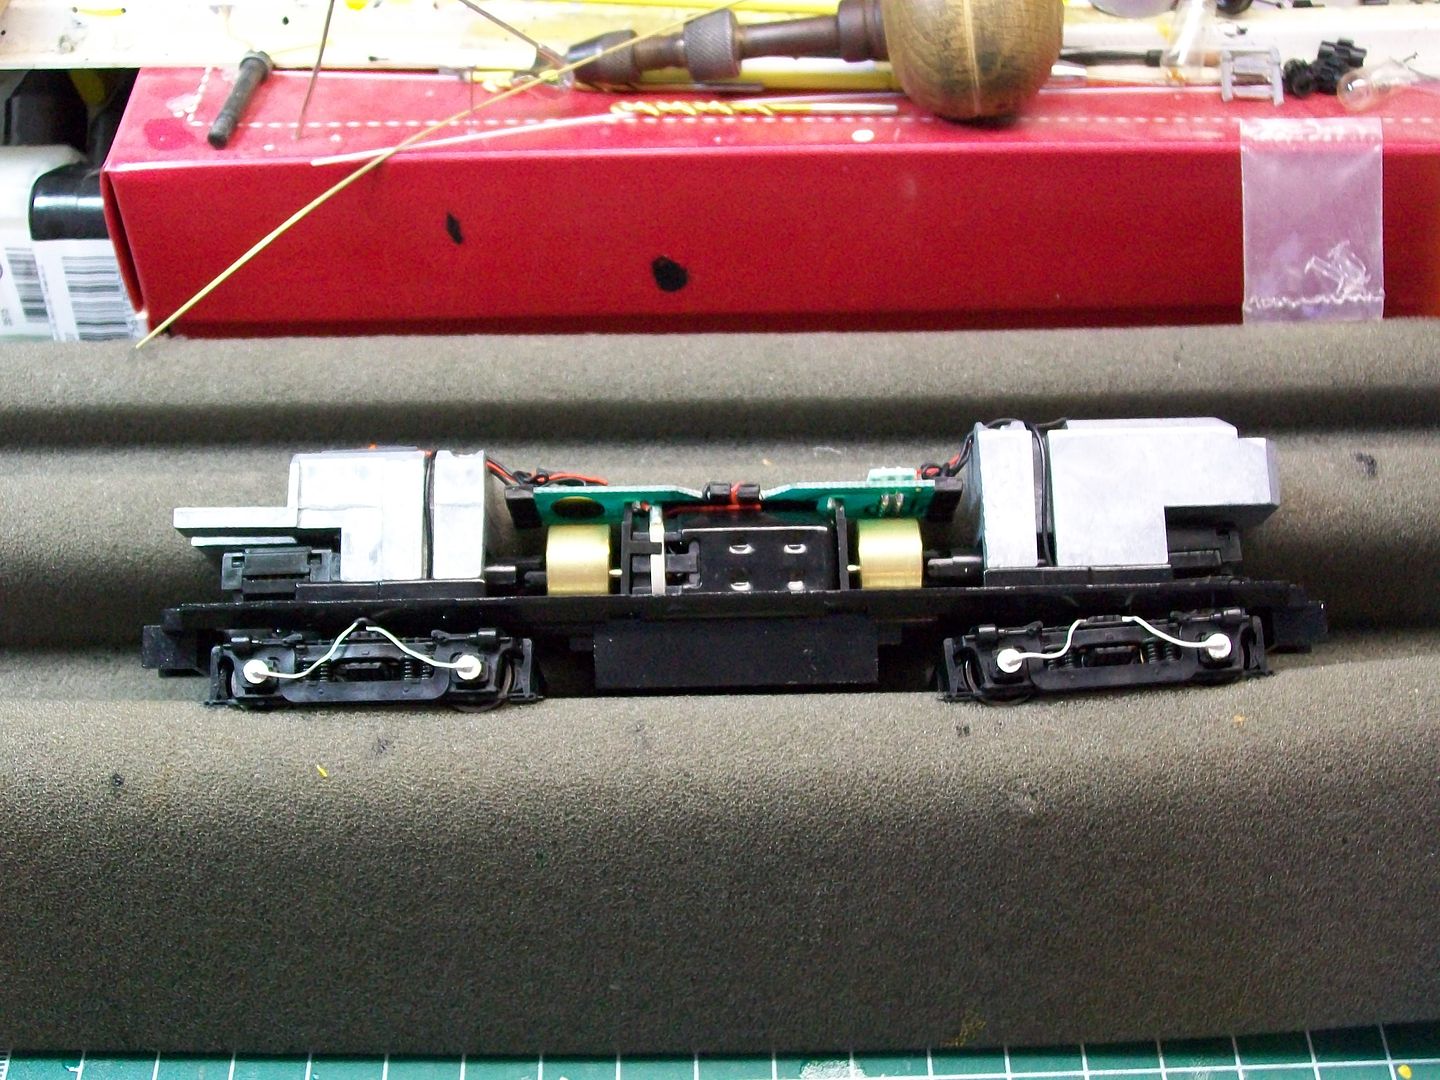
After the parts have cured and are firmly in place I hand bend them to the desired position and trim off the excess cable.


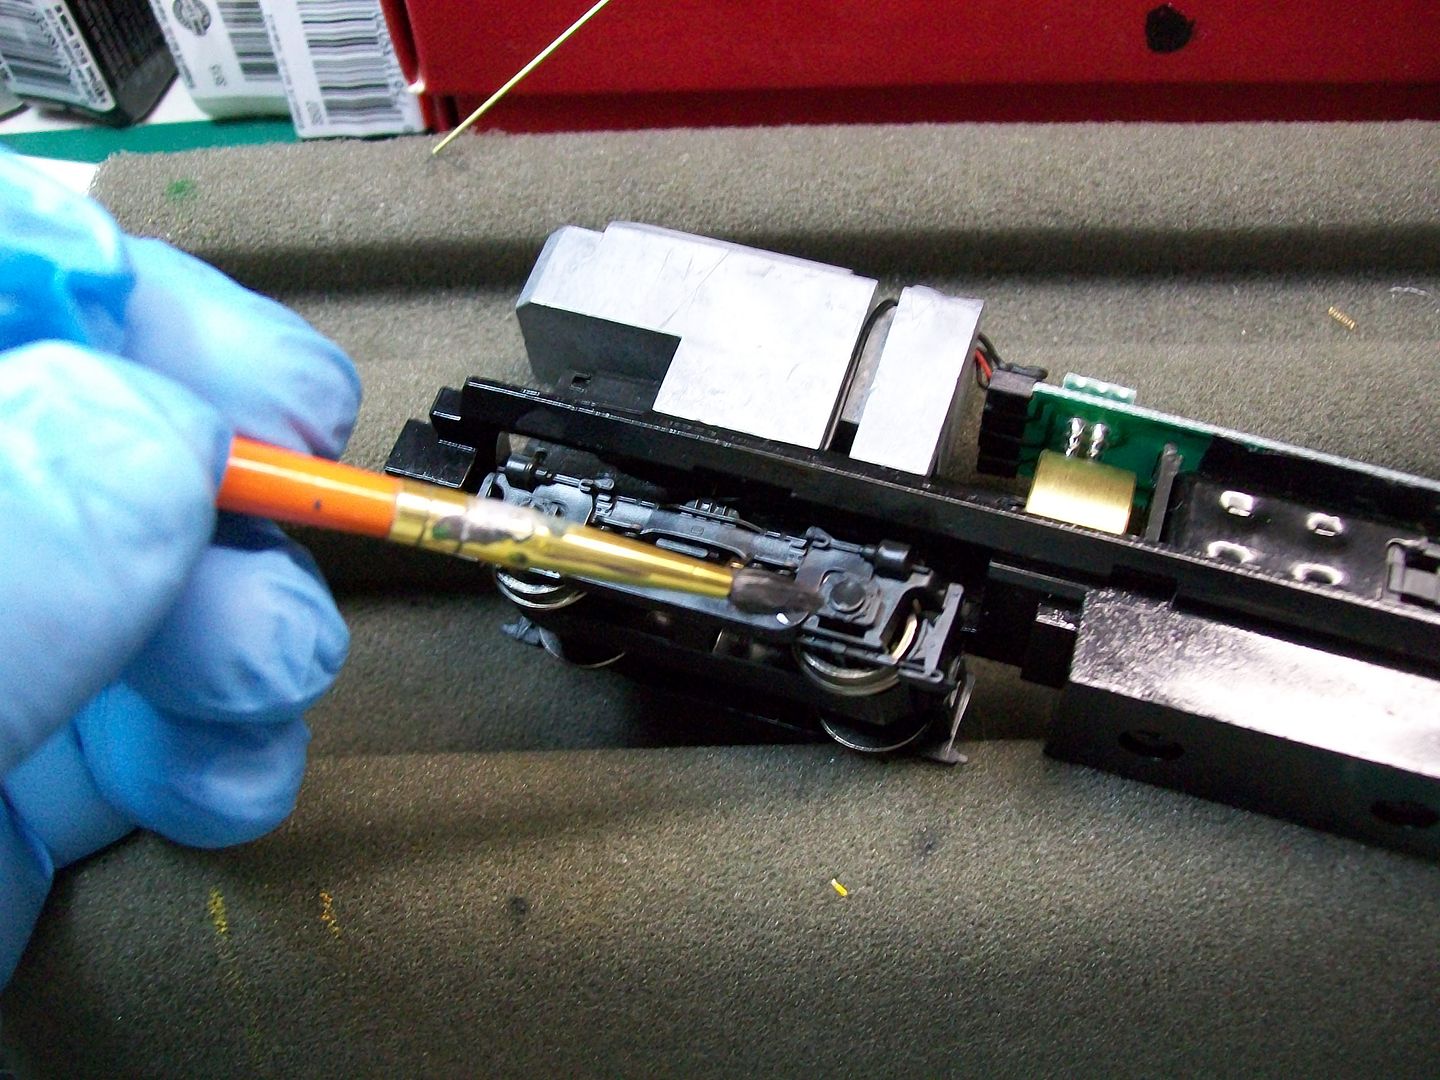
Next,I hand painted the trucks.I use Floquil weathered black or grimy black.On this unit I used the weathered black.


Next,I'll deal with the fuel tank.
The administrator has disabled public write access.

RDG C424 11 years 2 months ago #293

  • JoannaBill
  • JoannaBill's Avatar
  • OFFLINE
  • Road Foreman of Engines
  • Posts: 422
  • Thank you received: 63
OK Chris, thanks for taking it slowly. If only I had time to add my C-424 to the project list, but at least now I can wait until you're finished.
The administrator has disabled public write access.

RDG C424 11 years 2 months ago #294

  • 2771-chris
  • 2771-chris's Avatar
  • OFFLINE
  • Road Foreman of Engines
  • Posts: 634
  • Thank you received: 94
Ok,I see I duplicated one of the pictures...sorry :oops:
Here's the pic that should be there.


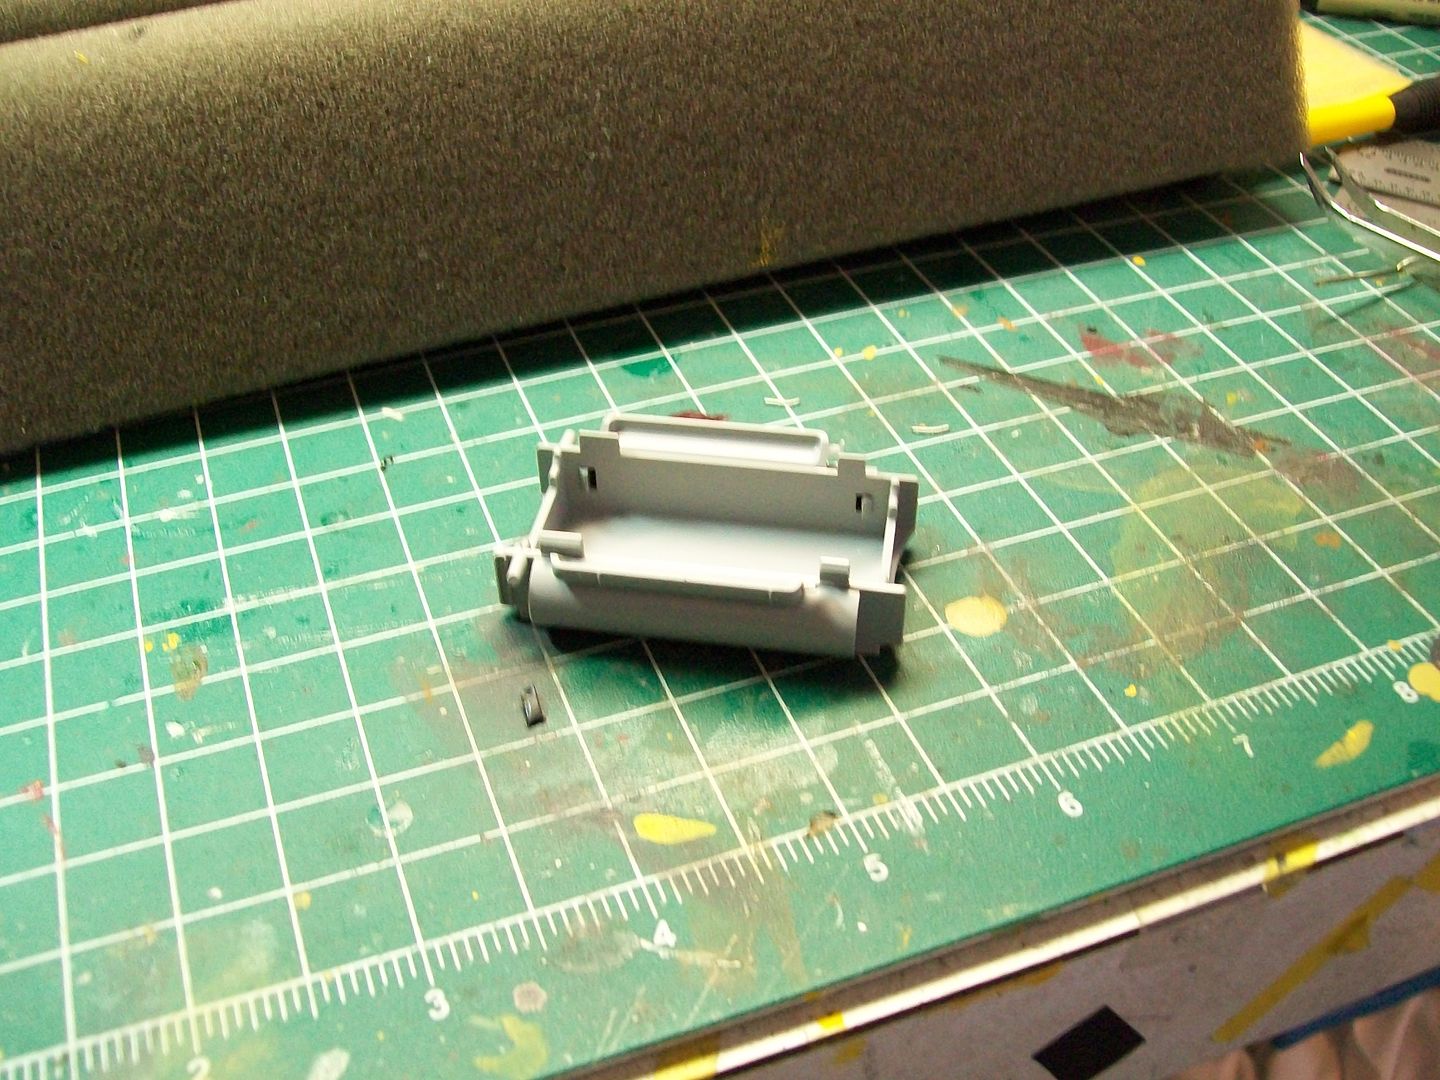
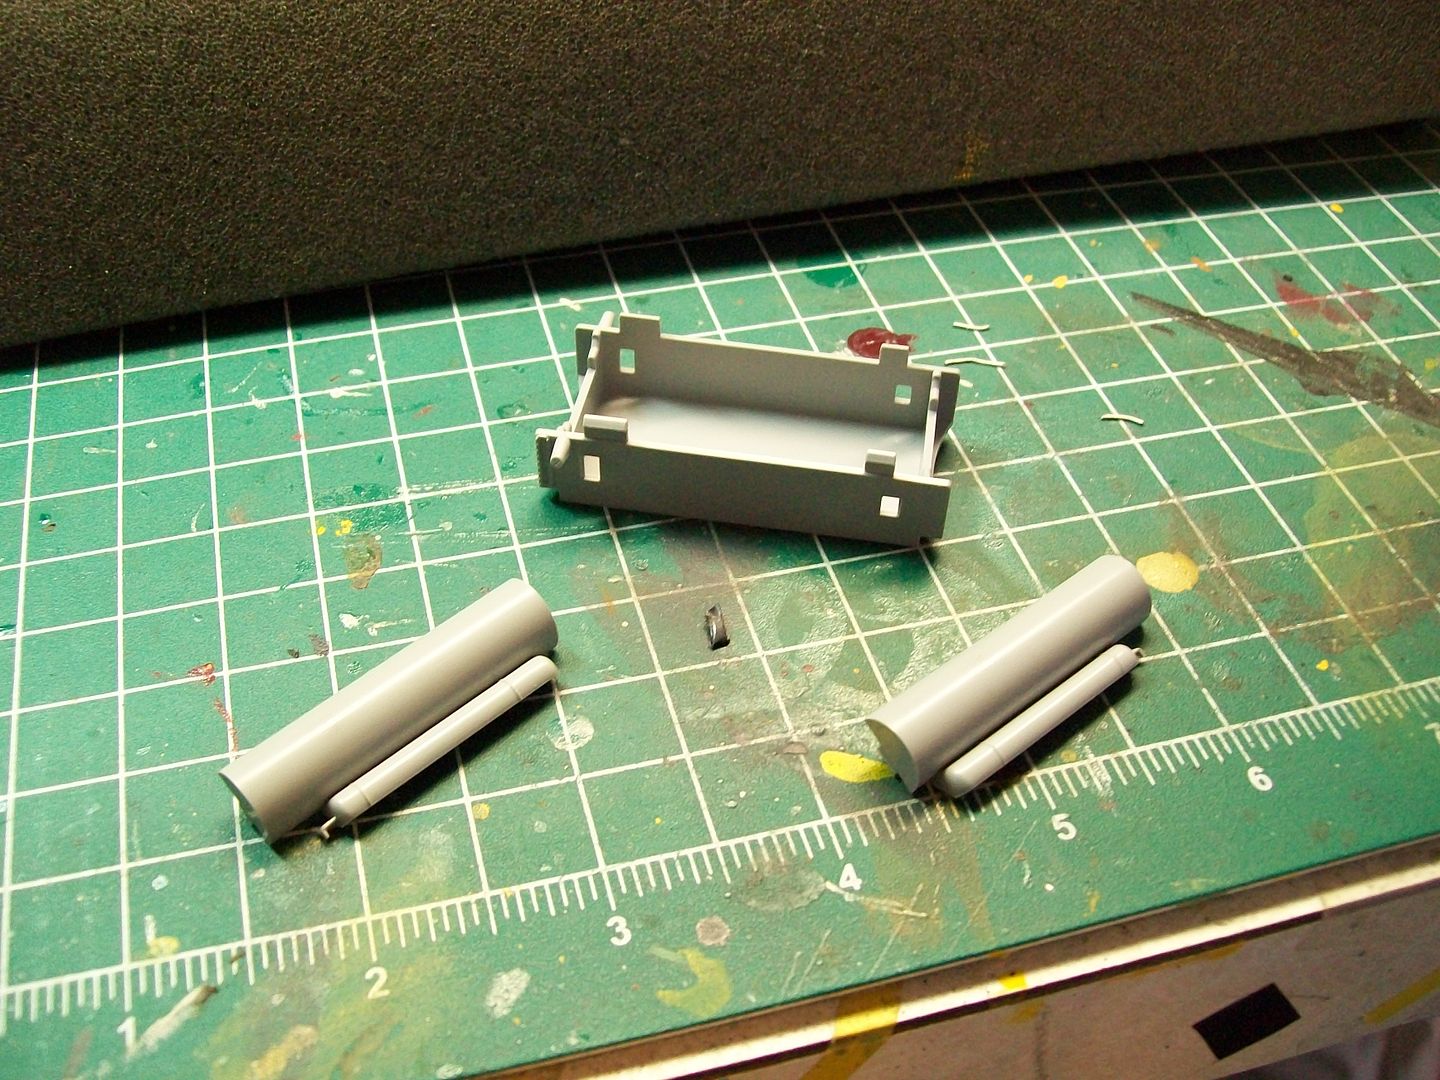
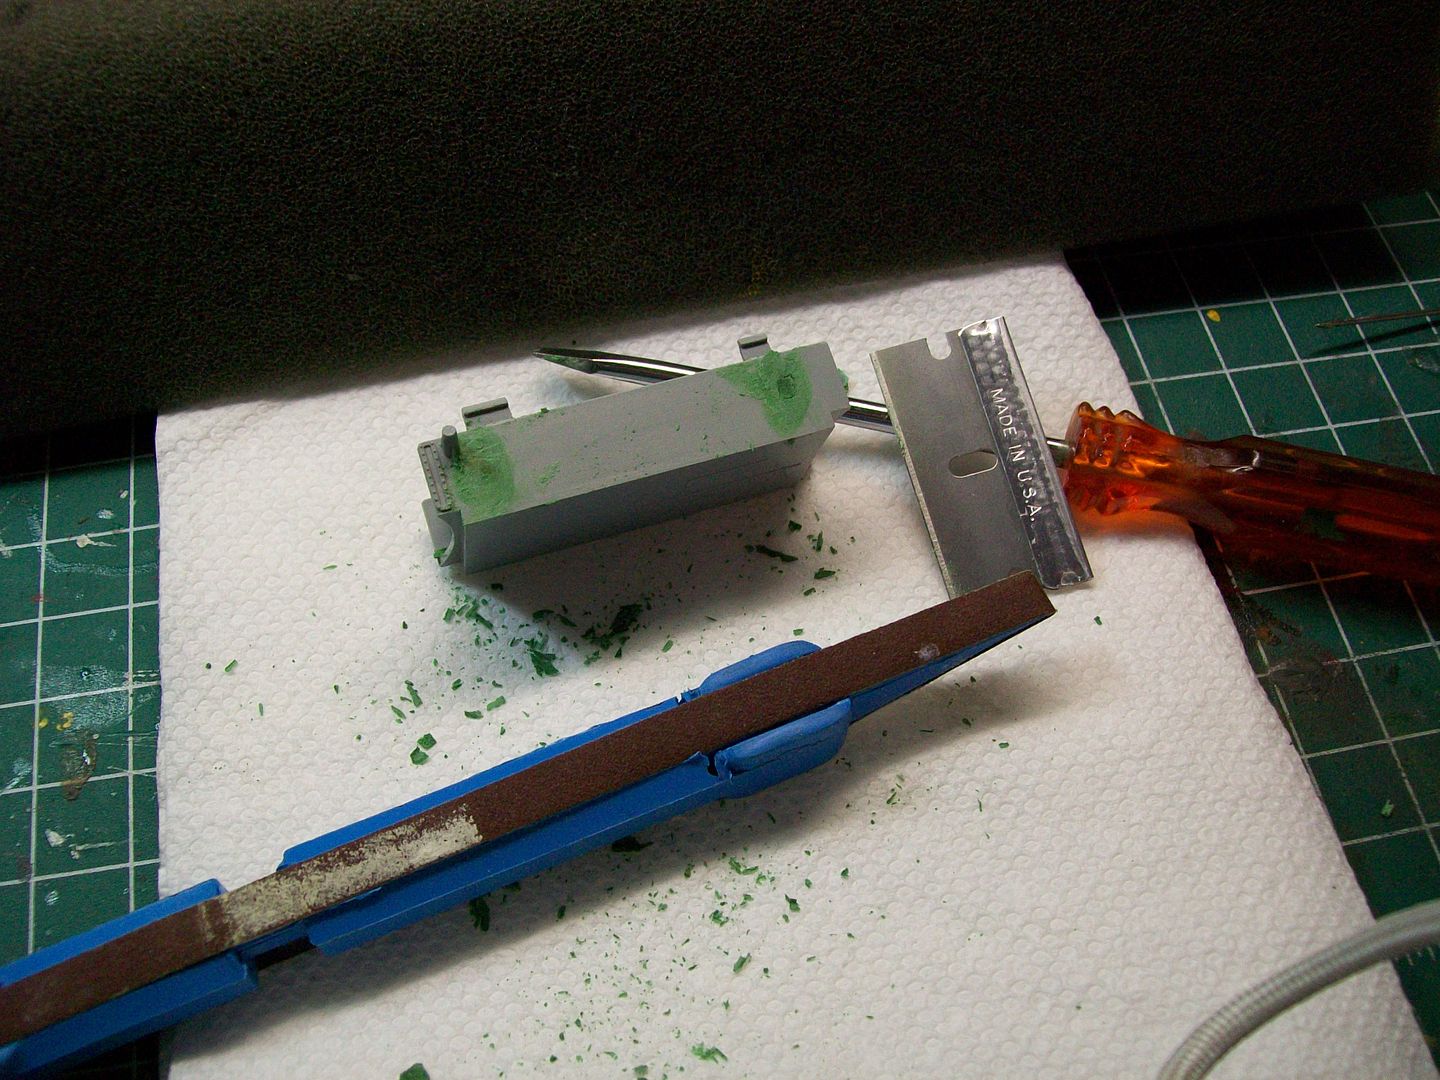
Now,the fuel tank.The RDG tanks were flat sided not bulged as comes with the Atlas model.Remove this piece and do whatever with it...it will not be used at all.


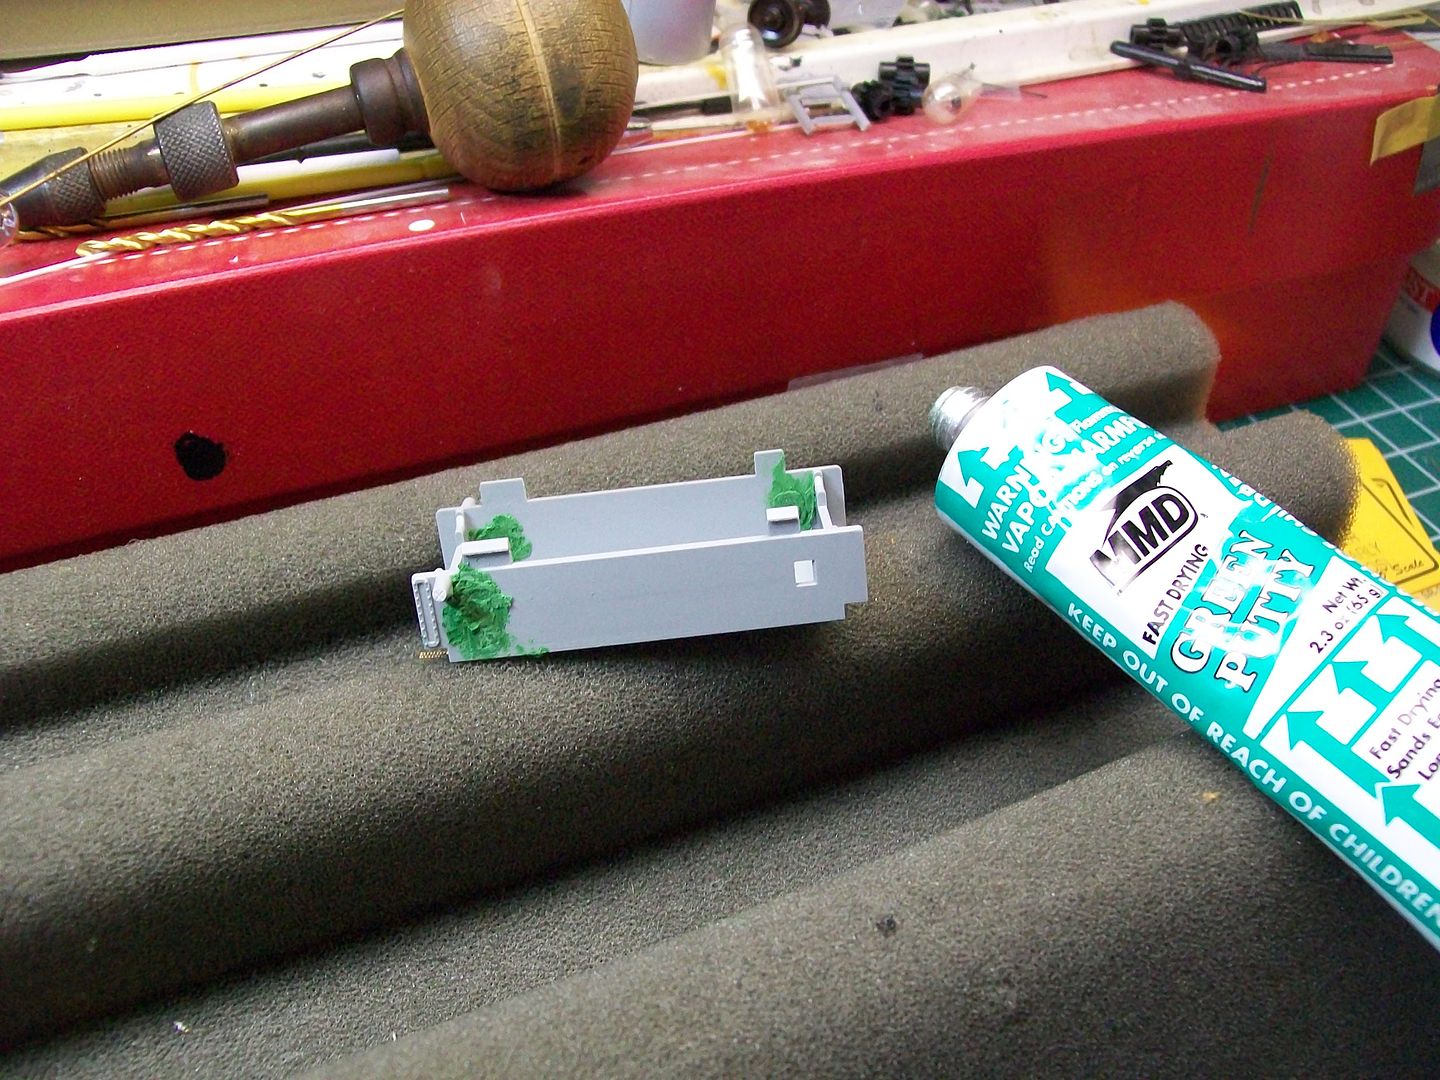
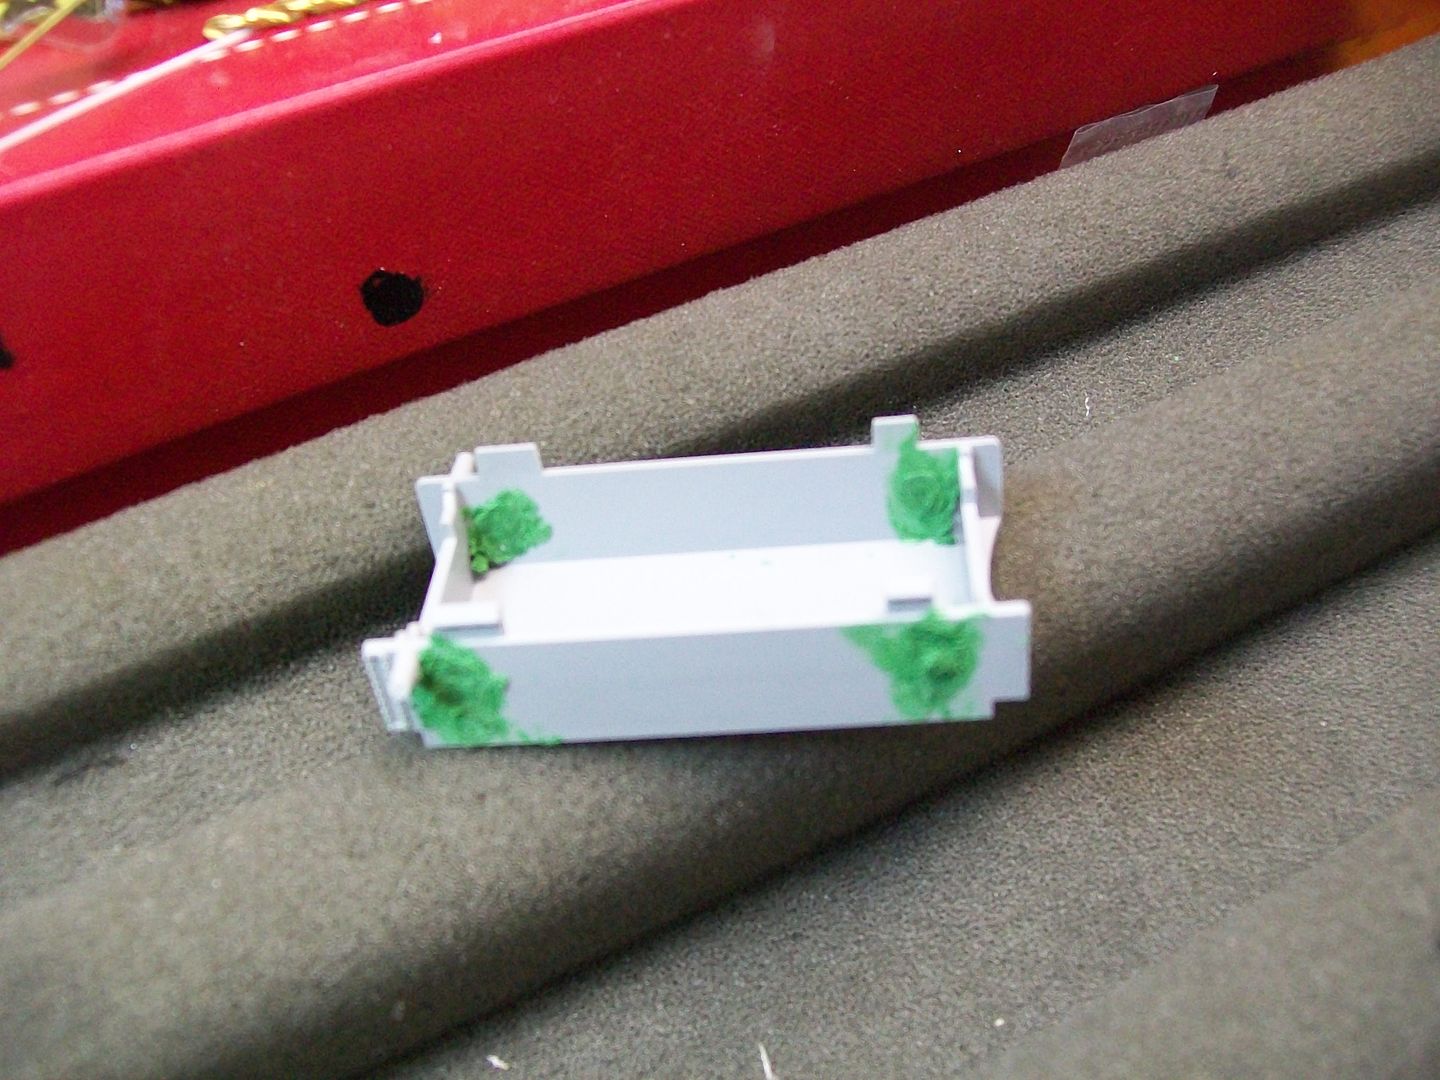
Next,we need to fill the mounting holes left in the side of the tank.I use the famous green puddy.I apply it from both sides of the opening using a flat blade screw driver.Don't worry that it looks like crap,We'll clean it up.


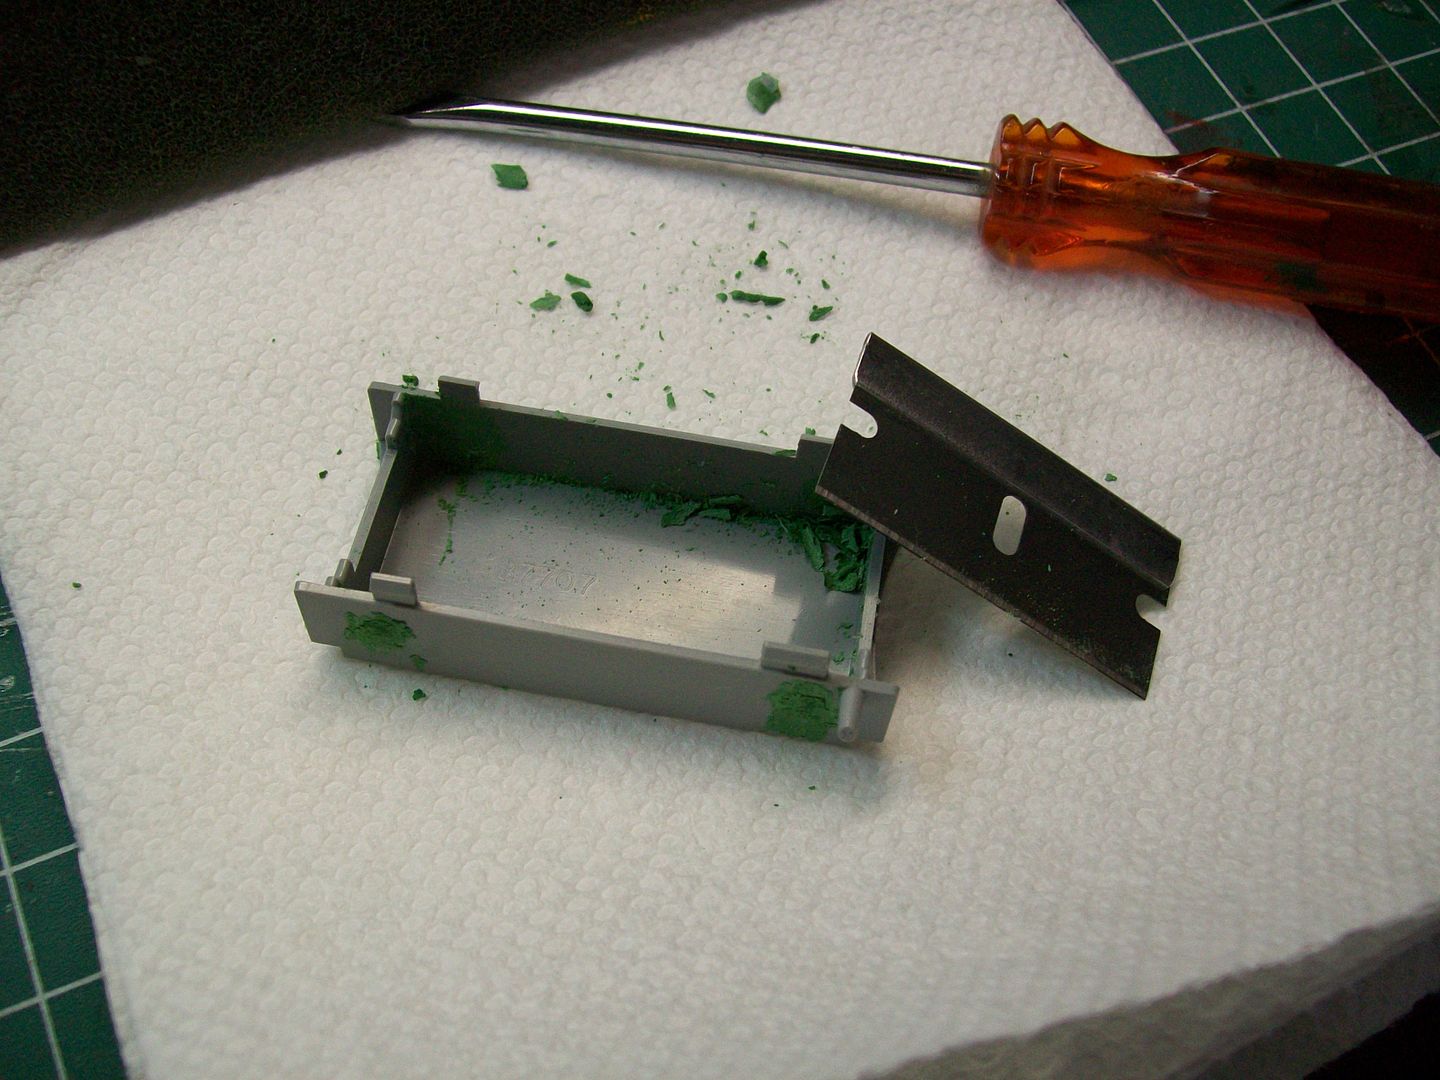
After the puddy dries I use a straight razor to clean off the excess,both inside and outside of the tank.


Next,what little is left after using the razor I sand the rest.


Here's the finished product after sanding.


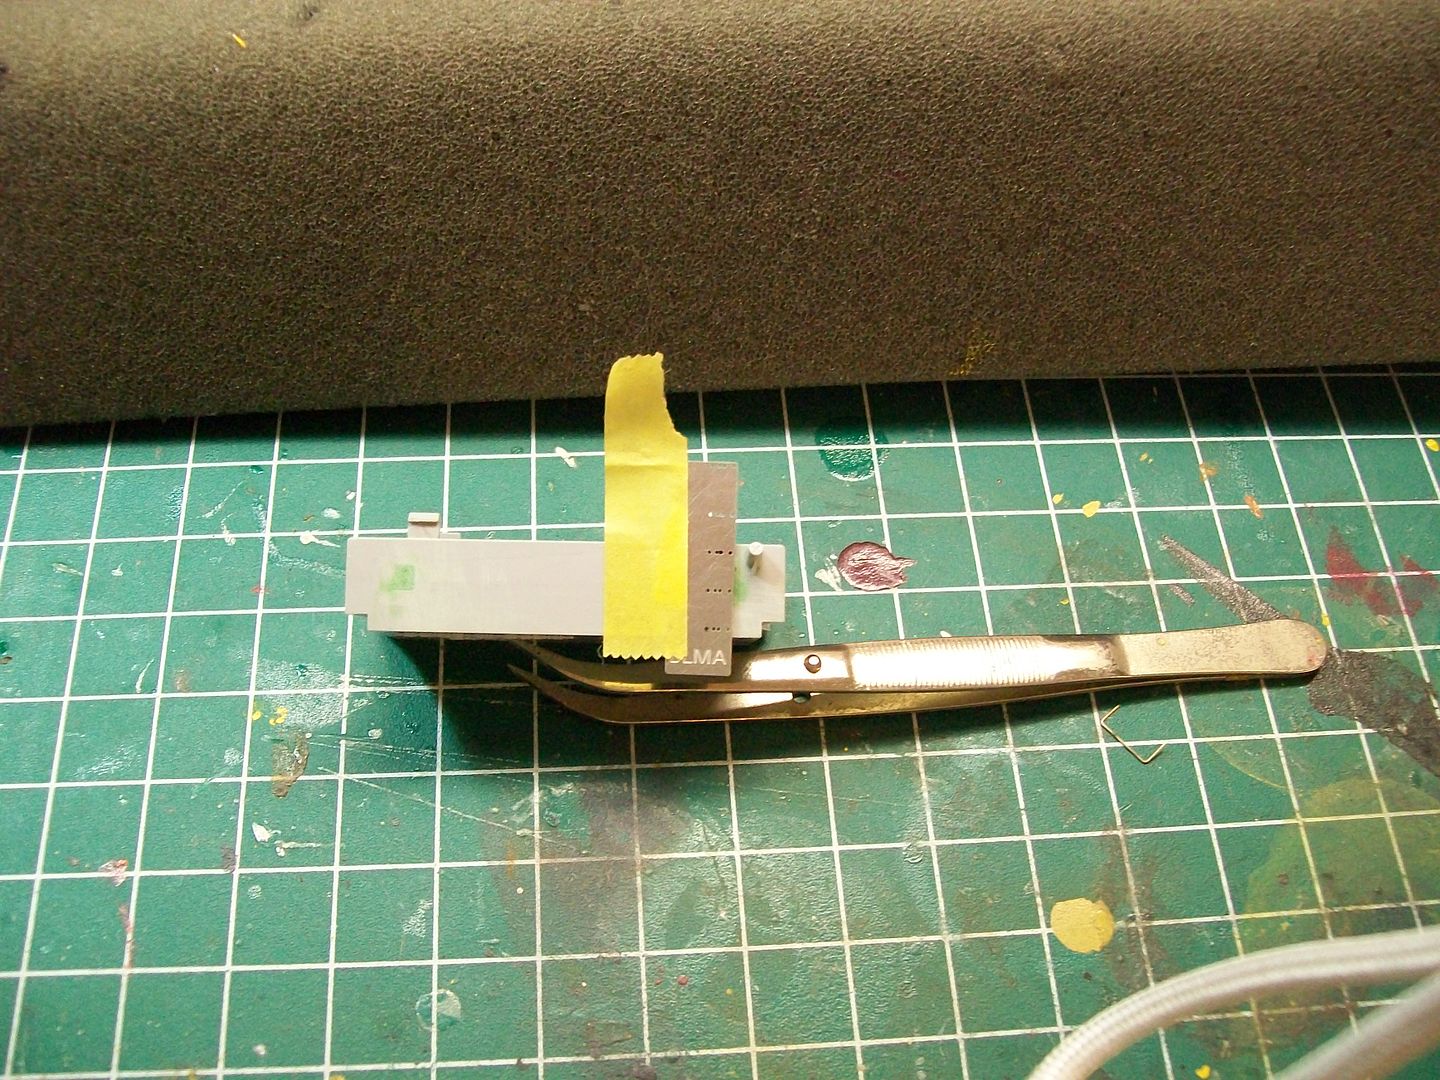
The RDG units had piping on both sides so let's get to that next.Now,I did no measuring of any kind.I just eyeballed the pipe
locations from photos.To the rear of the tank near the fuel fill there are two thin pipes that are side by side.I used a BLMA grab iron template as a guide for scoring and drilling the holes(#80 bit).

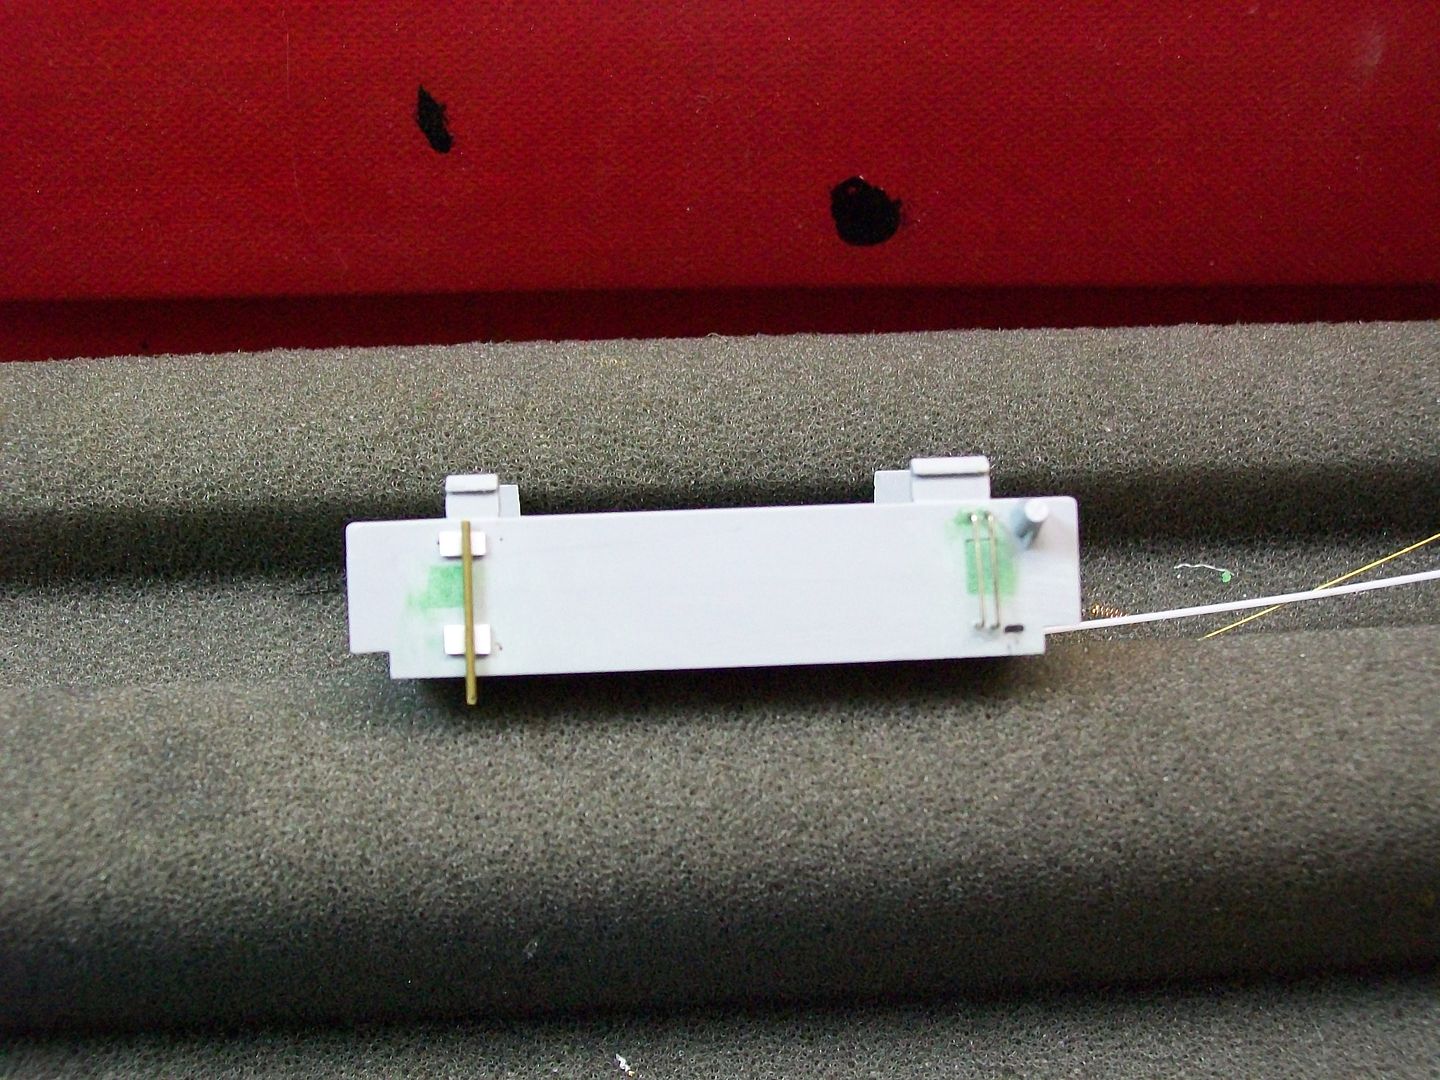
This piping is located on both sides of the fuel tank.I used the short grabs from a F unit detail kit to represent this detail.

On the fireman's side there is a single larger pipe mounted towards the front.I used strip styrene as the mounting pads.I secured them to the side of the tank using Testor's model glue.I used a brass rod cut to fit for the pipe secured to the mounting pads using Microscales medium micro bond glue.


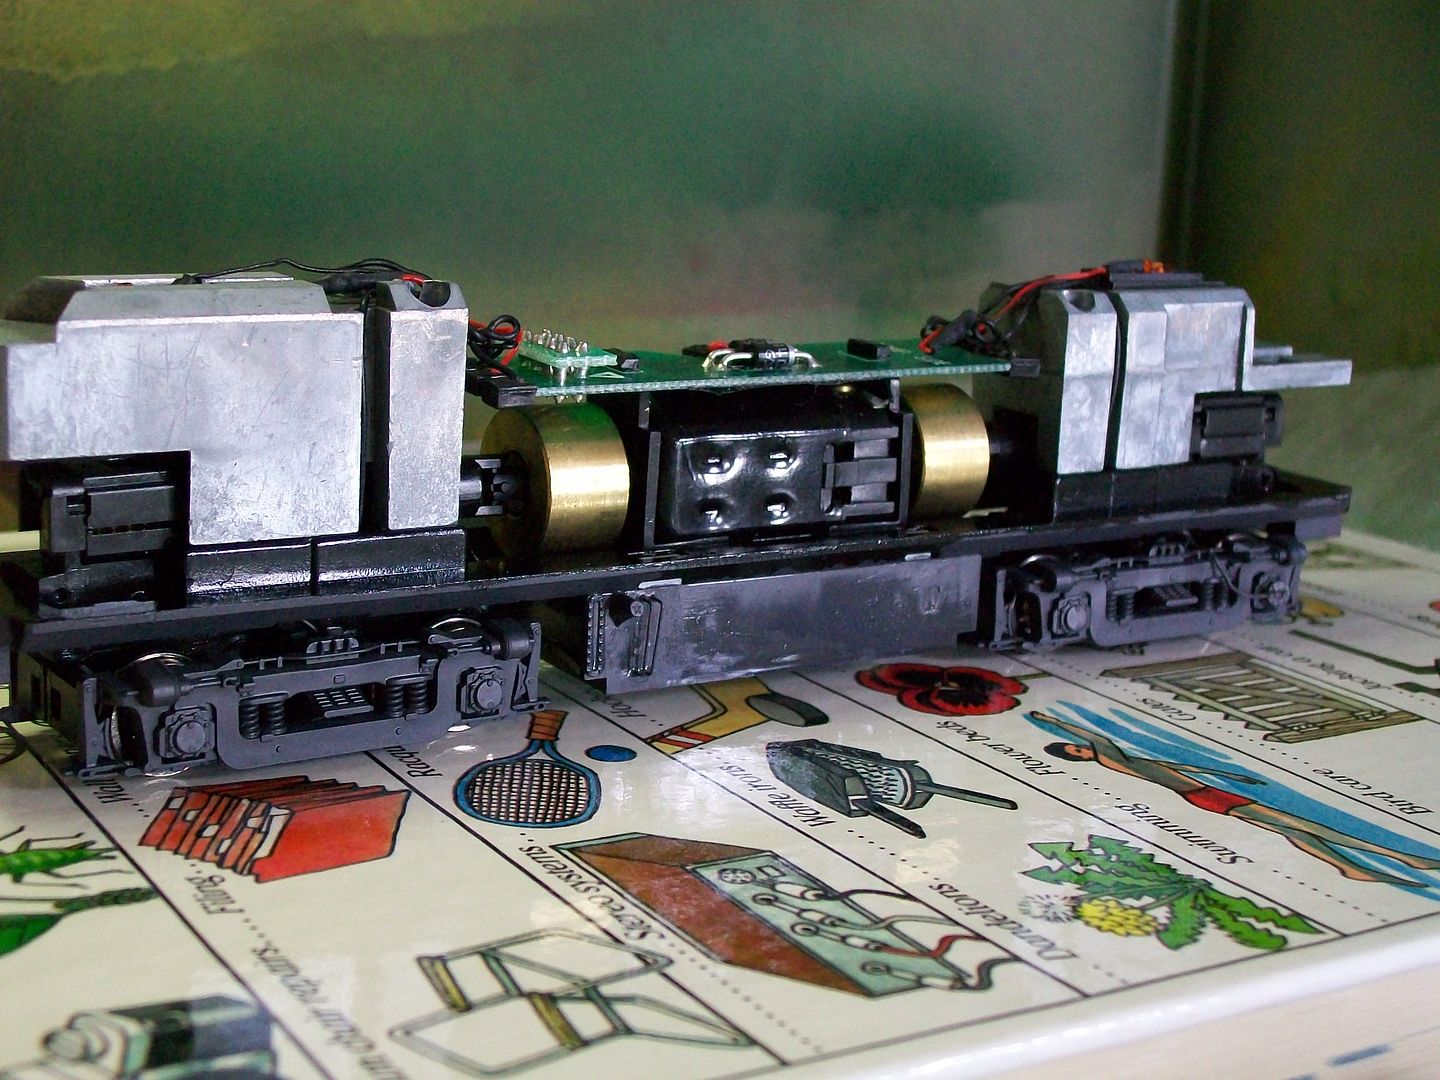
After everything cured I trimmed off the piping that penetrated the inside of the tank and snapped it back on to the frame.I hand painted the tank Floquil weathered black.


Now I'll leave this sit.

Well,that's as far as I am right now.The next step will be working on the frame.The RDG units had their long hood hand rails mounted on top of the walkways like found on Atlas's 420's.SOOOOO...I'm contemplating what to do,we'll see.The railing application is one reason I stated earlier that this unit might not be 100% prototypical.
The administrator has disabled public write access.
The following user(s) said Thank You: maddoxdy

RDG C424 11 years 2 months ago #367

  • rdg5310
  • rdg5310's Avatar
  • OFFLINE
  • Conductor
  • Posts: 265
  • Thank you received: 39
Nice job so far Chris!
The administrator has disabled public write access.

RDG C424 11 years 2 months ago #387

  • 2771-chris
  • 2771-chris's Avatar
  • OFFLINE
  • Road Foreman of Engines
  • Posts: 634
  • Thank you received: 94
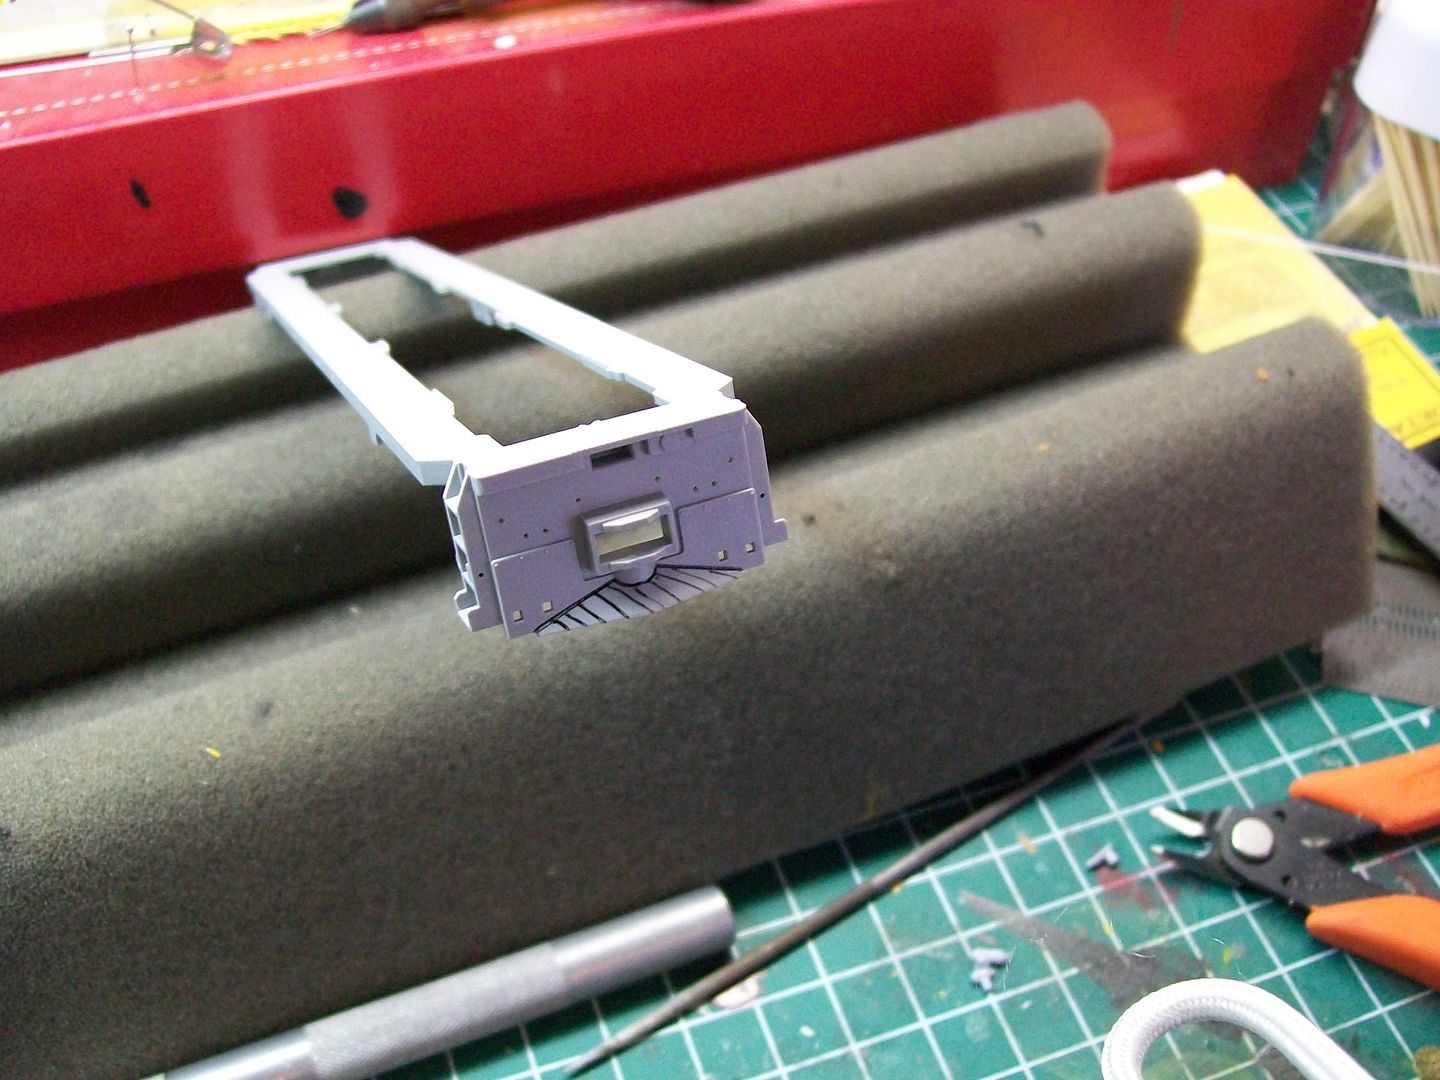
Lets modify the pilots and pilot steps and install.The Atlas model has the wrong pilot set up for a RDG units.Luckily this is a very easy fix.
Here's a pic before modification.


In this veiw I used a marker to highlight the ares that needs to be removed.


I use my nippers to cut away the "V" apron on the pilot.Take small bites so not to damage the pilot face.I use a straight razor to trim the remaining casting flush with the pilot face and sand.


The pilot steps.

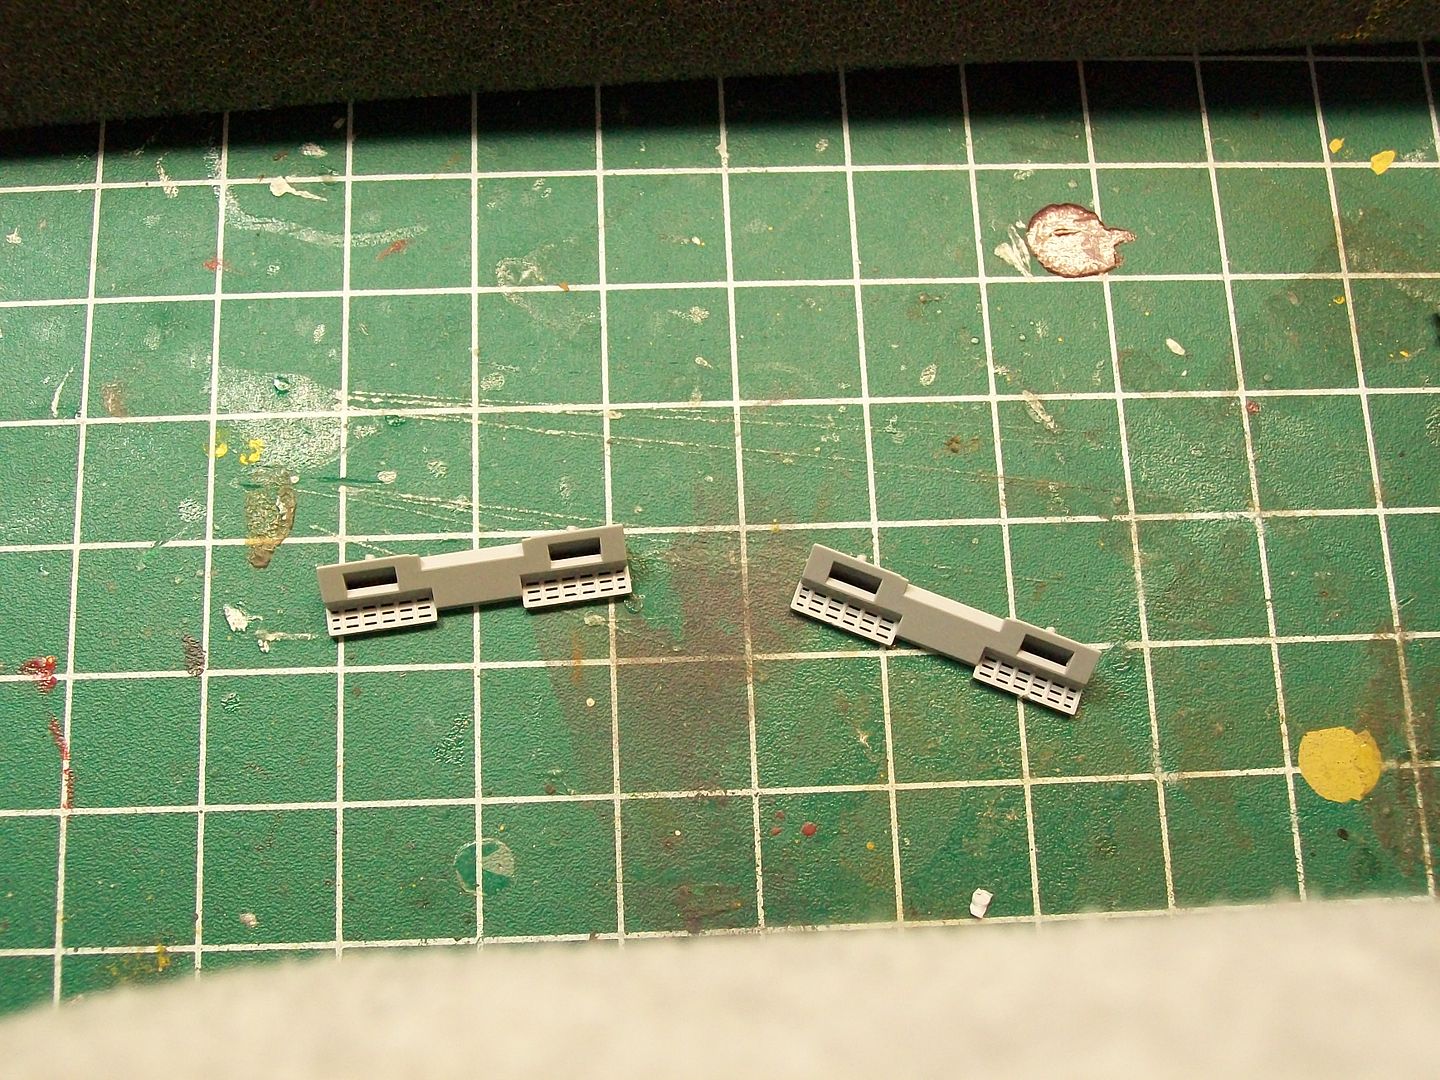
These are Atlas parts for their C420 model.You can order them directly from Atlas.
These also need a little modification,again a simple process.Above the "V" there is a rounded area for the installation of the coupler box screw so you need to carve out the rear middle area of the pilot steps,take your time and test fit to the pilot.I use and exacto knife and file.
This pic shows the result you want.The step casting on the left is the completed results.I shaded the area on the right casting showing what needs to be removed.

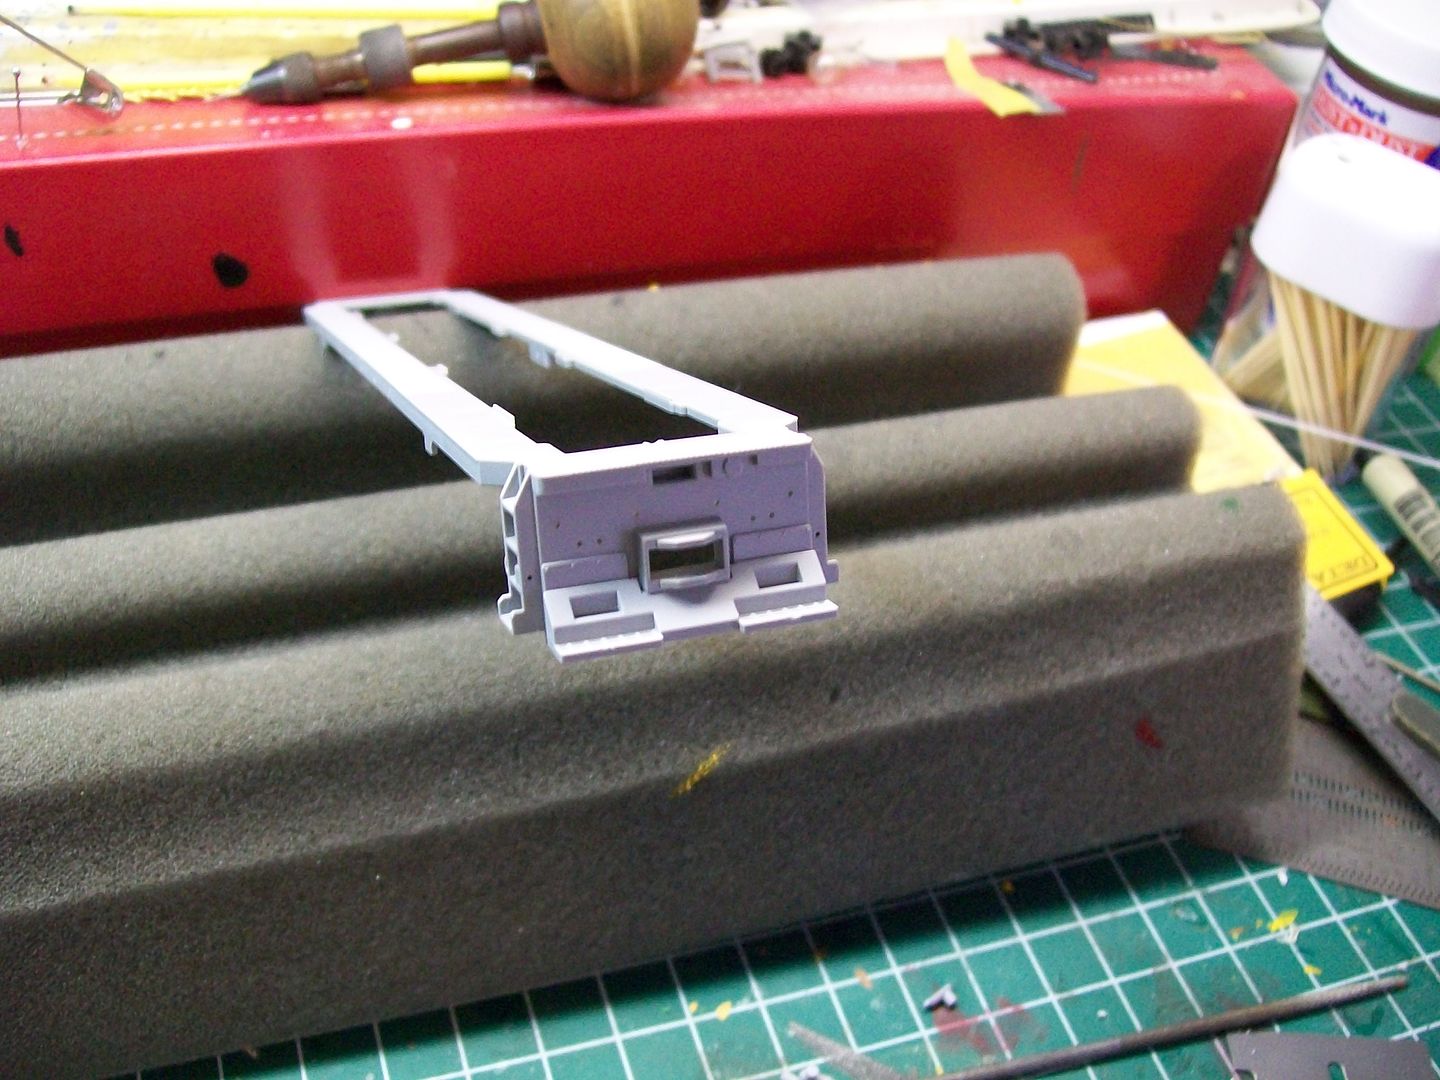
The pins on the back of the step casting mount perfectly into the two holes closest to the center of the pilot.No need to drill,the round peg does fit into this square hole with just a little pressing.You can secure it with glue at this time.
The results.


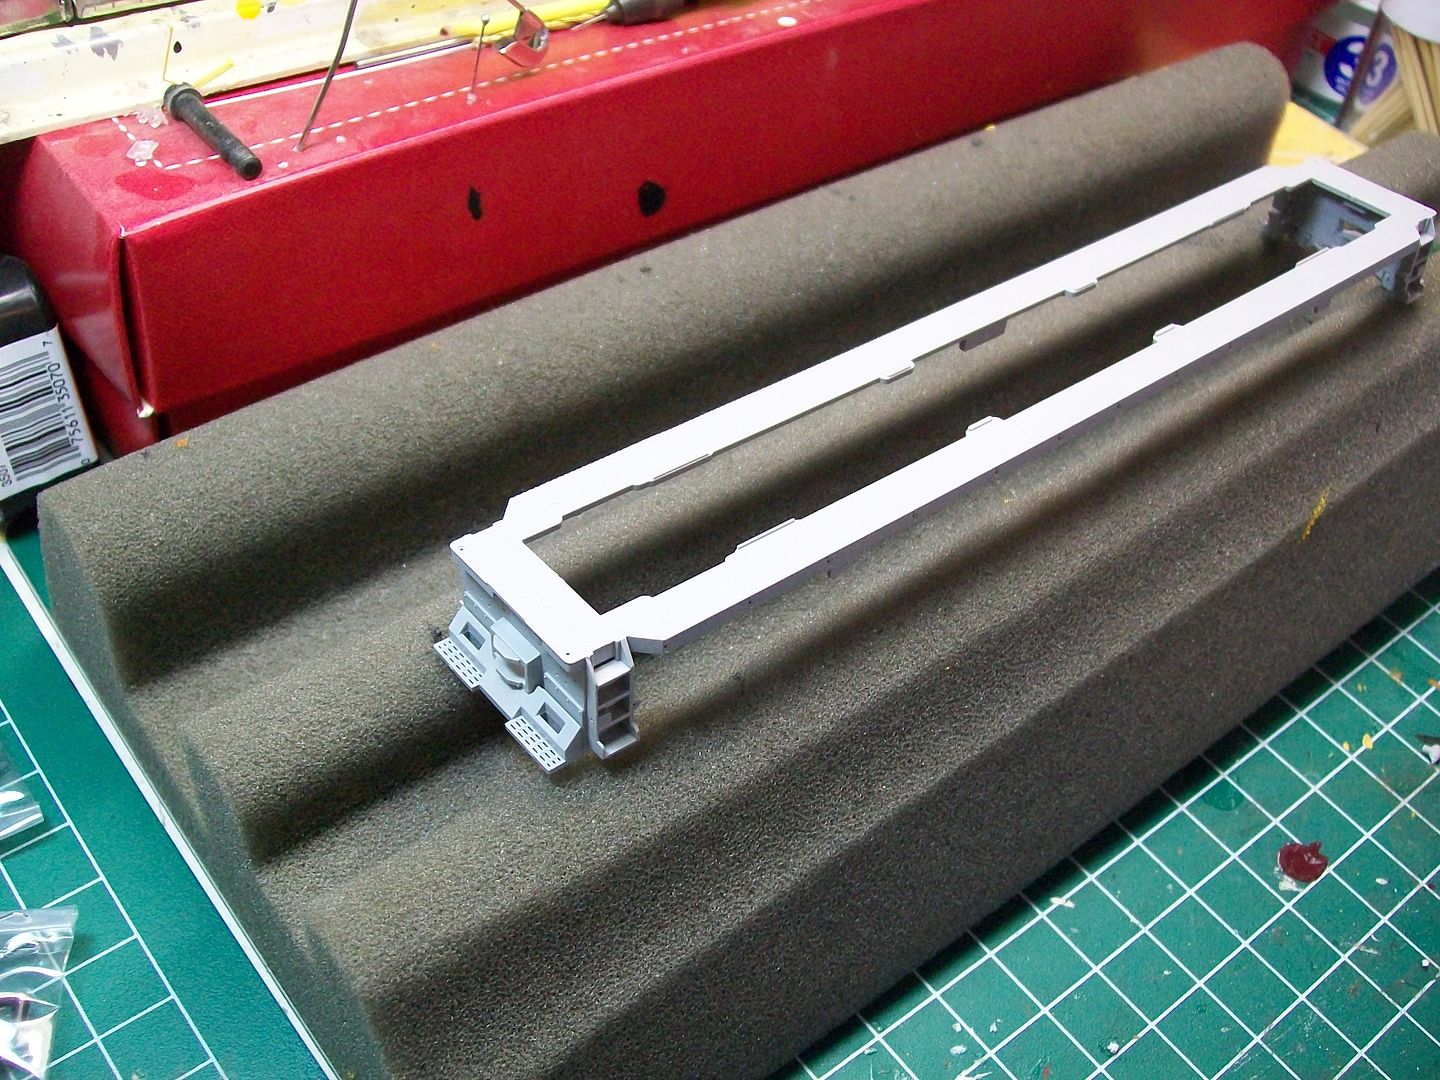
I spent better part of the day yesterday practicing on a spare frame sill to achieve the desired oval openings.So far,I do not like the results.I'm going to try something different today,if I can't achieve the results I want the railing mounts will not be prototypical.
The administrator has disabled public write access.

RDG C424 11 years 2 months ago #396

  • Turboboost910
  • Turboboost910's Avatar
  • OFFLINE
  • Conductor
  • Posts: 250
  • Thank you received: 17
I know thats gotta be a bugger to get right. I hope it works out. the units are coming along well!
The administrator has disabled public write access.
Time to create page: 0.149 seconds

Today's Image

Did You Know?

March 16, 1969
The last train makes a stop at the Outer Station in Reading.

Downloads

Operations Information

Click Here!A variety of Reading Company operations related documents, etc. that may be of use in your modeling efforts.

Operations Paperwork

Click Here!A variety of Reading Company operations paperwork, such as train orders, clearance forms, etc. that will help you operate your Reading layout in a prototypical manner.

Timetables, Rulebooks, Etc.

Click Here!Public Timetables, Employe Timetables, and Rulebooks that provide much useful operational information.

Modeling Goodies

Click Here!Signs, billboards, and other FREE goodies for your use.  We ask only that you help spread the word about The Reading Modeler!

Rolling Stock Reference

Click Here!Downloadable reference documents on the various classes of Reading Company Freight and Passenger rolling stock.
Thanks for Your Support!

If you find the content on The Reading Modeler valuable, won't you please consider supporting our efforts? Your donation will help to offset operating costs and acquire new material to share on the site. Thank you!

Amount: 

Advertisements