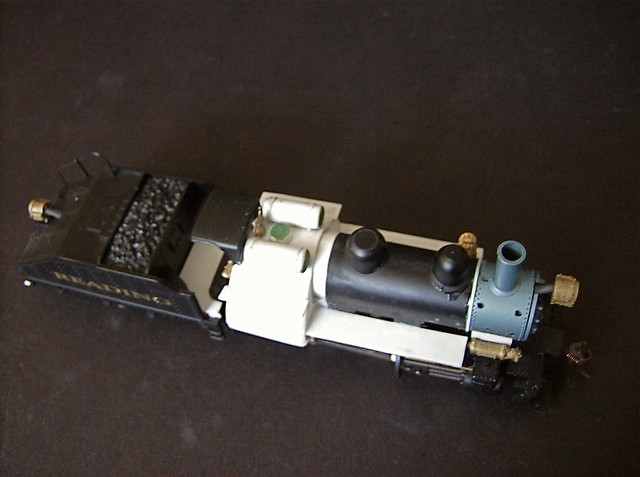
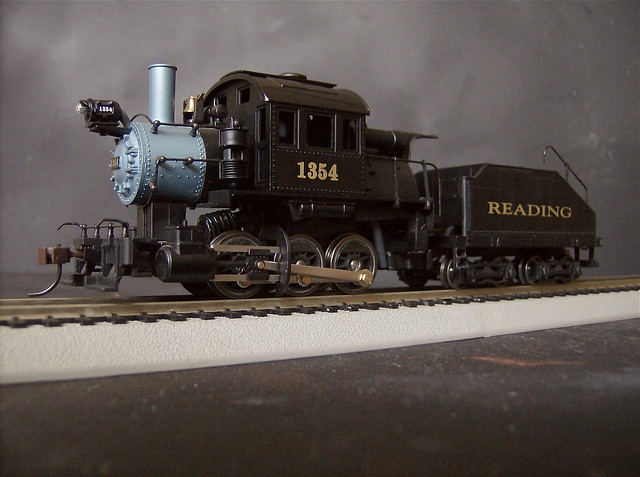
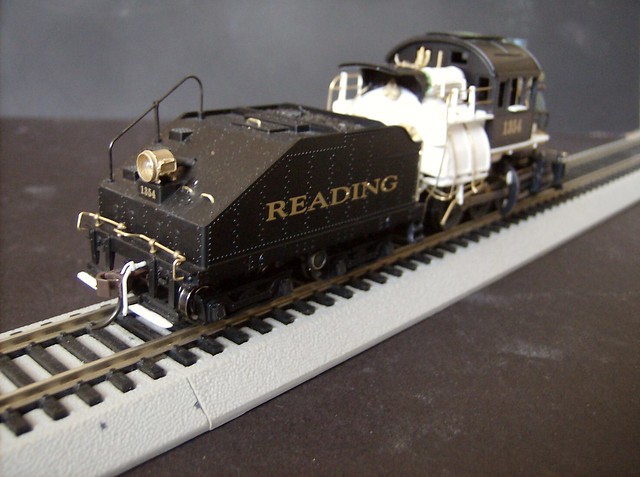
Right out of the box. Most of what you see comes off on the locomotive, the tender is almost left alone. Engine is DCC ready with 9 pin connector for engine tender connection.
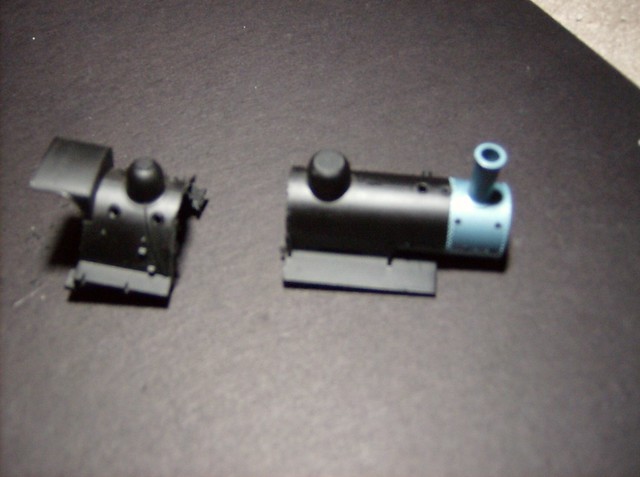
After taking off all the loose parts (bell, air tanks and air compressor) I cut the boiler where the firebox starts. At his point the steam dome under the cab has an extra ring of plastic that goes all the way to the cab roof that I cut off too, did't want it interfering with the movement of the cab.
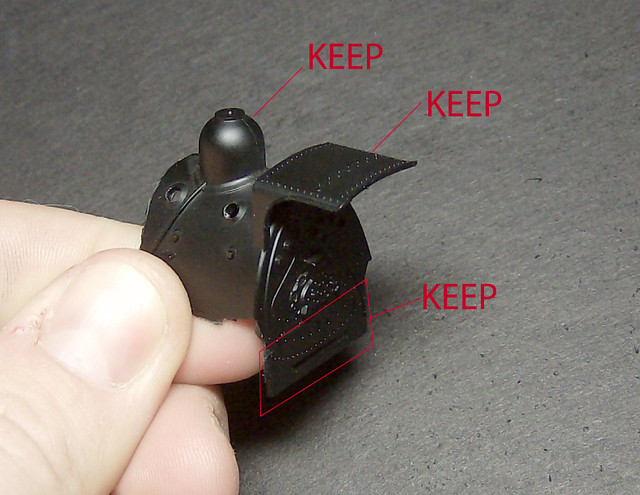
The firebox is not discarded. I cut out the old dome the sad and the slot for the deck plate as well as the square mounts for the rear screws. I made my own air tanks but if you want there no reason you can't use the original ones.
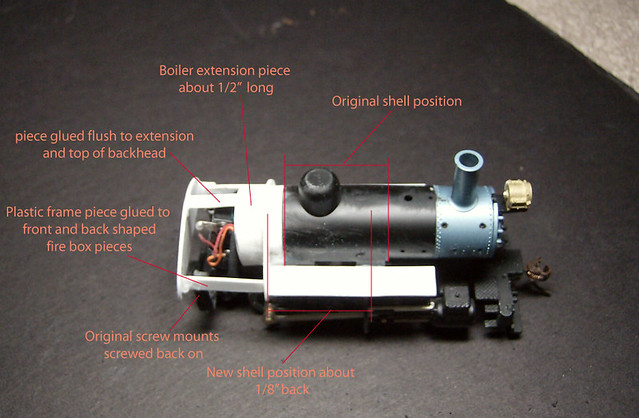
While gathering up pictures I realized I didn't take pictures of the from and back shapes of the fire box. Later images have a good shot of the back for shape. Its not a perfect arch, more of an arch with some of the side lopped off and rounded at the corner. I started by rounding a styrene strip around y finger and gluing it to the back of the firebox, the piece is about half an inch. The cab get moved about 1/8" back, so I put it on the boiler where it would sit and marked where the firebox would start with a pencil.
The shells original running board has extra bracing molded on, inside the cab, since I moved the cab it needed to go so I broke the old one off and glued a new one on after the front firebox shape was in place (the firebox does not exceed the width the of the running boards and cab). The back head is not totally vertical I just eyeballed it but I'd guess its no more then 10 degrees forward, I lined it up in the matter of the back/bottom of the back head lines up with the end of the plug that connects to the tender. It is all held in place in this picture by an underlying skeleton holding the spacing of the front and back of the firebox and the 2 side struts are glued to the saved original square screw mounts so all said and done the shell goes on and off as it originally did with 3 screws. This was all set together while the boiler was mounted onto the frame from the 3rd screw that is gotten to threw the smoke stack.
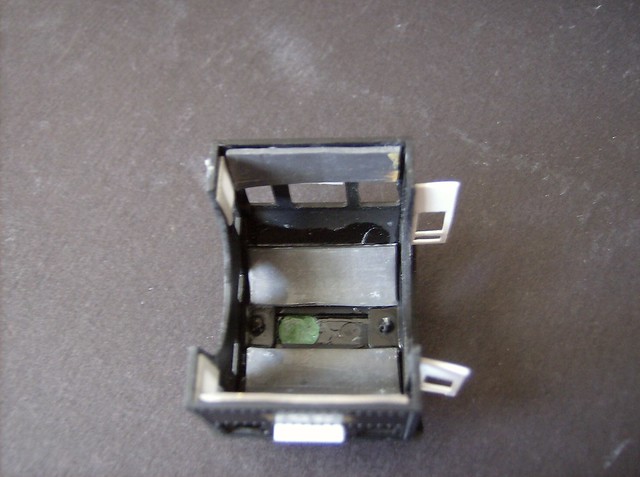
more images of the skeleton
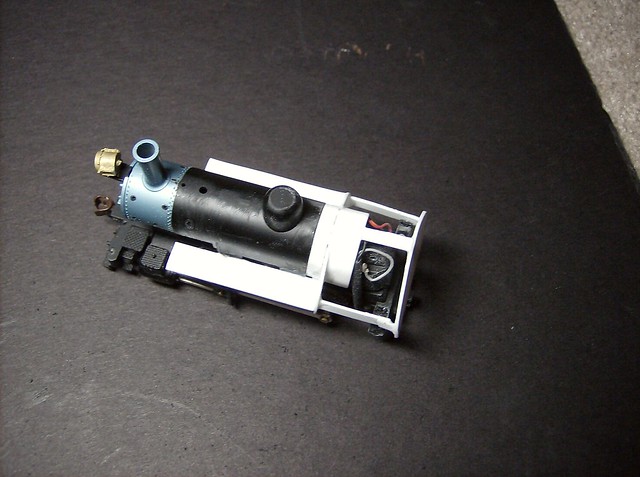
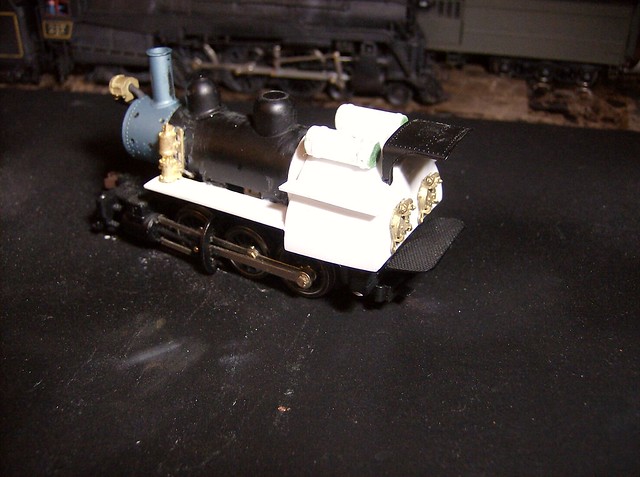
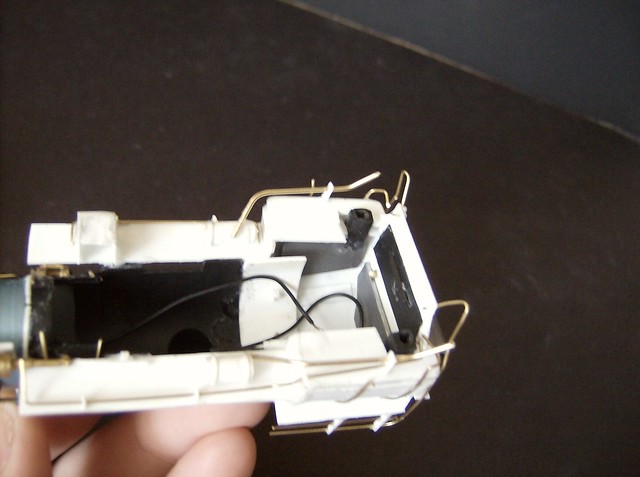
At this point I had the outside of the firebox wrapped in thin styrene I think .10. you can either cut to fit then glue to the front and back or start with a larger sheet glue it down then carve it out to the front and back pieces made (I think I did a little of both) Being hidden by the cab and air tanks I didn't bother trying to make the top of the firebox flush with the original profile of the boiler. Another thing I did was once you get the firebox wrapped its very angular so I sanded all the sharp corners to be rounded. Major details are being put into place as they can, here air tanks, power reverse, air compressor, bell and turret for safety valves and whistle made from the same tube as the air tanks. The power reverse is attached to a little strip hanging from the smoke box, done as it was in real life. The reused dome is also in place, chopped off the old firebox and sanded down by wrapping sand paper on my finger.
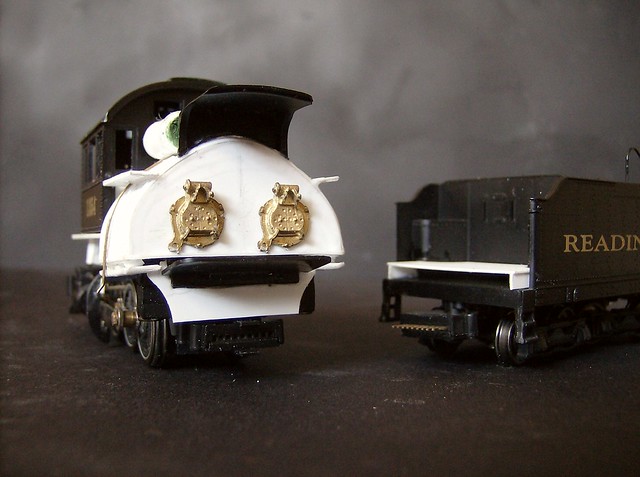
This view shows the other salvaged pieces the shade and deck plate. the shade was sanded on my finger like the dome and was a little tricky to fit, when I glued it in there was a little spade in the middle I just filled with glue, it should be sealed but it will be ver hard to see if its not. The deck plate is put in by using part of the original back head glued to the inside of the new back head with the slot showing to insert the plate back in. I held it up before gluing it to make sure it could move before it was in place.
This view has a good look at the firebox shape it also shows the 2 fire doors in place, the back under the boiler brace in and the tender deck raised to match the deck plate, plus the extra step was on the prototype.
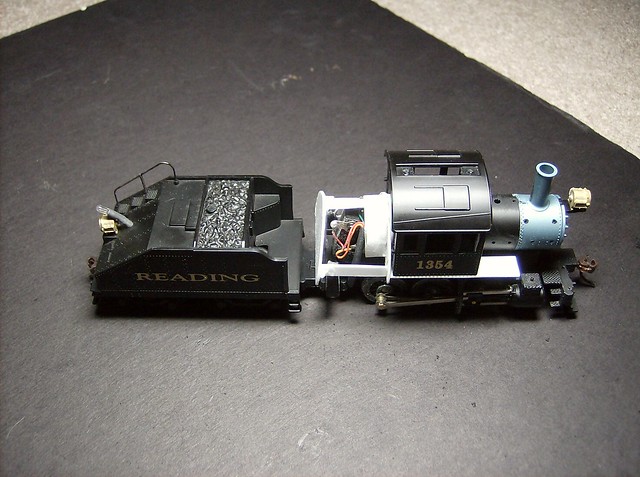
This view shows the tender back, the power reverse linkage, slide valve linkage and ashcans in. The ash pans are I think .60 styrene (lost the package a while ago). The firebox bottom is covered right to the edge then 3 thin strips are glued in and spaced evenly then another strip rounded is glued on top of the spacers. The power reverse is "connected" to the slice valve linkage. There is a brass wire glued right up to the back side of the yoke with an oval out of styrene glued to it. The area is really short on space and doesn't need to move so I didn't go too crazy on detail. Another brass wire goes through the yoke to the top valve of the cylinders. On the tender I added a little to the back steps just because the seemed short compared to the ones on the front of the locomotive. The headlight is in place and the molded grab irons are gone that I replaced with brass wire.
Here is a view of the inside of the cab, originally there is 2 large bricks with notches to fit specifically into slots where the cab originally sit. With wanting open doors I did not want to use them and have these blocks sitting in there. I had some lead sheets and glued to fit in areas that wouldn't be visible. I also used styrene to block the bottom wind of the back door since the firebox is in the way now. I took the hatch off the roof too and filled the hole with putty. Though the whole build I kept the cab removable so I could cover the boiler spacer styrene piece with paint, when I paint it.
A little blurry but shows the added weight in the new firebox. A piece on the back head and 2 layers on each side.
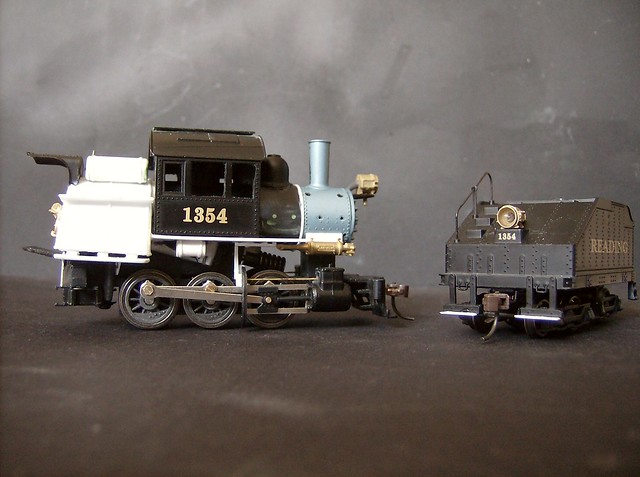
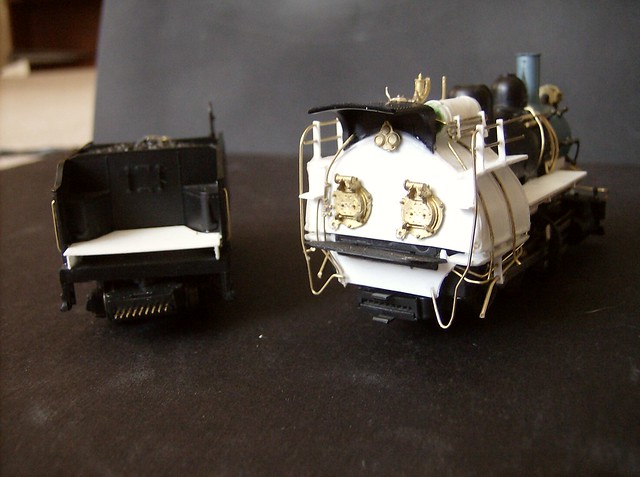
At this point the locomotive is almost done, just all the detail work. The back head showing added gauges and water glass, air cooling lines on the air tanks, and the rear hand rails inlace.
The back of the tender. Added cut lever, headlight, grab irons, air hose and handle on the water hatch.
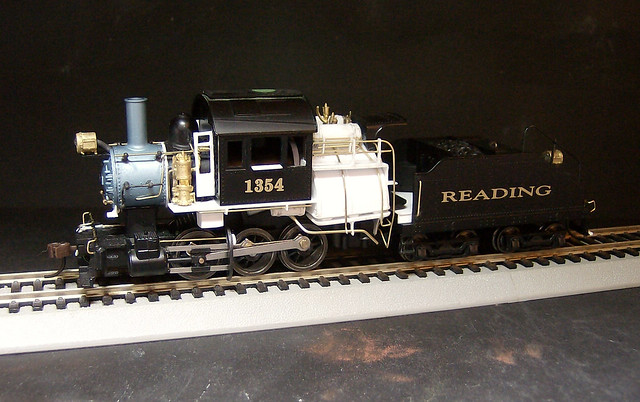
The engineers side. I kept the original check valve for the injector and redid the piping, new cut lever, air hose, head light. On the front there is a strait handrail that is lox on the smokebox front and a step on the fireman's side of the front (on all modern reading engines except ones with front air pumps). On top of the firebox right behind the cab is the generator, then the turret with the safety valves and whistle and lastly the bell. On the cab I cut out some of the window frames from what I can tell they didn't slide they were removed and stashed probably in the engine house of its base. 65 at WK&S is like that. The white strip in the center window is a window rest.
On the fireman's side the air compressor is seen plumbed with the top right as the steam feed coming from the cab, I used a "wrapped" pipe I happened to have, top left steam exaust, pumped to under the boiler, bottom right which is air out running along the running board then up to the 4 lines on the side of the air tank then into the air tank on the side toward the front of the engine, bottom left is air in normally has a filter, single pumps tend to have just a little screen to keep debris out. There is a box under the running board between the cab and air pump (honestly haven't figured what that is). There is also a pipe that goes into the smoke box, a very common detail for the Reading, on basically all steam locomotives, I think it has something to do with the blower always comes from the cab running to the smokebox on the fireman's side.
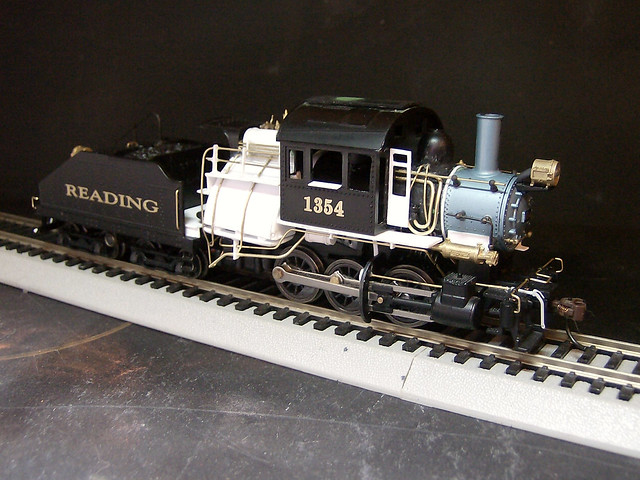
I'm sure its a lot to take in, it was a lot to write. Feel free to ask questions.


 A variety of Reading Company operations related documents, etc. that may be of use in your modeling efforts.