FacebookTwitterDiggGoogle BookmarksRedditLinkedinRSS Feed
Welcome, Guest
Username: Password: Remember me
This section of The Interchange provides a space where members of the Reading Modeler community can showcase their Reading modeling efforts. If you've got a project that you'd like to share, start a new topic and "show and tell" the group how you did it!

TOPIC: "Readingizing" MTH USRA 0-8-0

"Readingizing" MTH USRA 0-8-0 11 years 2 months ago #450

  • Wowak
  • Wowak's Avatar
  • OFFLINE
  • Engineer
  • Posts: 101
  • Thank you received: 8
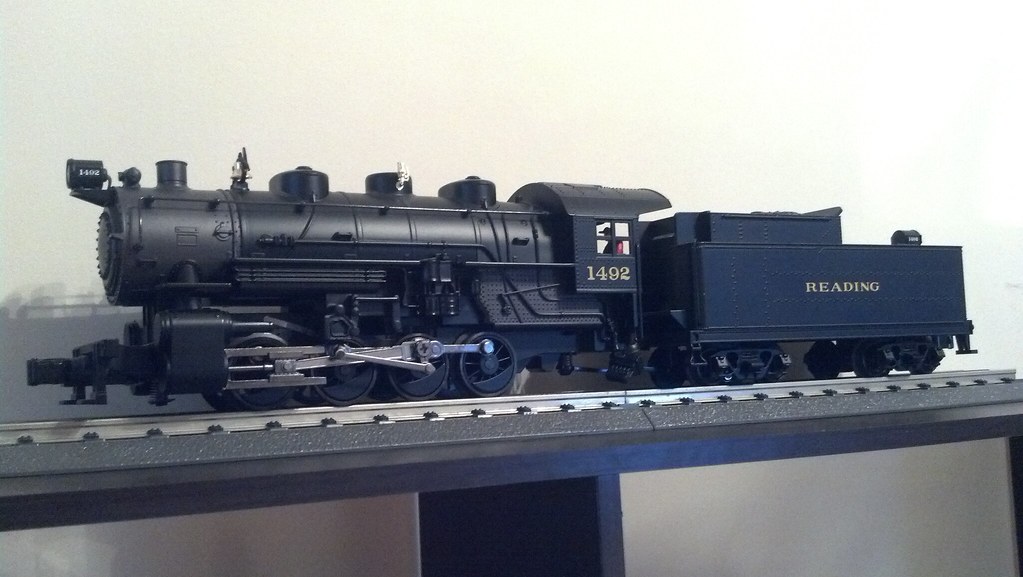
So I picked up a commission to modify 2 engines, and since I'm taking extra care to document the process for the client, I thought I'd share the blow-by-blow here.

Anyway, the client saw my Lionel 0-8-0 to Reading E5sa conversion, and wanted something similar on two MTH USRA 0-8-0s. They weren't looking for quite as involved a replica, and the way the boiler is cast on the MTH version would have made the modifications to the running boards quite complicated. What they really wanted was for the engine to have the Reading "look," not a passable E-5. We talked it over, and decided that there were three key elements to the Reading aesthetic:

Wooten Firebox
arched cab windows
above center headlight placement

So we agreed on those modifications, and whatever changes were incidental to that (adding a front bell, etc.) Got both engines in the mail (about a week apart, thanks Post Office for sending one to Maryland for a few days!) and got to work.


Both engines are the Reading version, so there won't be anything to do on the tenders except change the engine numbers.


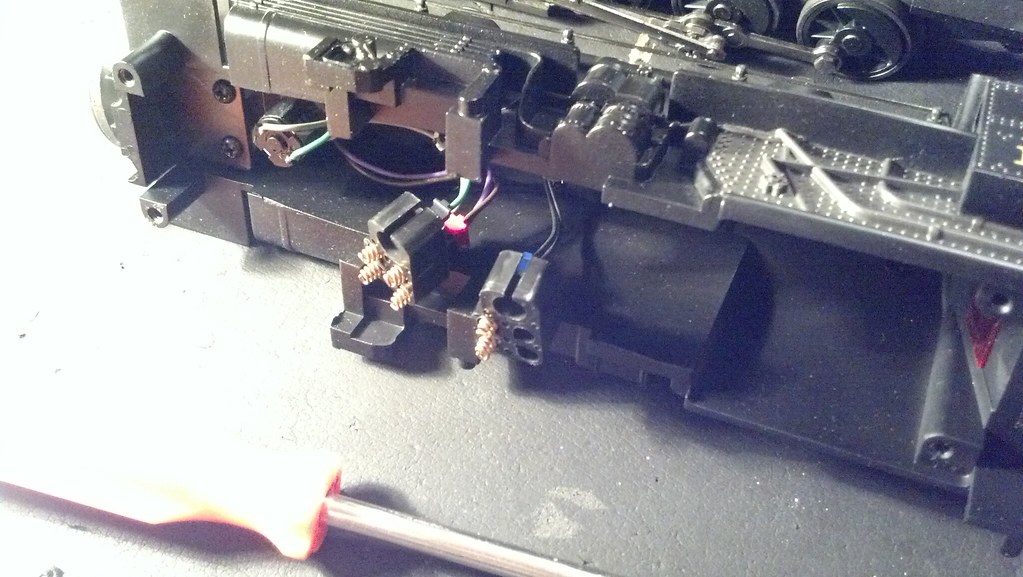
took this picture just so I can remember how these contacts are oriented when I put it back together. (I actually had a couple of head scratchers putting my Lionel 0-8-0 back together, because it had been over 6 months since I took it apart!)


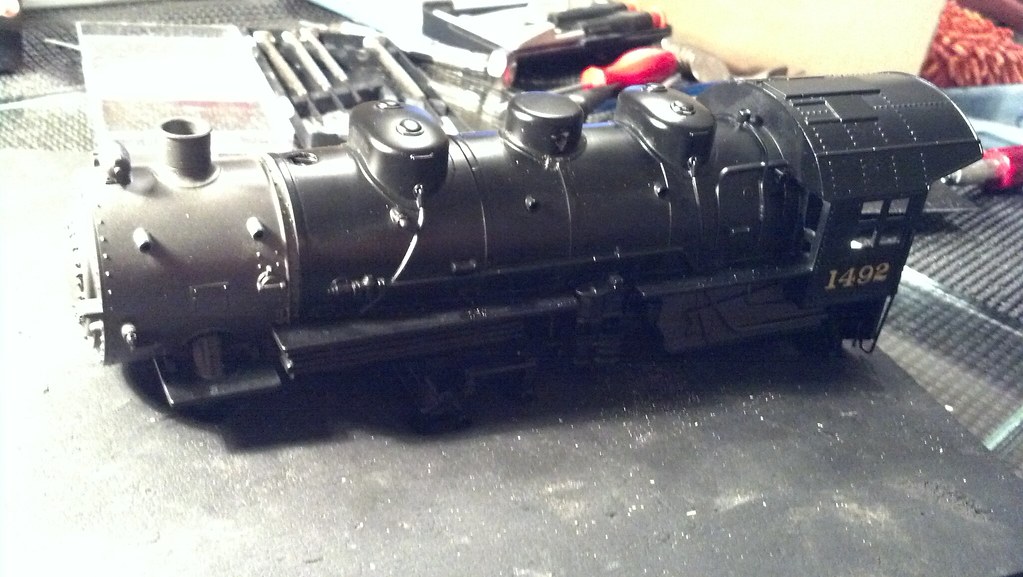
Shell off, handrails off, whistle removed (It occurred to me later that relocating the whistle wasn't exactly part of the job, but it would have bothered me.)


Now the scary stuff! Taking a dremel to a perfectly good locomotive. (I'm not scared.)


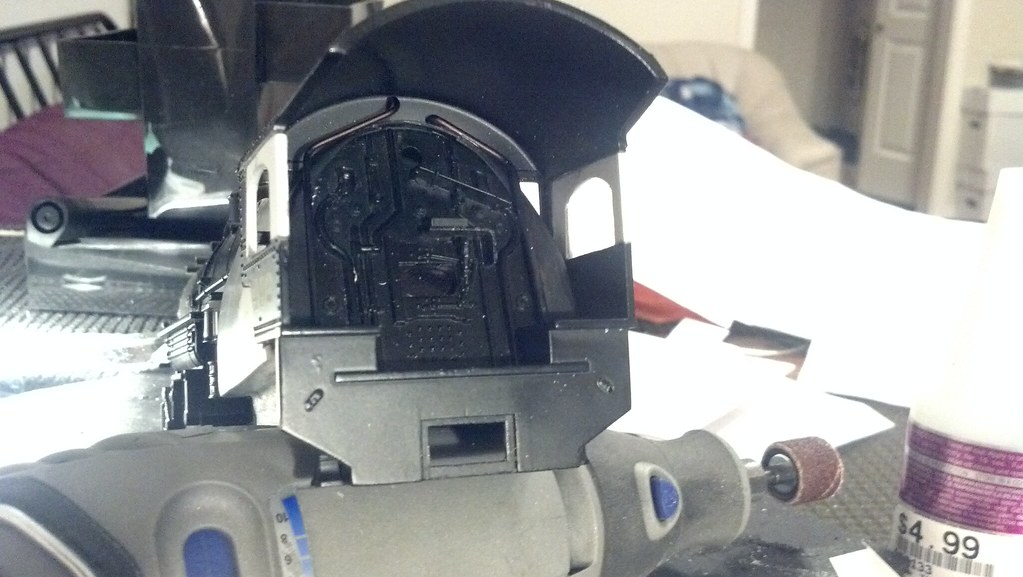
cut off the lump that I suppose was supposed to approximate a steam generator. Also notched out the cab, and started to cut out the footboard along the firebox.


Removing all the cast-on details from the firebox so I have a good clean surface to glue to.


and more grinding, and filing, and sanding, and grinding...


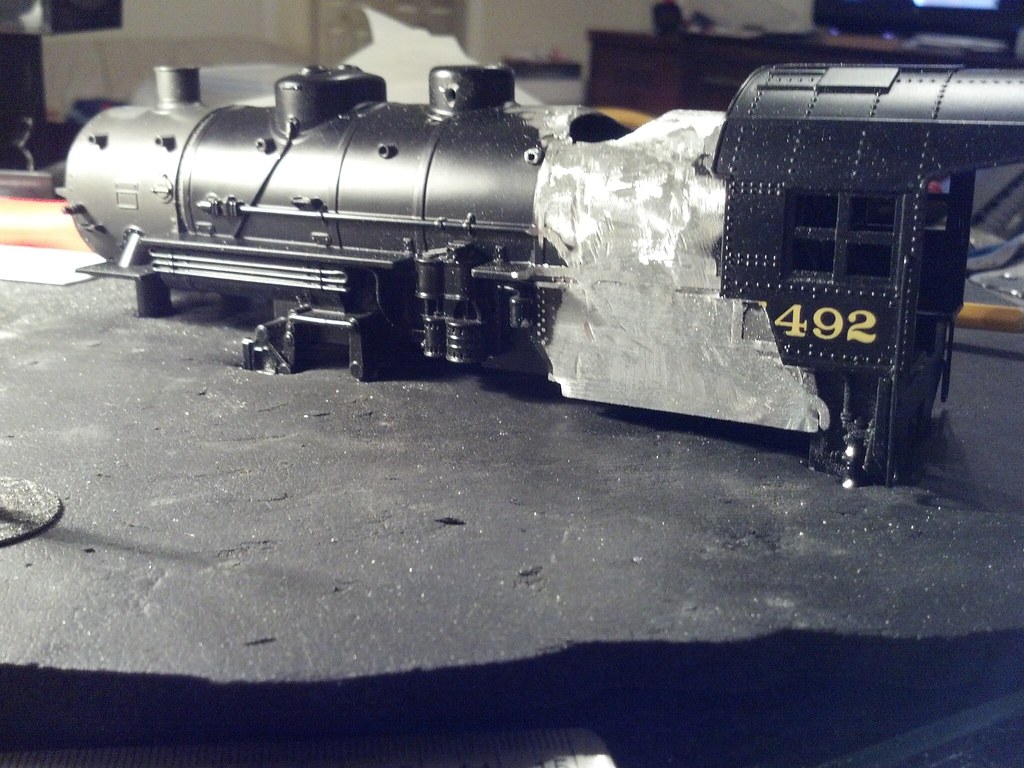
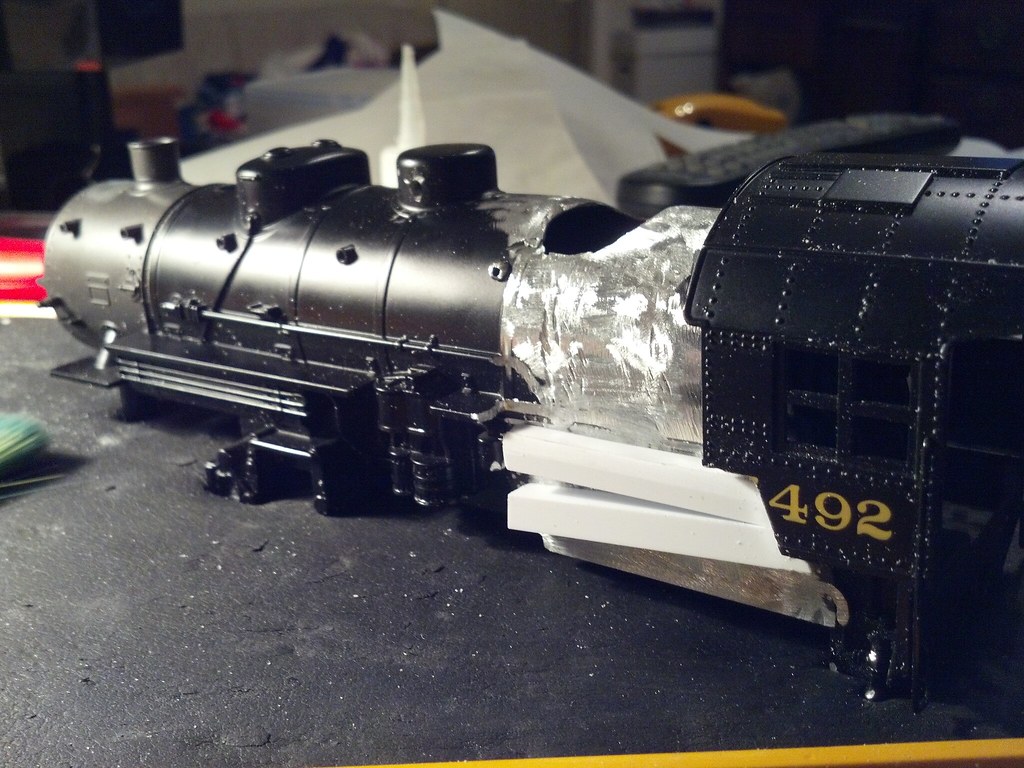
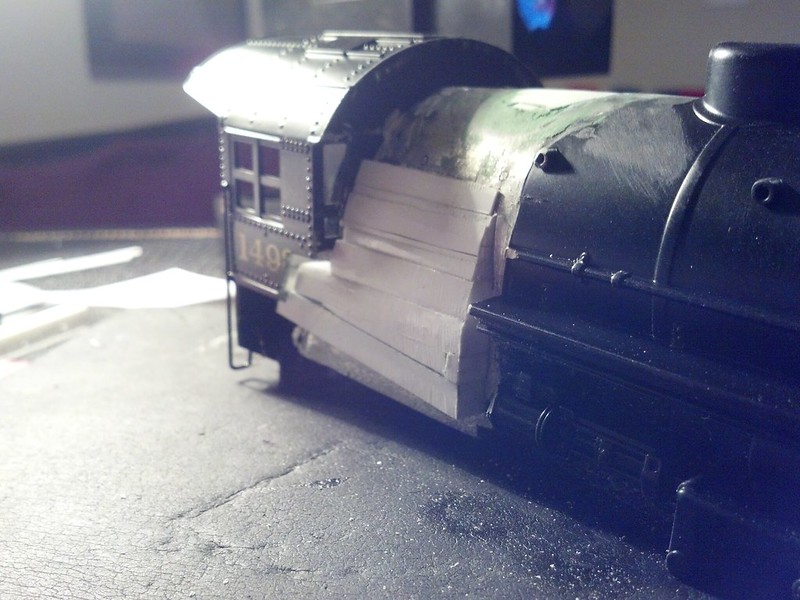
now I can start building up the width of the firebox. This is just thick square styrene stock cut to fit.


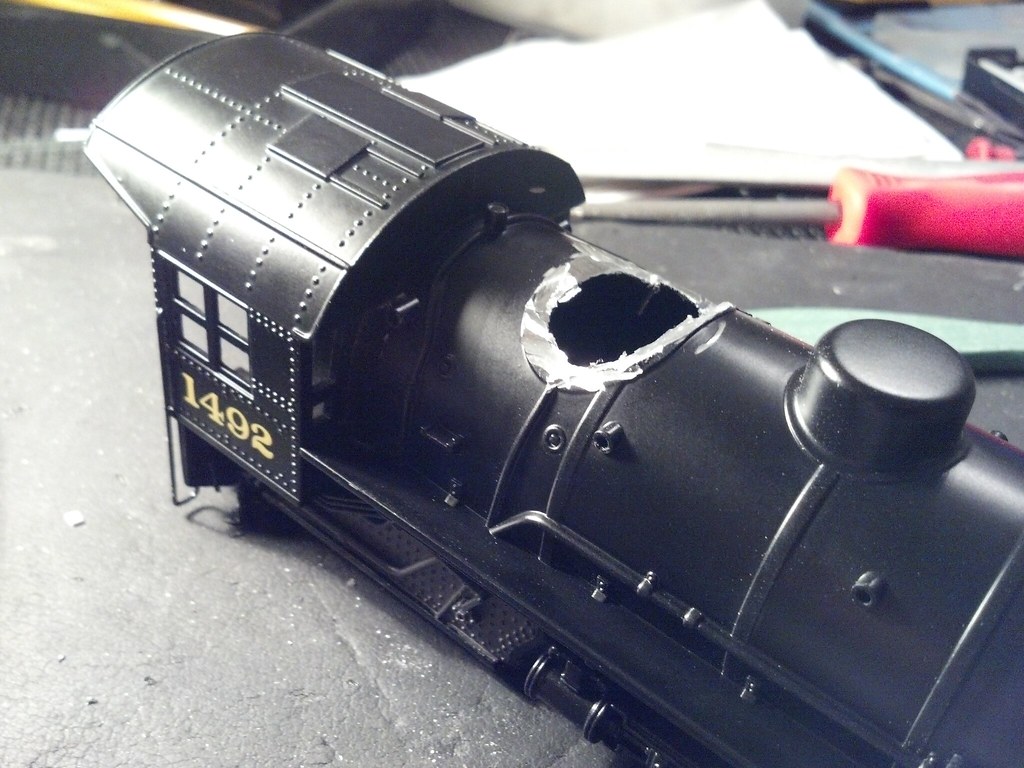
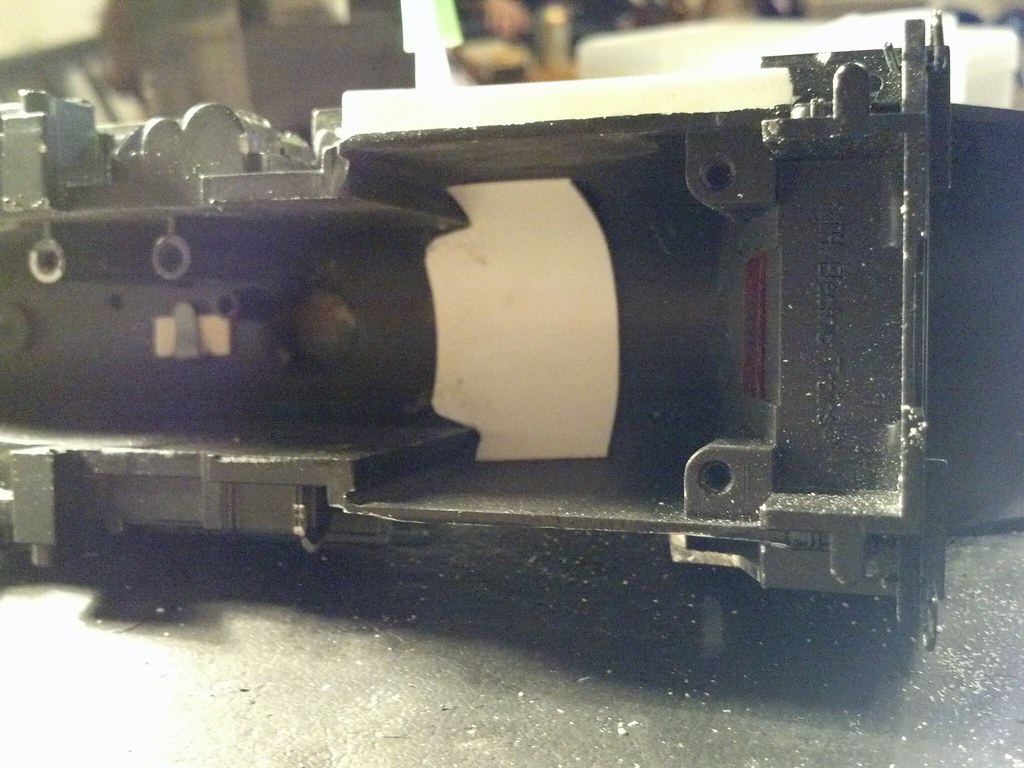
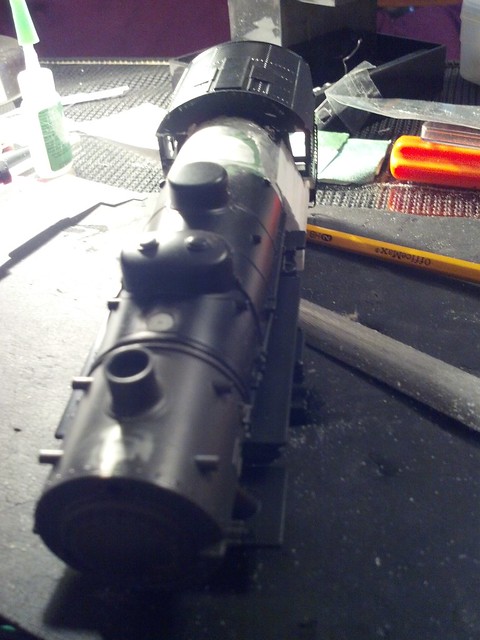
I glued this thin piece of styrene to the inside of the boiler where there was a gaping hole left by removing the 2nd sand dome. I'll need to build up some material to fill the hole so I can wrap the firebox.


filled the hole with some thicker styrene sheet, filled in with green squadron putty.
Building O-scale models of Reading steam power

brianwowak.wordpress.com/
Last Edit: 11 years 2 months ago by Wowak.
The administrator has disabled public write access.

"Readingizing" MTH USRA 0-8-0 11 years 2 months ago #451

  • Wowak
  • Wowak's Avatar
  • OFFLINE
  • Engineer
  • Posts: 101
  • Thank you received: 8

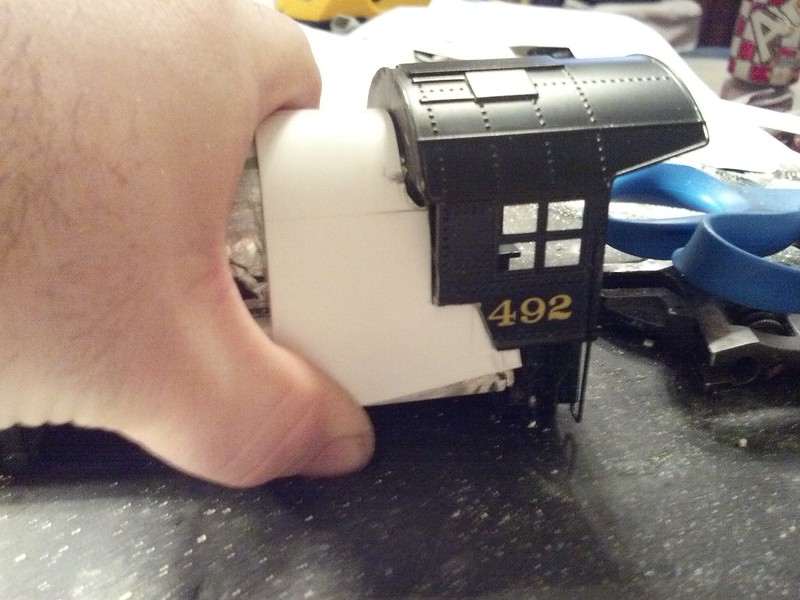
cut a piece of scrap to work out a template for the outer sheet


It doesn't look like much, but filling up the shape with different sizes and shapes of styrene stock. I could have just wrapped the outer sheet over just the bottom bits and had the right shape, but it wouldn't have any strength to it. I want to be able to grab it without it caving in.


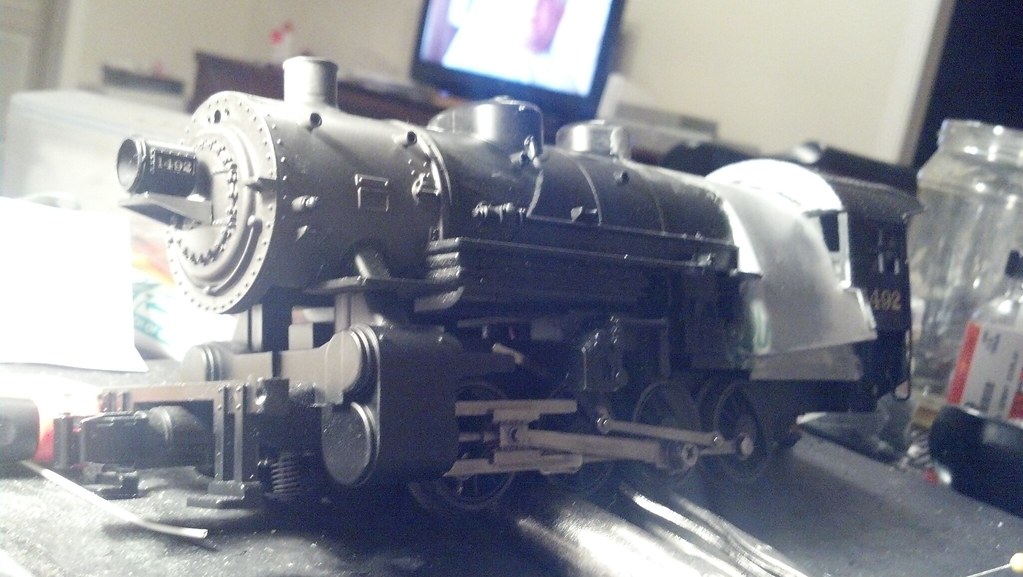
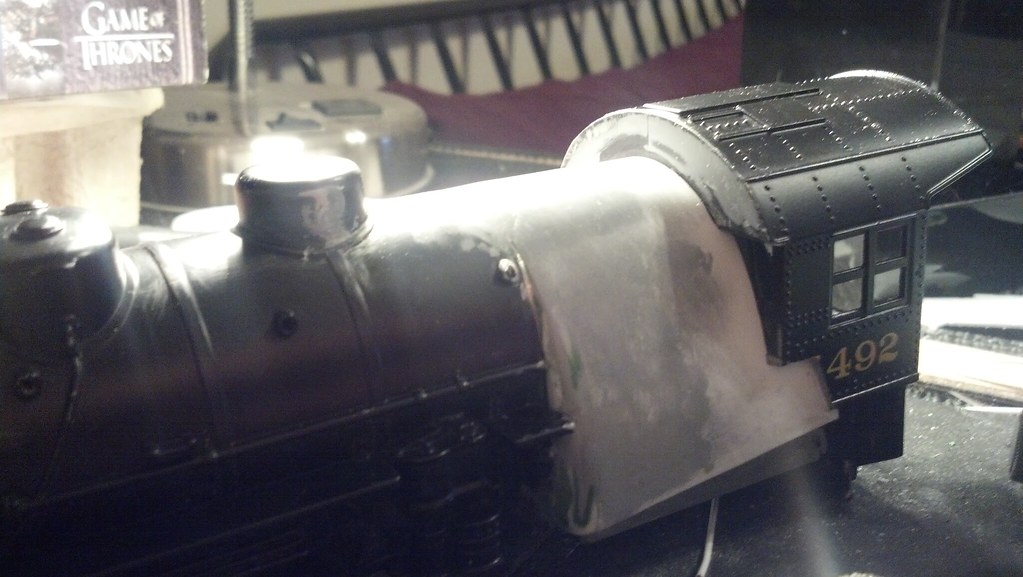
Now it's starting to look like a Wooten.


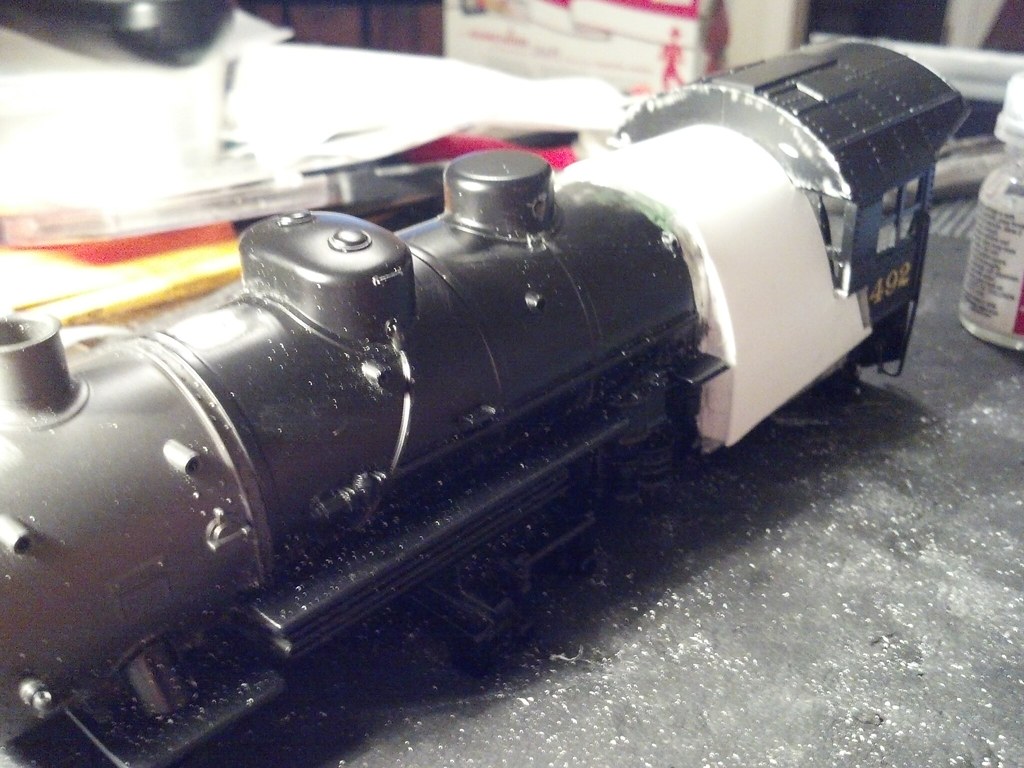
After some careful fitting, my "jacketing" is cut to shape and ready to be installed. You can't see it here, but I filled down the top of the casting so the sheet won't be too high in relation to the top of the boiler jacket.


That wasn't so scary! I still have to add the curved panel at the leading edge of the firebox and the ashpan (and some other details.) Then it's on to the cab windows and moving the headlight. Oh, and I have a whole second engine I have to do this to!


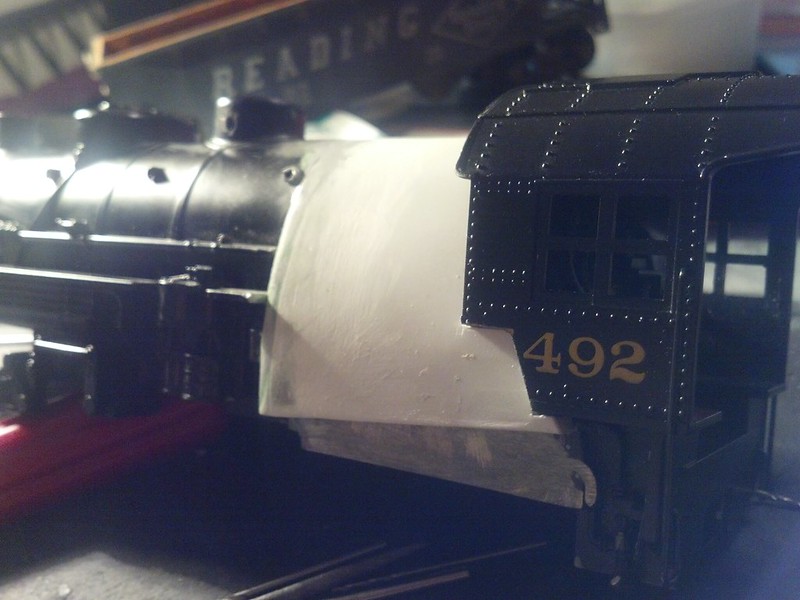
Built up the curved front edge of the firebox, and used green squadron on the first pass, and grey tamiya putty on the second. I still did another pass of tamiya after this pic.

[img src="farm9.staticflickr.com/8235/8477491347_e4285cd090_c.jpg[/img]
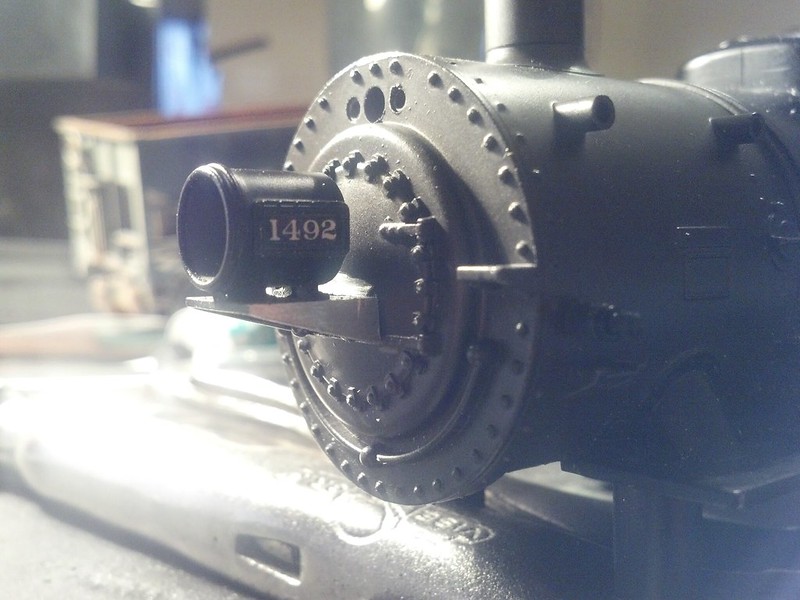
relocated the holes for the headlight mounting, and did a slight amount of filing to get a good tight fit to the headlight bracket. MTH builds these by running the bulb through that hole and into the back of the headlight, where the Lionel 0-8-0 has a square hole designed to fit the connector on the wire. On my B4A build I drilled a small hole just big enough for the wires, and will solder them back together inside the shell, but I want to maintain factory serviceability for the client, so I drilled a round hole for the bulb here. (the other holes should be covered by the bell bracket, if my supplier would ever get them back in stock from PSC! Argh!)


First test-fit of the headlight. MTH used a REALLY chunky bracket, so I filed down the bottom to give it a little less visual mass.

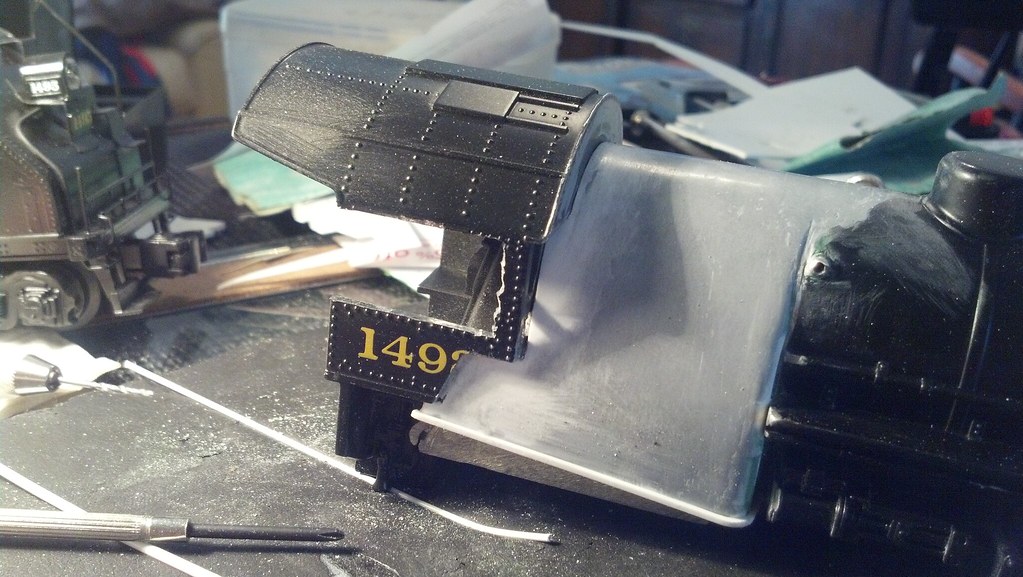
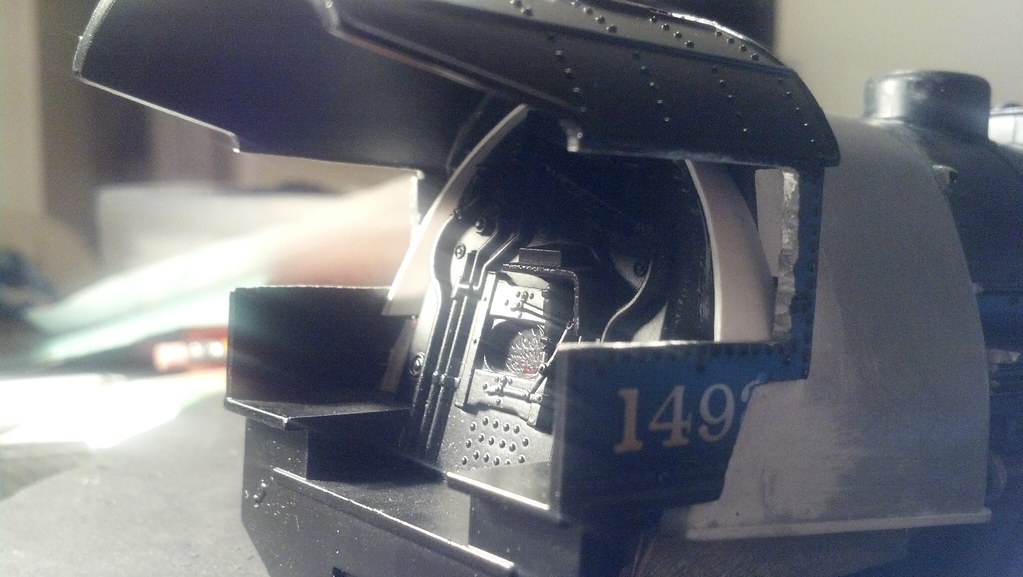
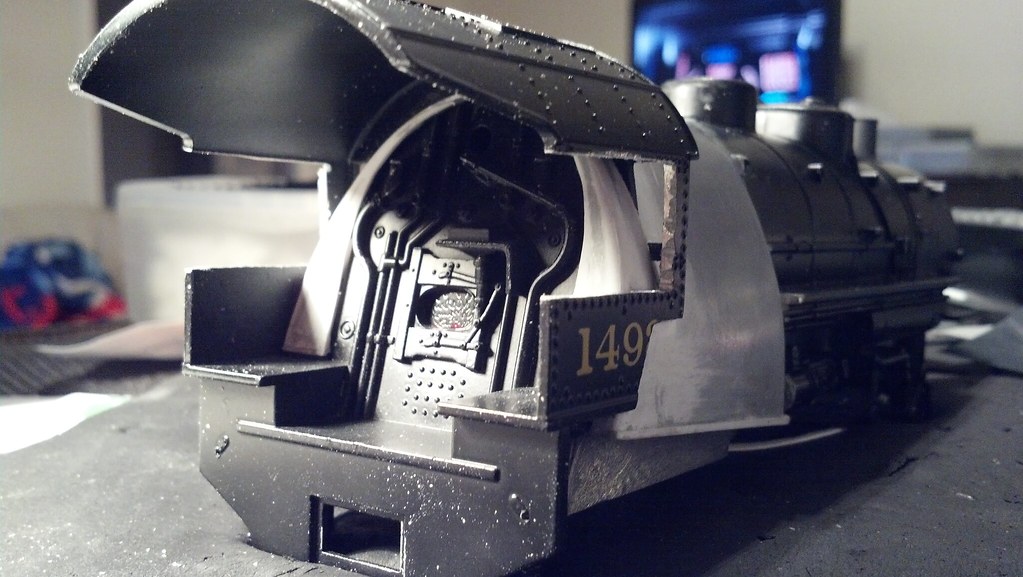
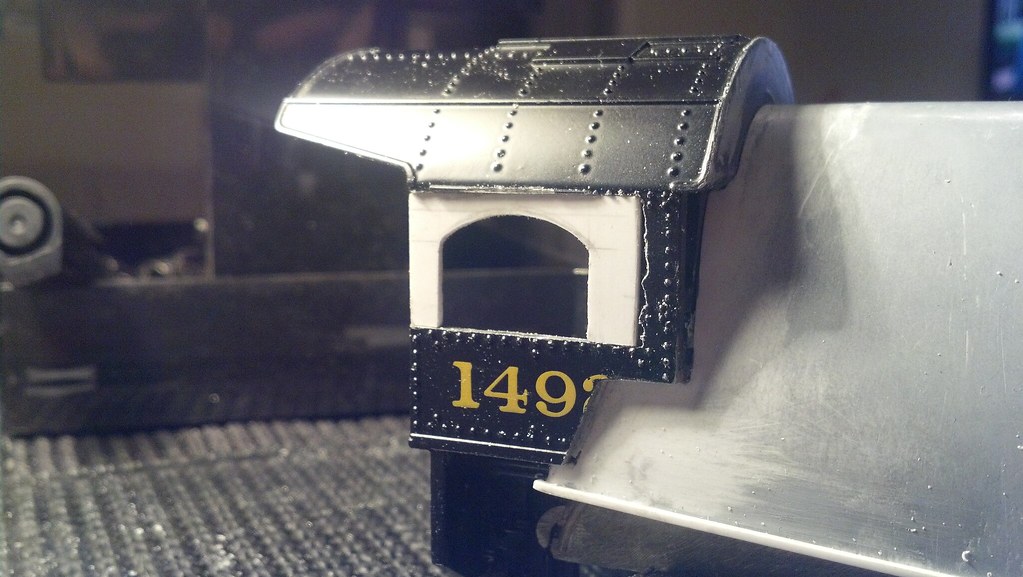
Next, the cab windows, and building up the backhead to match the curve of the firebox inside the cab.


Here's the nice, smooth transition from the boiler to the firebox. Even if there were imperfections (none that I can see) the joint between the jacketing panels that will run across the front of the firebox would have distracted from them.


I had one of those rare moments of smartness, and realized it would be easier to build out the sides of the backhead to match the rest of the firebox BEFORE I patch in the new windows. So I'm working on that.


It'd look pretty silly to look through the cab window and see a standard firebox on a Wooten locomotive, don't you think?


That's better. I'll probably add a little misc. piping to hide the seam, as I found on my last build that using putty inside the cab is quite tricky.


Cab window roughed in.


widened backhead complete.
Building O-scale models of Reading steam power

brianwowak.wordpress.com/
The administrator has disabled public write access.

"Readingizing" MTH USRA 0-8-0 11 years 2 months ago #457

  • Turboboost910
  • Turboboost910's Avatar
  • OFFLINE
  • Conductor
  • Posts: 250
  • Thank you received: 17
Wow! It's like watching a real locomotive being built in the shops...!

I have yet to try to make a wooten for my steamers, and it's the one thing that is terrifying me enough to not touch my Mallet. This tutorial gives me a little hope.

P.S. Do you suppose in N scale that I could replicate what you are doing by using only putty over the scrap pieces and sanding it down, or would I be better off by applying a thin jacket? Size is the name of the game here...I've debated just taking one of my many I10sa shells and slaving in the firebox and leaving it be at that...
The administrator has disabled public write access.

"Readingizing" MTH USRA 0-8-0 11 years 2 months ago #458

  • Wowak
  • Wowak's Avatar
  • OFFLINE
  • Engineer
  • Posts: 101
  • Thank you received: 8
I suspect you could get pretty good results just sculpting putty over styrene, and if you get to your final shape and you're not happy with the smoothness, they make some seriously paper thin styrene you could lay over it. My concern with large amounts of exposed putty is that it can become brittle and crack under handling (or mishandling.)
Building O-scale models of Reading steam power

brianwowak.wordpress.com/
Last Edit: 11 years 2 months ago by Wowak.
The administrator has disabled public write access.

"Readingizing" MTH USRA 0-8-0 11 years 2 months ago #459

  • 2771-chris
  • 2771-chris's Avatar
  • OFFLINE
  • Road Foreman of Engines
  • Posts: 634
  • Thank you received: 94
Wowak...great modeling.With the price we pay for our motive power today one of the hardest things to do is cutting up a model to make it more prototypically correct...not much room for error.And if I understand you correctly your doing this for someone else...there's a little pressure on your shoulders.By the look of things so far it surely isn't your first rodeo.Good luck with the rest of the project.
The administrator has disabled public write access.

"Readingizing" MTH USRA 0-8-0 11 years 2 months ago #461

  • JoannaBill
  • JoannaBill's Avatar
  • OFFLINE
  • Road Foreman of Engines
  • Posts: 422
  • Thank you received: 63
Keep going, I want to see what happens next!
The administrator has disabled public write access.
Time to create page: 0.122 seconds

Today's Image

Did You Know?

March 16, 1969
The last train makes a stop at the Outer Station in Reading.

Downloads

Operations Information

Click Here!A variety of Reading Company operations related documents, etc. that may be of use in your modeling efforts.

Operations Paperwork

Click Here!A variety of Reading Company operations paperwork, such as train orders, clearance forms, etc. that will help you operate your Reading layout in a prototypical manner.

Timetables, Rulebooks, Etc.

Click Here!Public Timetables, Employe Timetables, and Rulebooks that provide much useful operational information.

Modeling Goodies

Click Here!Signs, billboards, and other FREE goodies for your use.  We ask only that you help spread the word about The Reading Modeler!

Rolling Stock Reference

Click Here!Downloadable reference documents on the various classes of Reading Company Freight and Passenger rolling stock.

Thanks for Your Support!

If you find the content on The Reading Modeler valuable, won't you please consider supporting our efforts? Your donation will help to offset operating costs and acquire new material to share on the site. Thank you!

Amount: 

Advertisements