FacebookTwitterDiggGoogle BookmarksRedditLinkedinRSS Feed
Welcome, Guest
Username: Password: Remember me
This section of The Interchange provides a space where members of the Reading Modeler community can showcase their Reading modeling efforts. If you've got a project that you'd like to share, start a new topic and "show and tell" the group how you did it!

TOPIC: RDG SW1500 2763

RDG SW1500 2763 11 years 1 month ago #803

  • 2771-chris
  • 2771-chris's Avatar
  • OFFLINE
  • Road Foreman of Engines
  • Posts: 634
  • Thank you received: 94
I was never pleased with Athearn's version of 2763,although I did RDGize it by painting the handrails,adding the drip strips,roof number,aci plate on the handrails,etc.etc.Befor Athearn introduced RDG units I purchased an undec.model with the intention of modeling 2763,so I guess its finally time to do it.With that said once this project is completed I will be parting with Athearn's version,so if anyone is interested send me a pm.
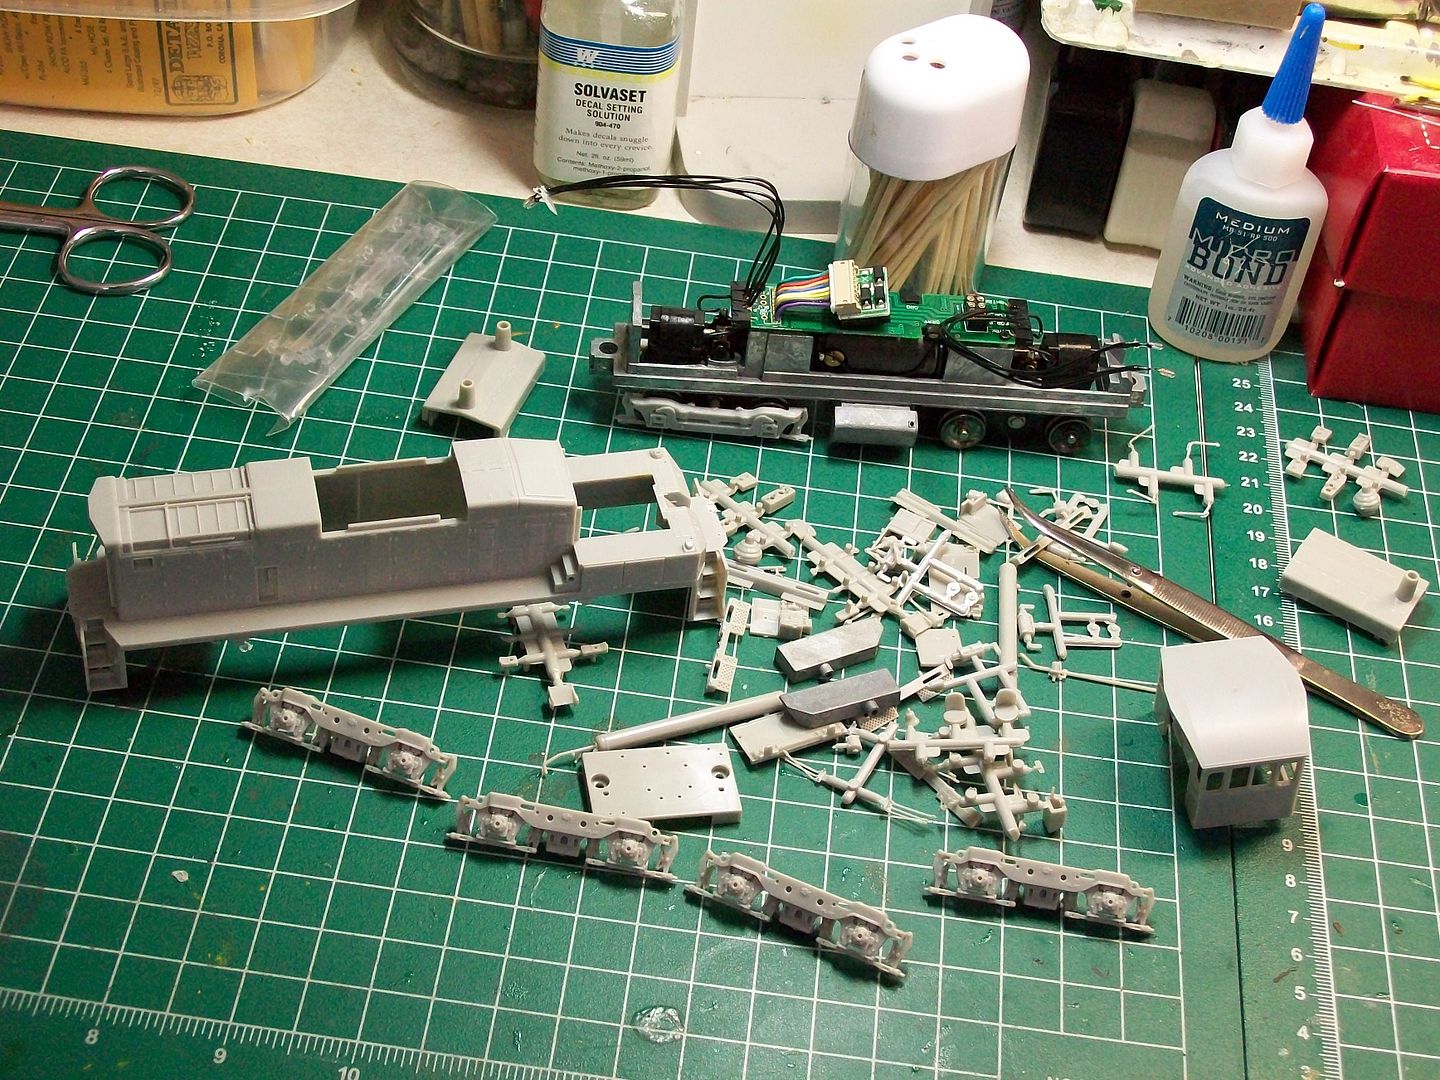
First I removed the body from the frame.The dreaded micro bulbs were glued in place,I was able to free them without causing any damage.We then had an explosion of parts.

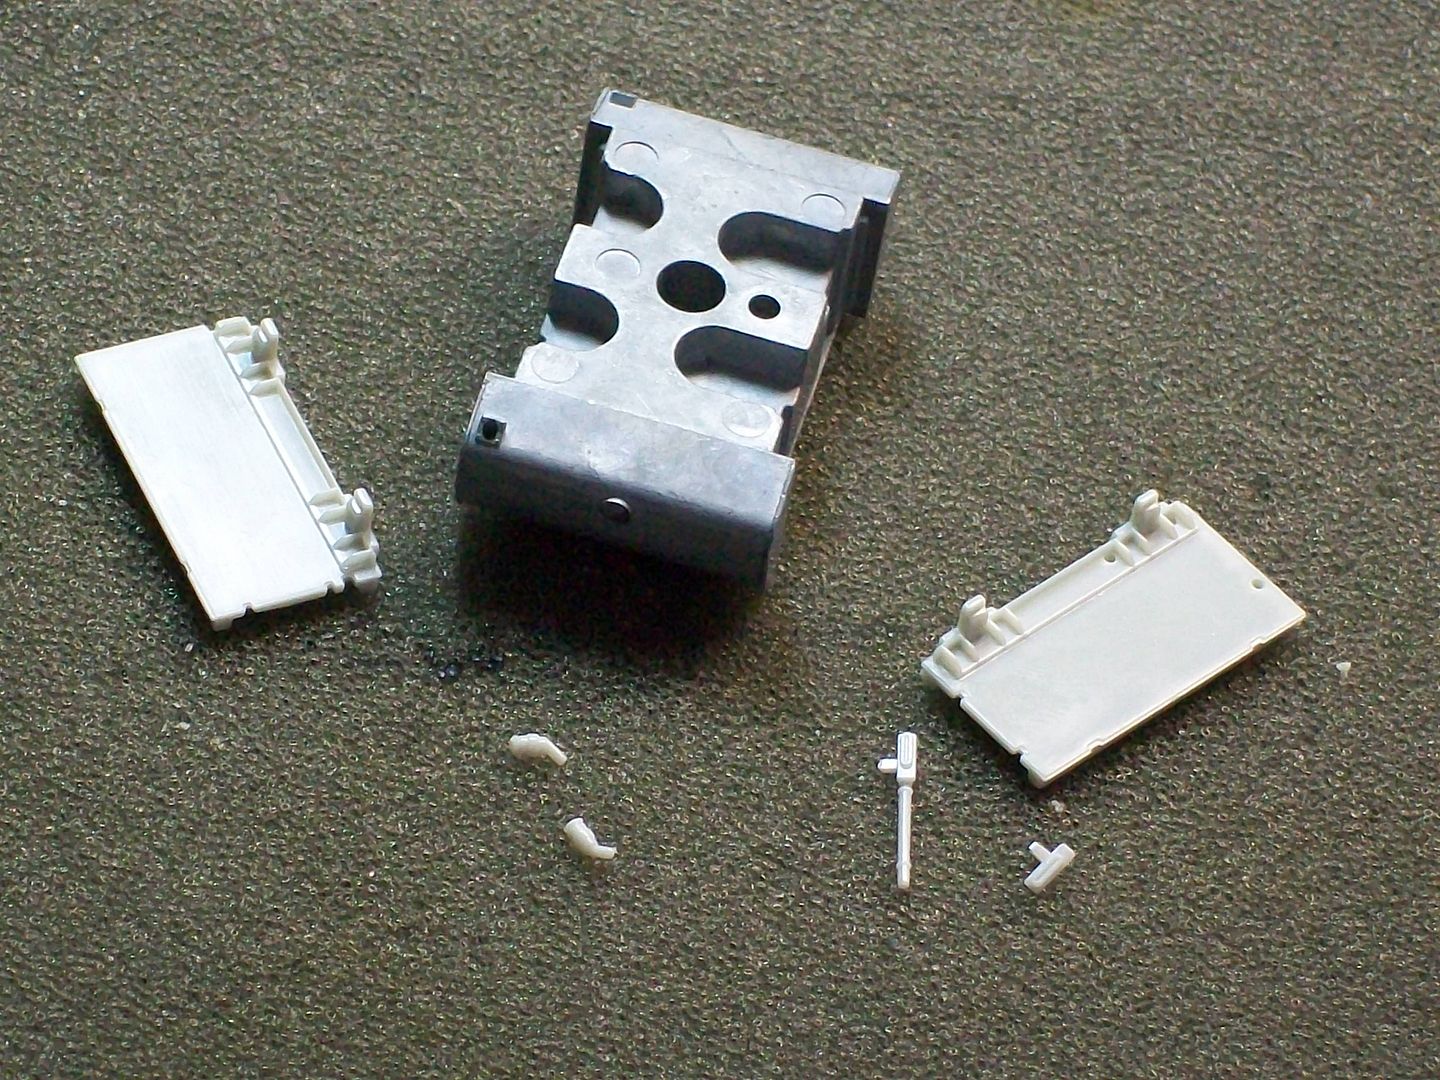
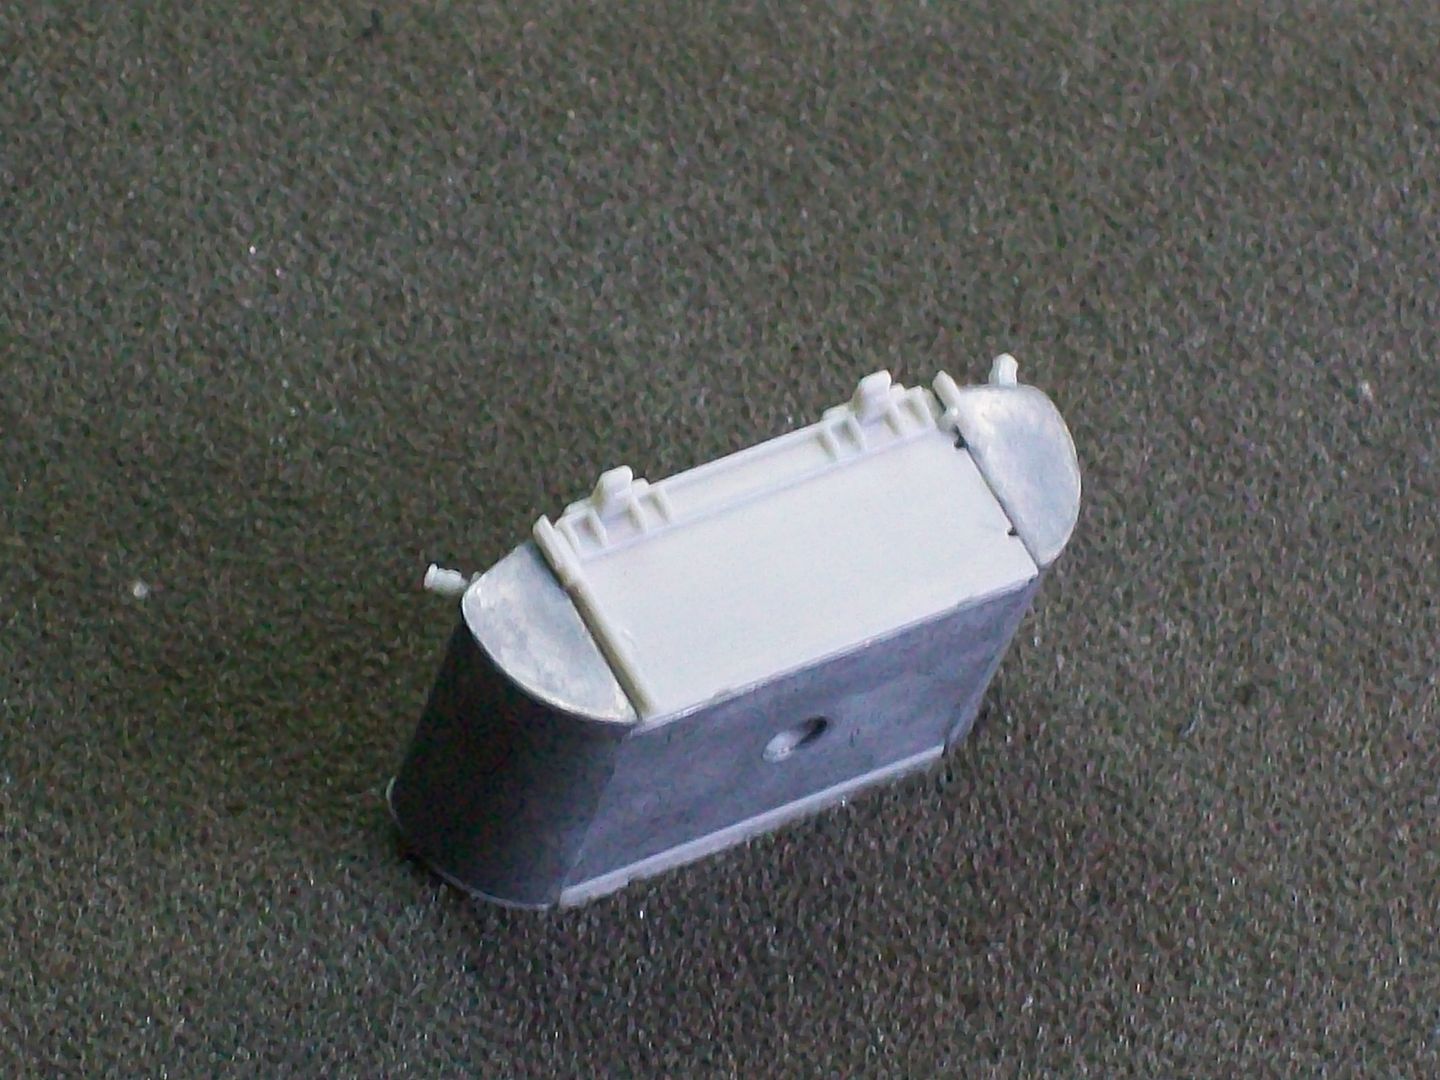
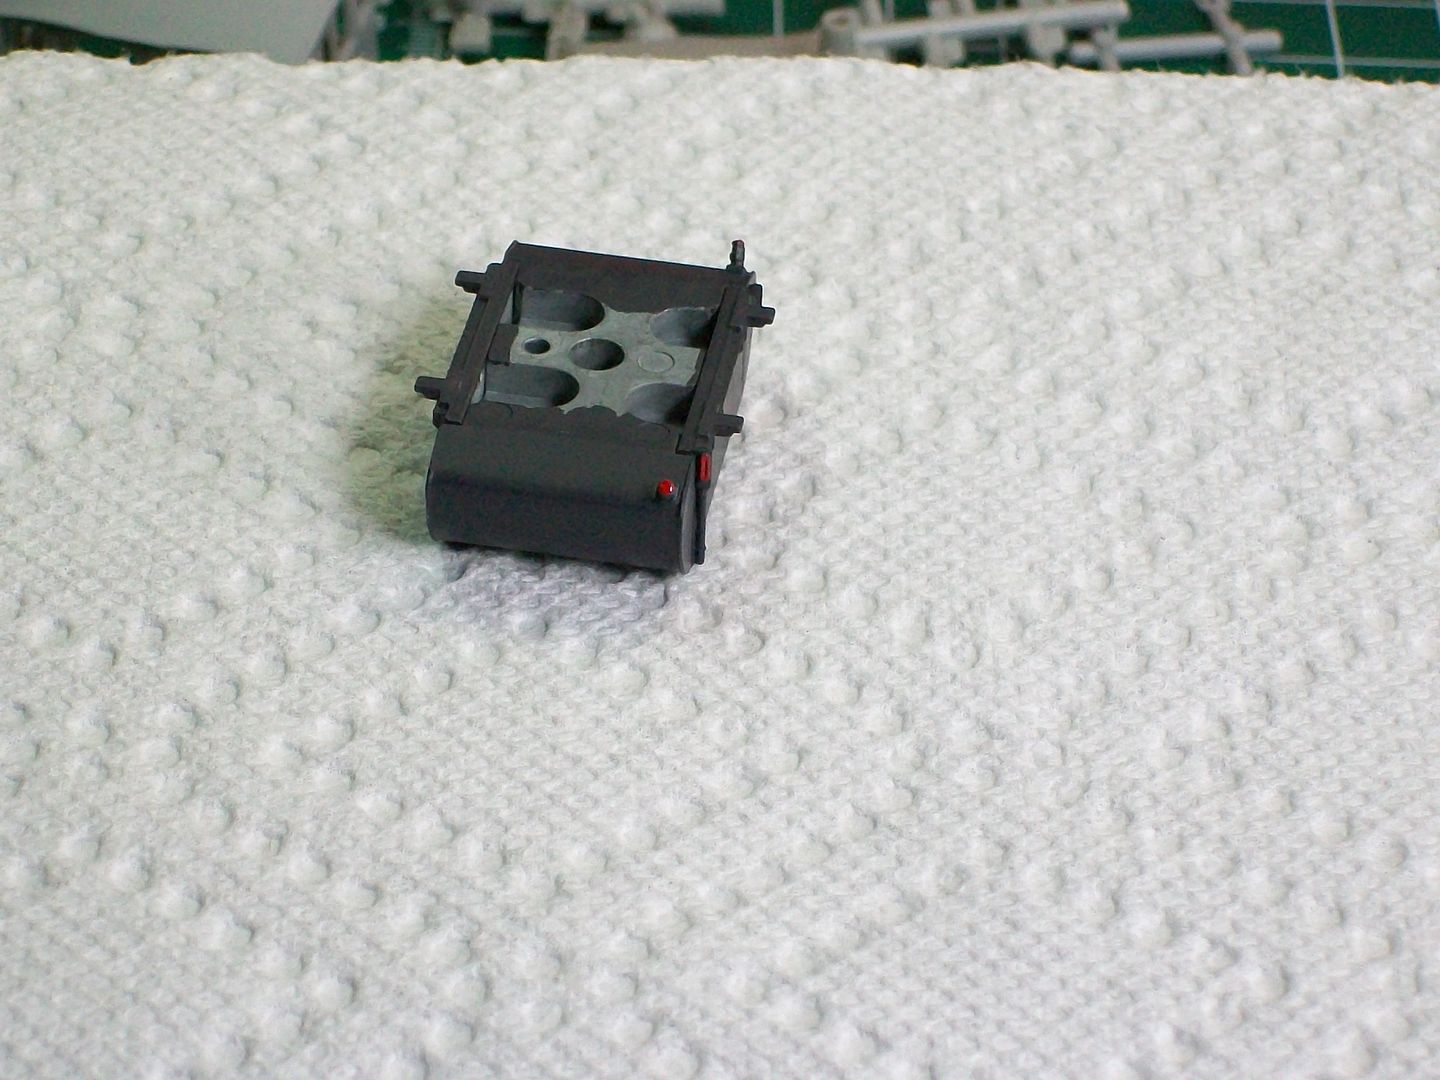
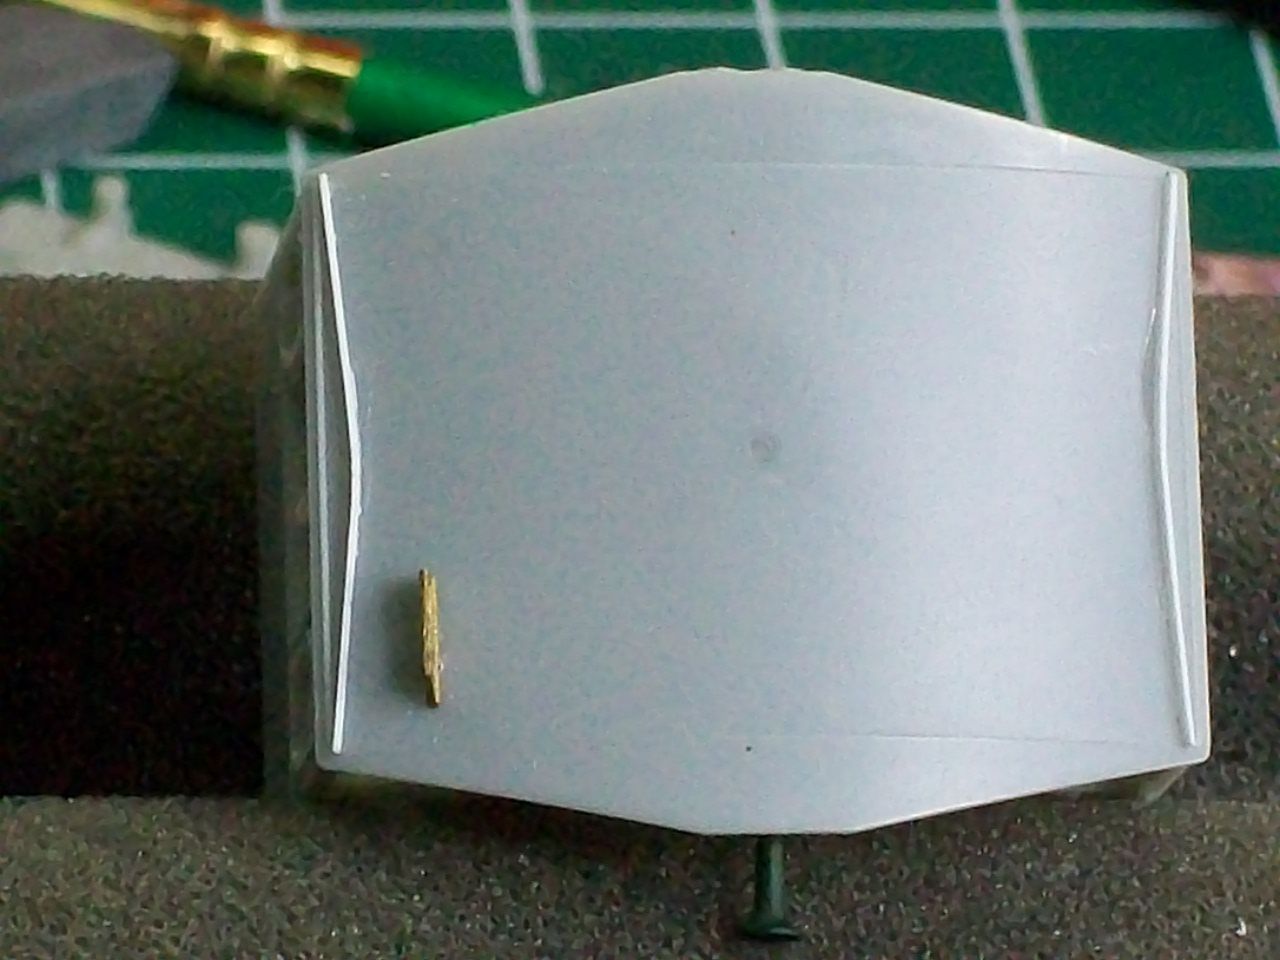
As with the C424 I'll be starting from the ground up.I removed the fuel tank from the frame.It's held on by one screw.I then added the end walls,caps and sight glasses.The tank itself is metal and the add on parts are styrene so I secured them with my combination of Walther's Goo and MS microbond.

The rear facing portion of the tank.


Next came the trucks.The unit came with both styles and of course we'll be using the Flexicoil side frames.In removing the other side frames every single mounting pin sheared off so I had to take off the bottom plate and remove the wheels so I could remove the broken pin.Frustrating,but it turned out to be a blessing.The gears were packed with grease so I cleaned the excess at this time.Anyway,I added the cylinders and speed recorder cable.

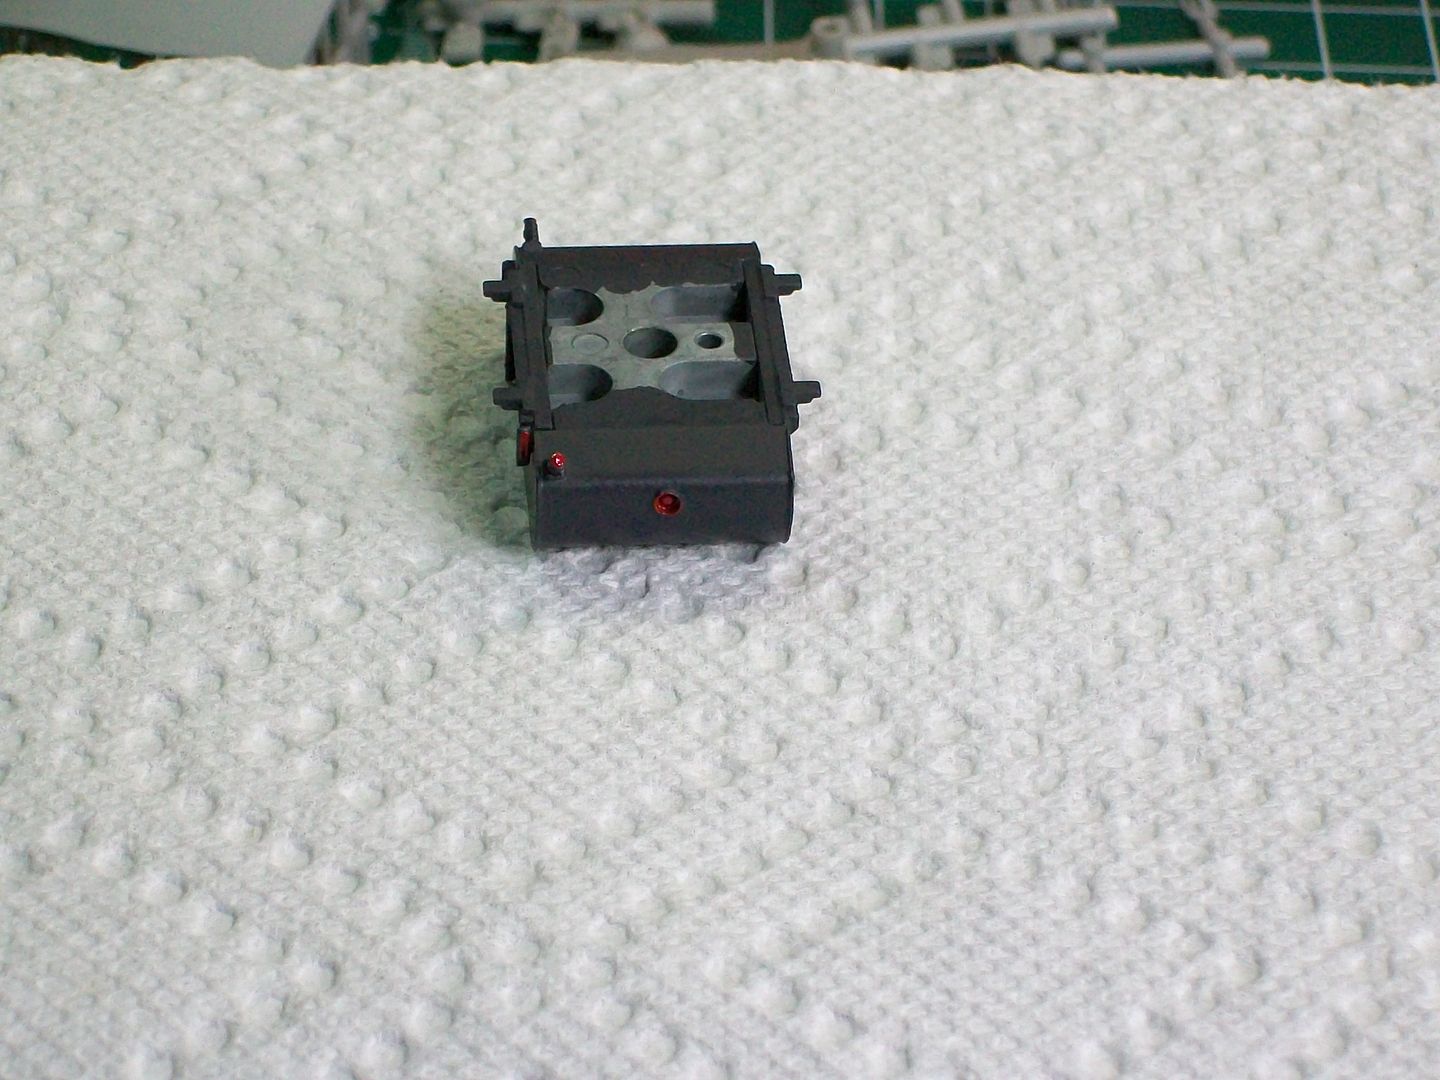
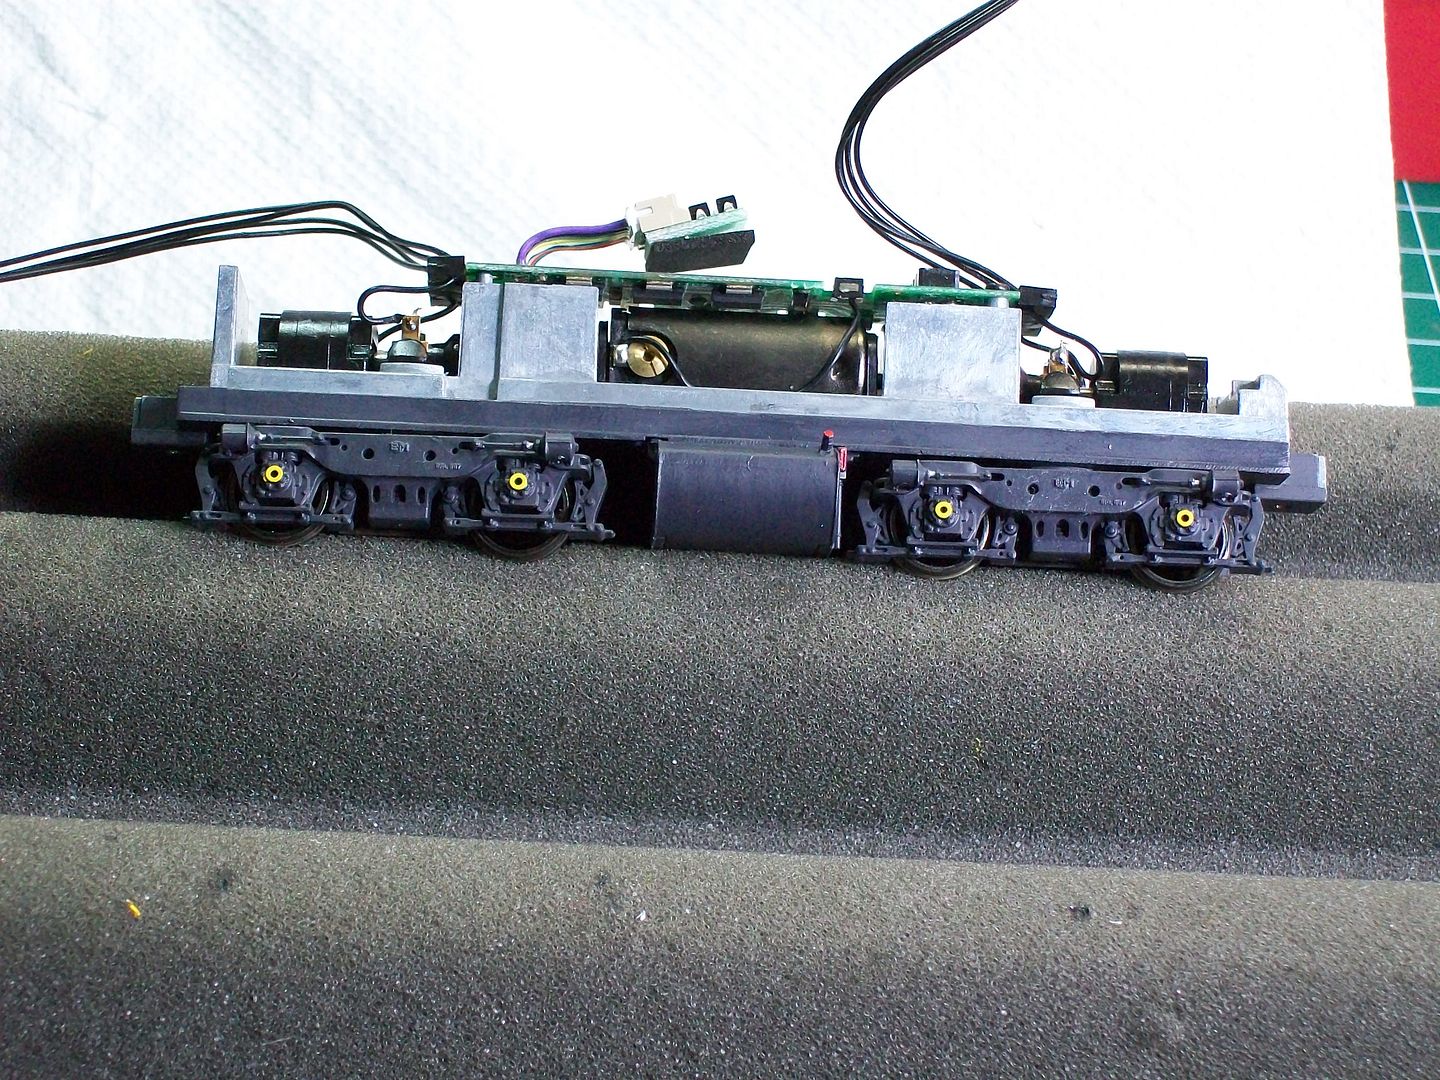
Next I hand painted the trucks and fuel tank with Floquil's weathered black.I also painted the lower area of the metal frame.

Fuel tank


After the paint dried I mounted the fuel tank and trucks to the frame.

The administrator has disabled public write access.

RDG SW1500 2763 11 years 1 month ago #813

  • MarkFJ
  • MarkFJ's Avatar
  • OFFLINE
  • Conductor
  • Posts: 227
  • Thank you received: 39
Here is the information for a good companion article to use while following this build:

Diesel Detail Close-Up: EMD Reading Company SW1500 by Rich Picariello, Model Railroading, September 93, pages 58-60.
Includes a photo of sister unit # 2767.

The article is available free at Trainlife
Last Edit: 11 years 1 month ago by MarkFJ.
The administrator has disabled public write access.

RDG SW1500 2763 11 years 1 month ago #824

  • rdg1187prr
  • rdg1187prr's Avatar
  • OFFLINE
  • Conductor
  • Posts: 197
  • Thank you received: 38
Thanks Mark for the information on the article!

Thanks Chris for taking the time to document your progress as I will be following your build closely. I have all 3 of the factory decorated RDG SW1500's. I want to update their details.

BTW Athearn has full yellow handrails for the SW1500 as I ordered some for my 2763 when they first came out. Sorry but I don't remember the part number.

John Caples
The administrator has disabled public write access.

RDG SW1500 2763 11 years 1 month ago #858

  • 2771-chris
  • 2771-chris's Avatar
  • OFFLINE
  • Road Foreman of Engines
  • Posts: 634
  • Thank you received: 94
Thanks Mark and John.

Continuing...I decided to work the cab first.I used my BLMA grab iron template and marked the area below the engineer's front window for the addition of the grab iron.I drilled two #80 holes and mounted the grab,Cal=Scale #190-531.
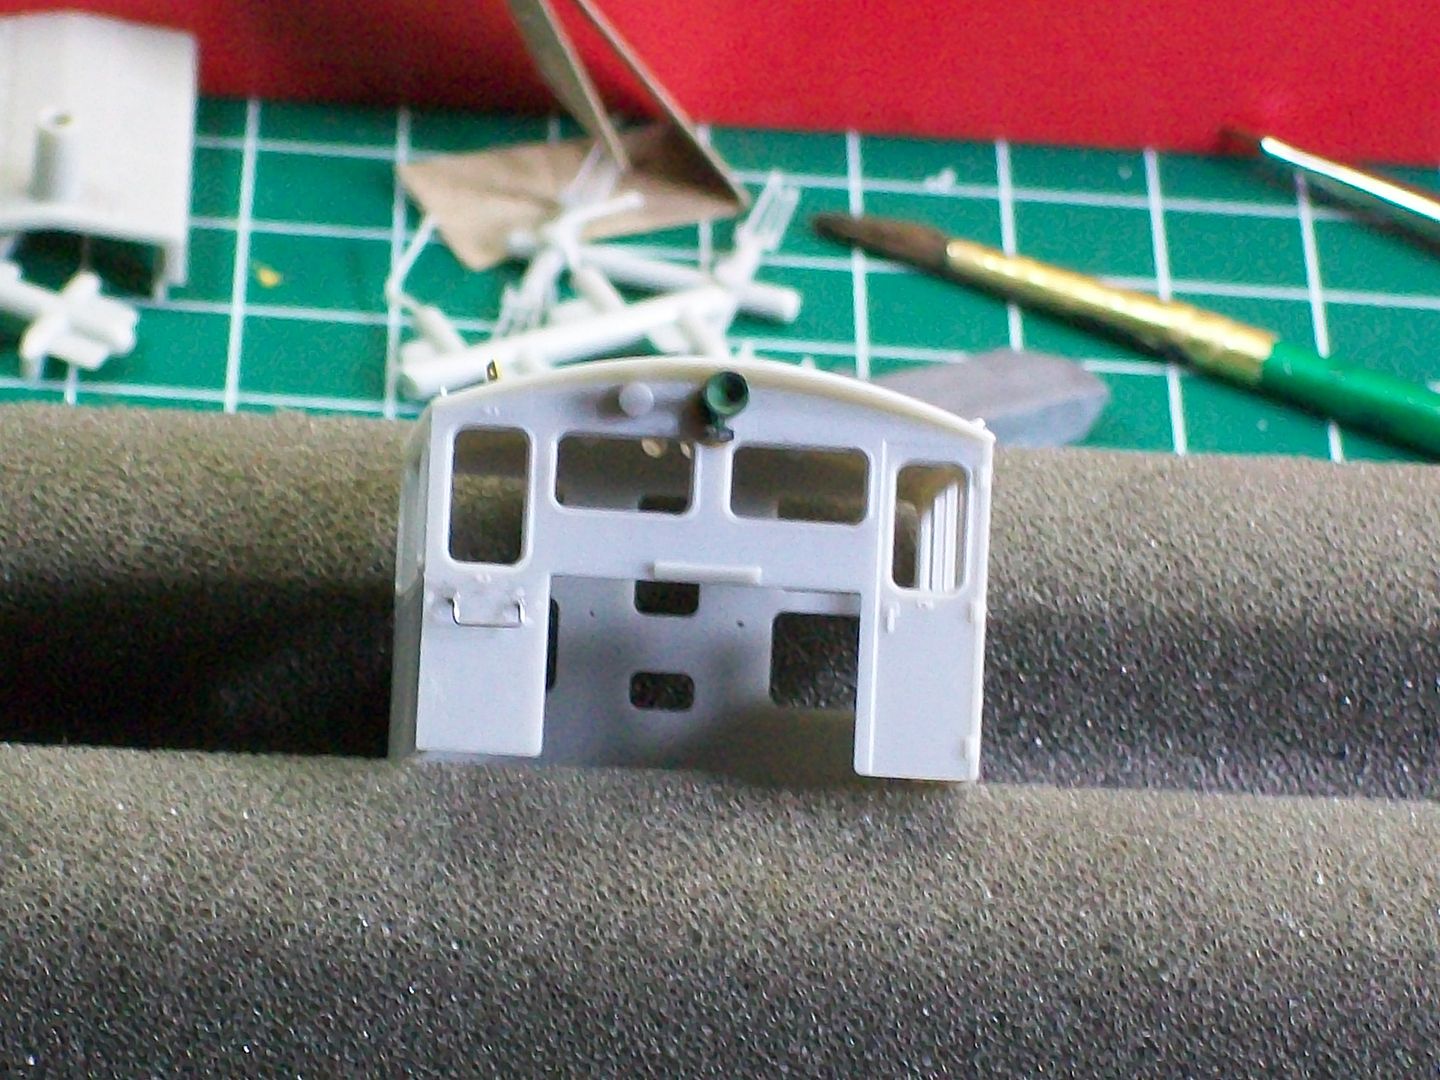
Next the horn...luck would have it,no horn included with the model.I tried the cal-scale brackets and a detail west single chime horn,but because of the size of those castings I couldn't get them to fit below the roof line.Checking my parts inventory I came across a horn from an Atlas GP7.These were mounted on the sides of the Atlas unit.I cut off the mounting pin and then glued the horn directly to the cab wall using Walther's Goo and micro-bond.
Here are two views of the horn and grab.


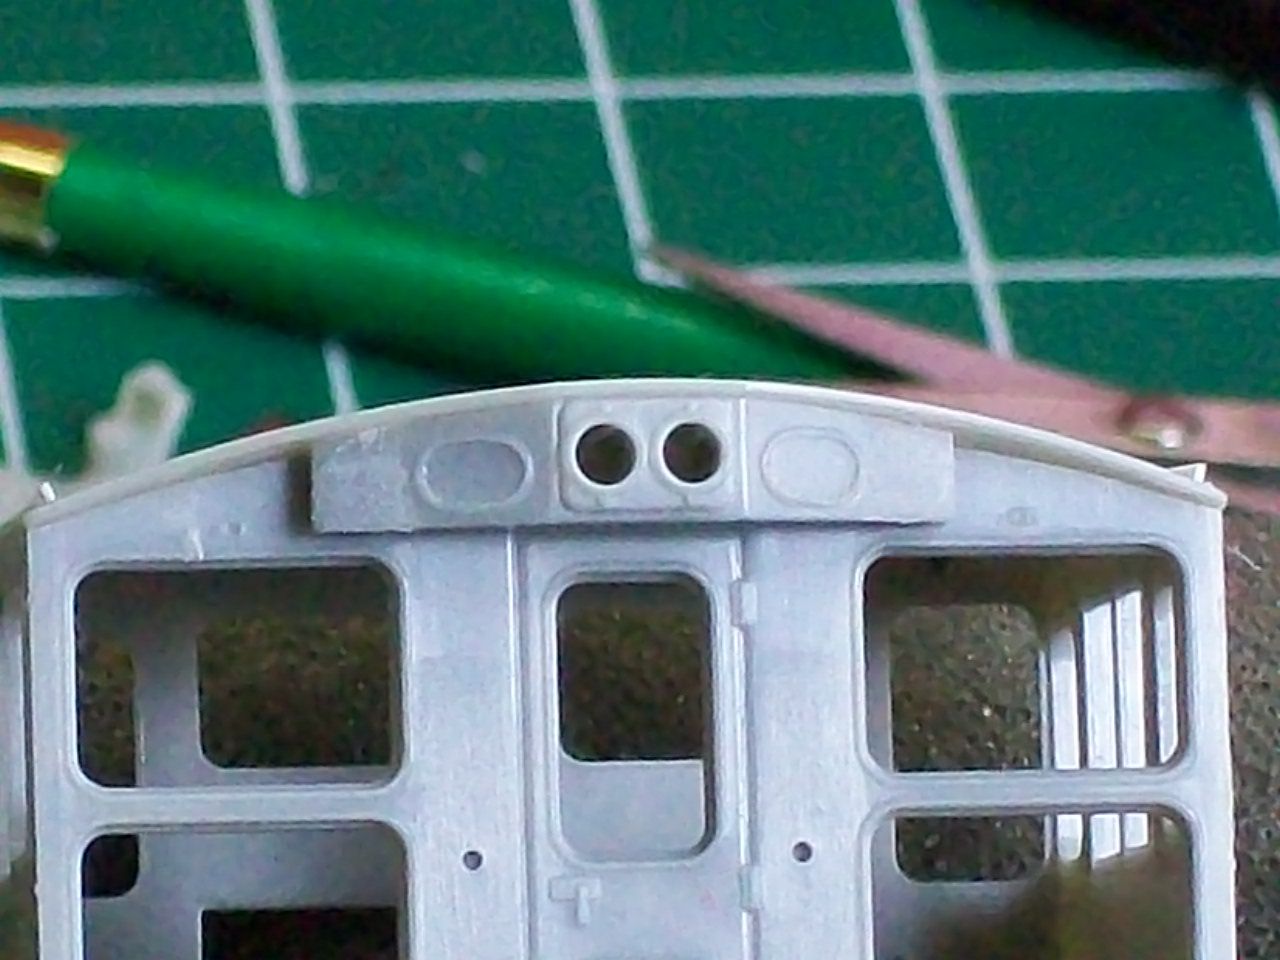
The RDG units did not have marker lights.Using a straight razor I carefully removed and then sanded.


Next I worked on the drip strips.I used the same styrene strips as described in my C424 build.When measured I needed each strip to be 29/32 so my "V" bend was made at the half way point 14.5/32nds.I mounted them using Testor's model glue.I also drilled and mounted the antenna.The antenna came from my parts drawer and I believe its a cal-scale part.
Here's a view


The body...I chose at this time not to add the air tanks and piping under the walkways till after painting so they wouldn't become damaged from handling.I did add the sand hatch lids and assembled the mu hook up and mounted it to the body.I used my template to make my marks for the mounting of the two lower grabs below the right front window. Note;a very difficult area to drill because of clearance issues with the pin vice.I started with a #80 and opened it up a little more with a #78.I added the same grabs as mentioned above and I also added the Athearn grabs.


Again,I removed the front marker lights as described above.


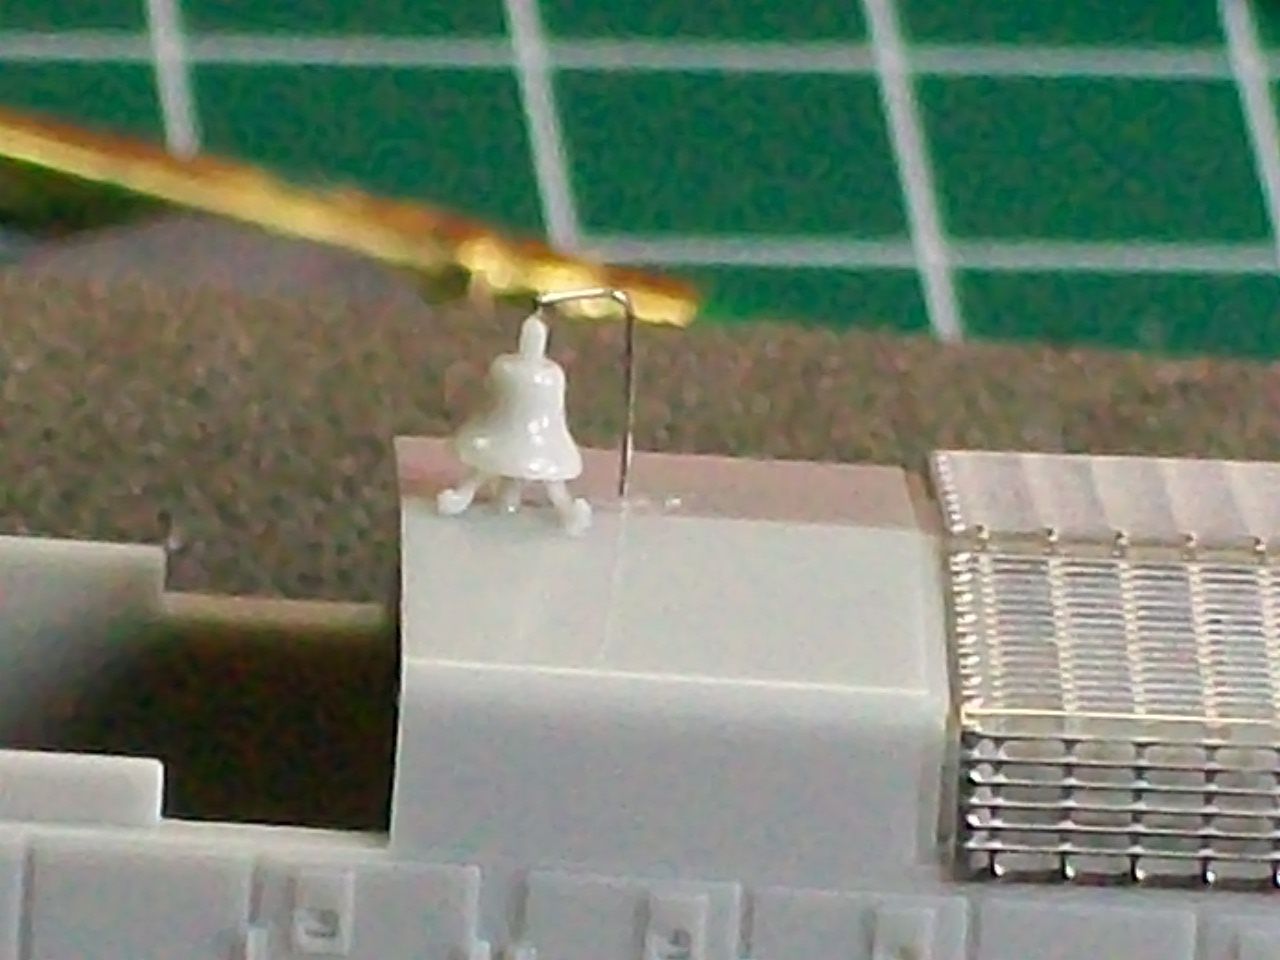
Next,I assembled the bell and mounted it to the body.I test fitted the metal wire to fined my mark and used a #80 to drill the mounting hole.I secured the wire to the body and bell using CA.


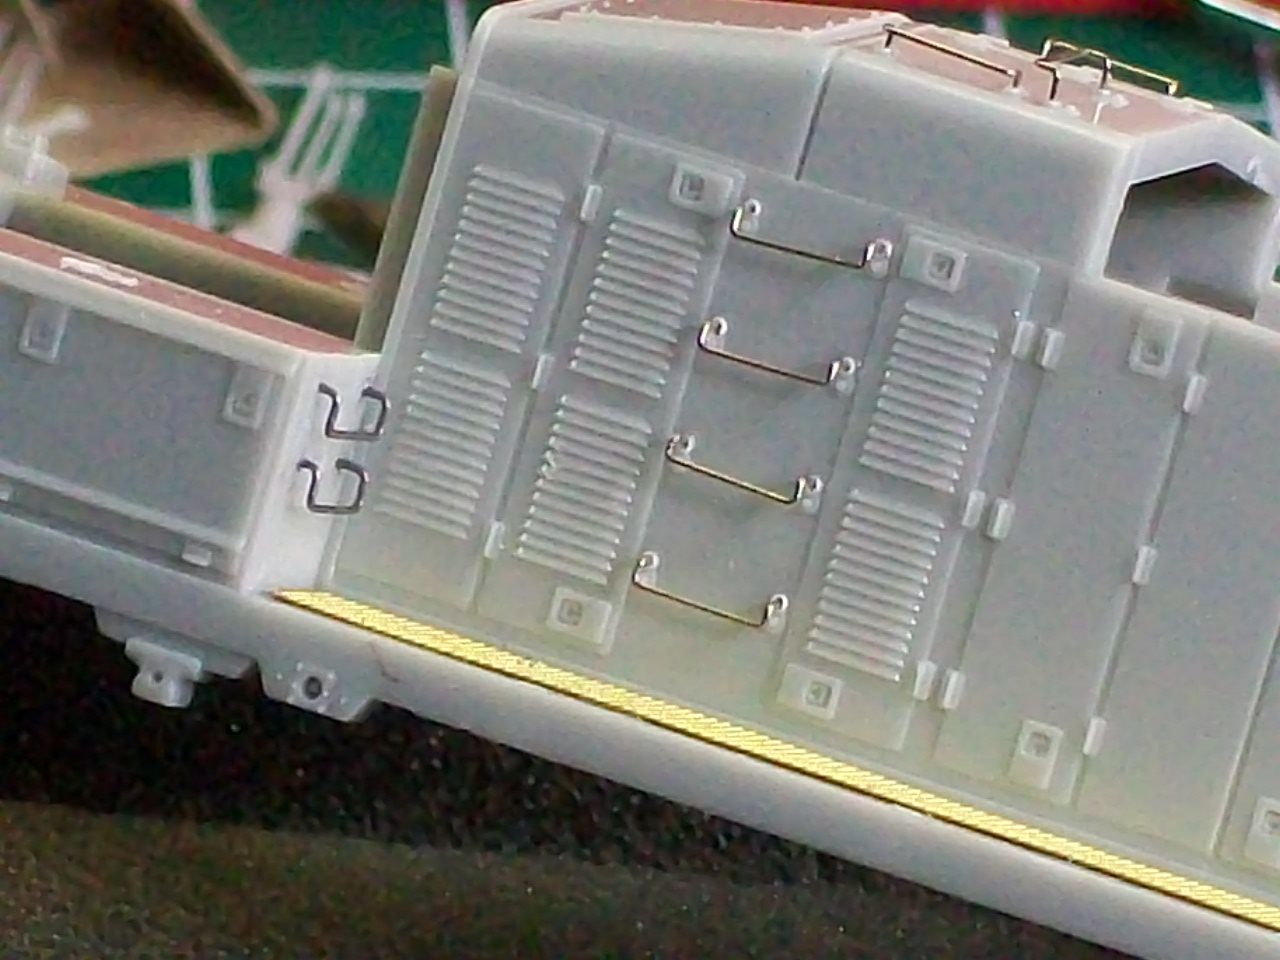
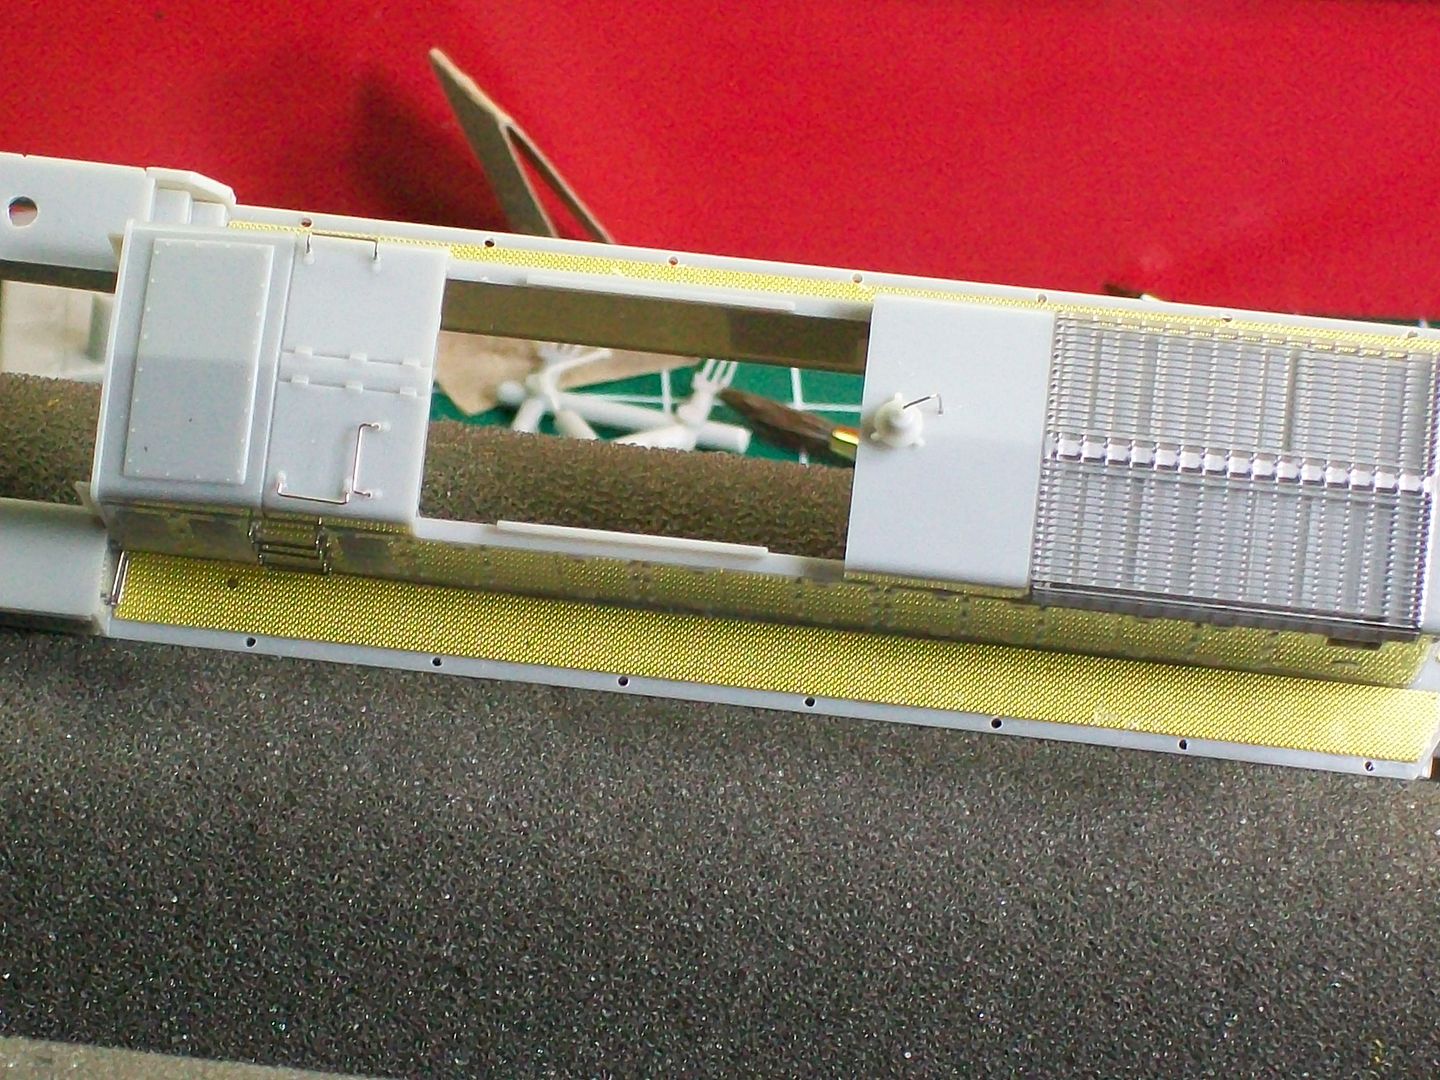
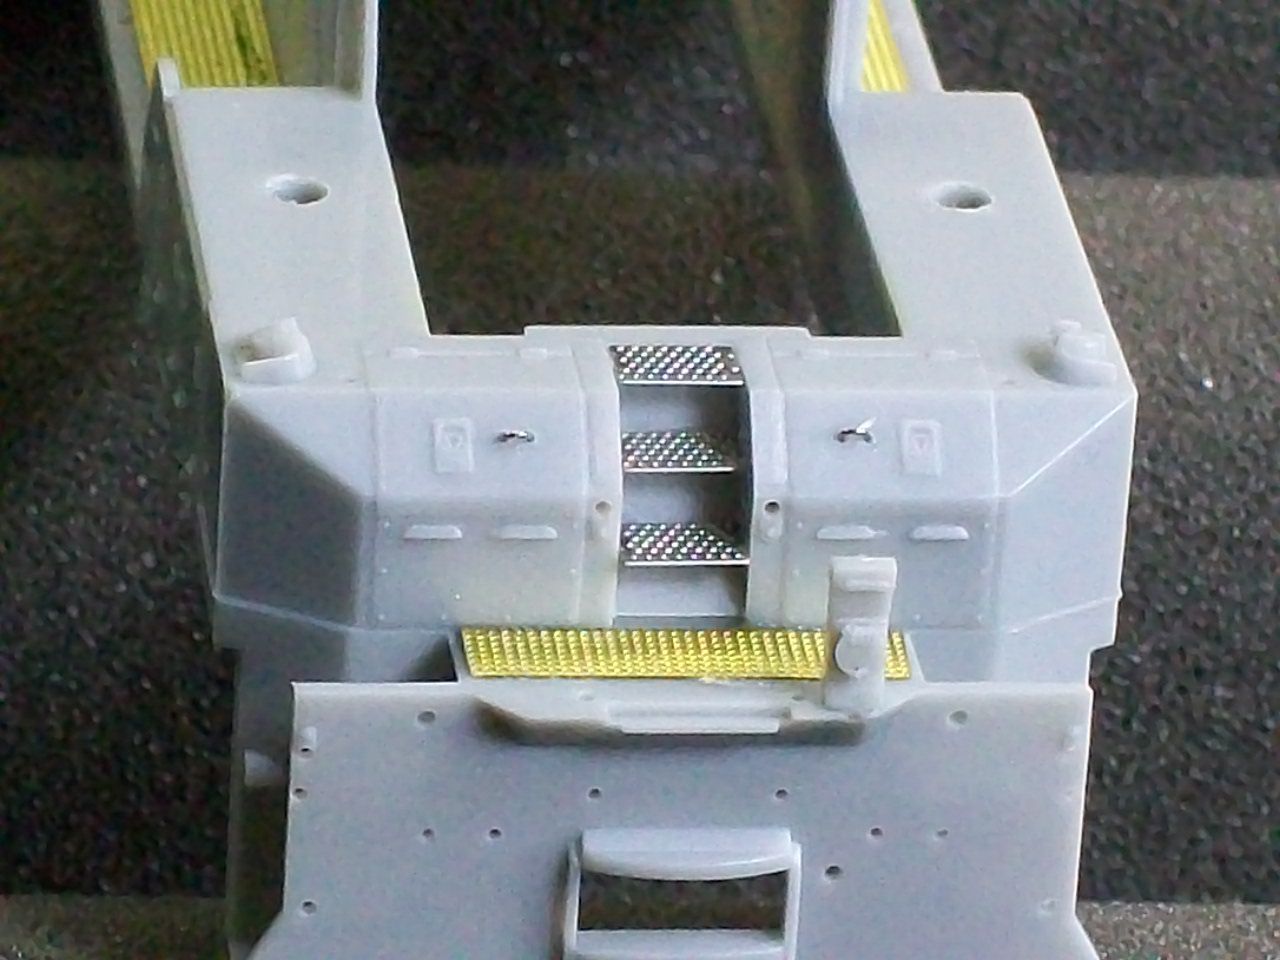
I drilled my holes for the standchions next.After drilling I added the Cannon tread plating.Now,Cannon makes a specific kit for the SW1500 I had some left over stuff that I cut to fit.I sanded the undersides of each piece and secured them with CA.


I also added the steps that came with the model at this time.

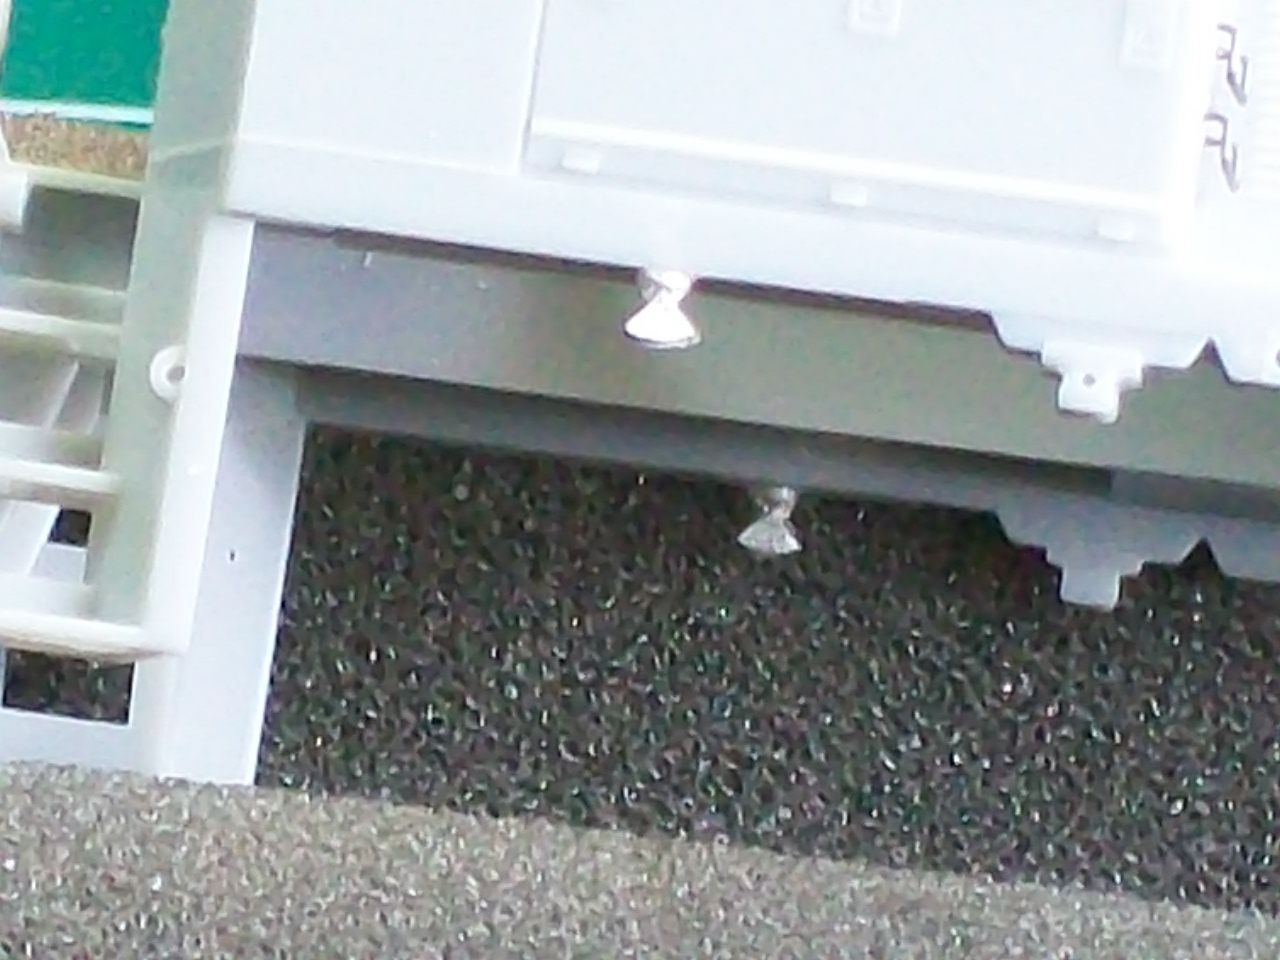
I also added details west,#sl-172,step/inspection lights to the underside of the frame below the cab windows.


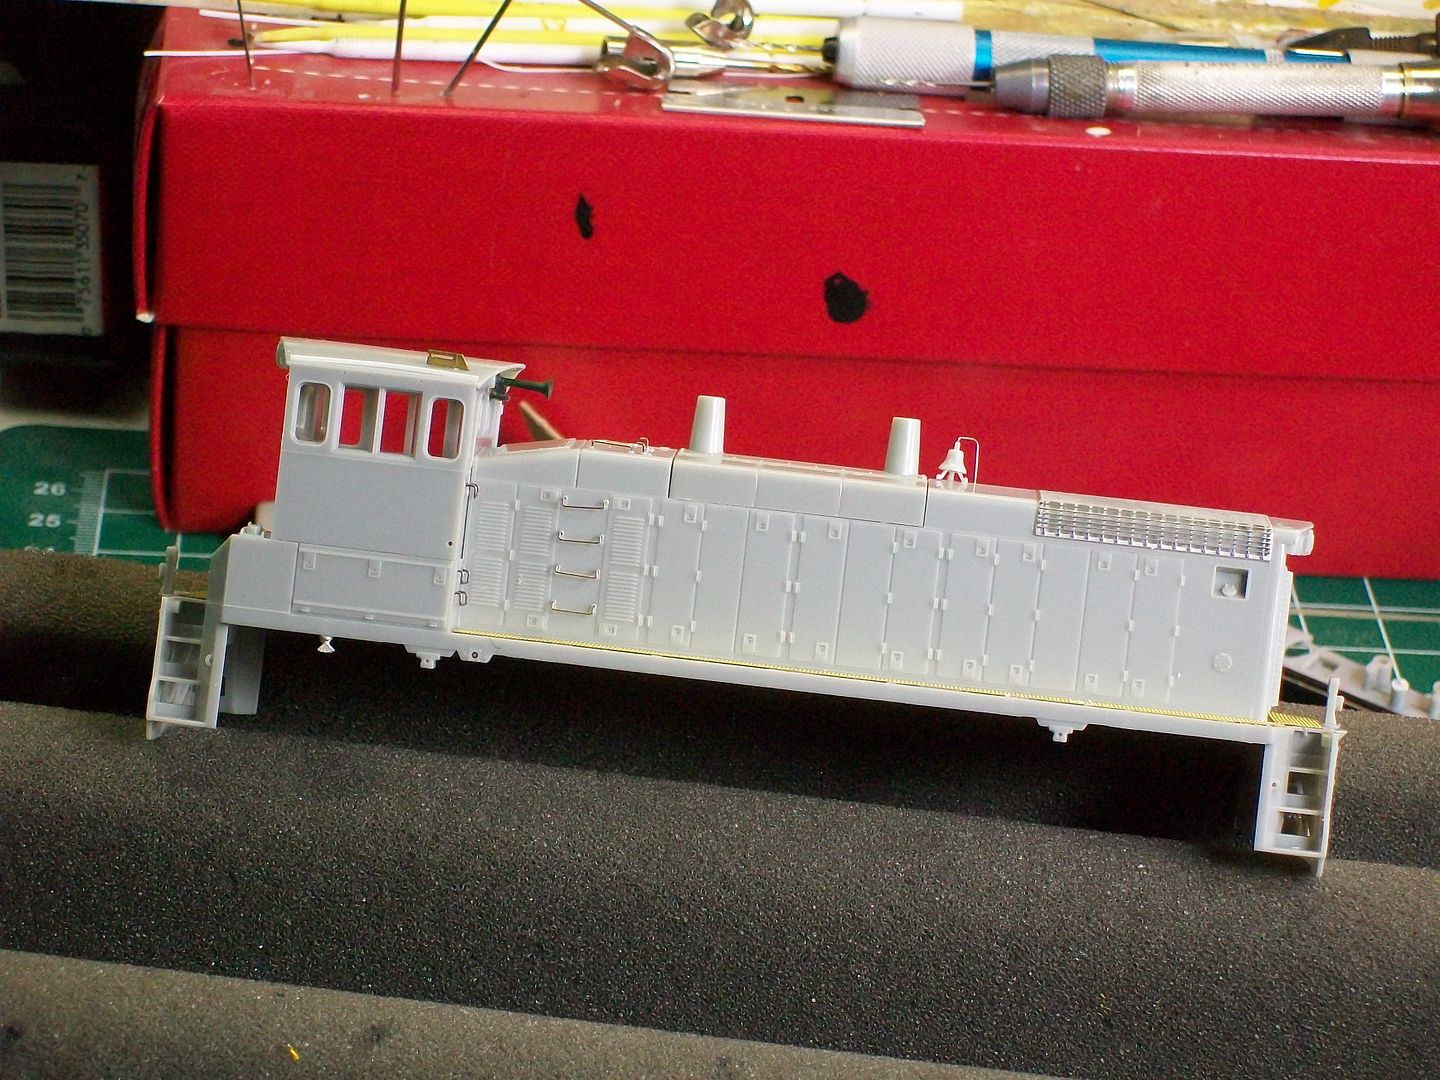
A look at the units right side.


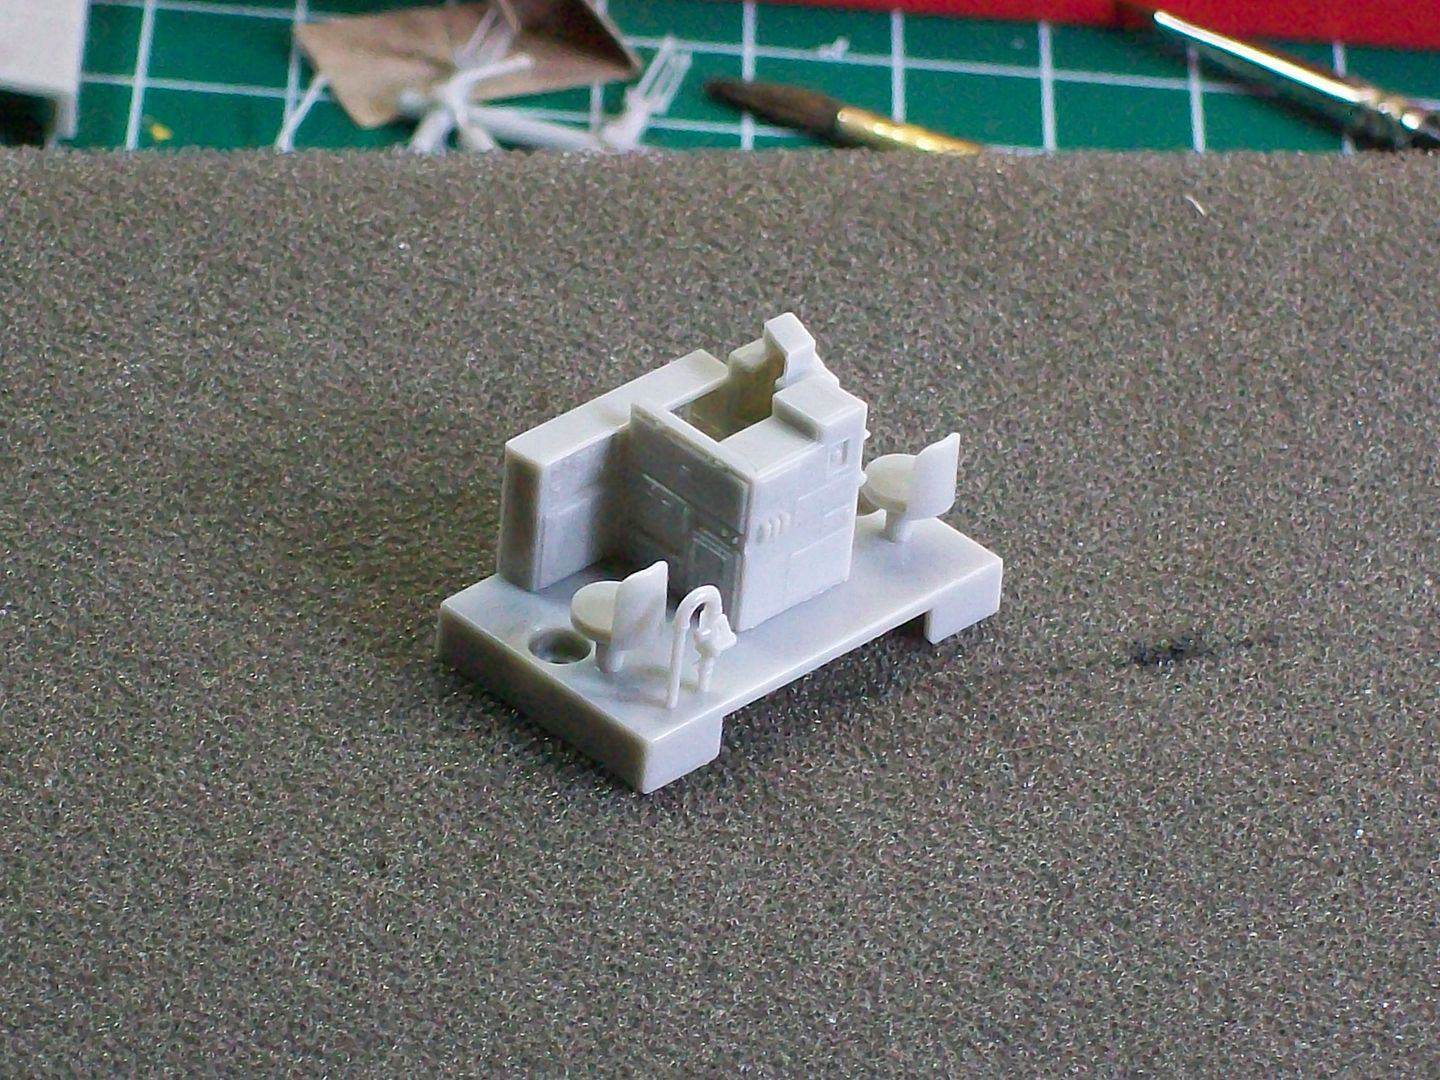
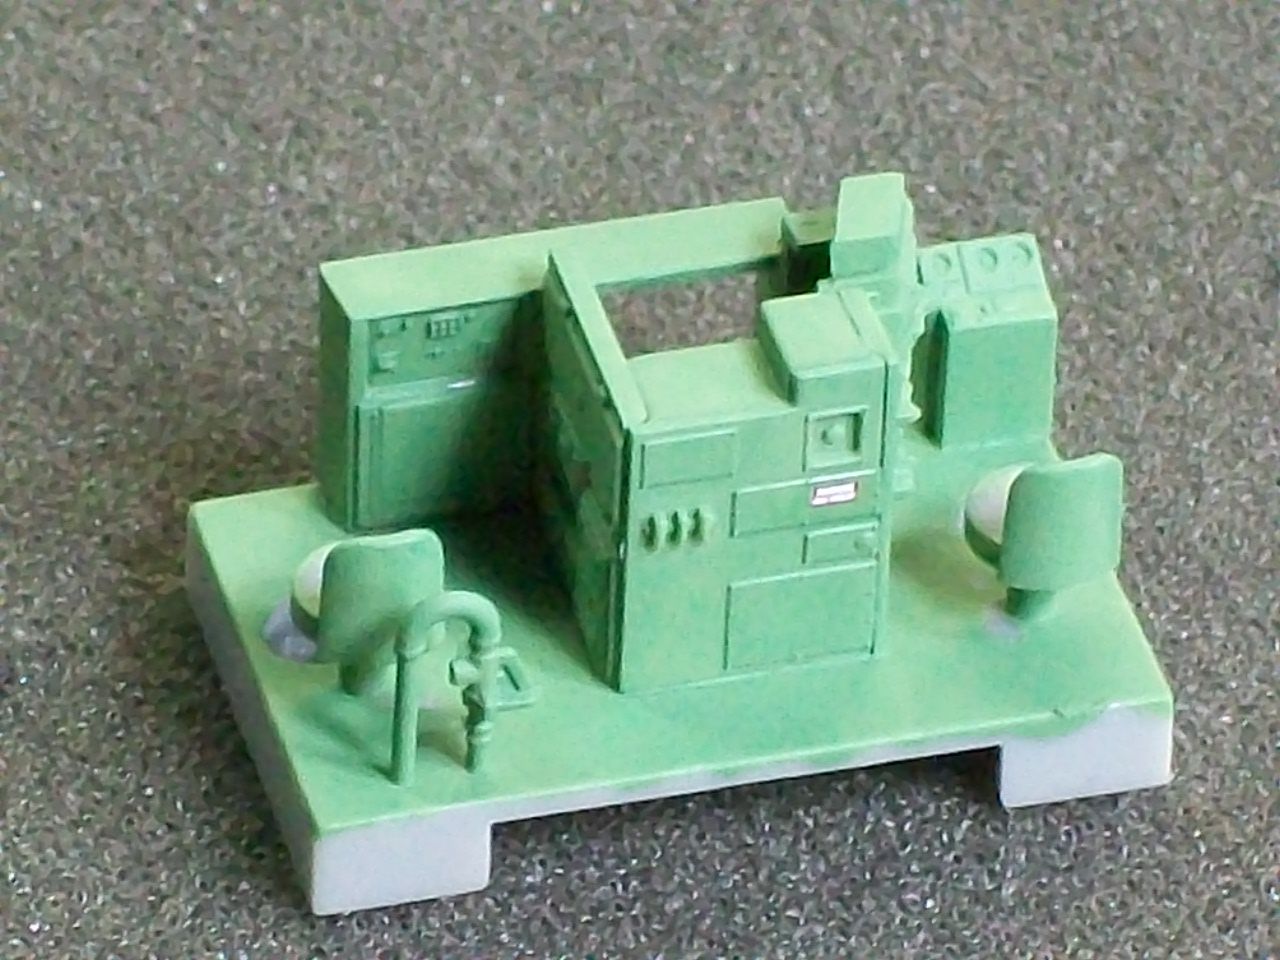
Next...I assembled the cab interior.


I then painted it using Testor's Model Master Pale Green and after it dried I added the Danger 600 Volts decal.
The administrator has disabled public write access.

RDG SW1500 2763 11 years 1 month ago #860

  • 2771-chris
  • 2771-chris's Avatar
  • OFFLINE
  • Road Foreman of Engines
  • Posts: 634
  • Thank you received: 94
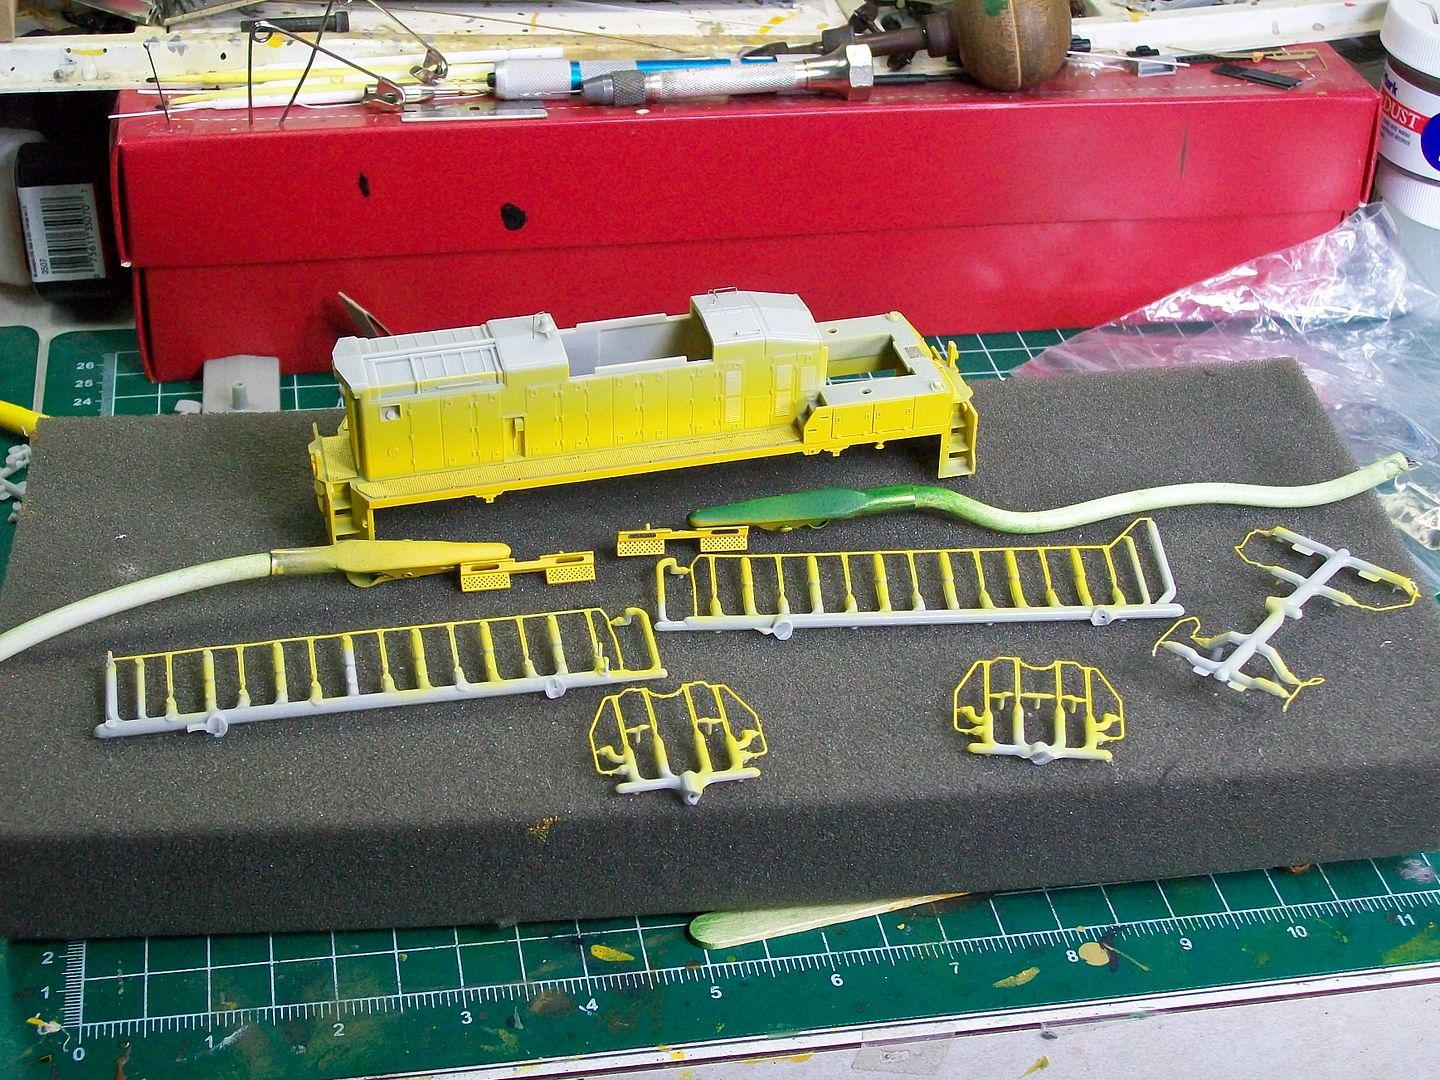
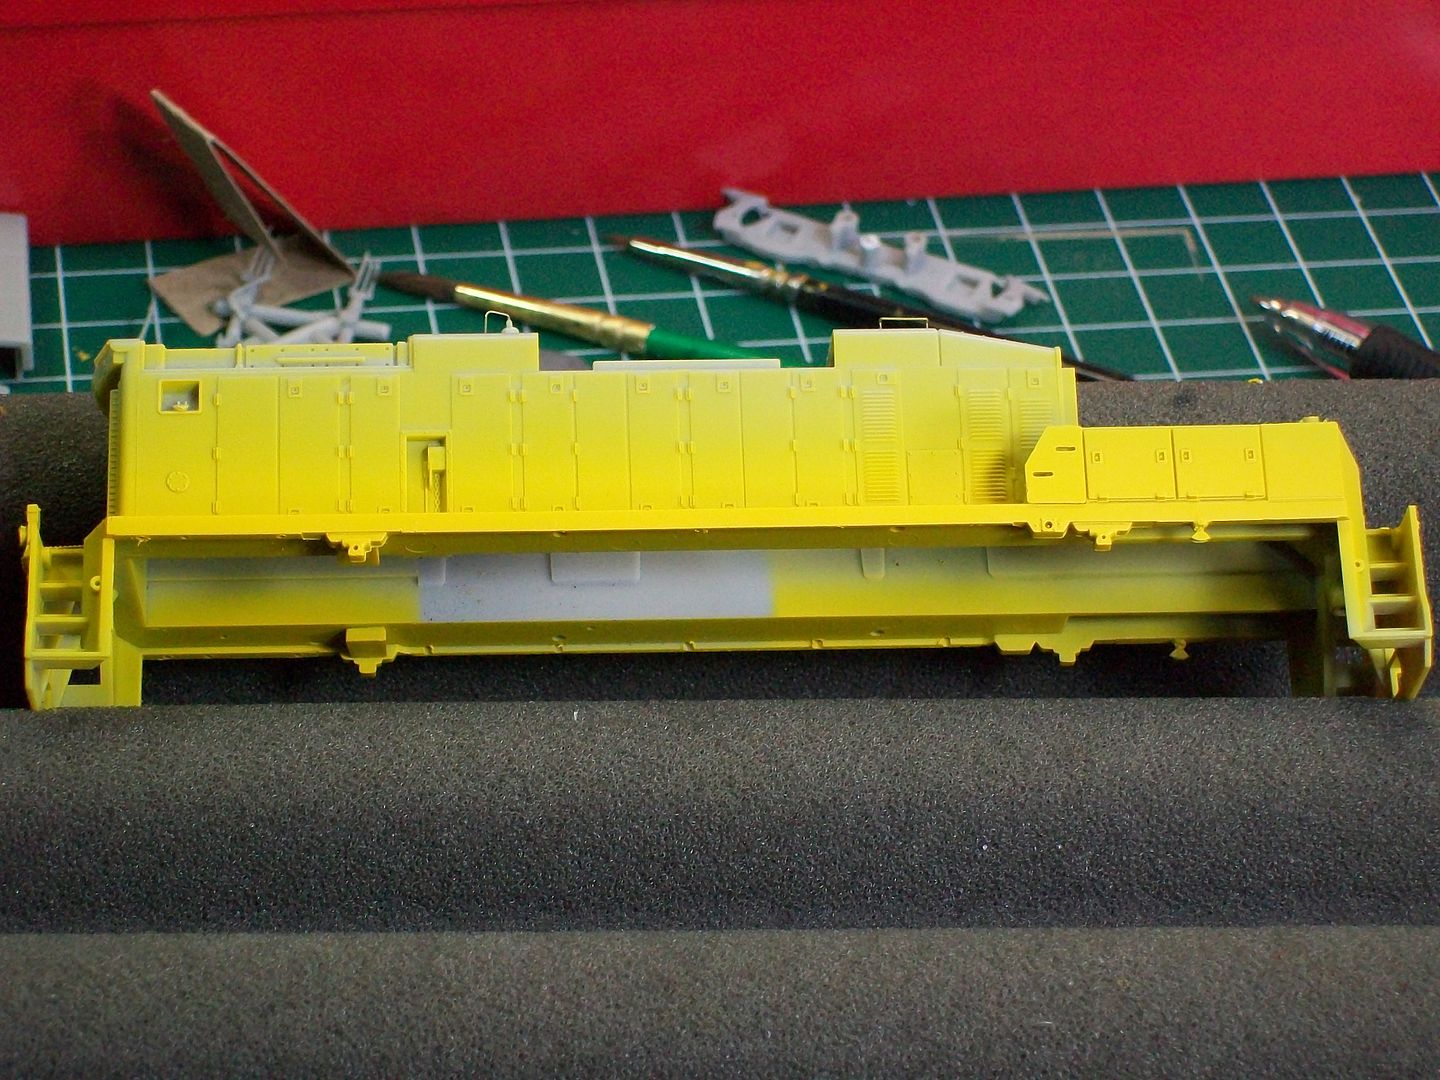
Added the yellow to the unit this A.M.I used Floquil reefer yellow applied at 12 to 15 psi.I did not prime paint the unit.I applied the paint to the side frames, pilots, pilot steps and hand railings.I wasen't too concerned with covering the hanrails completely because I'll touch them up with a brush after they're mounted.


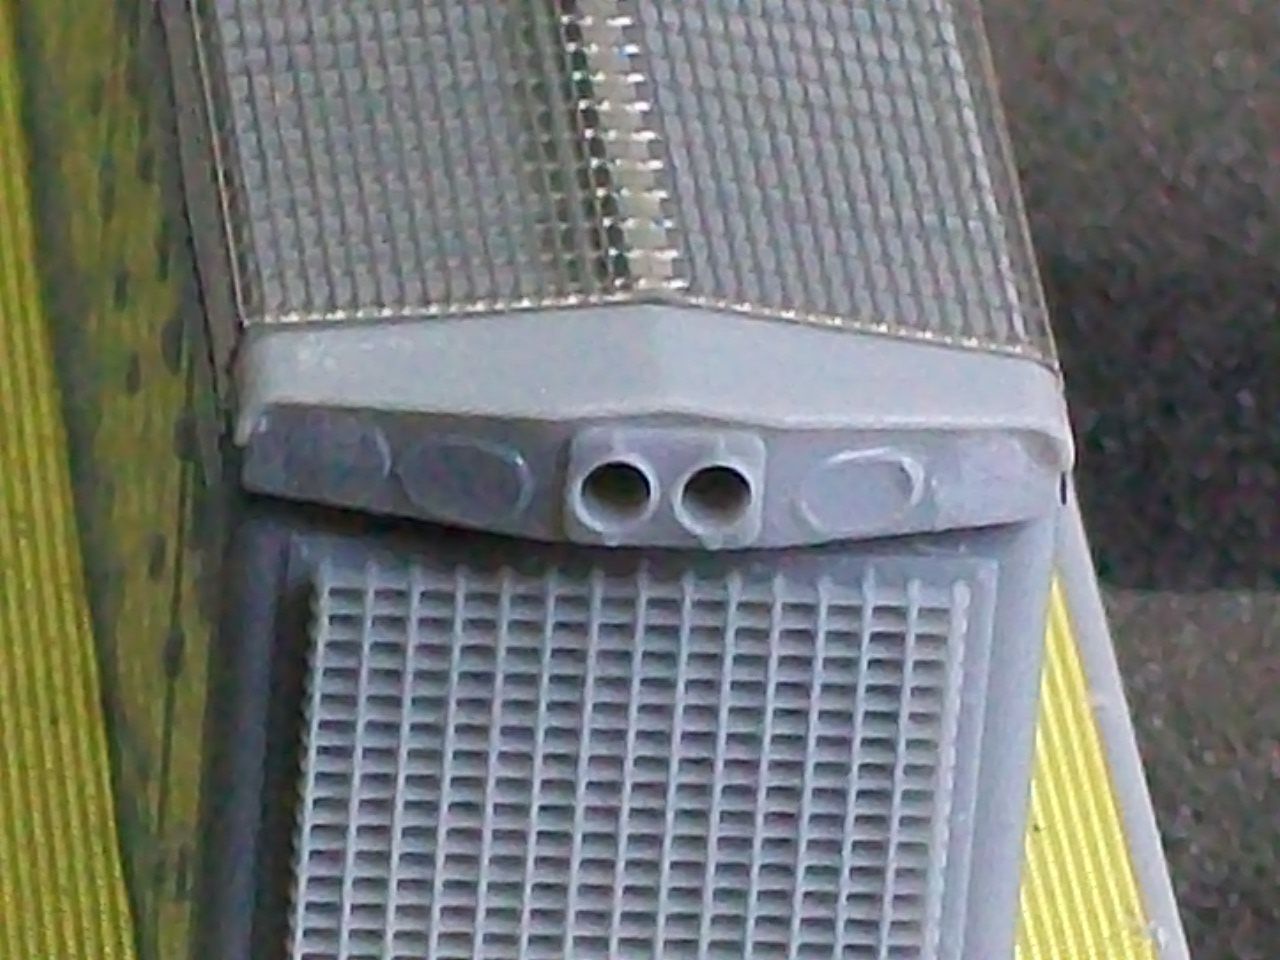
The following pic shows one of the pilots and because of the available decals this needs a little explanation.Microscale's RDG barricade stripes are yellow.They would have made things easier if they made the yellow area of the decal clear and the clear area black.So except for the framing around the coupler pocket I will be hand painting the entire pilot black.


Now,if you think you can overcome this by using Herald King decals forget it.Their pilot striping is completety wrong as is Athearn's application on their 2763 unit.
The administrator has disabled public write access.
The following user(s) said Thank You: rdgraildog

RDG SW1500 2763 11 years 1 month ago #872

  • rdgraildog
  • rdgraildog's Avatar
  • OFFLINE
  • Fireman
  • Posts: 59
  • Thank you received: 2
Chris,Do you make your own templates for drilling out for grab irons? Todd
The administrator has disabled public write access.
Time to create page: 0.121 seconds

Today's Image

Did You Know?

December 1, 1953
The last Hall "banjo-style" signals are removed from service, and are replaced with color-light signals.

Downloads

Operations Information

Click Here!A variety of Reading Company operations related documents, etc. that may be of use in your modeling efforts.

Operations Paperwork

Click Here!A variety of Reading Company operations paperwork, such as train orders, clearance forms, etc. that will help you operate your Reading layout in a prototypical manner.

Timetables, Rulebooks, Etc.

Click Here!Public Timetables, Employe Timetables, and Rulebooks that provide much useful operational information.

Modeling Goodies

Click Here!Signs, billboards, and other FREE goodies for your use.  We ask only that you help spread the word about The Reading Modeler!

Rolling Stock Reference

Click Here!Downloadable reference documents on the various classes of Reading Company Freight and Passenger rolling stock.

Thanks for Your Support!

If you find the content on The Reading Modeler valuable, won't you please consider supporting our efforts? Your donation will help to offset operating costs and acquire new material to share on the site. Thank you!

Amount: 

Advertisements