FacebookTwitterDiggGoogle BookmarksRedditLinkedinRSS Feed
Welcome, Guest
Username: Password: Remember me
This section of The Interchange provides a space where members of the Reading Modeler community can showcase their Reading modeling efforts. If you've got a project that you'd like to share, start a new topic and "show and tell" the group how you did it!

TOPIC: Walthers 5517 Becomes 3615

Walthers 5517 Becomes 3615 8 years 4 weeks ago #5208

  • 2771-chris
  • 2771-chris's Avatar
  • OFFLINE
  • Road Foreman of Engines
  • Posts: 634
  • Thank you received: 94
Sorry had to step away...
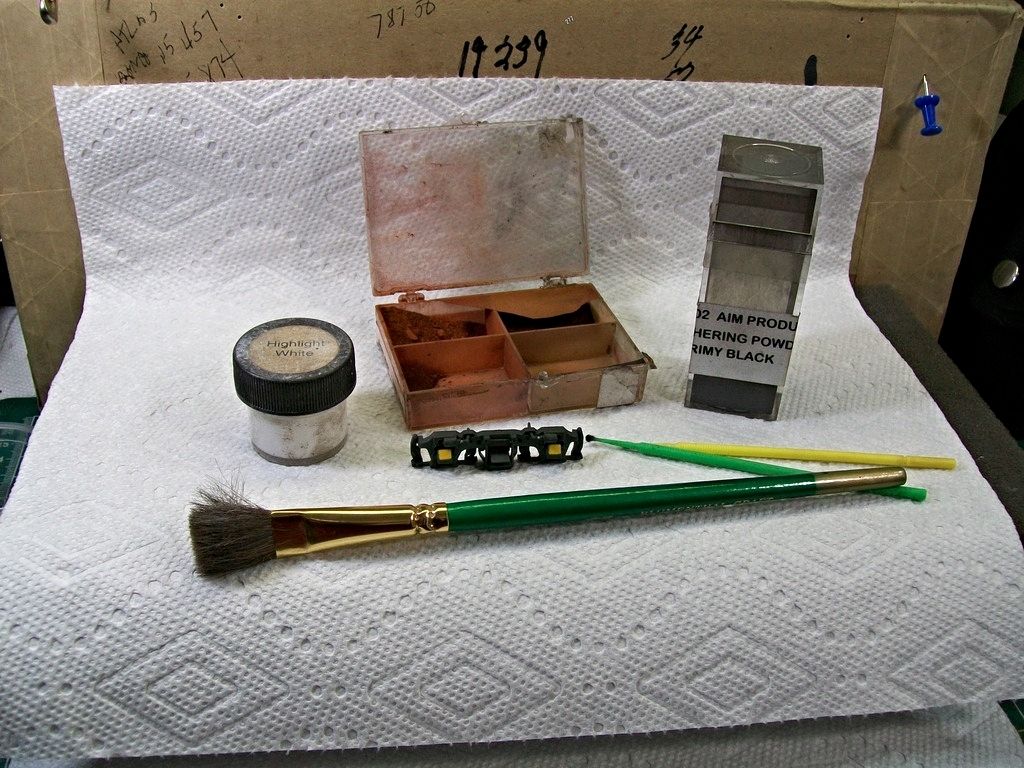
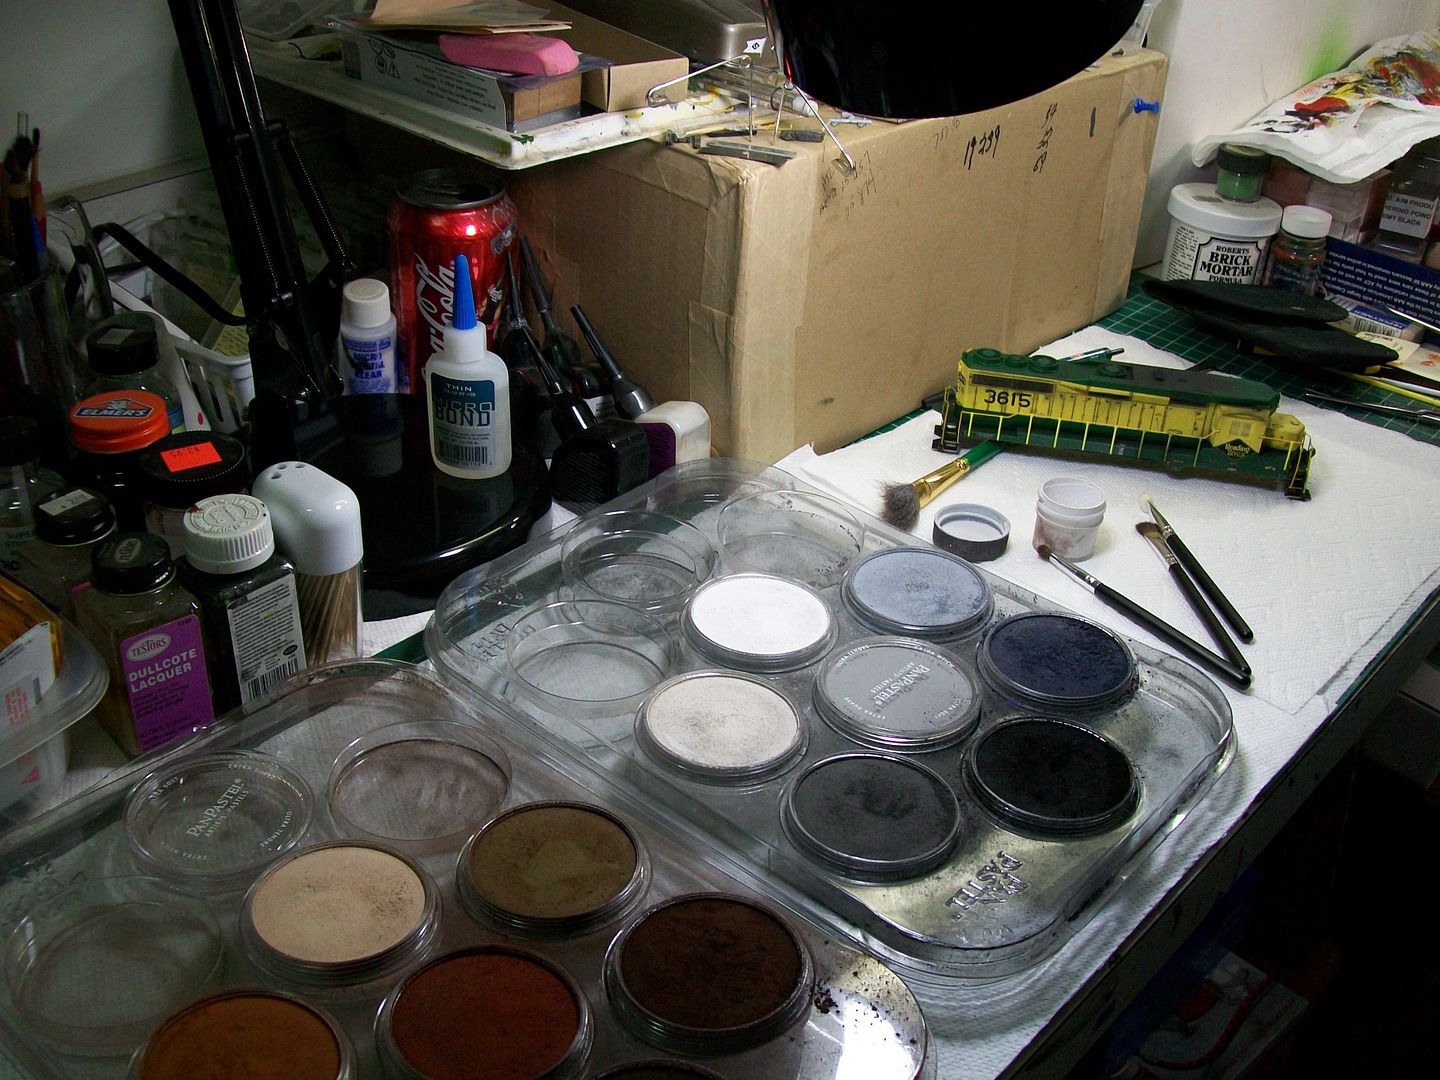
Below are the items I use for weathering the trucks.


My first step
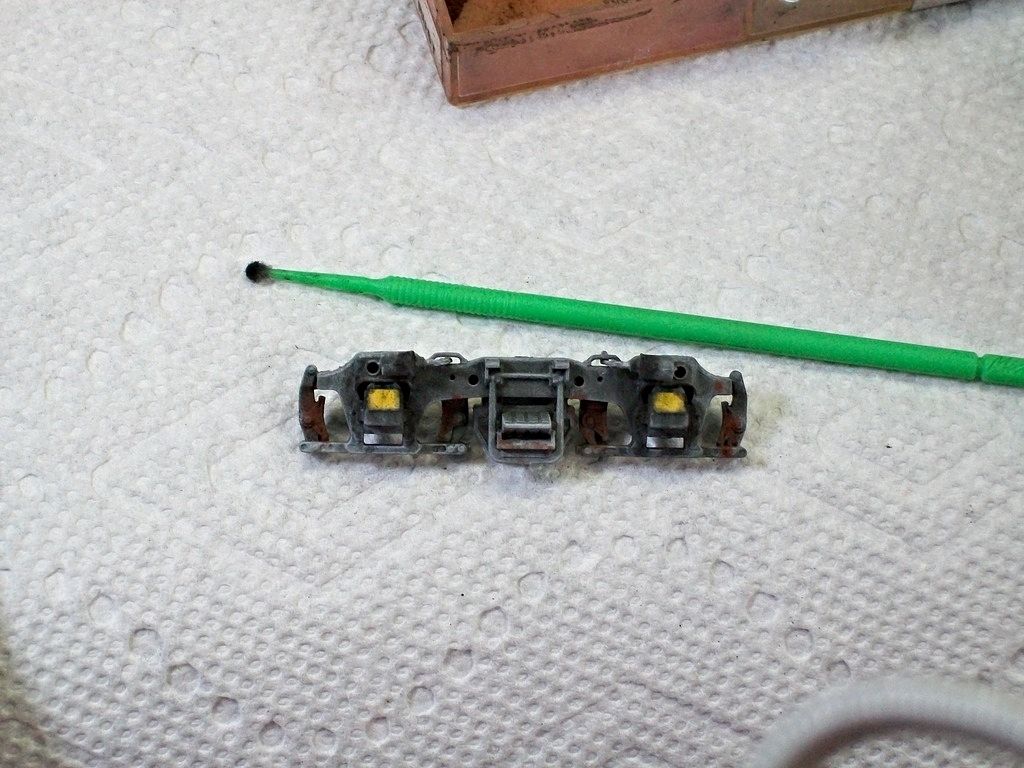
I use the wide brush to apply the highlight white to the entire side frame.The side frame almost looks white with the amount I apply but most will be washed away after dullcoating.
I then apply some rust coloring using the micro brush.I apply it around the brake pads and rigging.
I then apply the black in the same fashion around the journals,brake cylinders and also over the areas I applied the rust color to blend it in.
I then seal with dullcoat.
Before spraying dullcoat.

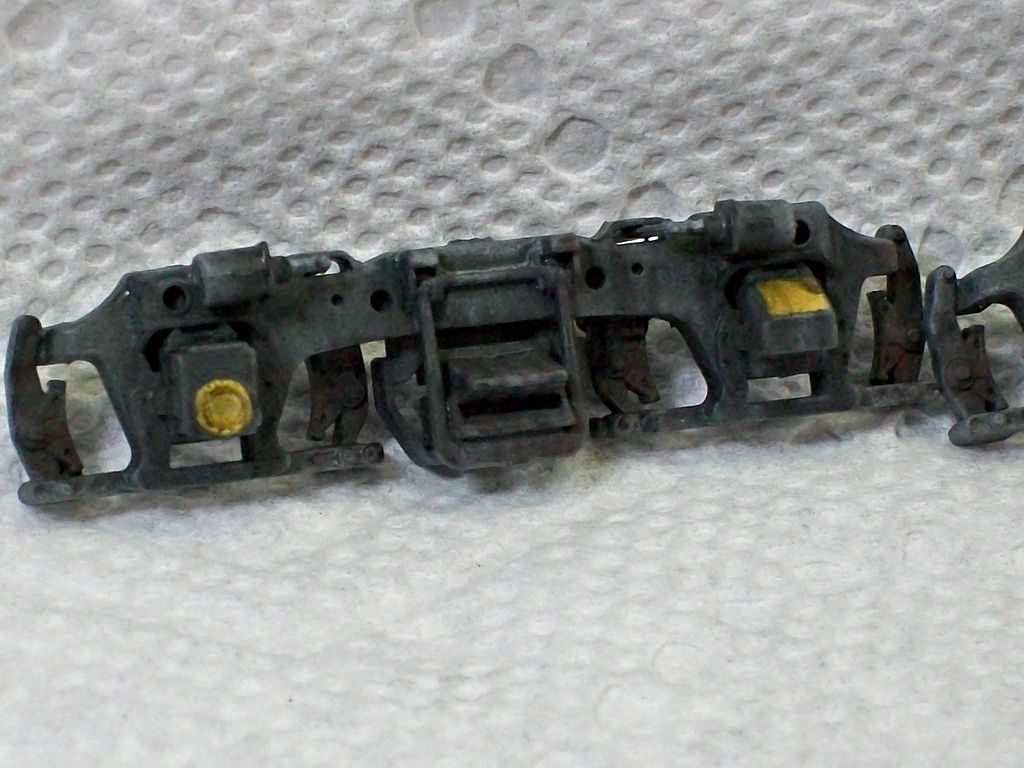
After dullcoat application

Notice how sealing helps the powders blend in better.

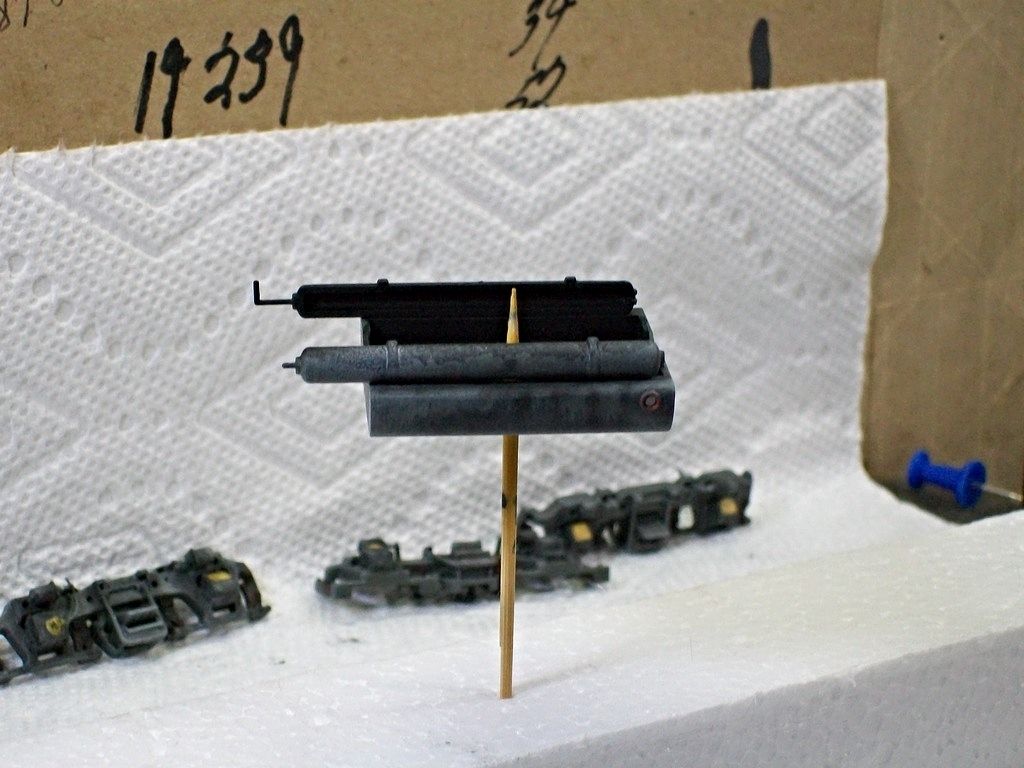
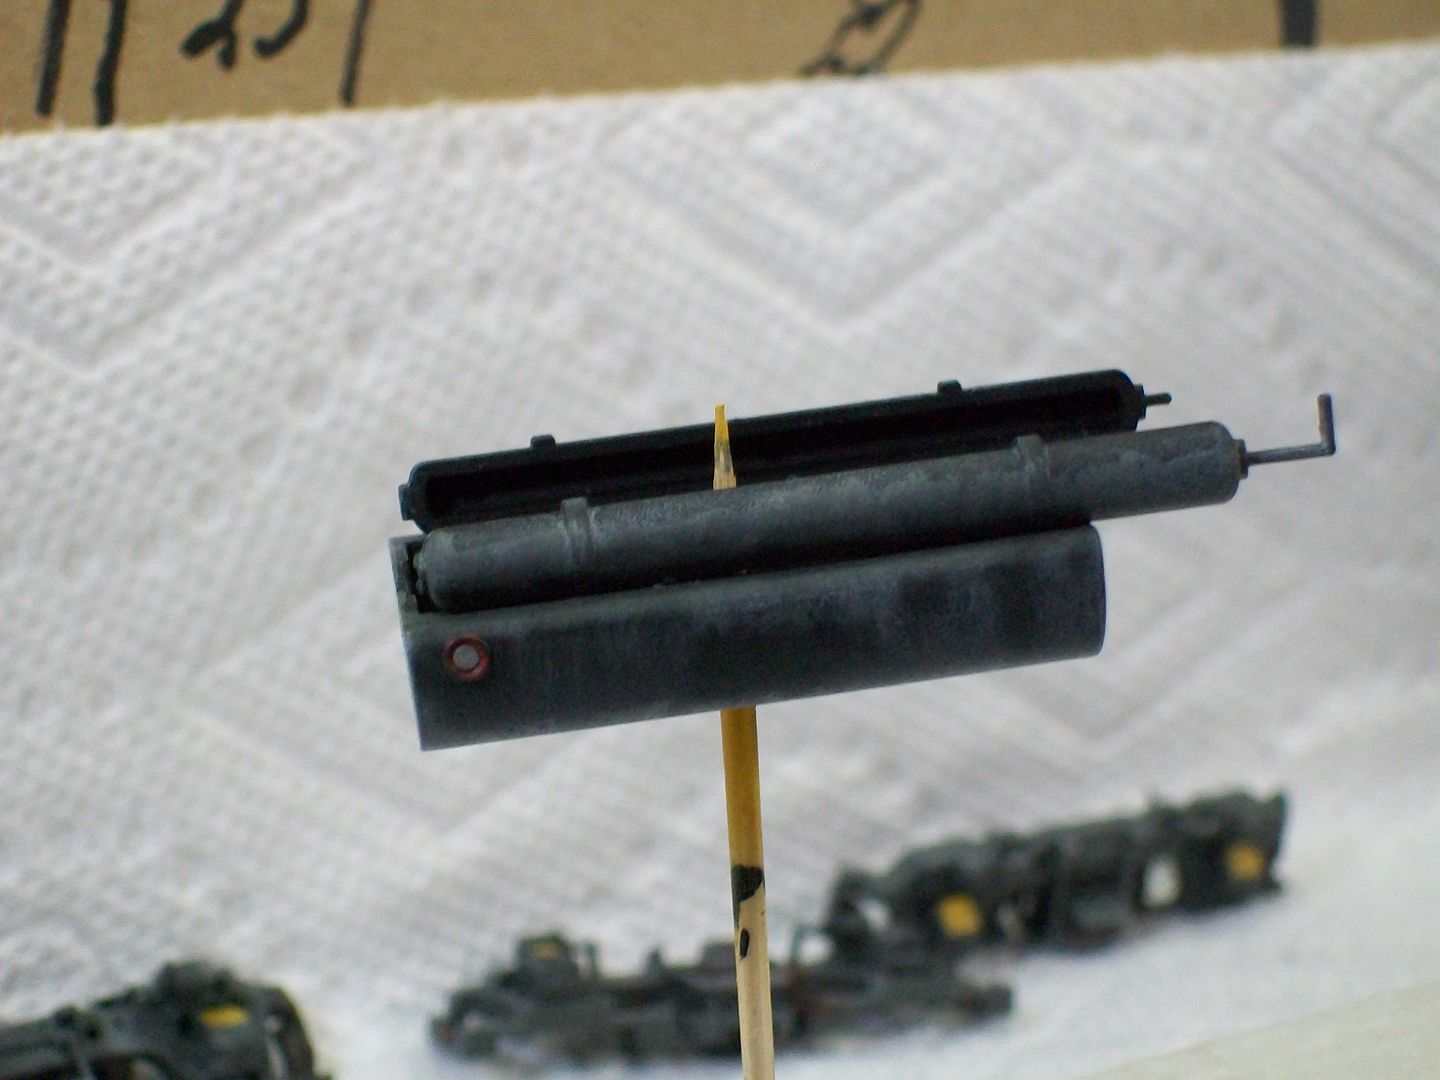
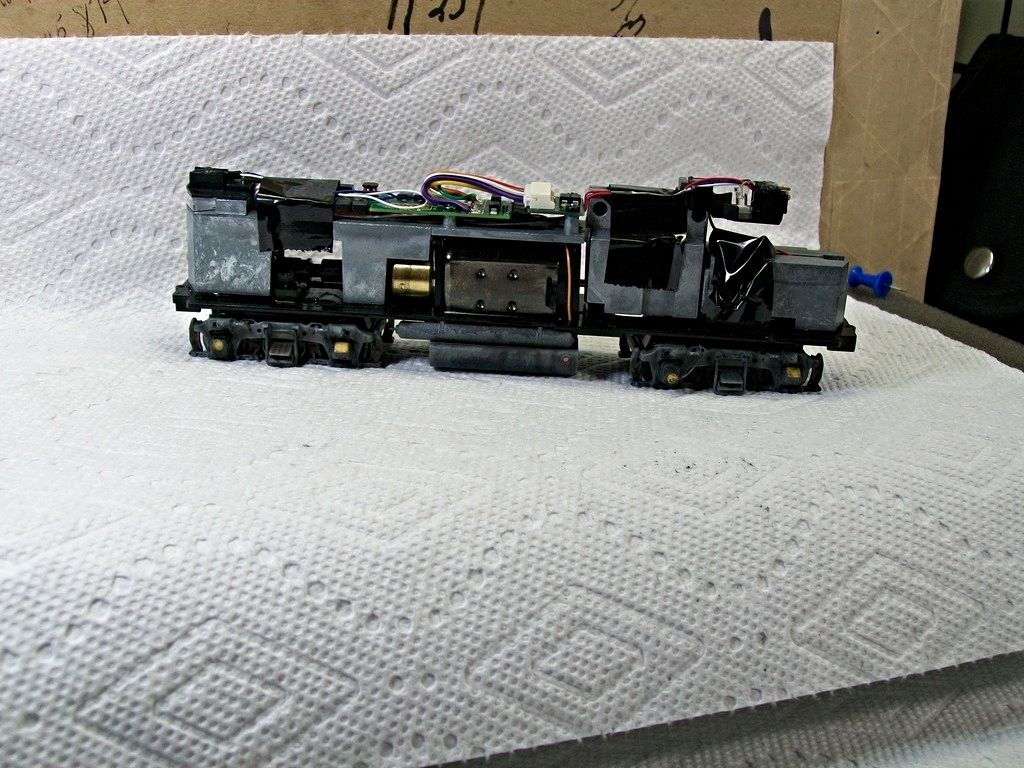
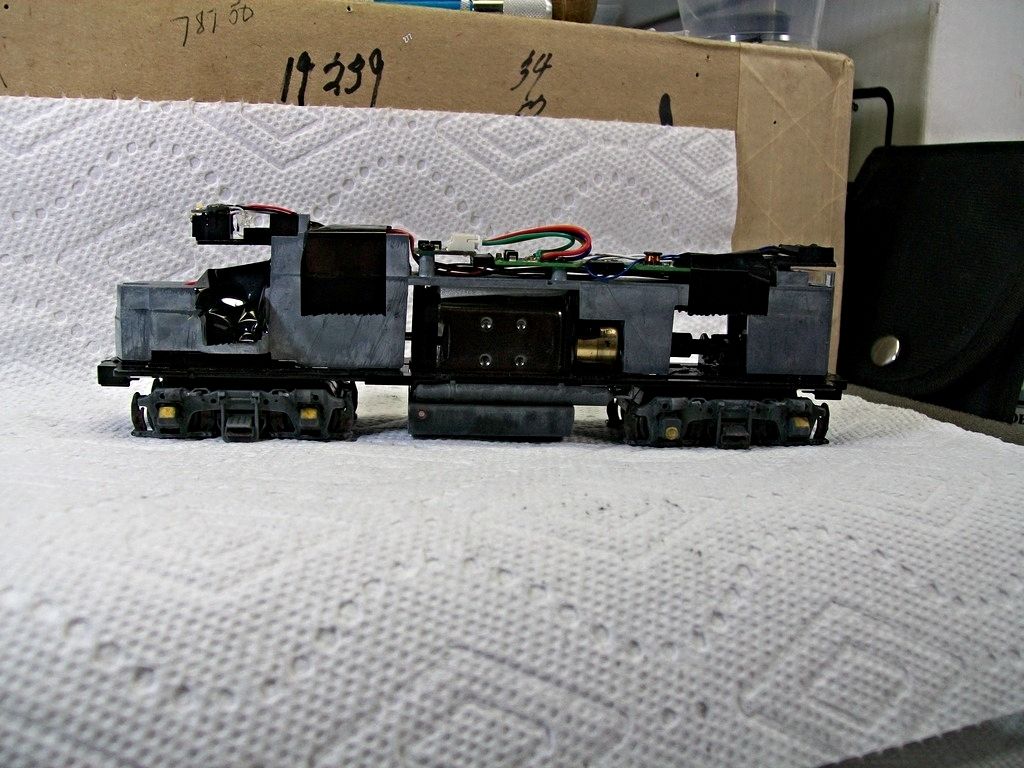
Fuel tank...rather then paint the whole tank I dry brushed applying more paint to the ends then sides of the tank.I worked it top to bottom.I also applied the red and silver to the tank gauges on the sides.Black and white weathering powders were then applied.
Finished side one.

Side two


With the side frames and fuel tank done I mounted them back to the body.
Side one.

Side two


An interesting note about the fuel tanks is that its not identical on all the 30's.Some have the fuel tank gauge more to the back of the tank...some don't have the gauge at all...some have it on one side of the tank.. and some have it located like the tank that comes with the model.I guess fuel tanks could have been traded out as trucks did.
The administrator has disabled public write access.

Walthers 5517 Becomes 3615 8 years 3 weeks ago #5214

  • 2771-chris
  • 2771-chris's Avatar
  • OFFLINE
  • Road Foreman of Engines
  • Posts: 634
  • Thank you received: 94
Back to working on the body.I drilled holes for the mounting of the DA windshield wipers...never cared for the printed on wipers on the P2K 30's.The wipers will be aligned with the printed on wipers and will cover them up nicely.
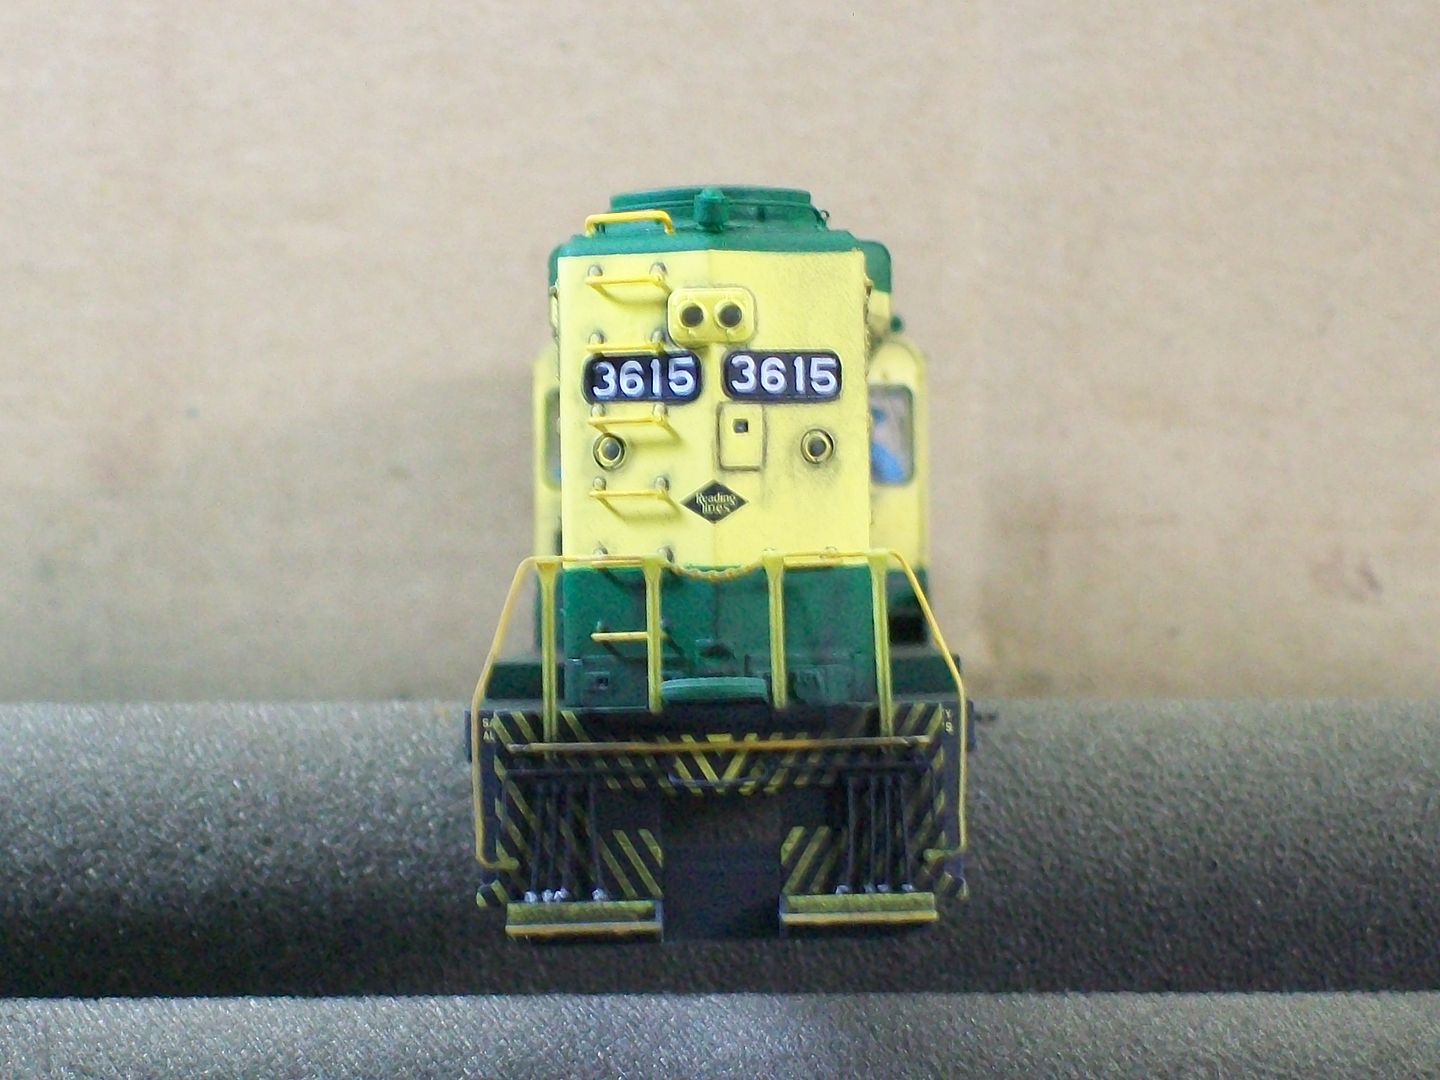
At this time I painted the end railings,grab irons and the step edges with FQ railbox yellow to give the safety yellow appearance...Followed up with some weathering to them and the pilots.I do not paint the stanchions.
Front view

Back view


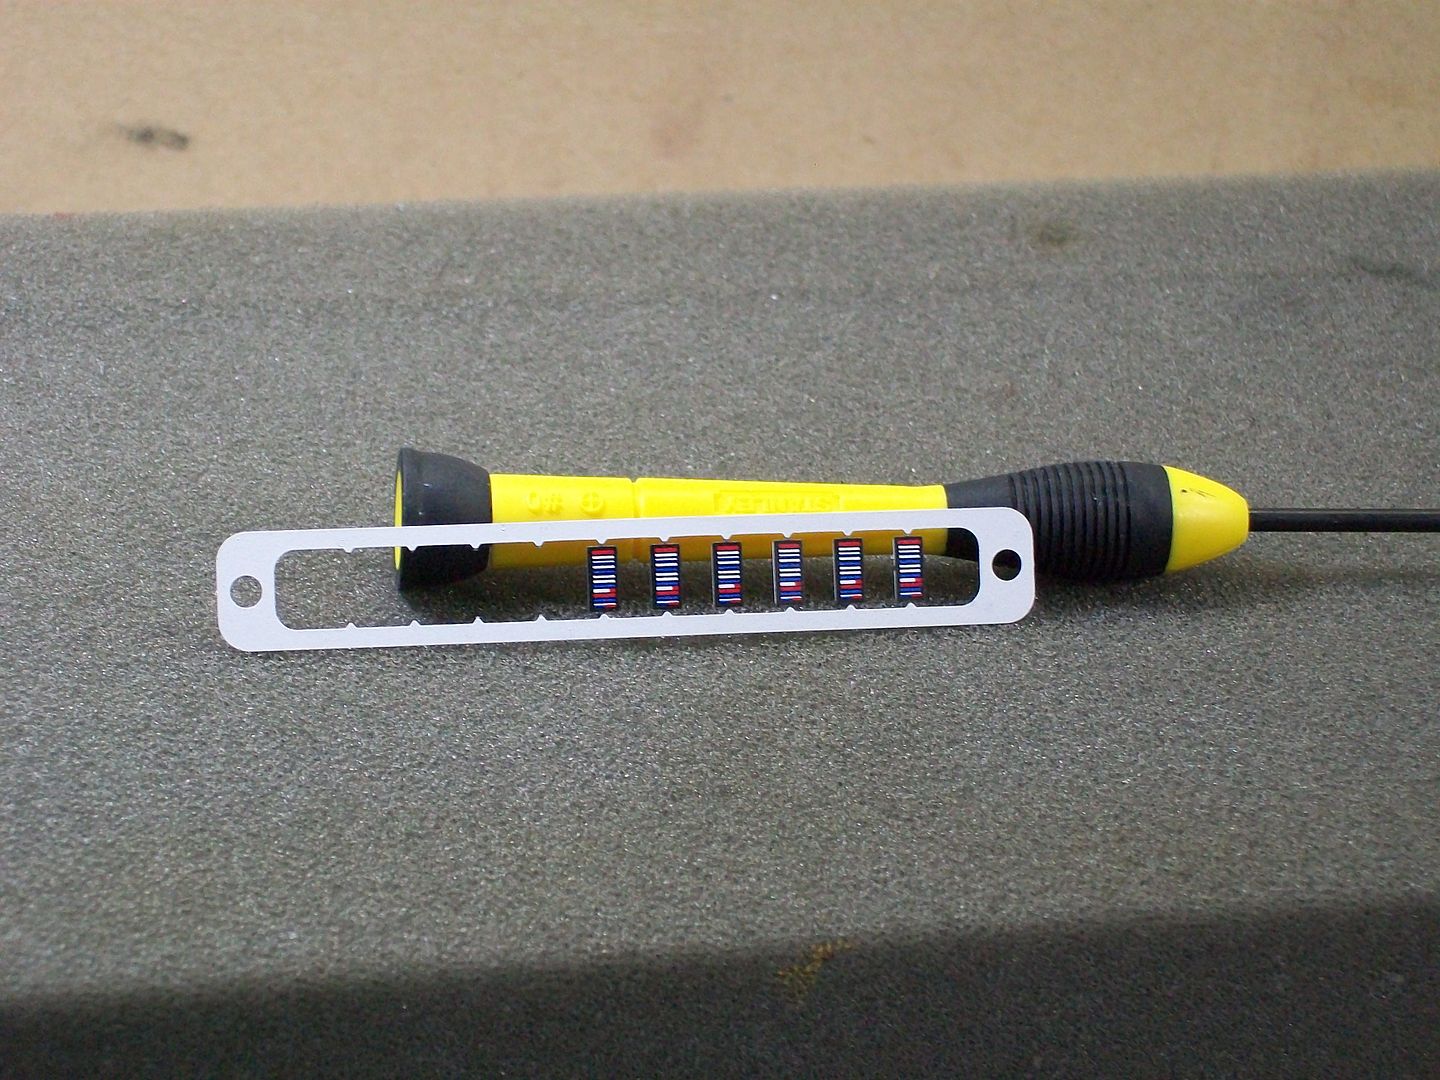
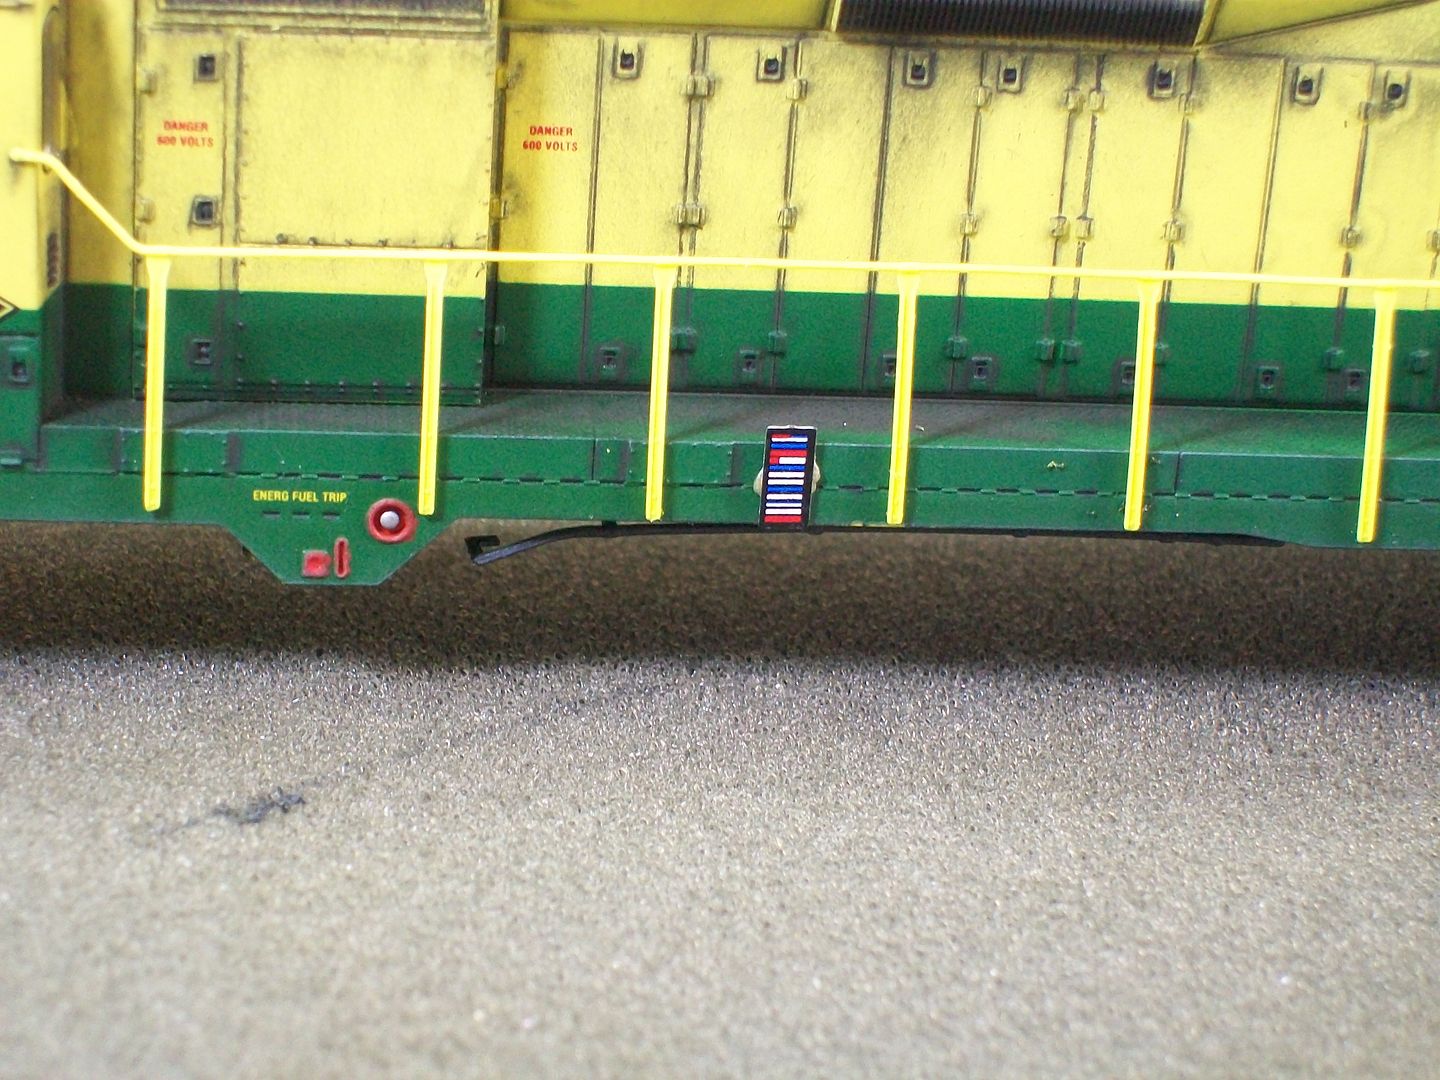
Before remounting the side hand rails I gave them a spray of dullcoat to help aide in the paint and weathering.I also mounted the ACI plates using a combination of Walthers GOO and Microbond thin CA.
The ACI plates are from BLMA models #4556 and come 5 pairs to a pack.


Notice how the GOO oozed out...I let it set and cut off the product later.
Finally today I painted the side railings with the fore mentioned FQ railbox yellow.They along with the stanchions and sill will be blended in with weathering.

The administrator has disabled public write access.

Walthers 5517 Becomes 3615 8 years 3 weeks ago #5218

  • 2771-chris
  • 2771-chris's Avatar
  • OFFLINE
  • Road Foreman of Engines
  • Posts: 634
  • Thank you received: 94
Finished up with the final major phase of the weathering process this morning.There will still be some minor touchups down the road.I use pan pastels for the final heavy application and I recommend using gloves and even an apron when applying this stuff...it flows qite easily.

I mostly use the grays,whites,browns and black.Applications made with soft brushes.micro brushes and sponge applicators.

First I masked off the window and headlight glazing...this is the third time.
I then use the wide brush an apply the white chalk to the railings and side sills.Using in combination the sponge and micro brush I apply the black and brown pan pastels to the stanchions and railings and then blend it all together with a wide brush.
Picture of the work in progress.

Don't be afraid to load the stanchions up with dirt and grime because the prototypes were notorious for this...so much so modelers often mistakenly think the stanchions were painted green.
I moved back to the roof and applied some gray,brown and black pastels.I also reworked the grills...anything that fell onto the walkways was just blended into the tread plating.
Two shots before dullcoating.


More of the dirt brown pastel was added to the pilots and then highlighted with white chalk.The air line connection was added...this was an Atlas part the P2K does not come with this detail part.I also dry brush some artist white below the battery boxes to similate spillage.

Side one after dullcoating.

Side two.


Because of the masking of the window glazing not much weathering around the window areas...this will be taken care of as we move along.Also notice the globs of Walthers Goo has been removed near the ACI plate.


Almost there...
The administrator has disabled public write access.
The following user(s) said Thank You: Robin

Walthers 5517 Becomes 3615 8 years 3 weeks ago #5219

  • 2771-chris
  • 2771-chris's Avatar
  • OFFLINE
  • Road Foreman of Engines
  • Posts: 634
  • Thank you received: 94
Yesterday I started with the coupler pockets...they were first sprayed with dullcoat and then weathered and sprayed again.


Next the windshield wipers were mounted using CA.


The DA part #2314.The small window on the fireman's side does not get any wiper mounted.
Next I mounted the cab deflectors and arm rests both are also from DA.I used 2312 straight deflectors which were mounted using Testor's clear part cement.The arm rests were scavaged off an older model...don't have the part number.With the deflectors...I paint only the top and bottom(both sides)and leave the rest of the frame work alone.
Side one.

Side two

I let everything cure overnight.

This morning I finished this project.
First weathering was added around the deflectors,arm rests and side windows.This was applied using a fine micro brush and black chalk and then blended down using a wide soft brush.Since these areas of the model(around the windows)are not handled I don't worry about sealing this application.
Side one.

Side two

The same process was also used around the mounted wipers and the front and rear headlight plates.Again,these areas do not get handled so I don't worry about sealing the weathering.


Next came the mating of the body to the chassis...before tightening the center body screws I test ran the unit on my wheel cleaning station.I then mounted the couplers and boxes switching the P2K's with Kadee 158's.Be careful not to pinch the center of the lift bar between the box and the pilot face.I use a small screw driver to hold up the center of the bar while the box is slid into position.
After the couplers were secured Vallejo rust wash was applied to them and some finishing weathering done to the side sills,trucks,fuel tank and pilots.All this weathering was sealed with dullcoat...I use a piece of paper to protect the window glazing and headlights.
Front pilot.

Rear.


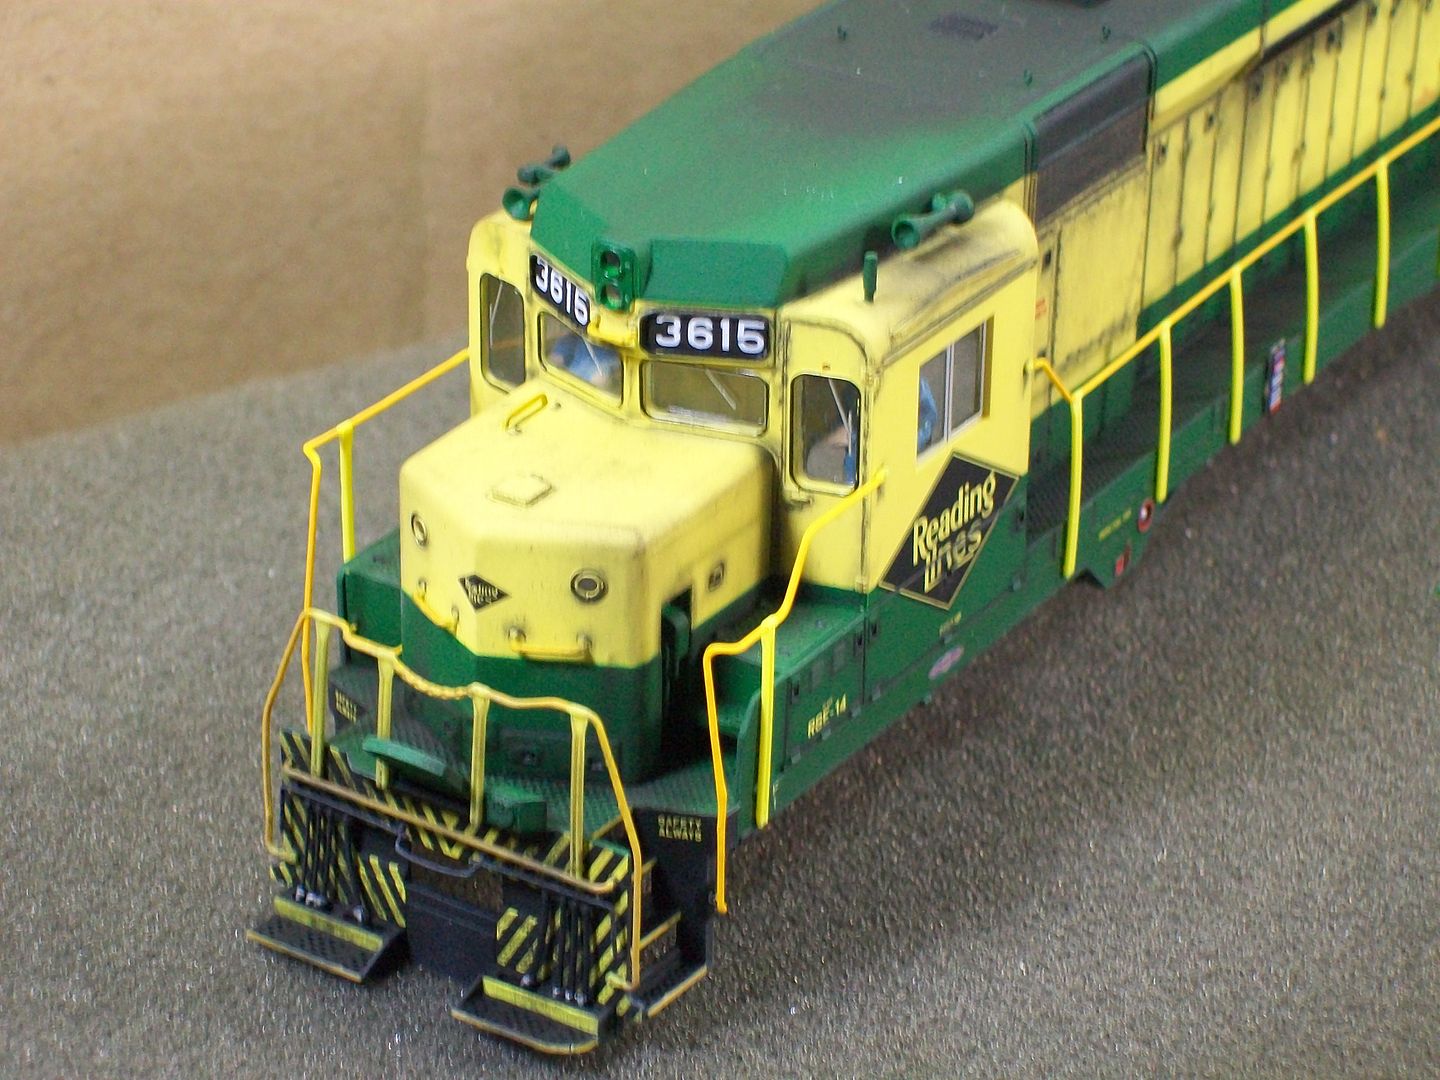
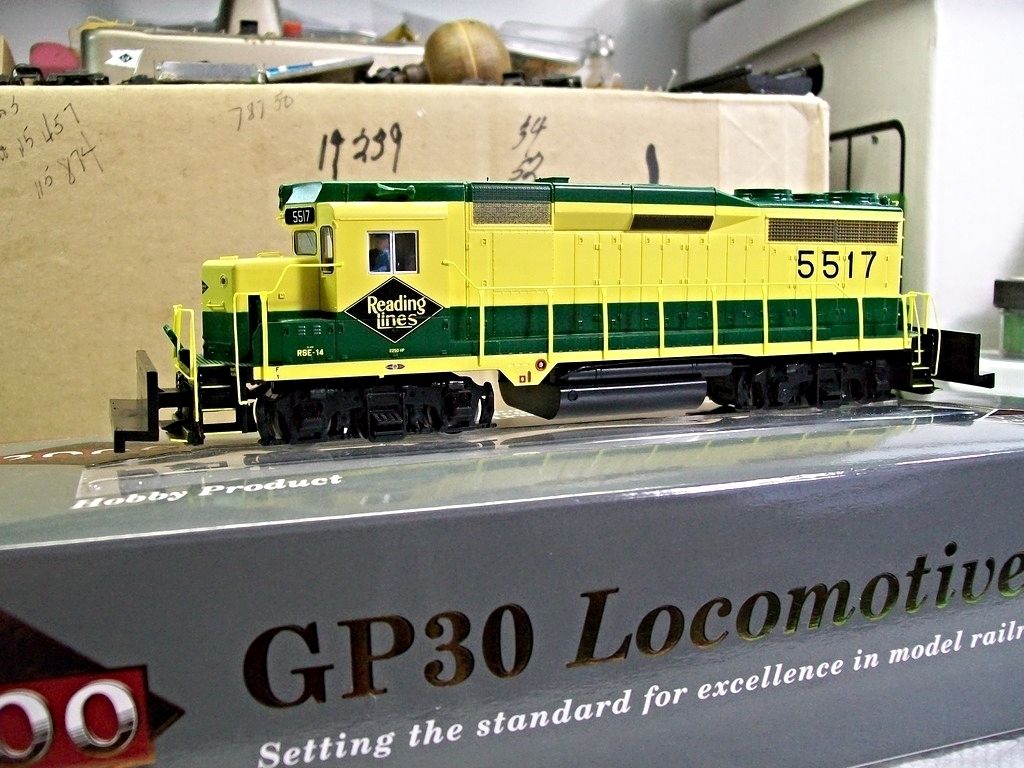
So...We took the Walthers out of the box GP 30


And we added some character.


I hope the journey of 5517 transitioning to 3515 created some good ideas for your next modeling project...thanks for looking.
The administrator has disabled public write access.
The following user(s) said Thank You: Robin

Walthers 5517 Becomes 3615 8 years 3 weeks ago #5221

  • 2771-chris
  • 2771-chris's Avatar
  • OFFLINE
  • Road Foreman of Engines
  • Posts: 634
  • Thank you received: 94
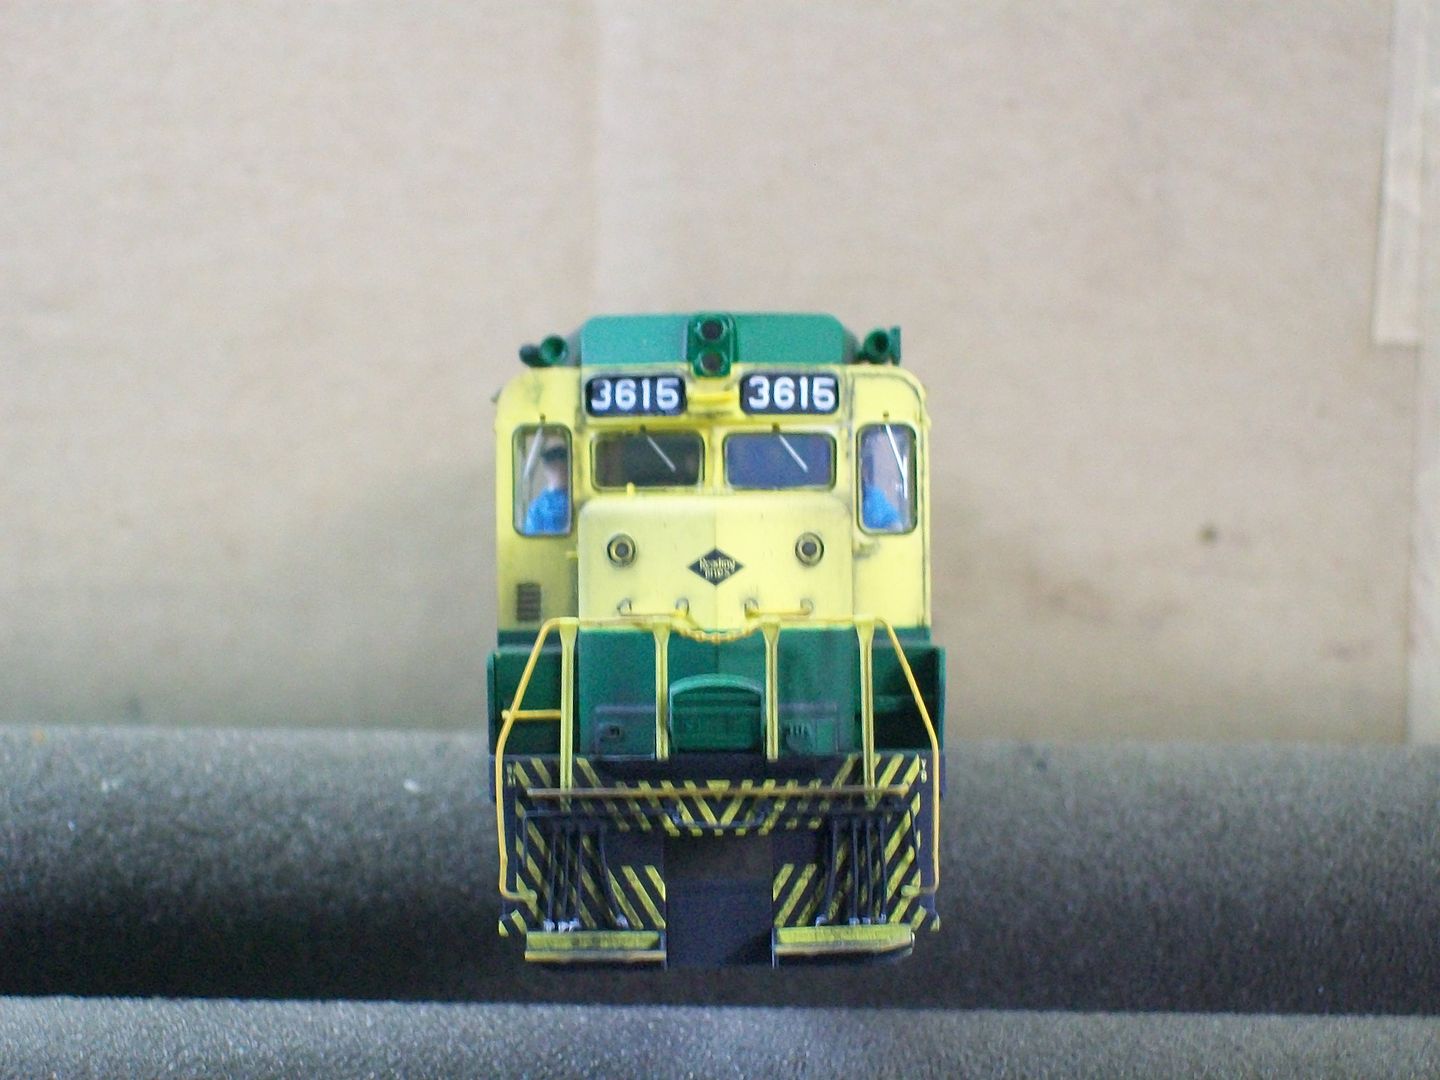
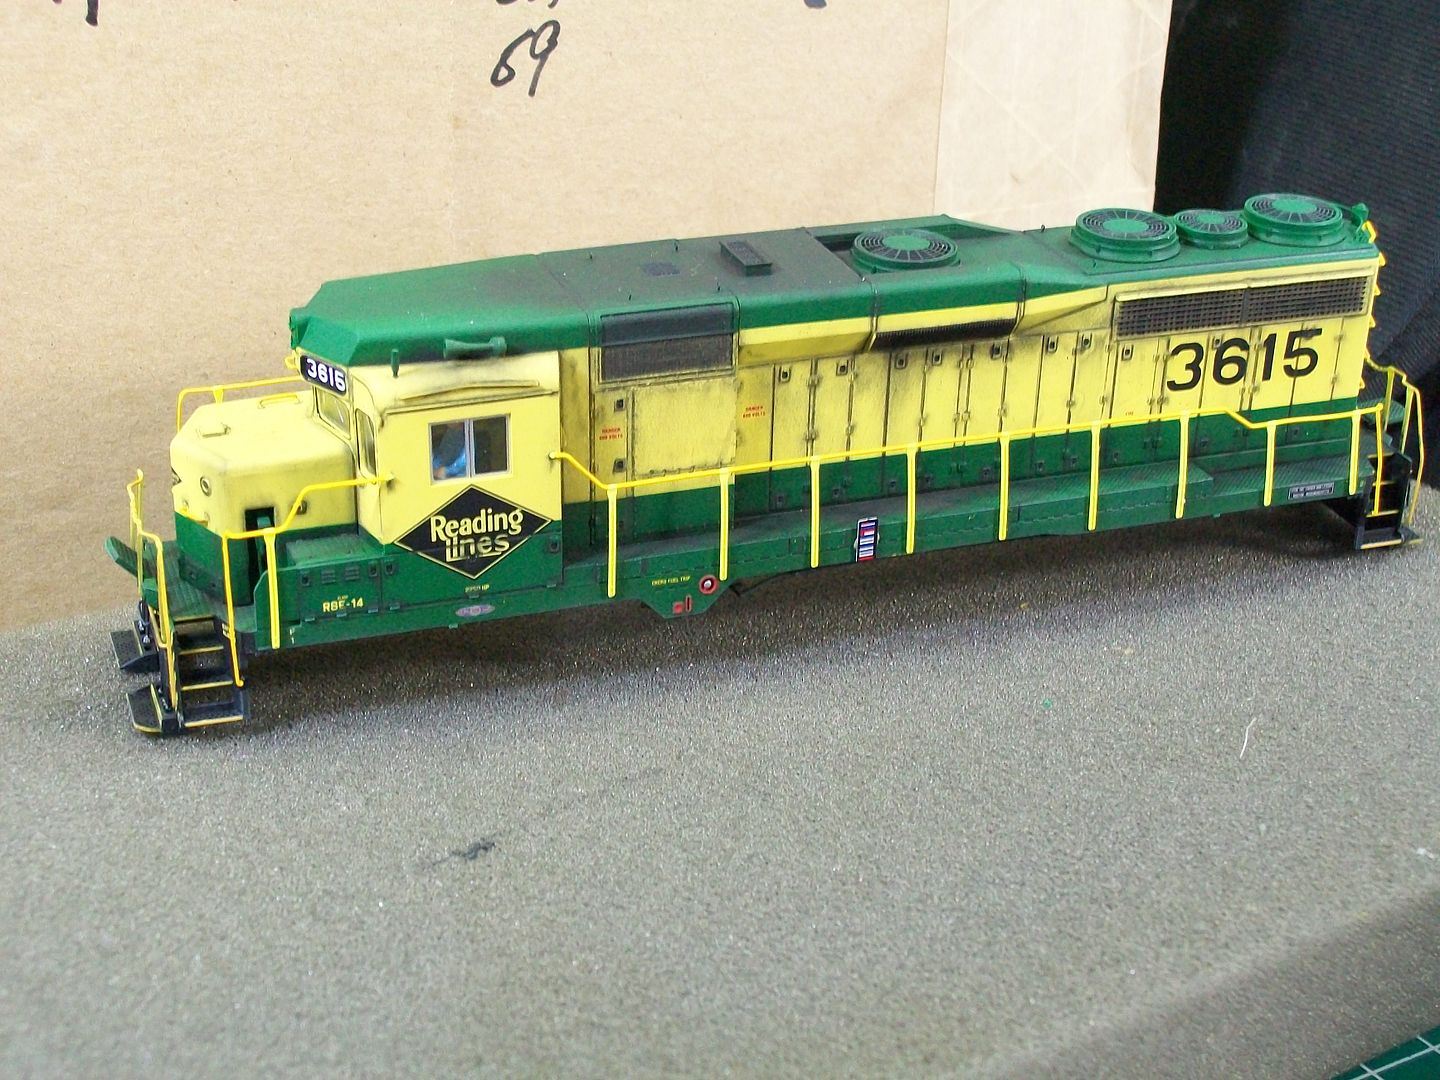
Four views of 3615


The administrator has disabled public write access.

Walthers 5517 Becomes 3615 8 years 3 weeks ago #5223

  • HoboPiker
  • HoboPiker's Avatar
  • OFFLINE
  • Conductor
  • Posts: 227
  • Thank you received: 53
Anyone having enjoyed Chris's GP30 article and wanting to do one, Caboose Hobbies this passed Saturday marked down two WKW Proto Reading GP30 DCC with sound models. Both are road number 5508 and are now priced at $185.98. UPS Ground is around $15 to the east coast and UPS Sure Post (UPS to your local post office then postal delivery to your address.) is five bucks less. Just called the shop and they are still there as of noon.

Chris - awesome work. When these locomotives arrived on the Reading, it wasn't unusual to hear the crews refer to them as "Yellow Dogs". The bright color scheme compared to the dusty, dark green power must have taken them off guard. If I wasn't an early transition era modeler, thanks to your article, two GP30s would have followed me home last Saturday.
The administrator has disabled public write access.
The following user(s) said Thank You: 2771-chris
Time to create page: 0.140 seconds

Today's Image

Did You Know?

March 8, 1900
Construction of the new P&R locomotive shops at Reading, PA began.

Downloads

Operations Information

Click Here!A variety of Reading Company operations related documents, etc. that may be of use in your modeling efforts.

Operations Paperwork

Click Here!A variety of Reading Company operations paperwork, such as train orders, clearance forms, etc. that will help you operate your Reading layout in a prototypical manner.

Timetables, Rulebooks, Etc.

Click Here!Public Timetables, Employe Timetables, and Rulebooks that provide much useful operational information.

Modeling Goodies

Click Here!Signs, billboards, and other FREE goodies for your use.  We ask only that you help spread the word about The Reading Modeler!

Rolling Stock Reference

Click Here!Downloadable reference documents on the various classes of Reading Company Freight and Passenger rolling stock.

Thanks for Your Support!

If you find the content on The Reading Modeler valuable, won't you please consider supporting our efforts? Your donation will help to offset operating costs and acquire new material to share on the site. Thank you!

Amount: 

Advertisements