FacebookTwitterDiggGoogle BookmarksRedditLinkedinRSS Feed
Welcome, Guest
Username: Password: Remember me
This section of The Interchange provides a space where members of the Reading Modeler community can showcase their Reading modeling efforts. If you've got a project that you'd like to share, start a new topic and "show and tell" the group how you did it!

TOPIC: Reading Co Tug - Schuylkill

Reading Co Tug - Schuylkill 11 years 1 month ago #1263

  • rdg-barry
  • rdg-barry's Avatar
  • OFFLINE
  • Road Foreman of Engines
  • Posts: 378
  • Thank you received: 44
I then turned to the lower cabin construction. I decided to deviate from the instructions and build the lower cabin onto the upper deck instead of gluing everything to the lower deck. I believe this will help with painting later on.

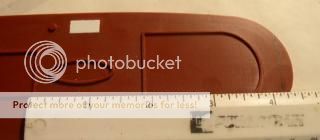
Looking at many pictures I noticed that the lower cabin is not rounded like the kit, but more square. I cut some off of the upper deck and squared the corners with a file – to get a good straight cut I measured from a feature, drew a line and cut with an xacto knife.


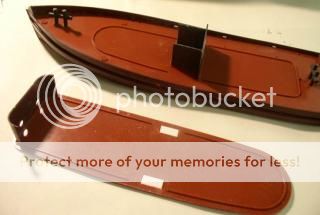
Next, also realized through photos, the Reading Tugs did not have the inside stairways to the upper deck as on the model. Thus the holes in the deck were filled and the stairs not installed, but I did install the walls. To help in a bit less trimming, I installed the two side walls on the opposite sides, so the stairway support would be on the inside. Thus the wall showing through the open doors will be flat.

(In the picture below, the upper deck front has not yet been modified)


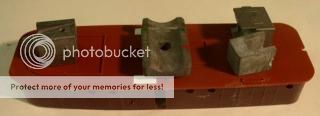
Back to the cabin sides, glued them in place and again, used weights to hold them together because the walls are curved to match the main deck.


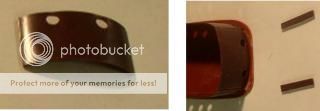
Had to modify the from wall – remember, the kit is quite curved and we’ve flattened the deck contour to be more straight. I took the wall upstairs and blasted it with a hair dryer on HOT and push down on the wall piece to try to flatten it. This worked fairly well and the wall was flatter but still had a bit of curve.


Next, since we flattened the wall it “grew” in length, so it had to be trimmed to match the side wall opening. I trimmed about 1/8” or so, trial and error is best here. Below you can see the wall glued on and the pieces I trimmed off. You can also see the squared off deck here too.
Thanks,
Barry
The administrator has disabled public write access.

Reading Co Tug - Schuylkill 10 years 9 months ago #1669

  • rdg-barry
  • rdg-barry's Avatar
  • OFFLINE
  • Road Foreman of Engines
  • Posts: 378
  • Thank you received: 44
Hello... I know you all have been just hanging on, waiting for this built to continue... well, it will VERY soon! Mostly because I need to finish it for the Reading RR Modelers Meet in October! But also, because my summer car activities are winding down a bit, so I have time for modeling again.

updates soon...
Thanks,
Barry
The administrator has disabled public write access.

Reading Co Tug - Schuylkill 10 years 9 months ago #1694

  • rdg-barry
  • rdg-barry's Avatar
  • OFFLINE
  • Road Foreman of Engines
  • Posts: 378
  • Thank you received: 44
Hello...
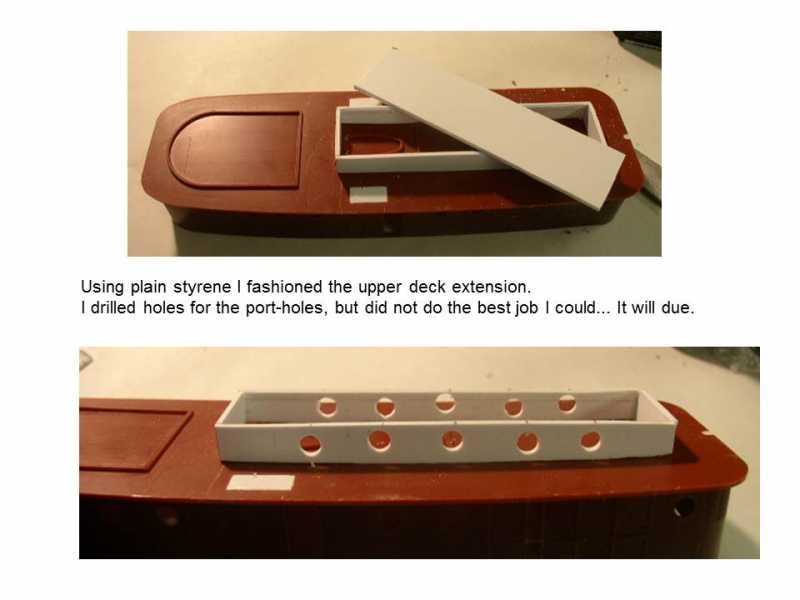
changing formats a bit as I'm turning this build into a clinic, so this and future updates will be in picture form, from the presentation I'm preparing.

With that... here are 3 more pages of updates....
Attachments:
Thanks,
Barry
The administrator has disabled public write access.

Reading Co Tug - Schuylkill 10 years 9 months ago #1700

  • 2771-chris
  • 2771-chris's Avatar
  • OFFLINE
  • Road Foreman of Engines
  • Posts: 634
  • Thank you received: 94
Looking good Barry...I wish you good luck on your clinic presentation
The administrator has disabled public write access.

Reading Co Tug - Schuylkill 10 years 9 months ago #1713

  • rdg-barry
  • rdg-barry's Avatar
  • OFFLINE
  • Road Foreman of Engines
  • Posts: 378
  • Thank you received: 44
Thanks for the encouragement Chris...
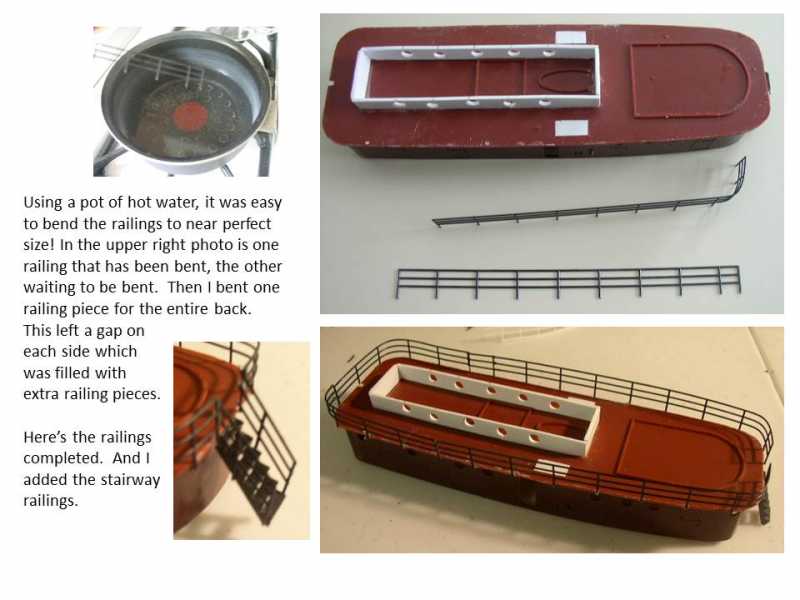
here's the next few slides - handrails!!

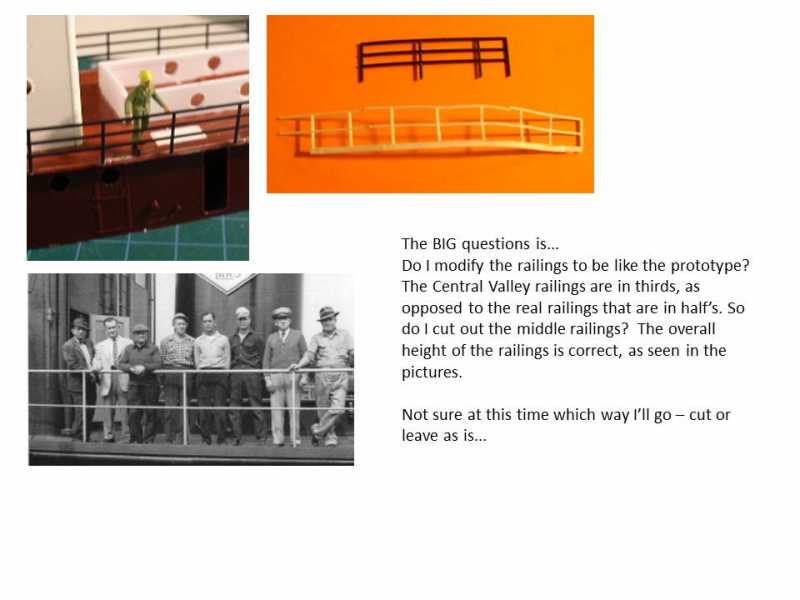
I have a question at the end of the last slide... looking for your comments...
Attachments:
Thanks,
Barry
The administrator has disabled public write access.

Reading Co Tug - Schuylkill 10 years 9 months ago #1715

  • Turboboost910
  • Turboboost910's Avatar
  • OFFLINE
  • Conductor
  • Posts: 250
  • Thank you received: 17
I personally would match the prototype wherever possible. since the railings are the most obvious part on the outside, i'd hate knowing that they werent correct. on the other hand, it's hard to tell if the area inside the railings would be too big. If they don't look too akward with the middle rail cut out, i'd do it.
The administrator has disabled public write access.
Time to create page: 0.110 seconds

Today's Image

Did You Know?

April, 1957
The famous green "READING LINES" bridge over Shepps Dam on the Reading Belt Line (near Carpenter Steel) enters service.

Downloads

Operations Information

Click Here!A variety of Reading Company operations related documents, etc. that may be of use in your modeling efforts.

Operations Paperwork

Click Here!A variety of Reading Company operations paperwork, such as train orders, clearance forms, etc. that will help you operate your Reading layout in a prototypical manner.

Timetables, Rulebooks, Etc.

Click Here!Public Timetables, Employe Timetables, and Rulebooks that provide much useful operational information.

Modeling Goodies

Click Here!Signs, billboards, and other FREE goodies for your use.  We ask only that you help spread the word about The Reading Modeler!

Rolling Stock Reference

Click Here!Downloadable reference documents on the various classes of Reading Company Freight and Passenger rolling stock.

Thanks for Your Support!

If you find the content on The Reading Modeler valuable, won't you please consider supporting our efforts? Your donation will help to offset operating costs and acquire new material to share on the site. Thank you!

Amount: 

Advertisements