FacebookTwitterDiggGoogle BookmarksRedditLinkedinRSS Feed
Welcome, Guest
Username: Password: Remember me
This section of The Interchange provides a space where members of the Reading Modeler community can showcase their Reading modeling efforts. If you've got a project that you'd like to share, start a new topic and "show and tell" the group how you did it!

TOPIC: Lehigh Valley R-1 2-10-2

Lehigh Valley R-1 2-10-2 9 years 1 month ago #4257

  • Casey
  • Casey's Avatar
  • OFFLINE
  • Conductor
  • Posts: 209
  • Thank you received: 57
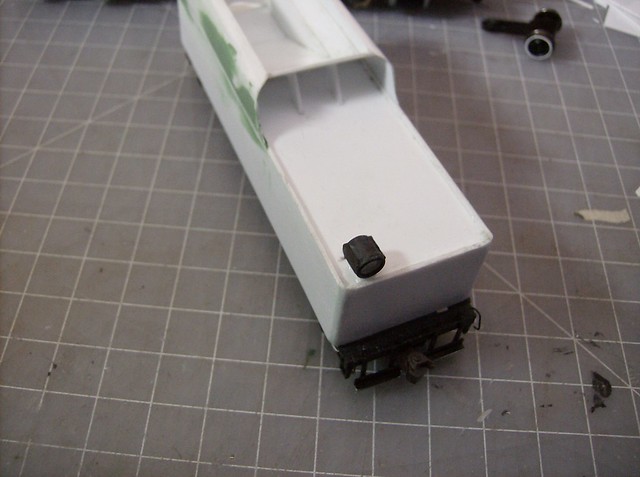
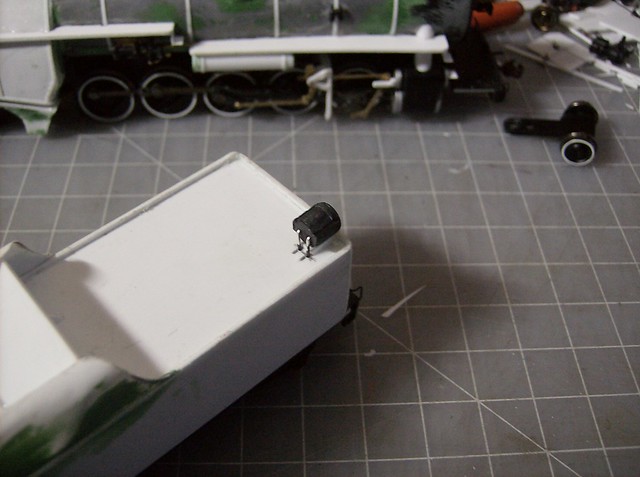
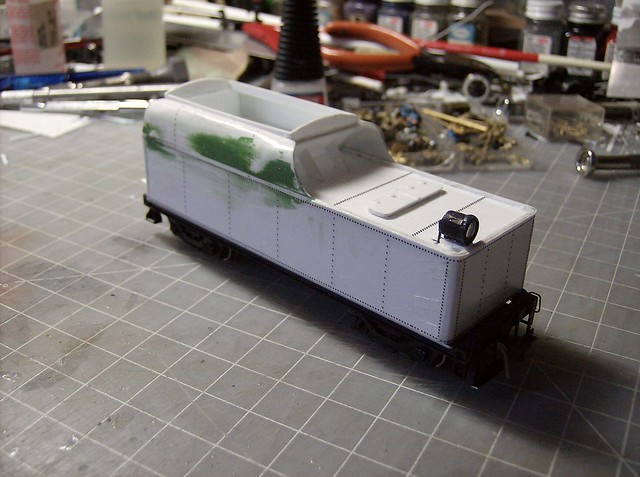
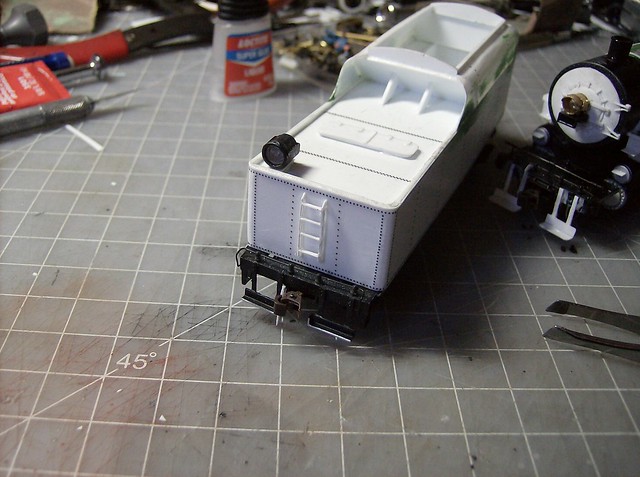
Work started up again with installing the tender light which is the original tender light with the number boards shaved down. The light already has the LED in it and holes were drilled for the wires.


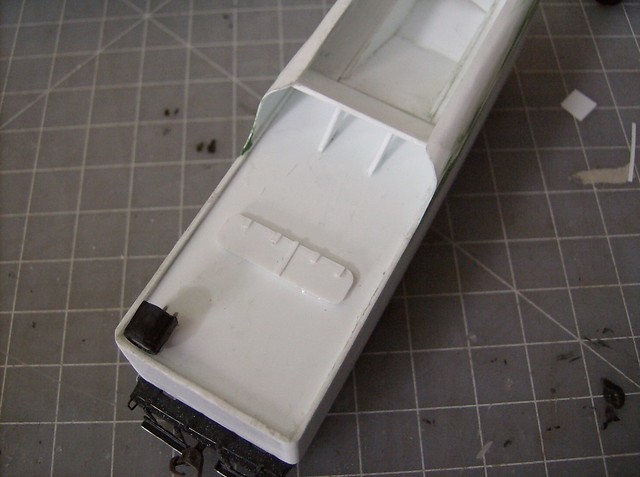
Then the water hatch was built made from a base layer of .040 and topped witha slightly larger piece of .010. Strips of .010 were used to make hinges and the lid split.


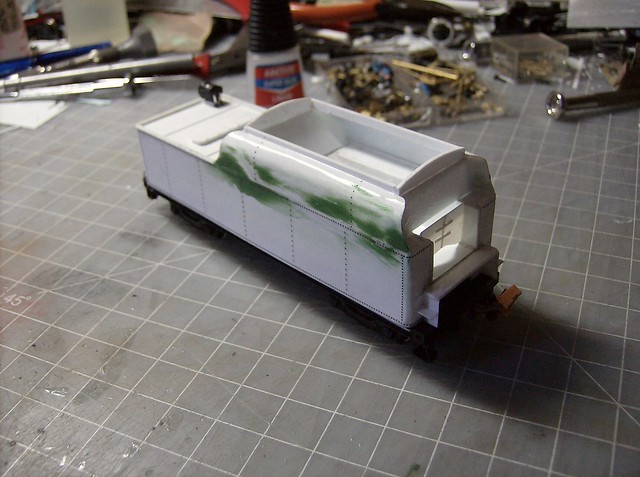
The front tender platform was then done to match the cab floor. Also the circuit board was placed back in.


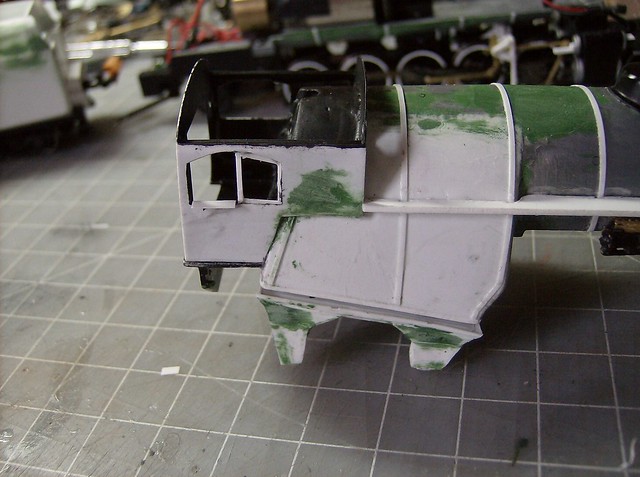
Next I wanted to get a roof on the cab but first I needed to do the window frames and get a coat of paint in the interior. The frame and the arm rest is .010 plastic. I just do a simple coat of black for the cab interior since you tend not to see much of in there anyway.


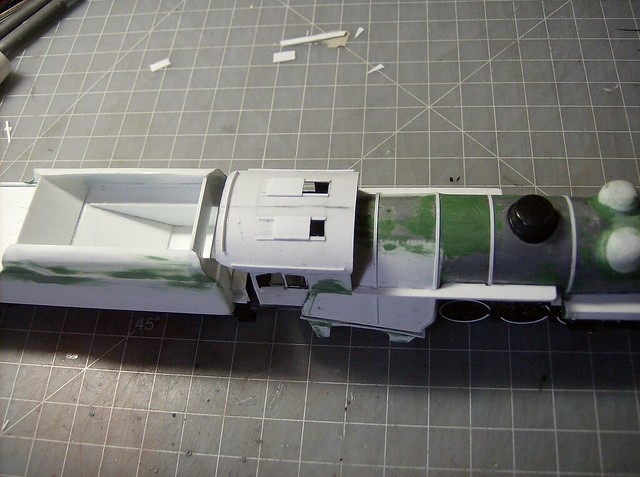
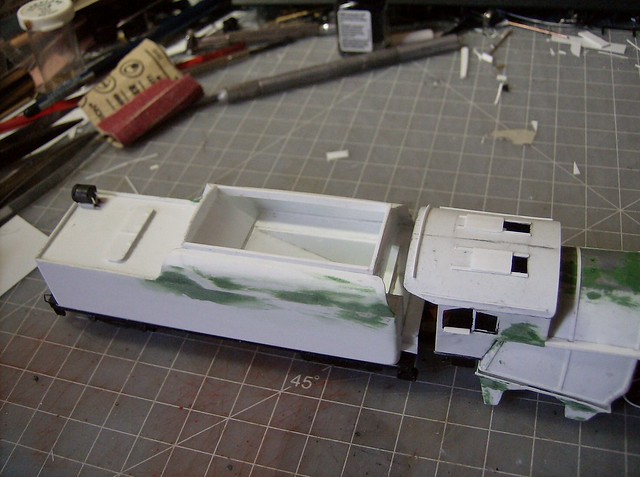
The roof is made .010, so are the gutters and vents. Here is everything installed.


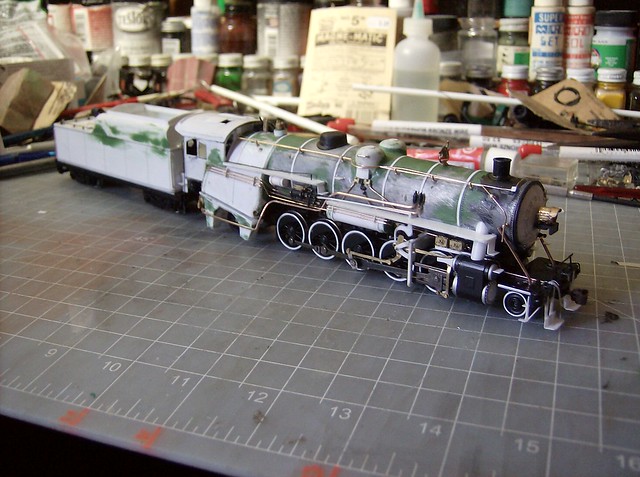
I put the original draw bar back in, I would like the tender to be a little closer but the generally tight curves won't allow it.


With the cab roof in place I made the slight coal bunker extension to not go higher then the roof line. The bunter extension was made from .040 pieces. The rounded front and back is something I noticed on pictures.


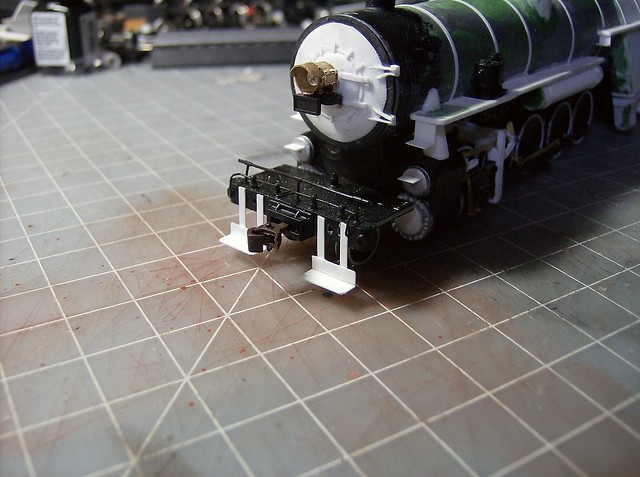
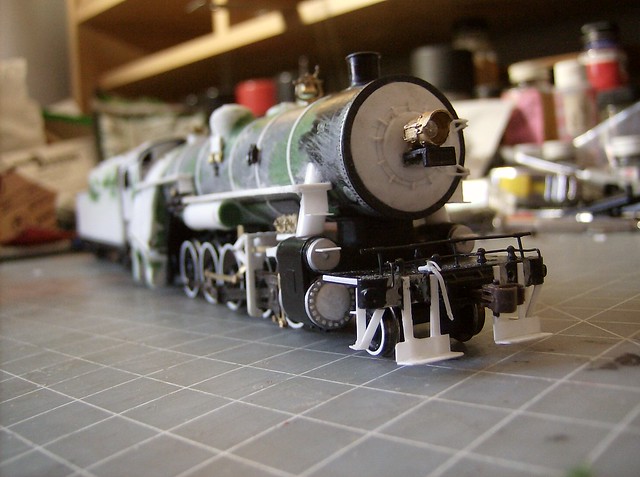
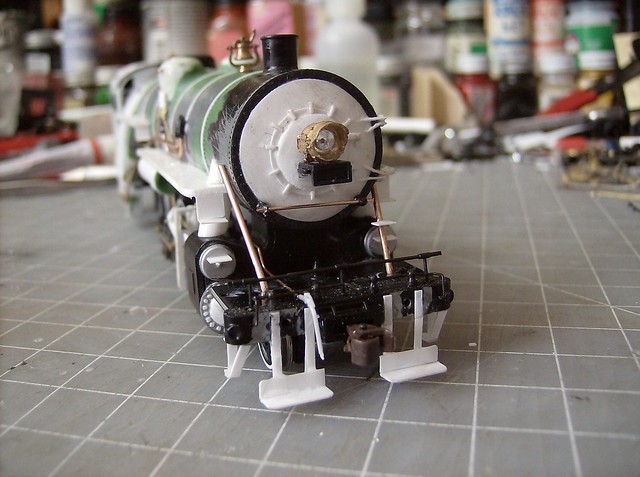
I then did the pilot footboards, they are made from .010 pieces. At this point the headlight was drilled for the LED that was in the original headlight.


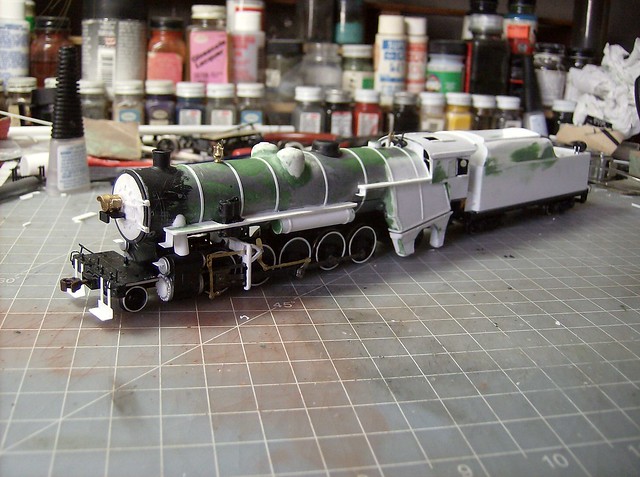
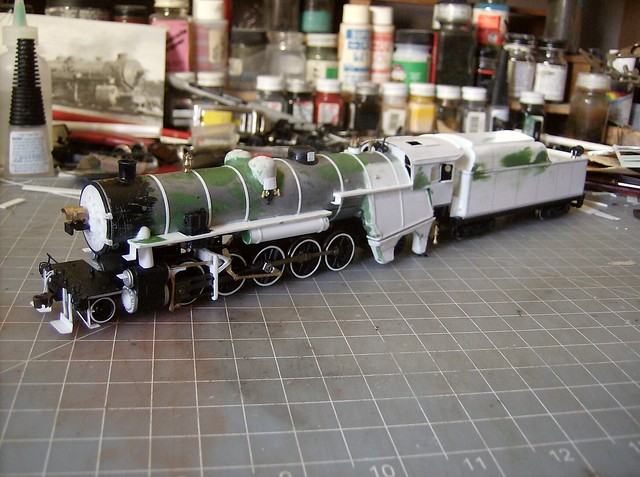
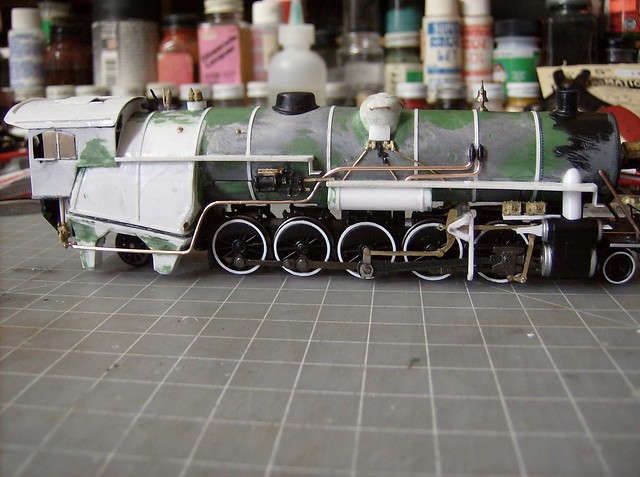
This is where it sits now after a few other details were added. The bell, whistle, sand dome caps, generator and the base for the safety valves was made. A test run was also done, after some tweaking it's running well.
The administrator has disabled public write access.

Lehigh Valley R-1 2-10-2 9 years 1 month ago #4287

  • Casey
  • Casey's Avatar
  • OFFLINE
  • Conductor
  • Posts: 209
  • Thank you received: 57
With a visit to local hobby store I was a little surprisingly able to get the couple of detail parts I needed to finish this one. Before installing the parts I wanted to get the rivets done starting with the tender.


Rivets on the engine is just the smoke box, which is a little hard to see being a dark area.


The tender rivits were easier without a latter on the back so I build the latter after the decals were set.


Then the rest of the parts were installed ready for final detailing with plumbing. These include sander valves, air hoses, injector lifts, safety valves, pilot steps, washer plugs and main lubricators. The power reverse linkage will be built during final detailing.


The administrator has disabled public write access.

Lehigh Valley R-1 2-10-2 9 years 1 month ago #4316

  • Casey
  • Casey's Avatar
  • OFFLINE
  • Conductor
  • Posts: 209
  • Thank you received: 57
I doubt will get to work on the project more tomorrow so I figured I would update whats done. The tender, front and engineers side of the engines have the detail finished.

The tender was really just doing the various handrails.


The front was the boiler braces to the pilot and smokebox front hand rail. The eletrical line for the headlight came after the line along the boiler was set.


To do the power reverse linkage I wanted to get what was behind it on first which meant doing the sander lines then the injector pipes.


After the reverser linkage was in place the rest was applied.
The administrator has disabled public write access.

Lehigh Valley R-1 2-10-2 9 years 3 weeks ago #4345

  • Casey
  • Casey's Avatar
  • OFFLINE
  • Conductor
  • Posts: 209
  • Thank you received: 57
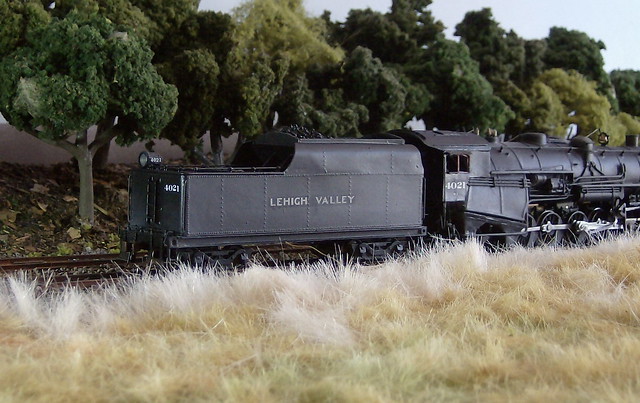
Over the week I finished up the detailing.


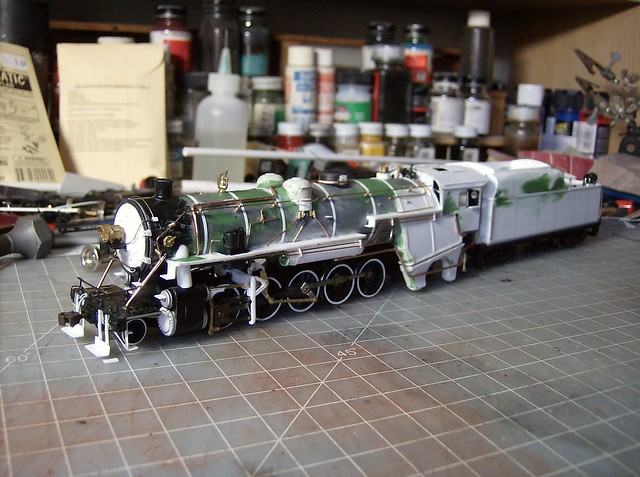
Then painting was done over the past 2 days. Decals are caboose for the tender type and the numbers are from a hodge podge of decal sets.

Still in the spray booth. I think the drivers look a bit smaller without the white walls.


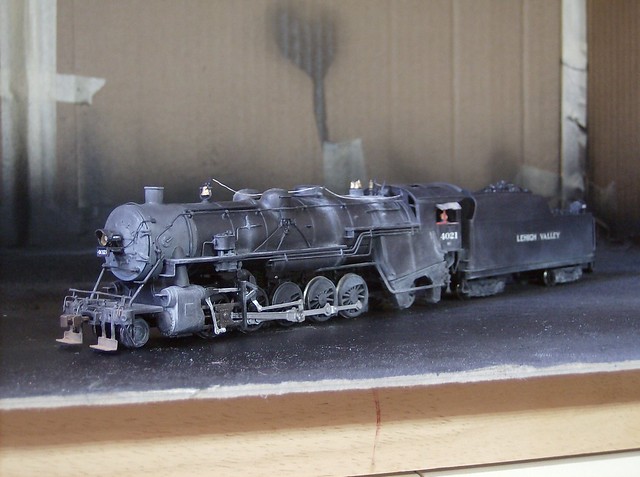
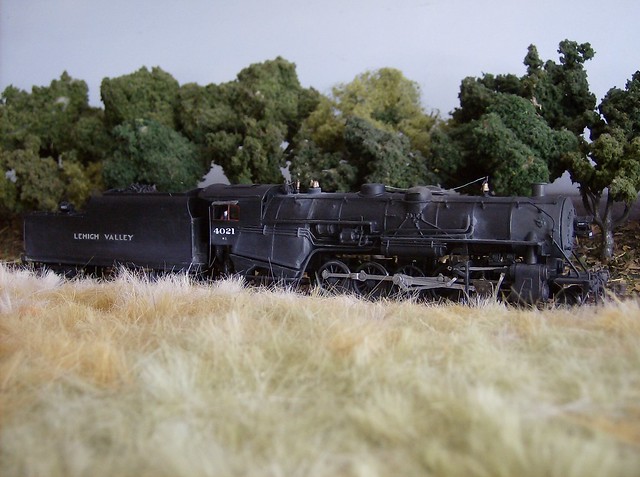
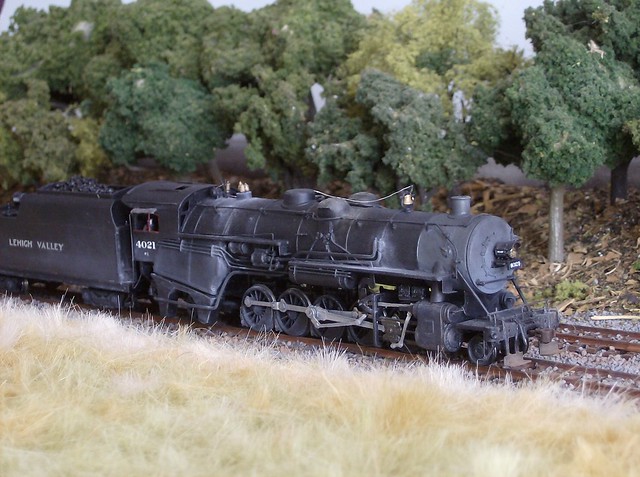
On the diorama, at the time of the pictures the windows still needed to be done, but I wanted to do the video in the same day. They have been since applied.


It turned out to be a good quiet runner.
The administrator has disabled public write access.
Time to create page: 0.111 seconds

Today's Image

Did You Know?

September 6, 1945
#2100, the first T-1 4-8-4 steam locomotive, is outshopped at Reading.

Downloads

Operations Information

Click Here!A variety of Reading Company operations related documents, etc. that may be of use in your modeling efforts.

Operations Paperwork

Click Here!A variety of Reading Company operations paperwork, such as train orders, clearance forms, etc. that will help you operate your Reading layout in a prototypical manner.

Timetables, Rulebooks, Etc.

Click Here!Public Timetables, Employe Timetables, and Rulebooks that provide much useful operational information.

Modeling Goodies

Click Here!Signs, billboards, and other FREE goodies for your use.  We ask only that you help spread the word about The Reading Modeler!

Rolling Stock Reference

Click Here!Downloadable reference documents on the various classes of Reading Company Freight and Passenger rolling stock.
Thanks for Your Support!

If you find the content on The Reading Modeler valuable, won't you please consider supporting our efforts? Your donation will help to offset operating costs and acquire new material to share on the site. Thank you!

Amount: 

Advertisements