FacebookTwitterDiggGoogle BookmarksRedditLinkedinRSS Feed
Welcome, Guest
Username: Password: Remember me
This section of The Interchange provides a space where members of the Reading Modeler community can showcase their Reading modeling efforts. If you've got a project that you'd like to share, start a new topic and "show and tell" the group how you did it!

TOPIC: Lehigh Valley R-1 2-10-2

Lehigh Valley R-1 2-10-2 9 years 2 months ago #4111

  • Casey
  • Casey's Avatar
  • OFFLINE
  • Conductor
  • Posts: 209
  • Thank you received: 57
With the N-1 done I decided to dive right into the next project. First here is the real deal for the unfamiliar.


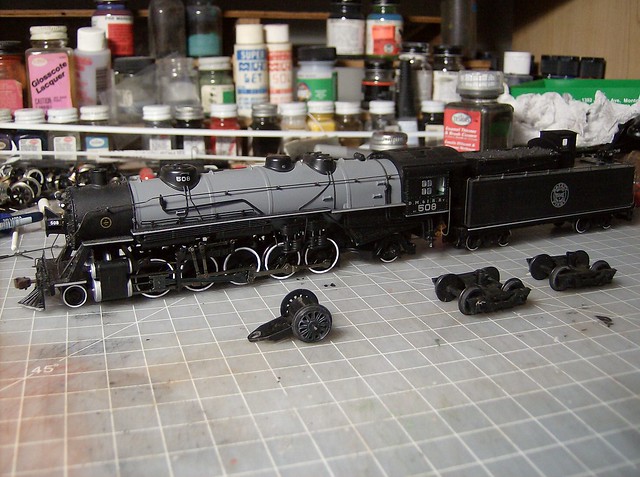
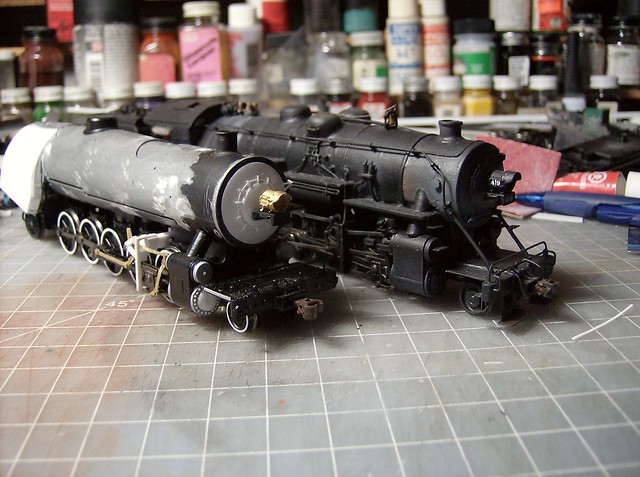
The starting point is one of those engines I have had for a couple years that doesn't fit in seen in the K-1 build for a driver comparison, a DM&IR bachamann specturm 2-10-2. This is the unaltered engine with the replacement trucks next to it. The new rear truck is a mantua left over, the tender trucks are bachmann off a cheap show bought I-10 Great Northern tender.


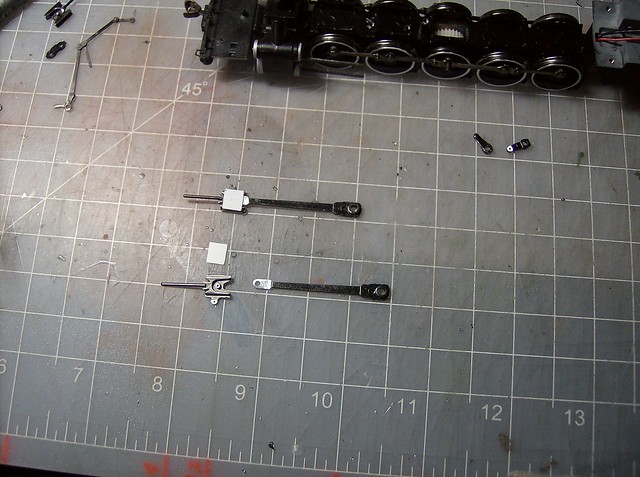
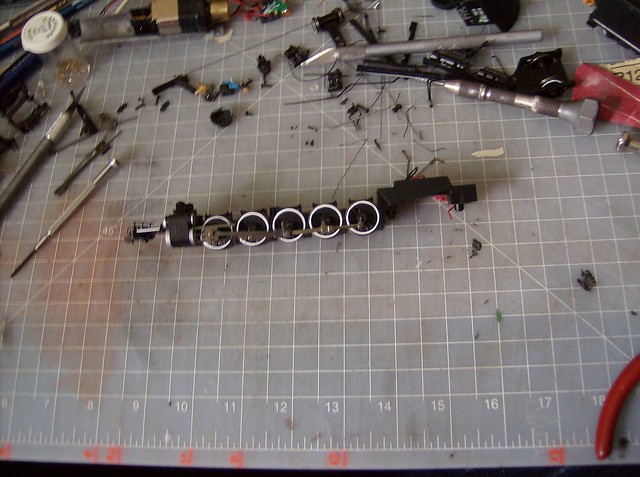
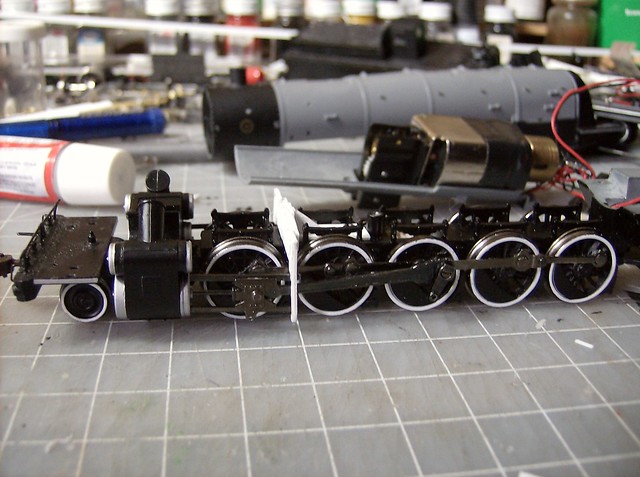
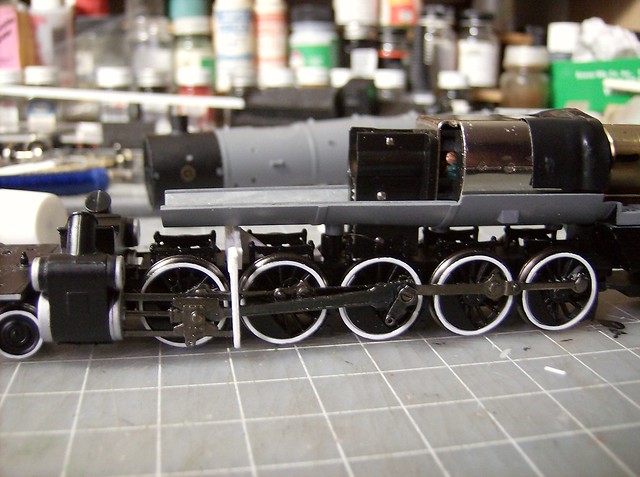
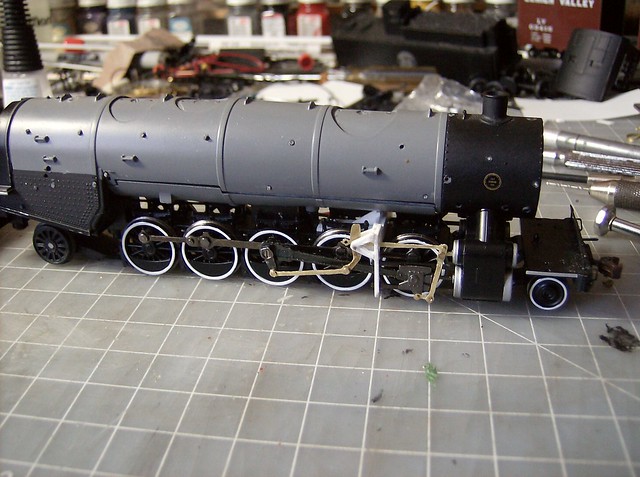
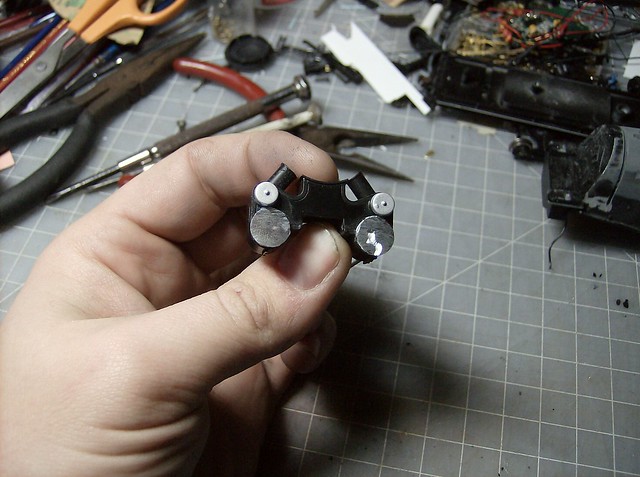
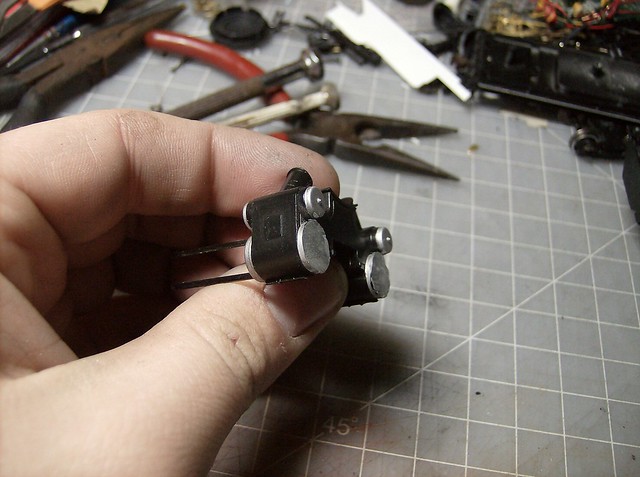
After disassembly the first thing is getting rid of the southern valve gear. The class of 75 engines had walschaerts and baker valve gears. I decided to go with walschaerts since I think a majority of them were that way and I wanted more practice in conversions. The only pieces of rods kept besides the side rods were the main rod and the eccentric crank. I started with replacing the crosshead using a left over spectrum 2-8-0 one from earlier conversions. I carefully ground the main rod free not cutting too much with a dremel, just enough to separate the pieces. The rivet is actually molded with the crosshead piece so the new main rod uses the original shaft and is capped on the back with plastic, super glueing around the rim. The plastic also sticks up and down to act as the other side of the guide.

This is one glued one not.


The main rods in place.


Next a yoke was built fit to be screwed into the spot of the southern valve gear.


Also making sure of clearances.


A lot of grinding brass with a dremmel later the fireman's side was together. I didn't plan from the beginning doing the valve gear from scratch, the rod on the bottom of the crosshead was too long from the 2-8-0 set up and started with replacing that. After looking at a few more pieces not quite lining up I just decided to go for it. It was a pain to get it rolling free since the eccentric crank was a little messed up and did not sit totally flat when screwed on. It too lots of tweaking to get it acceptable. The engineers side when much smoother.


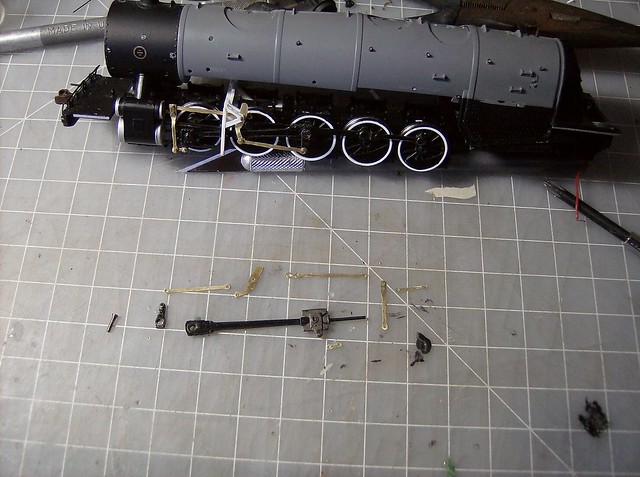
Here is all the unassembled made pieces. Each piece was made twice at the same time to try to keep consistency.


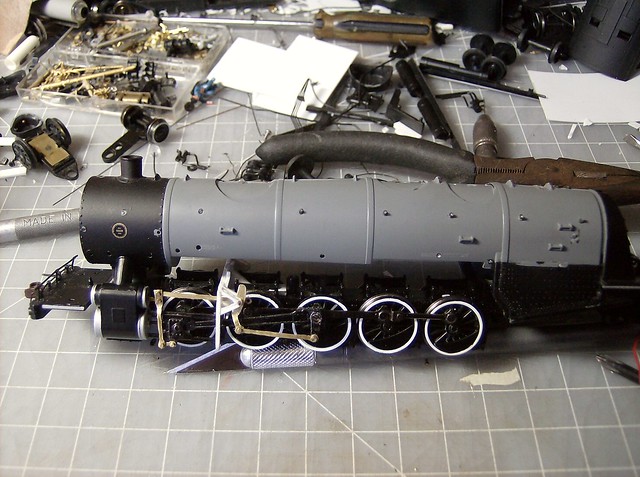
This is the engineers side in place with the full boiler as well.


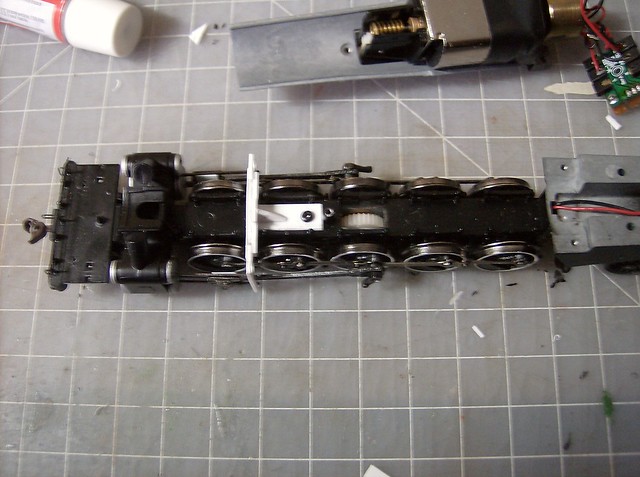
The tender trucks are not totally set up but here is a running gear placement overview.


So now that the hard part is over, mostly what I thought would work did, the rest of the build can proceed.
The administrator has disabled public write access.

Lehigh Valley R-1 2-10-2 9 years 2 months ago #4112

  • Turboboost910
  • Turboboost910's Avatar
  • OFFLINE
  • Conductor
  • Posts: 250
  • Thank you received: 17
Geez you are non-stop... :woohoo:
Last Edit: 9 years 2 months ago by Turboboost910.
The administrator has disabled public write access.

Lehigh Valley R-1 2-10-2 9 years 2 months ago #4114

  • Casey
  • Casey's Avatar
  • OFFLINE
  • Conductor
  • Posts: 209
  • Thank you received: 57
Well I actually didn't working on anything during the week last week haha. I can move on doing this because I already had the engine. I also didn't know if what I was going to do would work and it was honestly kind of bugging me.

I have 2 IHC 2-8-0s gotten in the 90s that will be Lehigh Valley camel backs eventually, a proto 0-6-0 I want to make as New Hope and Ivyland #9 60s style and a Athearn 2-8-2 I'm still thinking about what I want to do with it, probably something with a big boiler to add weight and fix the back heavy problem. Right now I'm leaning toward a CNJ mike, the one with the huge tender. There are also the many project I'm always rolling around in my mind which sit until I can try to find the start as cheap as possible at a show.

At any rate I try to work on something at least on the weekends, thats the key to my production.
The administrator has disabled public write access.

Lehigh Valley R-1 2-10-2 9 years 2 months ago #4126

  • MrBill
  • MrBill's Avatar
  • OFFLINE
  • Conductor
  • Posts: 169
  • Thank you received: 31
How do you make and install the new brass linkage pins?
The administrator has disabled public write access.

Lehigh Valley R-1 2-10-2 9 years 2 months ago #4127

  • Casey
  • Casey's Avatar
  • OFFLINE
  • Conductor
  • Posts: 209
  • Thank you received: 57
Bowser still sells rod rivets, if I see them at shows I grab them too. I only discovered them a year-ish ago, and whenever I have to order detail parts I get at least one pack of rivets too being relatively inexpensive.

www.bowserorders.com/.sc/ms/dd/ee/106035...S%20%20%20%20PK%2020

The march 2015 model railroader has an article on an N scale kitbash where they list a rivet supplier, using a drill hole seemingly big for N I have no doubt they would work in HO too.
The administrator has disabled public write access.

Lehigh Valley R-1 2-10-2 9 years 2 months ago #4141

  • Casey
  • Casey's Avatar
  • OFFLINE
  • Conductor
  • Posts: 209
  • Thank you received: 57
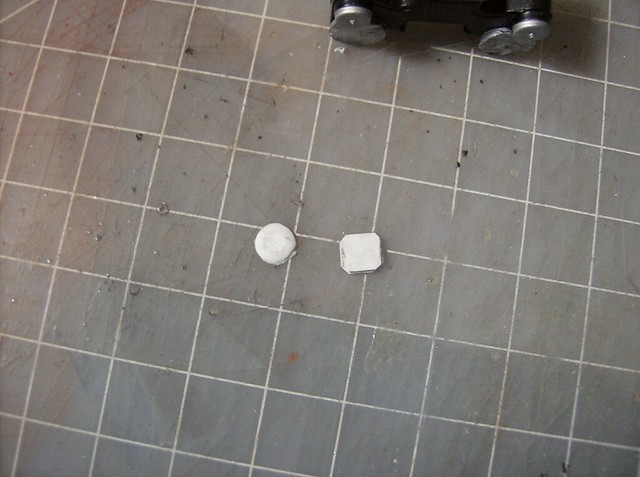
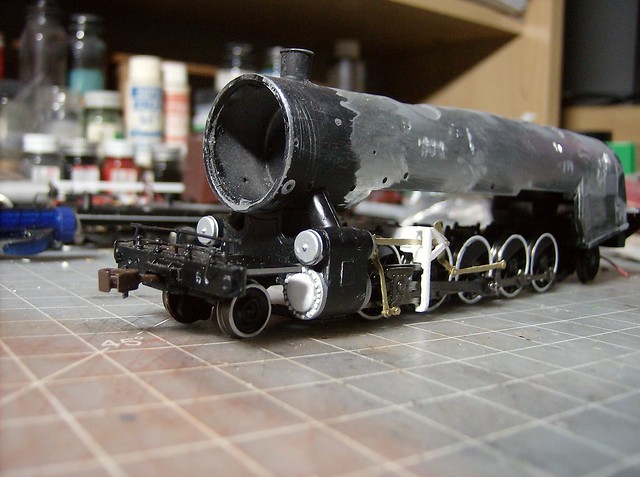
Work continued with the cylinder heads. The cylinder faces are metal and were ground down a bit with a dremel about half of the total thickness the head use to be.


Then a new smaller head was made from .040 being sanded to a dome shape.


To make the bolts a strip of .010x.020 was cut into little squares and glued around the head, after the dome shape was centered and glued.


The installed views.


The shell was ground down with a dremel when the cylinders were, in short everything but the stack goes as well as the bands on the lower half.


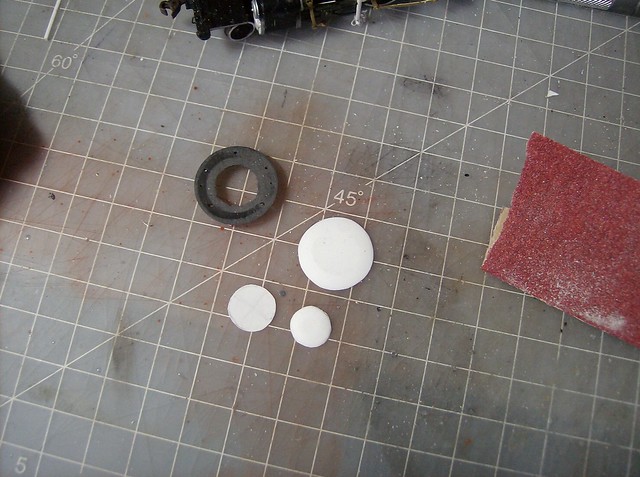
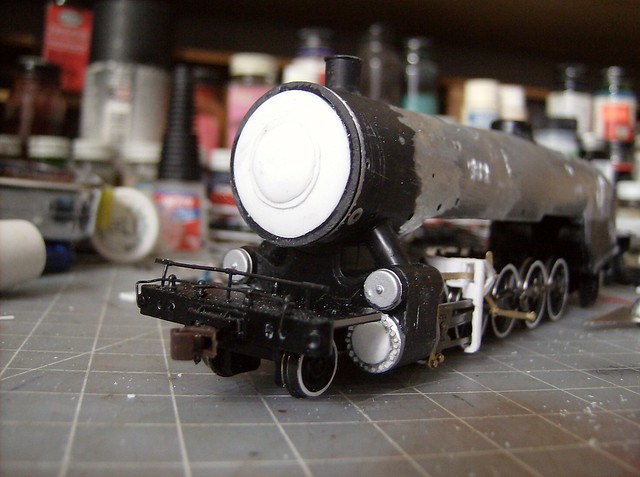
Next I worked on the smokebox front and decided to use part of the original. Using the LED lights that came with the engine the wires go through a little hole in the shell and plug into the LED leads. To make it accessible for taking the shell on and off the smoke box front needs to be removable. I sanded everything off the front to the flat base and make the layers, 2 .040 and 1 .010. The .040 layers were sanded into dome shapes.


The layers glued together.


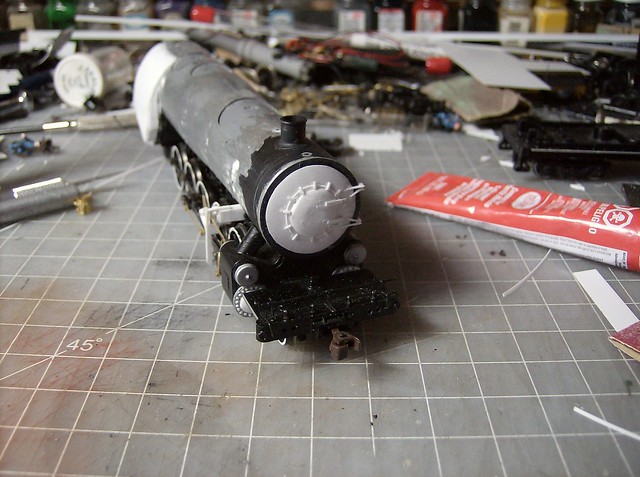
For some reason I jumped to the fire box before finishing the front but I'll get to that. The inner door hinges are .010x.040 strips, the one is cut a little short to fit the head light bracket. The outer hinges are .010x.040 on edge tapered down toward the inner of the smokebox front backed on the outside by a small piece of .040 styrene. The inner door latches are small pieces of .010x.020.


Here is the headlight in place matched up with the N-3 which is basically a shorter version of the same engine.


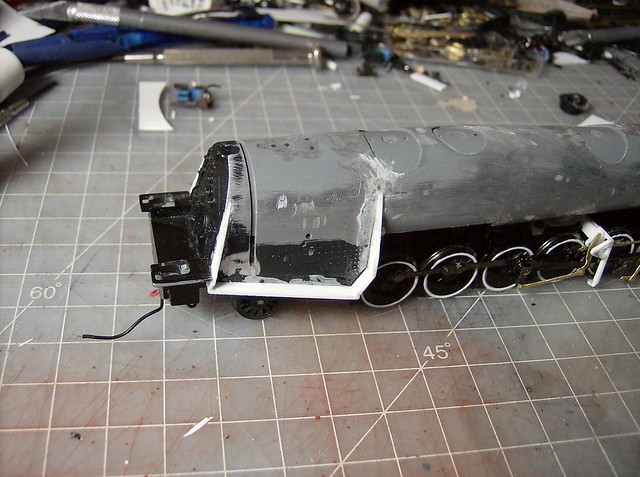
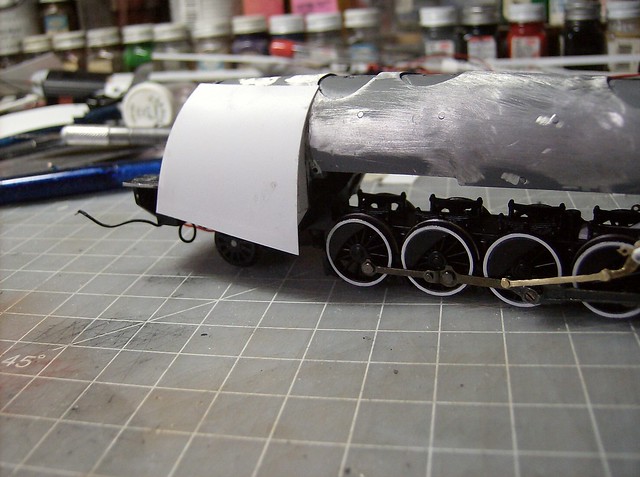
The firebox is just a width extension of the original by about 1/8" using the original cab floor as the width limit. It started with a frame of .040.


Then a piece of .010 was placed on each side oversized, trimmed down and sanded into smoothly into the boiler on the top. Also when sanding the corners are rounded.


It was around this point I decided to use the original steam dome since it was basically in the right spot.


Then, putty.


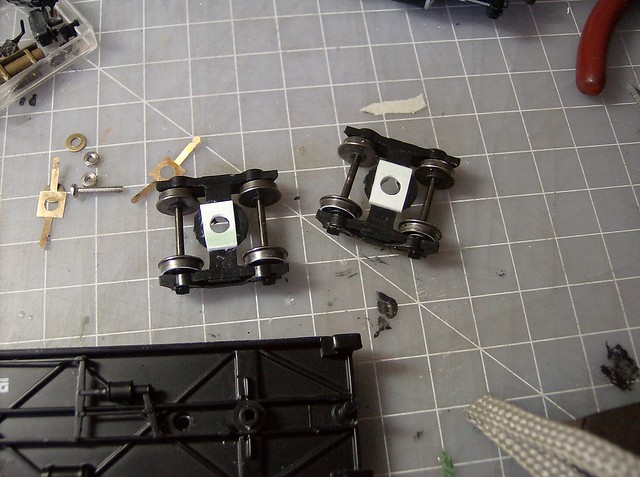
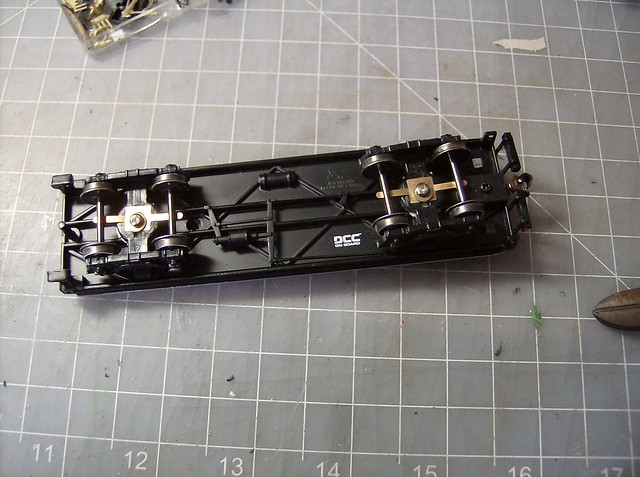
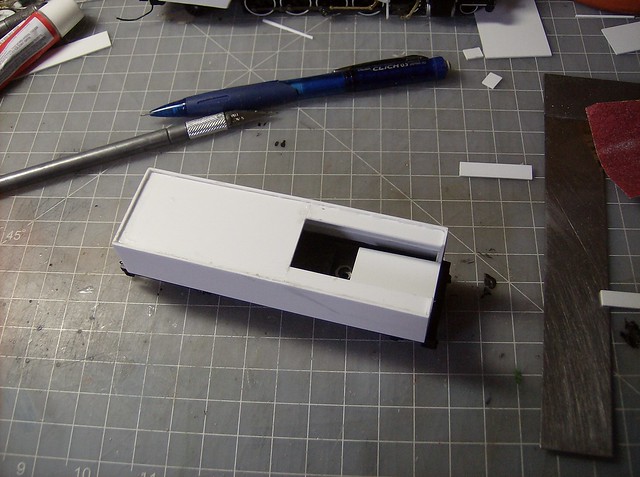
The tender started with the trucks being drilled out to fit on the existing frame which also needed a spaces of .040 to bump it up higher.


Then the original hardware is used. This is a dry fitting of just the trucks and pick ups not connected to the circut board.


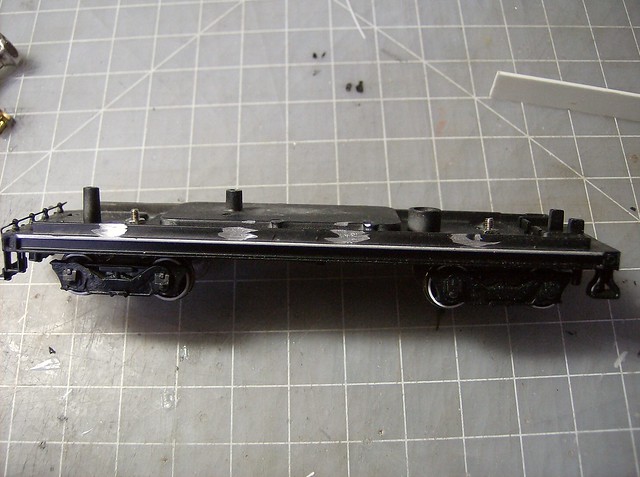
To start the shell I wanted to make a base frame that snugly fit on the frame to keep the shell on, but first there were little nubs that needed to be ground off for it to sit flush.


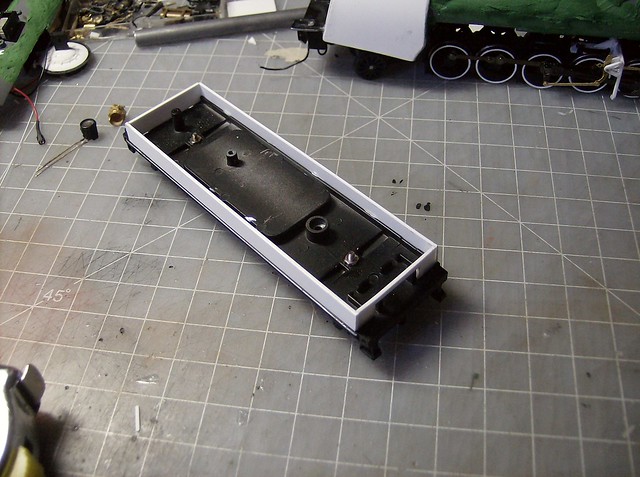
The base frame with wire hole in the front.


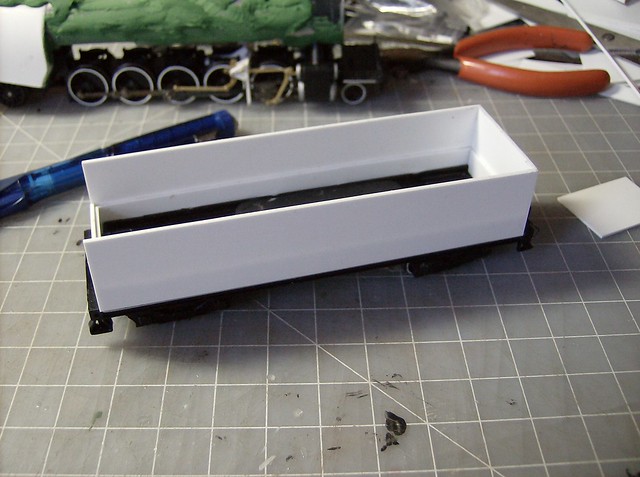
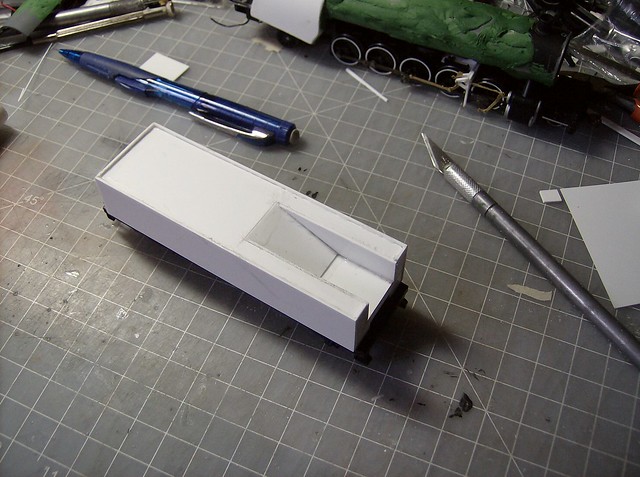
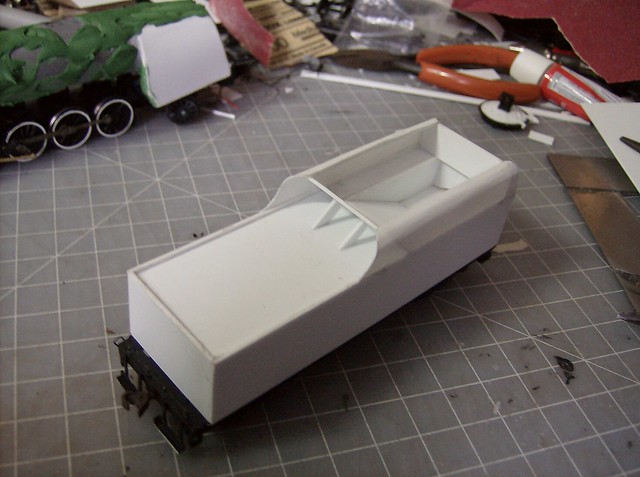
Then the actual tender sides were glued to that frame which I made 7/8" high.


The top was fitted.


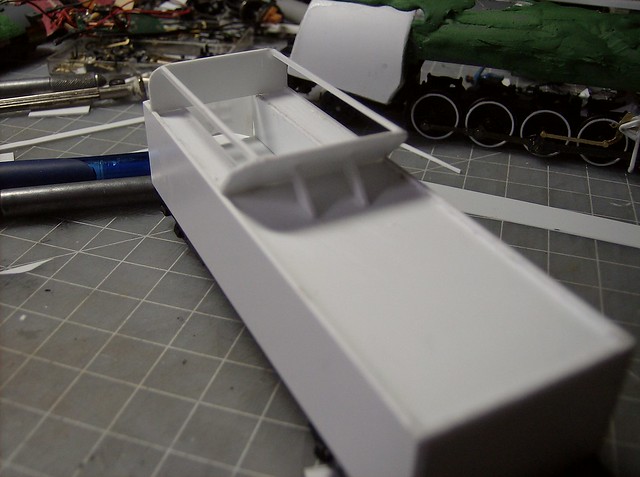
Then the coal bunker interior.


This was a new Idea to give the rounded top bunker edges more support by running rails between the fitted front and back. The front and back pieces were cut just a little skinner then the width of the tender to fit a .010 piece.


Then the top pieces were glued in place.


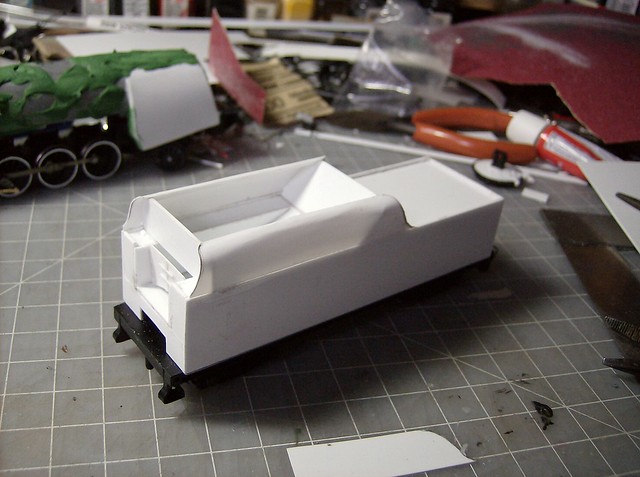
After all was set the 4 corners got sanded to be rounded. There will be a small coal bunker extension added but I want to get the cab in place to know just how high I want to make it.


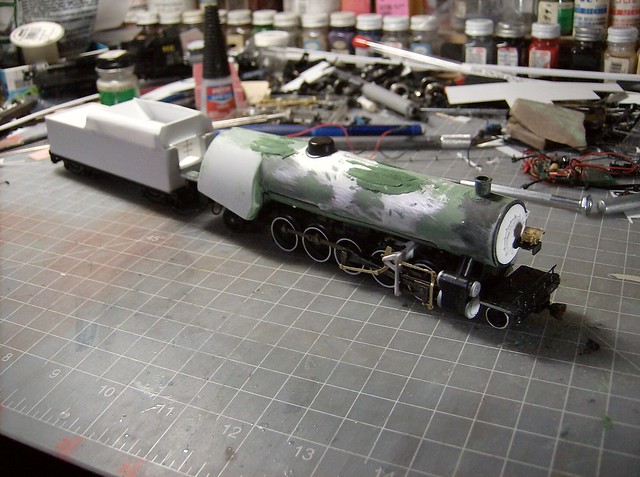
Then I sanded the boiler down (a day after I set the putty) but there were a couple places that needed a little reapplication. So heres where is sits now.
The administrator has disabled public write access.
Time to create page: 0.159 seconds

Today's Image

Did You Know?

October 8, 1958
The diesel facilities and shop at Newberry Junction are destroyed by fire, and are rebuilt the following year.

Downloads

Operations Information

Click Here!A variety of Reading Company operations related documents, etc. that may be of use in your modeling efforts.

Operations Paperwork

Click Here!A variety of Reading Company operations paperwork, such as train orders, clearance forms, etc. that will help you operate your Reading layout in a prototypical manner.

Timetables, Rulebooks, Etc.

Click Here!Public Timetables, Employe Timetables, and Rulebooks that provide much useful operational information.

Modeling Goodies

Click Here!Signs, billboards, and other FREE goodies for your use.  We ask only that you help spread the word about The Reading Modeler!

Rolling Stock Reference

Click Here!Downloadable reference documents on the various classes of Reading Company Freight and Passenger rolling stock.

Thanks for Your Support!

If you find the content on The Reading Modeler valuable, won't you please consider supporting our efforts? Your donation will help to offset operating costs and acquire new material to share on the site. Thank you!

Amount: 

Advertisements