FacebookTwitterDiggGoogle BookmarksRedditLinkedinRSS Feed
Welcome, Guest
Username: Password: Remember me
This section of The Interchange provides a space where members of the Reading Modeler community can showcase their Reading modeling efforts. If you've got a project that you'd like to share, start a new topic and "show and tell" the group how you did it!

TOPIC: RDG C424

RDG C424 11 years 4 months ago #722

  • 2771-chris
  • 2771-chris's Avatar
  • OFFLINE
  • Road Foreman of Engines
  • Posts: 634
  • Thank you received: 94
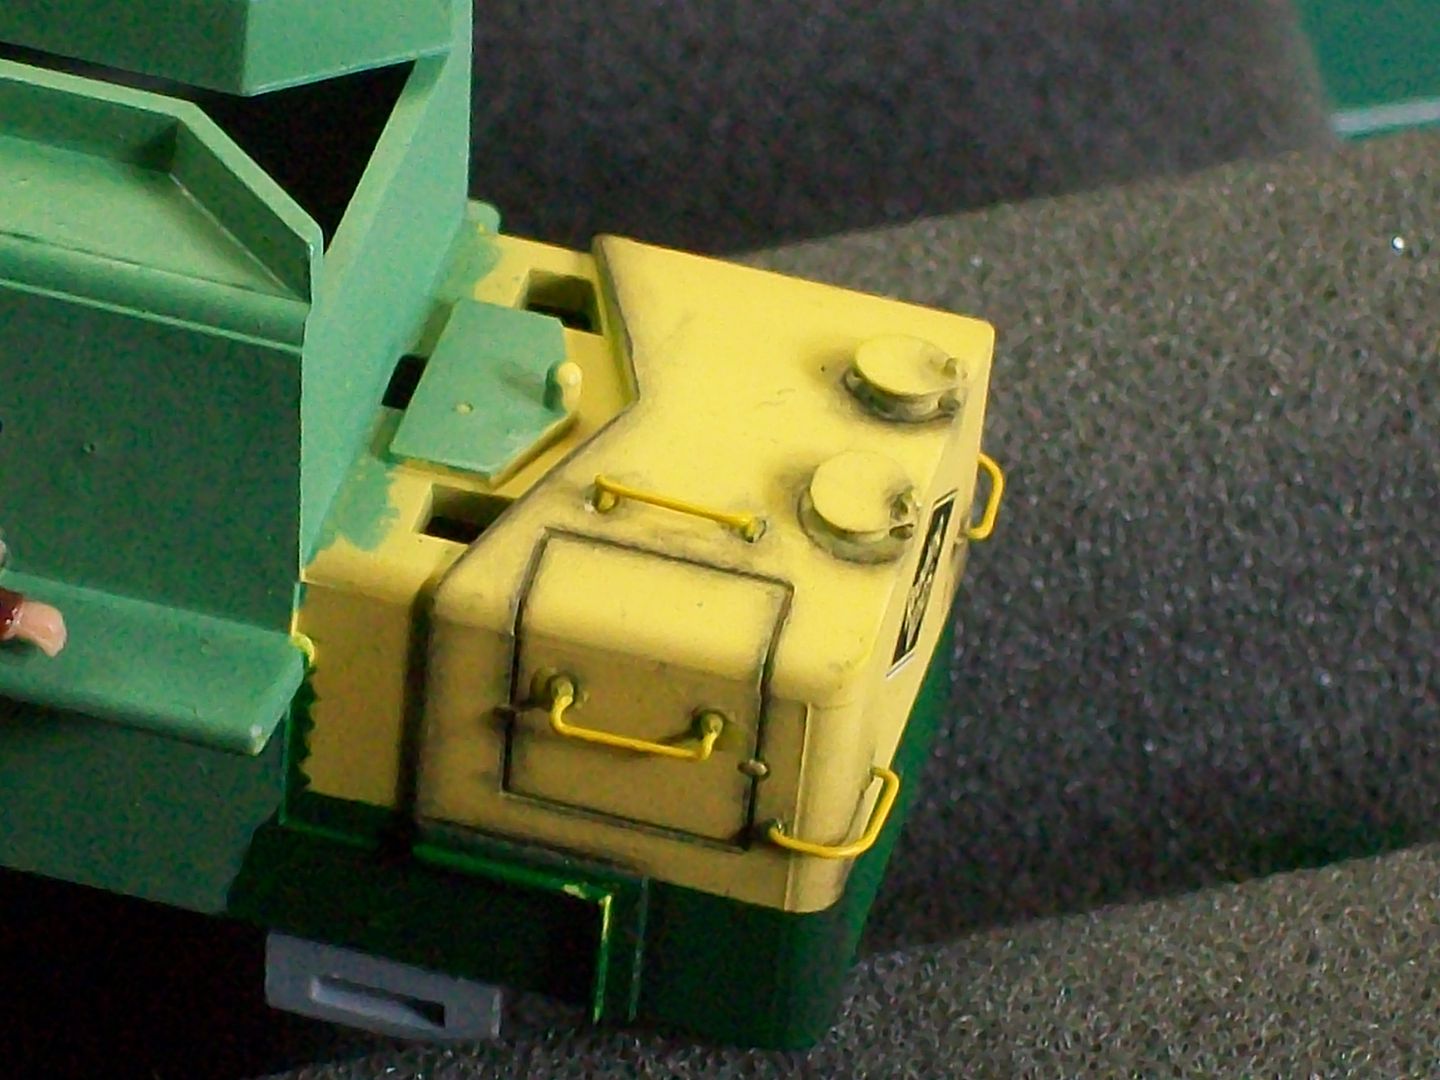
Yesterday I added the grabs to the body and added the details to the cab section.
The grab irons are the Atlas grabs that came with the unit.Before mounting I used a #80 drill and ran it through all the mounting holes to remove any paint or flash that might hinder the installation.The Atlas grabs are short so they don't protrude into the inside of the shell so I applied microbond from the outside of the shell.It's noticable on the pictures,dullcoat will take care of this later.

The grabs were painted first with polyscale RDG yellow,I use it as a primer coat on the metal grabs.Next I used floquil railbox yellow for the brighter safety yellow.

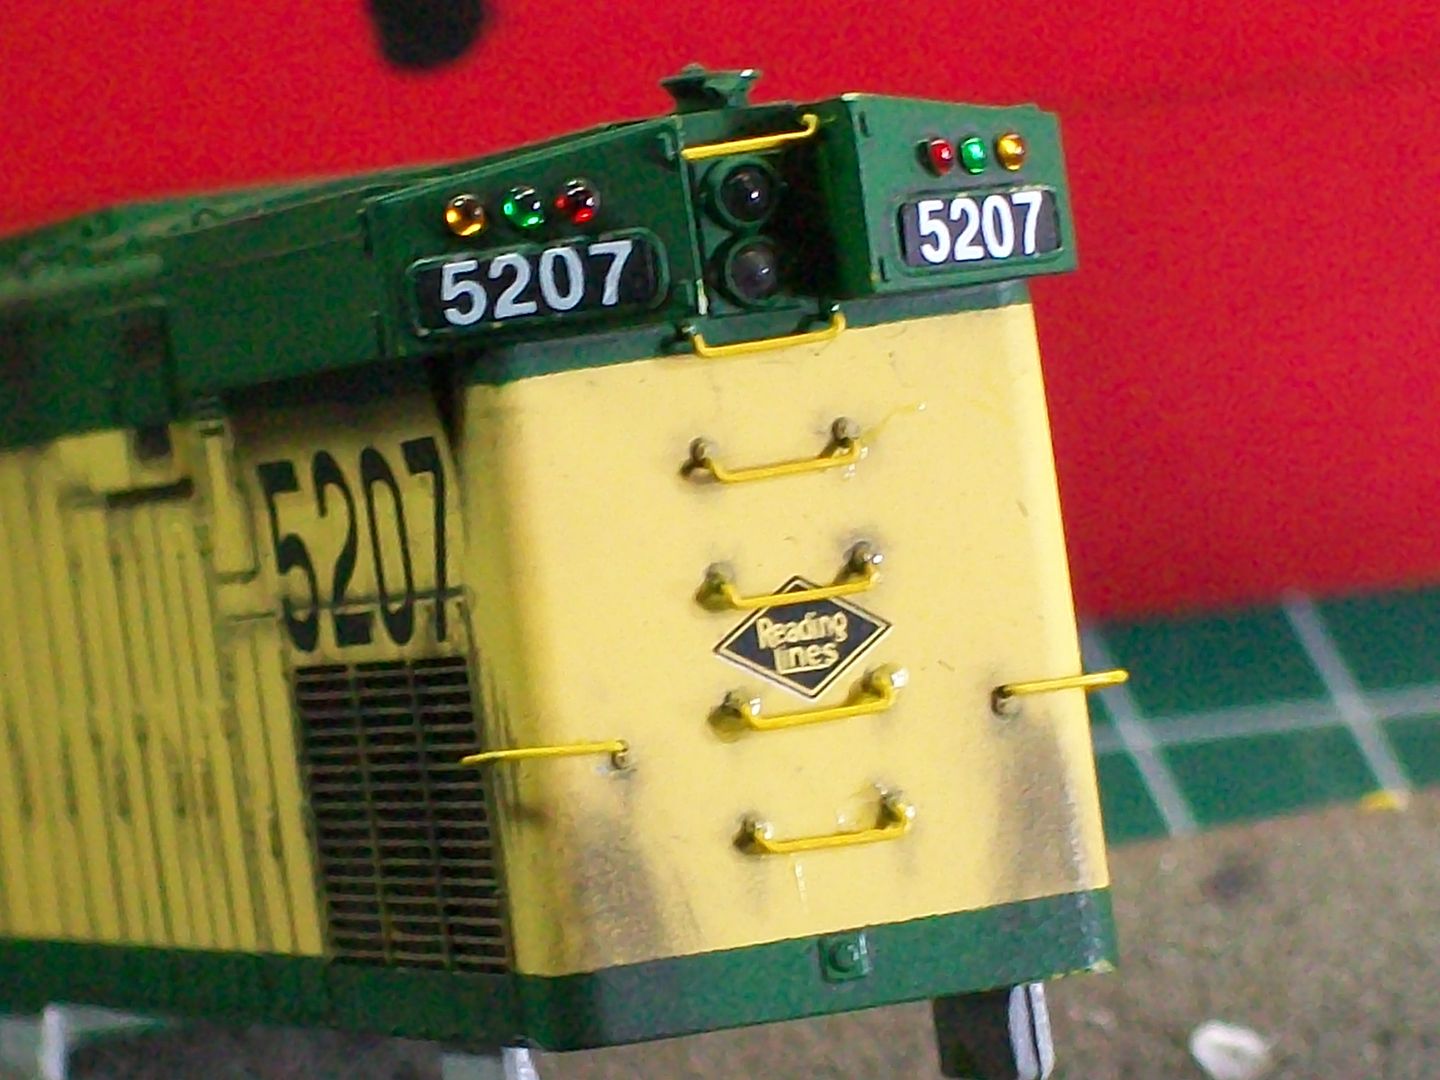
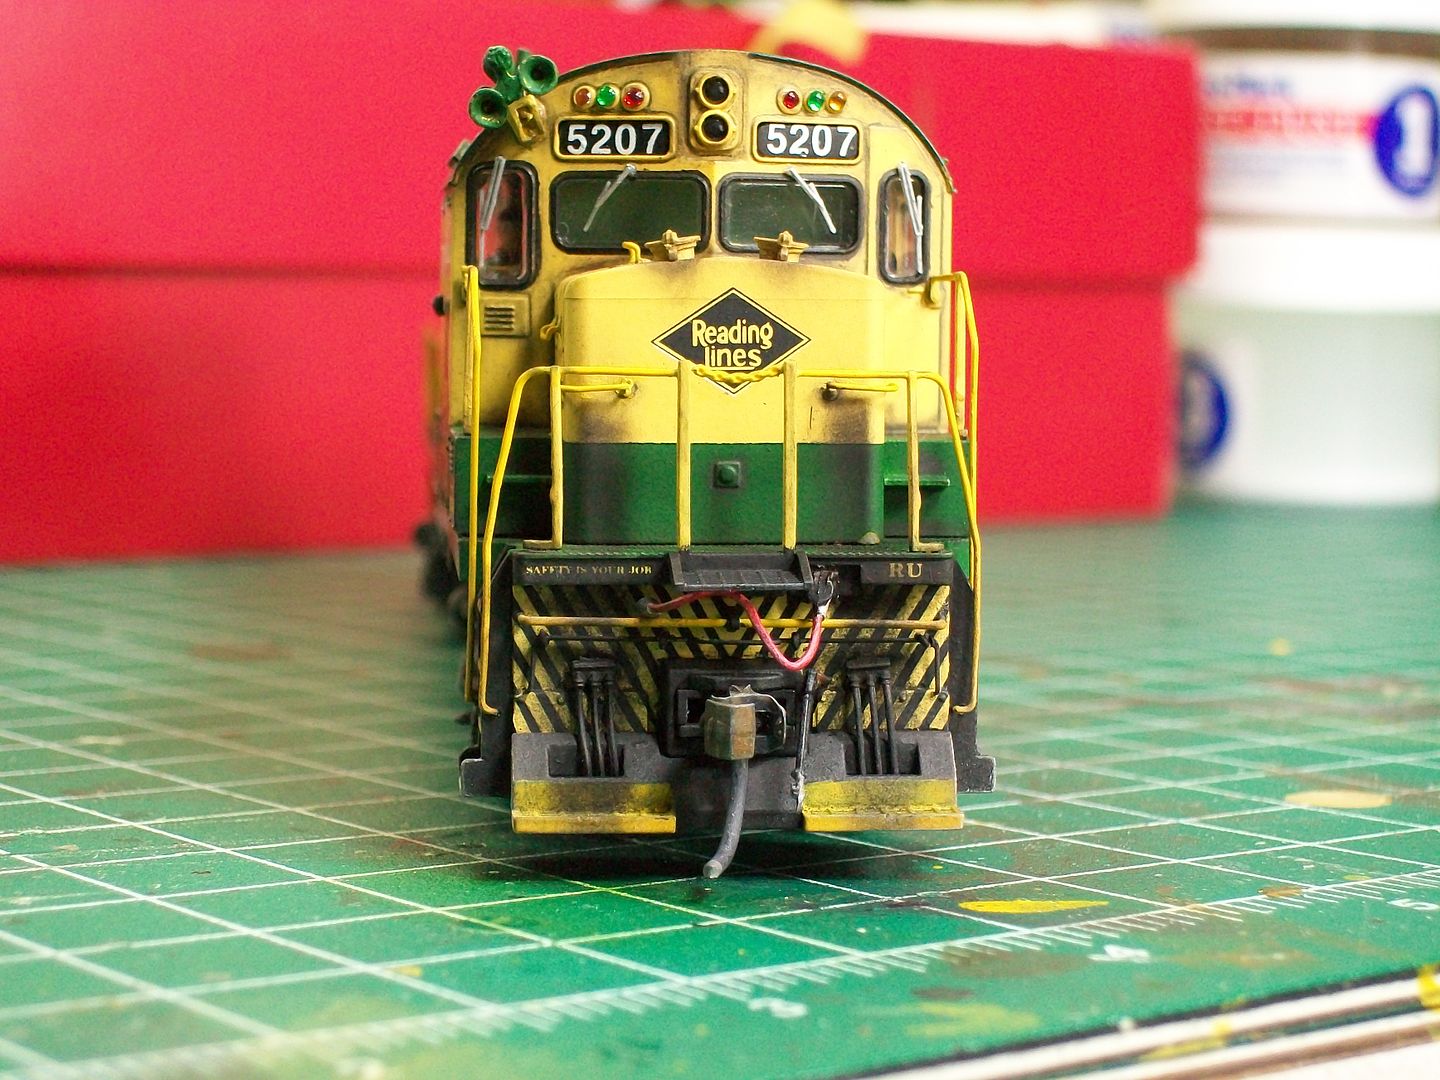
The #2 end of the unit,the grabs were added as above.The number boards were already installed so I added the number decals.I cut the numbers from microscale mini cal emd numberboard sheet.After I was satisfied with their placement I added solveset,when dried I hand painted dullcoat to seal them after letting them settle overnight.
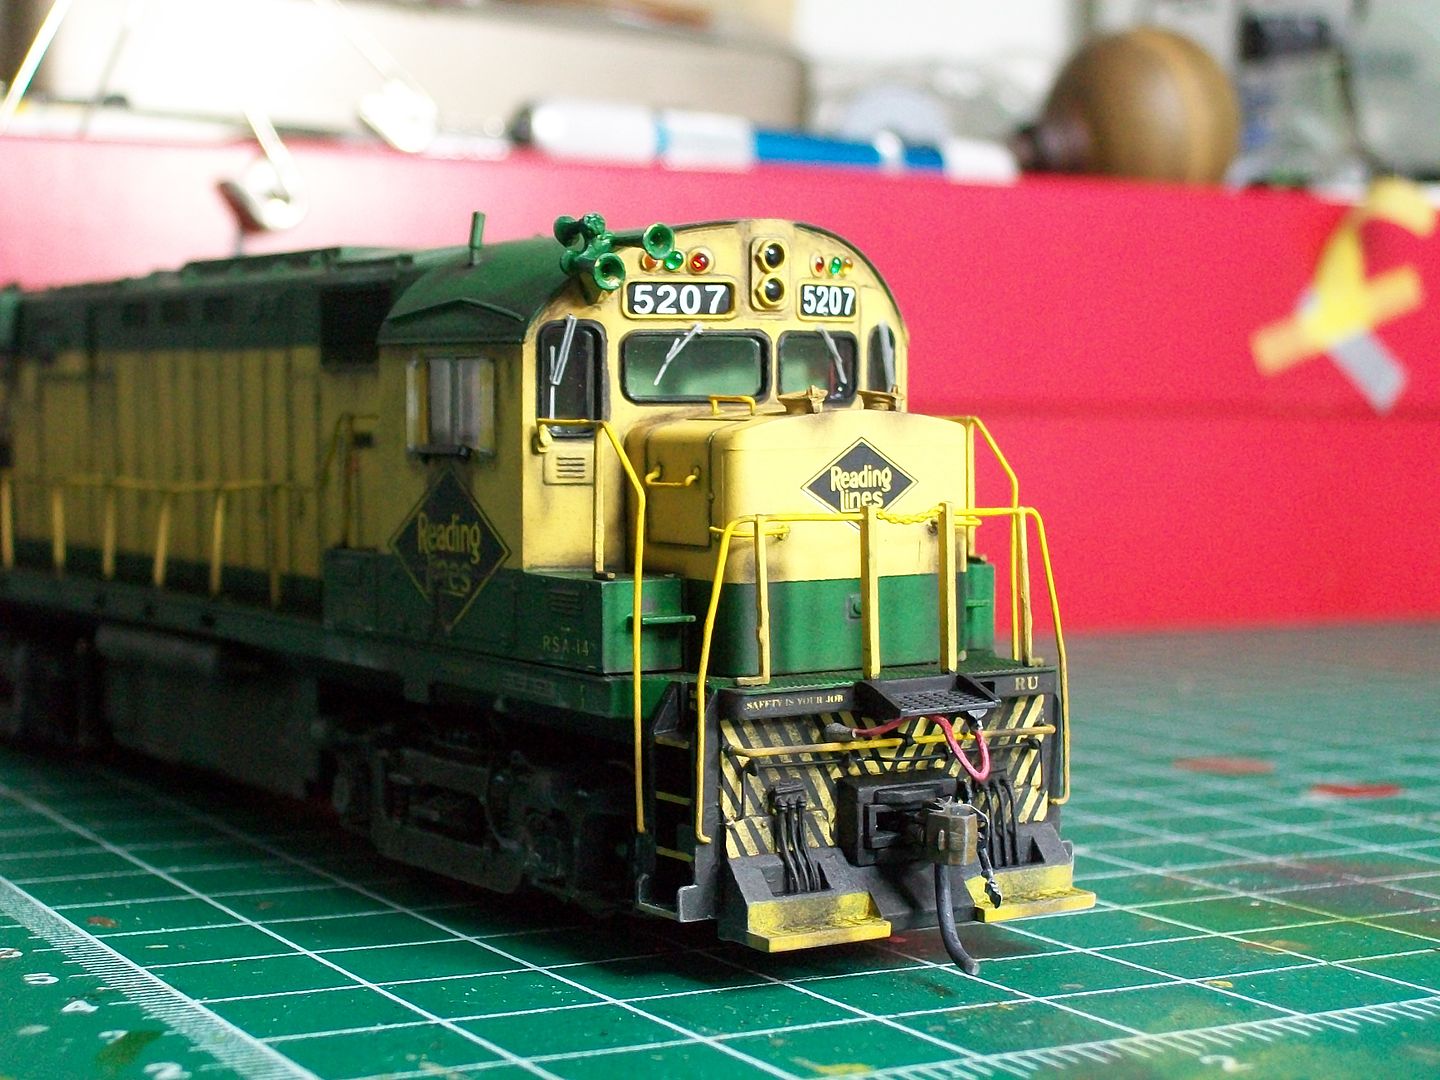
The marker lights.I used MV Products for this p/n's 301(red),302(green) and 303(amber).This is tha first time I've used these.In the past I used Utah gems and before they became extinct I loved the Roundhouse gems.I applied microbond to the holes using a toothpick.I gently pressed each light with the tip of my finger so it stuck to my finger and placed it to the model.I ajusted its setting with tweezers.This is a twelve step process(12 marker lights)so have patience.I also added the headlight lenses.
Again you will see the shine from the glue used to mount the grabs,this will be hidden with the final dullcoat treatment.
The administrator has disabled public write access.

RDG C424 11 years 4 months ago #725

  • JoannaBill
  • JoannaBill's Avatar
  • OFFLINE
  • Road Foreman of Engines
  • Posts: 422
  • Thank you received: 63
I take it that the finished model will sjhow up shortly?
The administrator has disabled public write access.

RDG C424 11 years 4 months ago #726

  • 2771-chris
  • 2771-chris's Avatar
  • OFFLINE
  • Road Foreman of Engines
  • Posts: 634
  • Thank you received: 94
Sorry had to take a short break as the snow continues to fall here in MD.

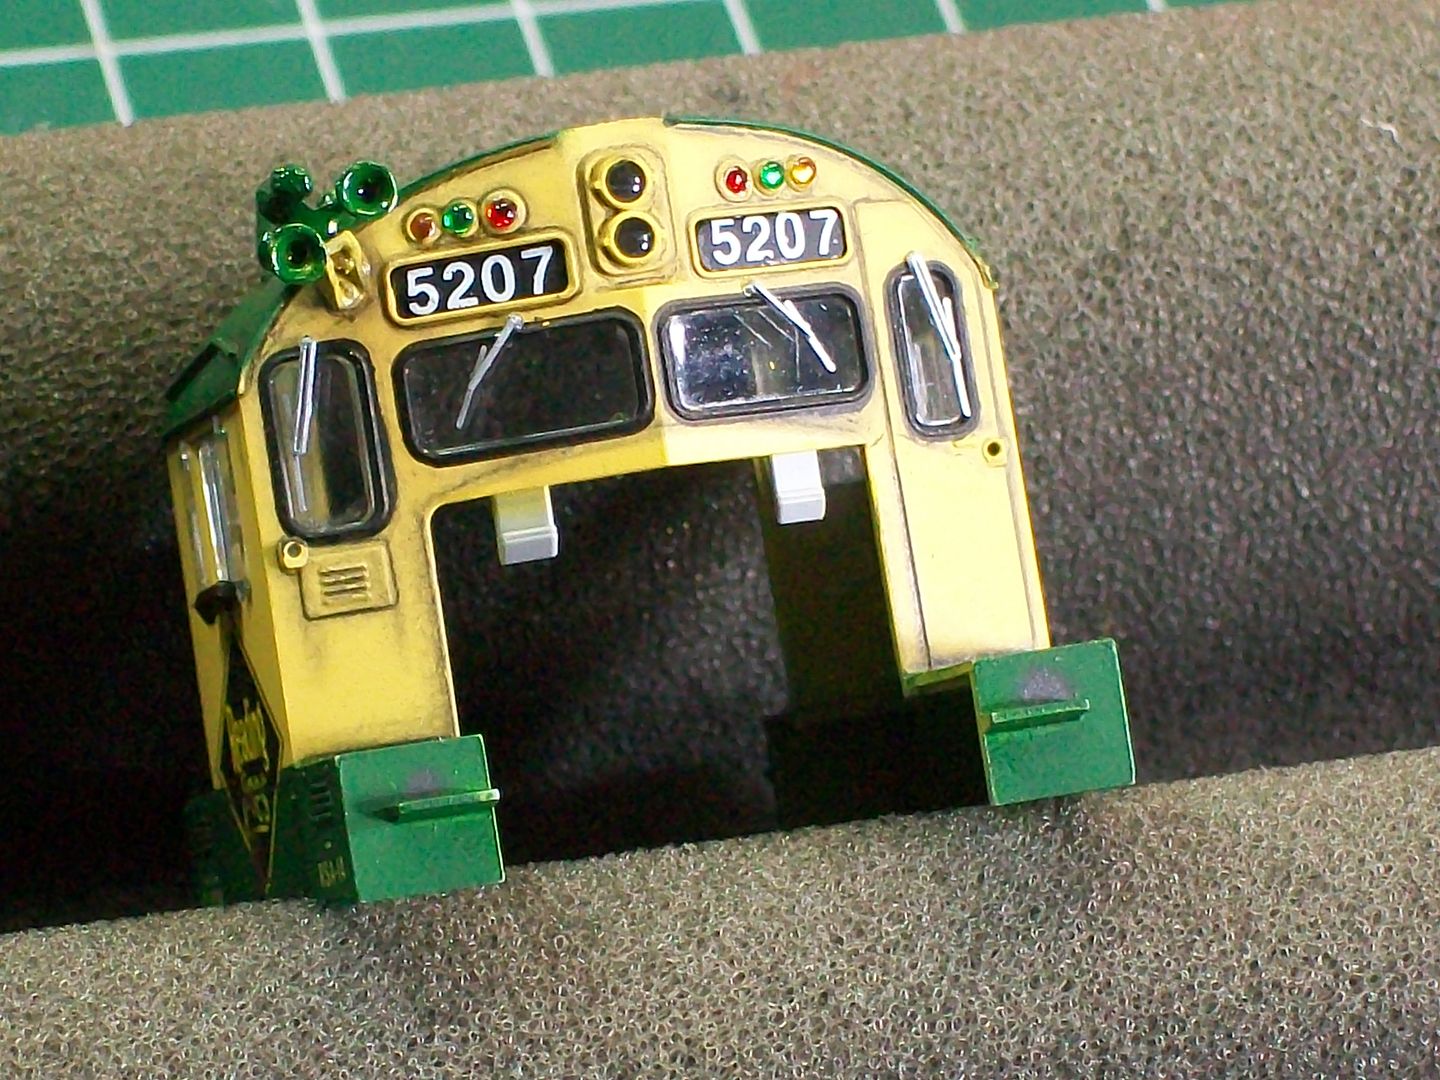
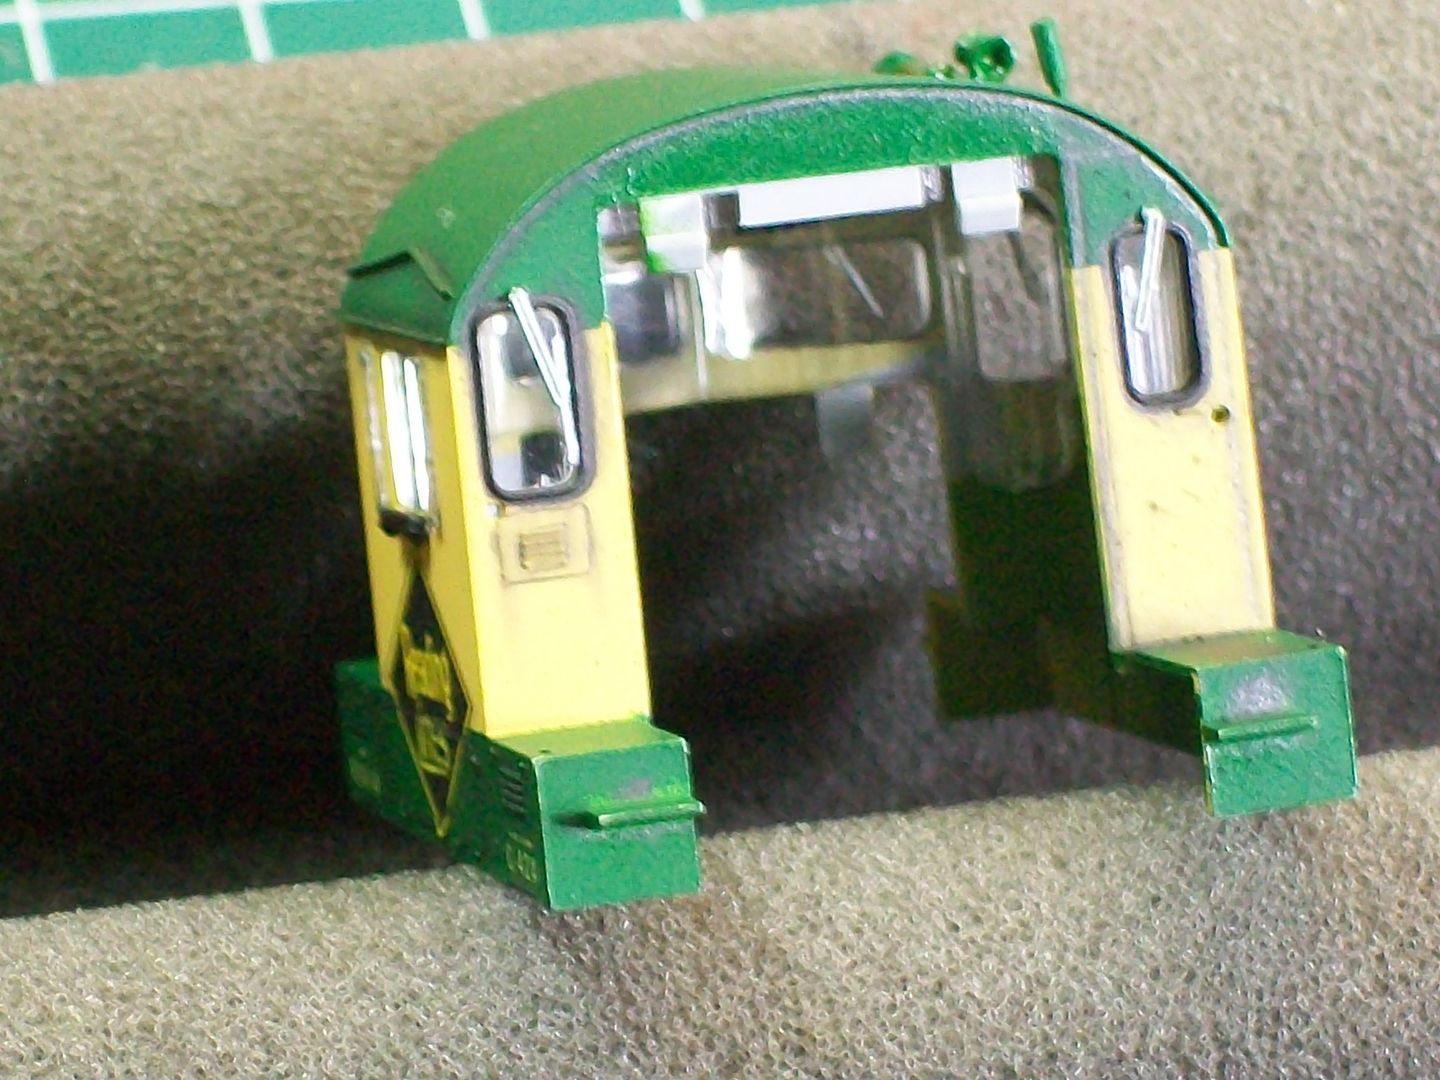
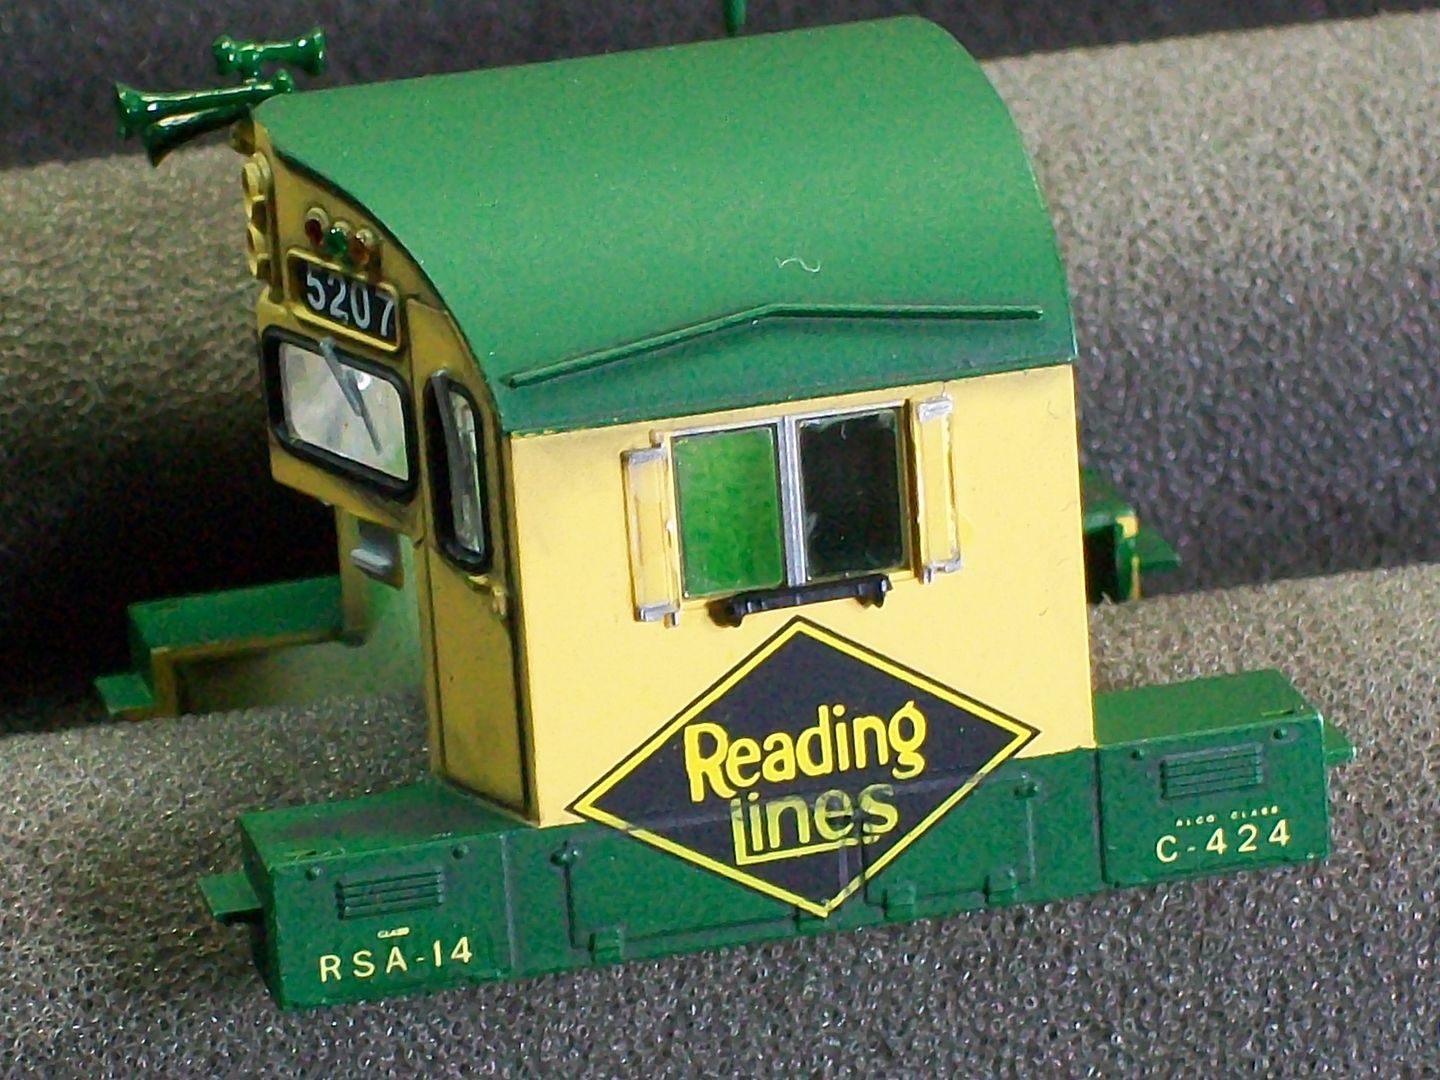
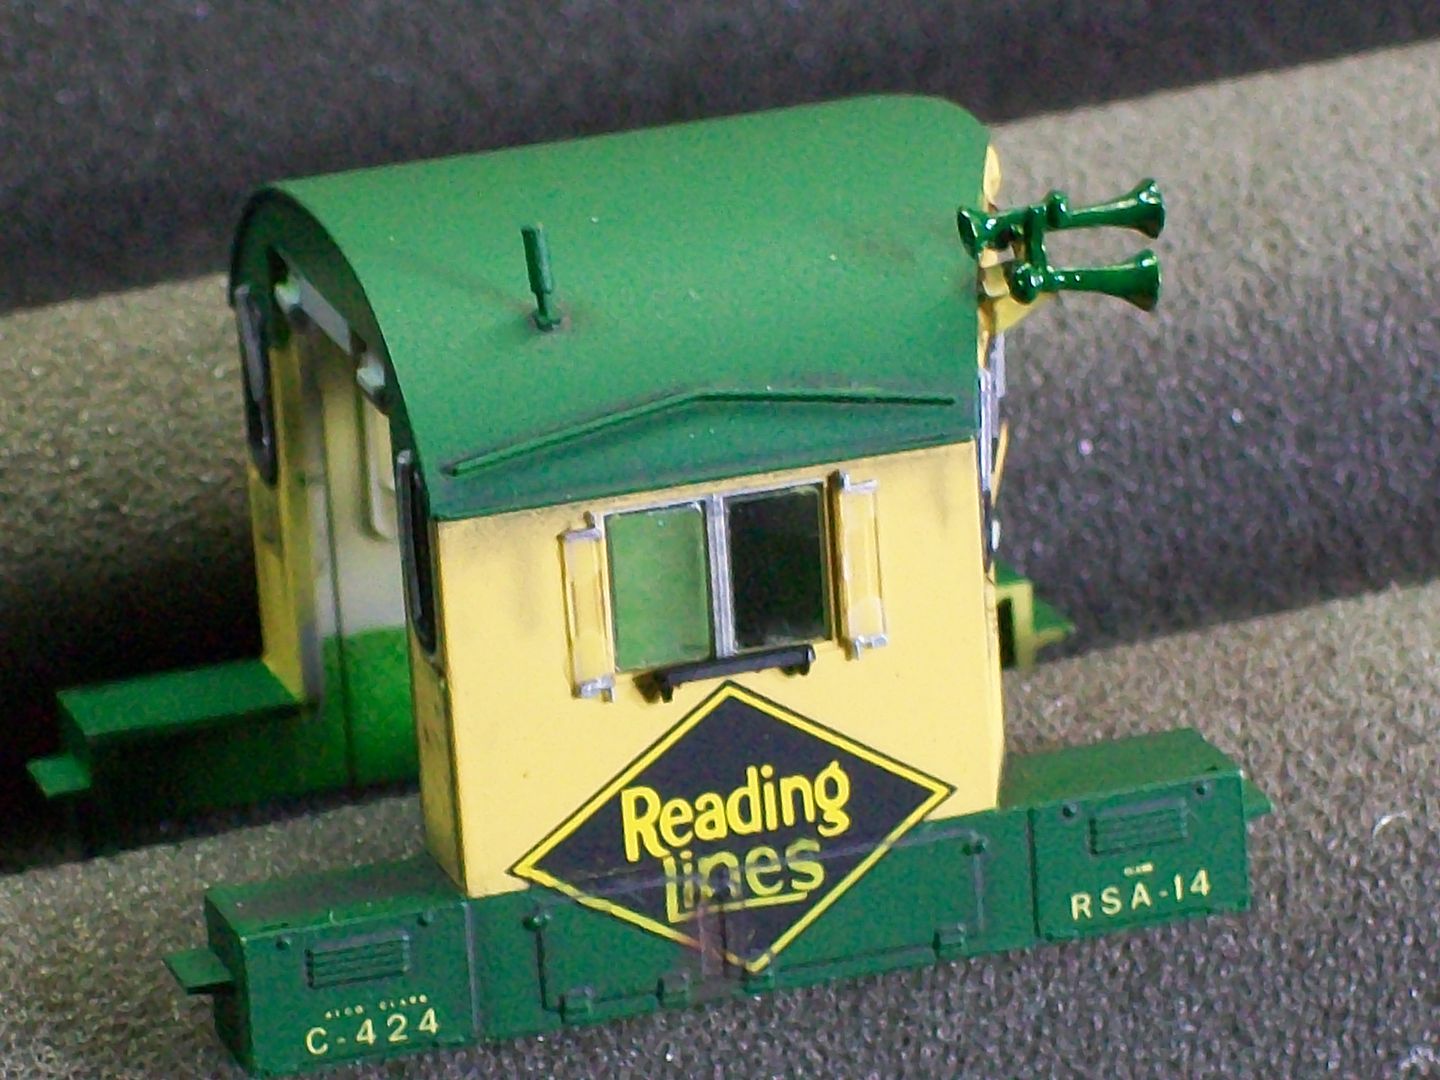
The cab,I added the numbers to the numberboard casting Monday evening so the decals had time to set,same procedure as explained prior.I added the front window casting,the numberboard head light casting and then the side and rear window casting to the interior of the cab.Make sure you wipe off any finger prints on the exterior portion of the window glass before installation and after the windows are in place you could wipe any prints left on the interior from inside the cab.I use a clean cloth.
Next came the marker lights,as explained earlier.
I added the short horn bracket,cal-scale #190-400.Before mounting I used a # 54 bit to make the mounting hole for the horn bigger.I secured the bracket to the cab using a combination of Walther's Goo and micro-bond and prime painted it with poly-scale RDG yellow.I then added the wipers securing them in place with Testor's glue.Once they set I painted them Floquil bright silver and I also painted the upper and lower edges of my wind deflectors.I then went back and painted the bracket with my Floquil mix of reefer yellow and white.
After the silver dried I cut the deflectors from their casting tree using a straight razor.Detail Assoc. part #2312.To mount them I use tweezers and hold the part in the center.I use a toothpick and add Testor's clear styrene glue to the upper and lower portion of the part and carefully place them on the cab.
The arm rest.This is also a Detail Assoc. part.Now,since I modeled the unit with closed windows I have to cut this part in half.I lay the part upside down and using the two mounting brackets molded on the underside as a guide I line up the straight razor with them an simply apply pressure to make the cut.Make sure you secure the half you want to keep with your finger so it doesen't go flying when the cut is made.I glued them to the cab using Testor's modeling glue.I then painted them with Floquil's engine black.If you model open side windows then the cut is not necessary in most cases.
The horn was the last thing I mounted,simply so it wouldn't be in the way when doing everything else.I secured it to the bracket with Microscale's microbond and painted it SCII RDG green.It's nice and shiny at this point,nodullcoat has been applied...yet.
Four views.


At this point the grabs on the long hood behind the fireman have not been installed and in future I will wait to install the side short hood grab in front of the engineer until the cab and body are together.Because of the battery boxes these grabs are a bit if a hinderence when assembling.
The administrator has disabled public write access.

RDG C424 11 years 4 months ago #729

  • 2771-chris
  • 2771-chris's Avatar
  • OFFLINE
  • Road Foreman of Engines
  • Posts: 634
  • Thank you received: 94
Bill...if the RDG brass accept the 5207 it should show up any day now. :cheer:
The administrator has disabled public write access.

RDG C424 11 years 4 months ago #742

  • 2771-chris
  • 2771-chris's Avatar
  • OFFLINE
  • Road Foreman of Engines
  • Posts: 634
  • Thank you received: 94
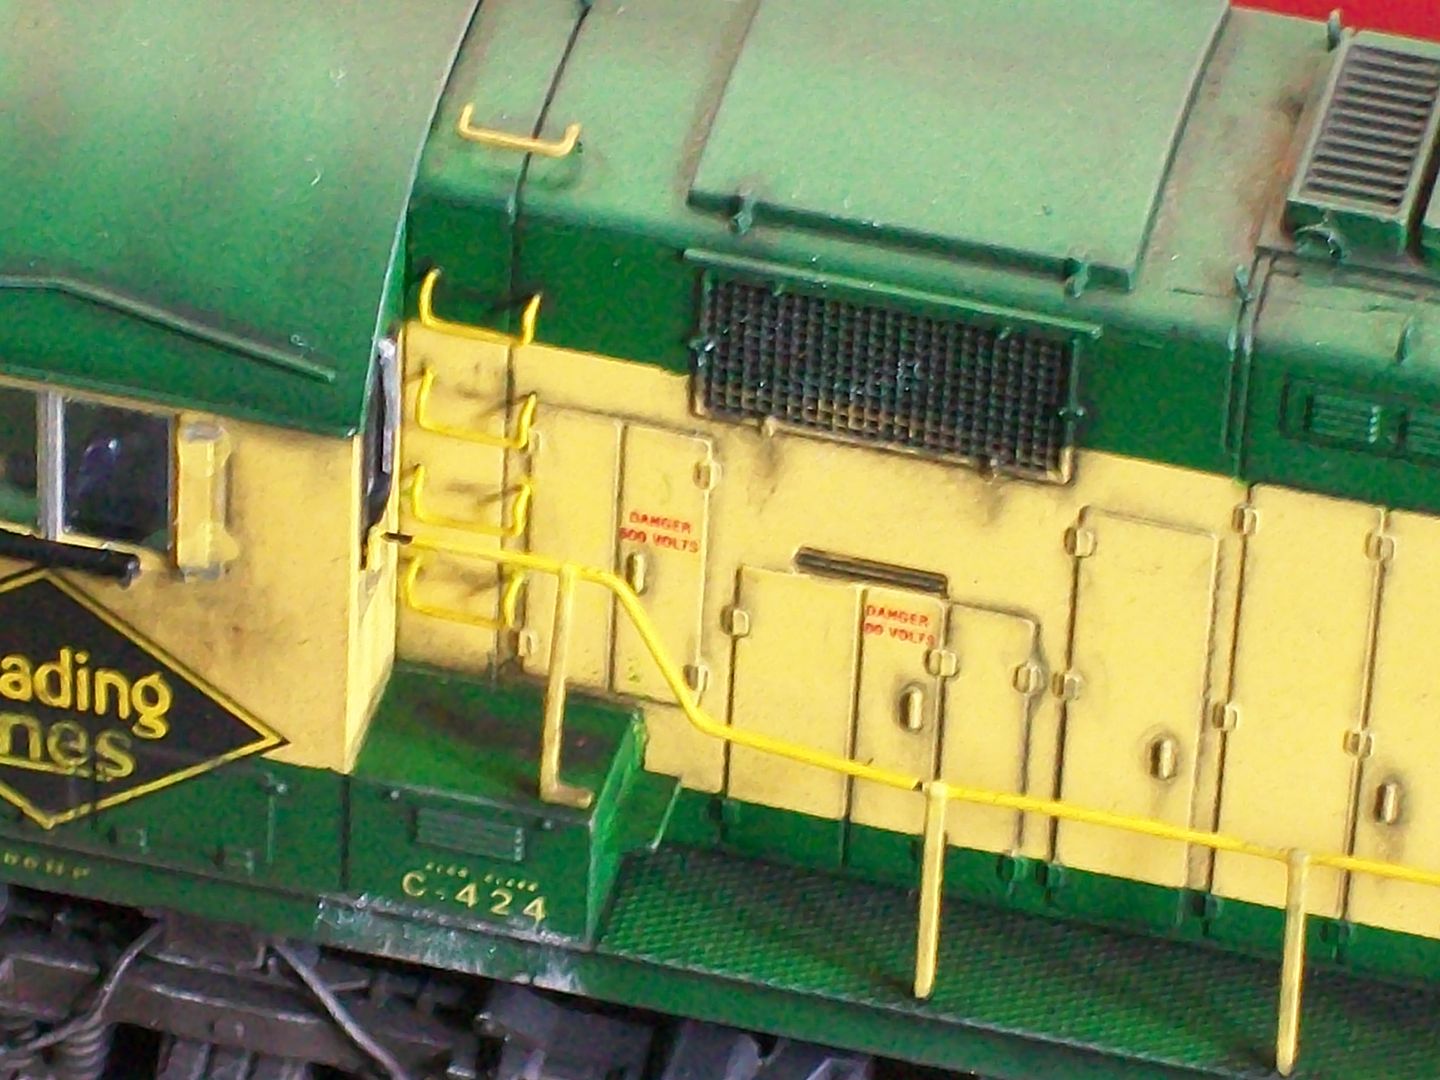
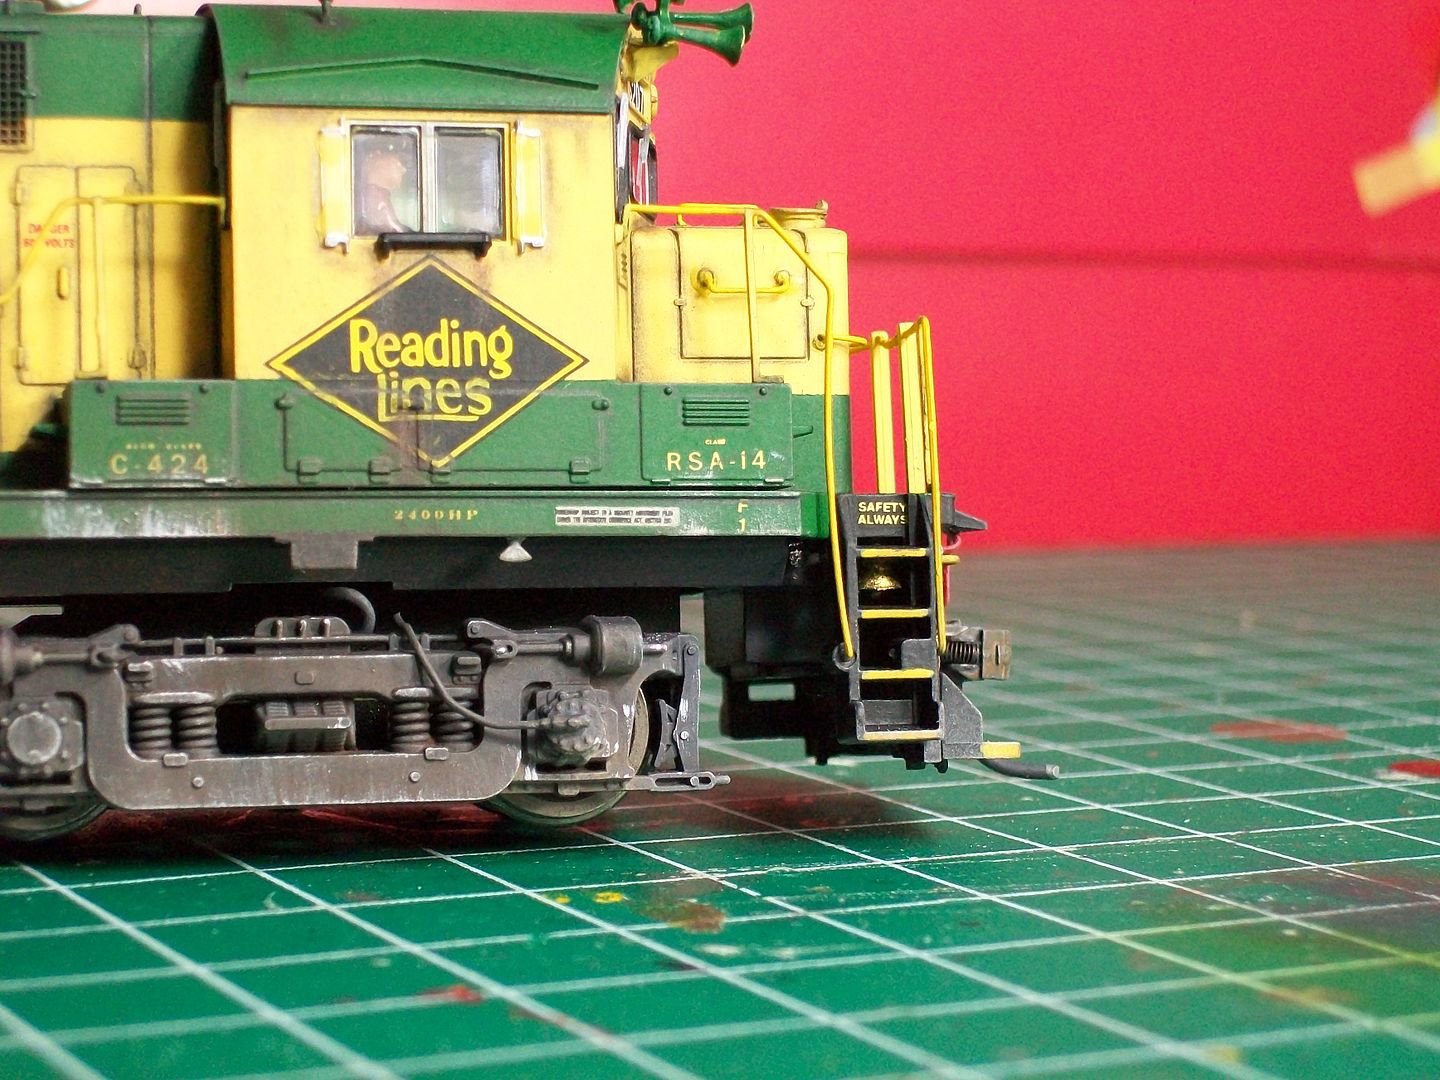
Yesterday I mated the cab with the body and installed the ladder grabs behind the cab,Cal-Scale #190-531.I then painted them in the same manner as described earlier.I mated the three body assemblies to the frame and added Kadee couplers #158.


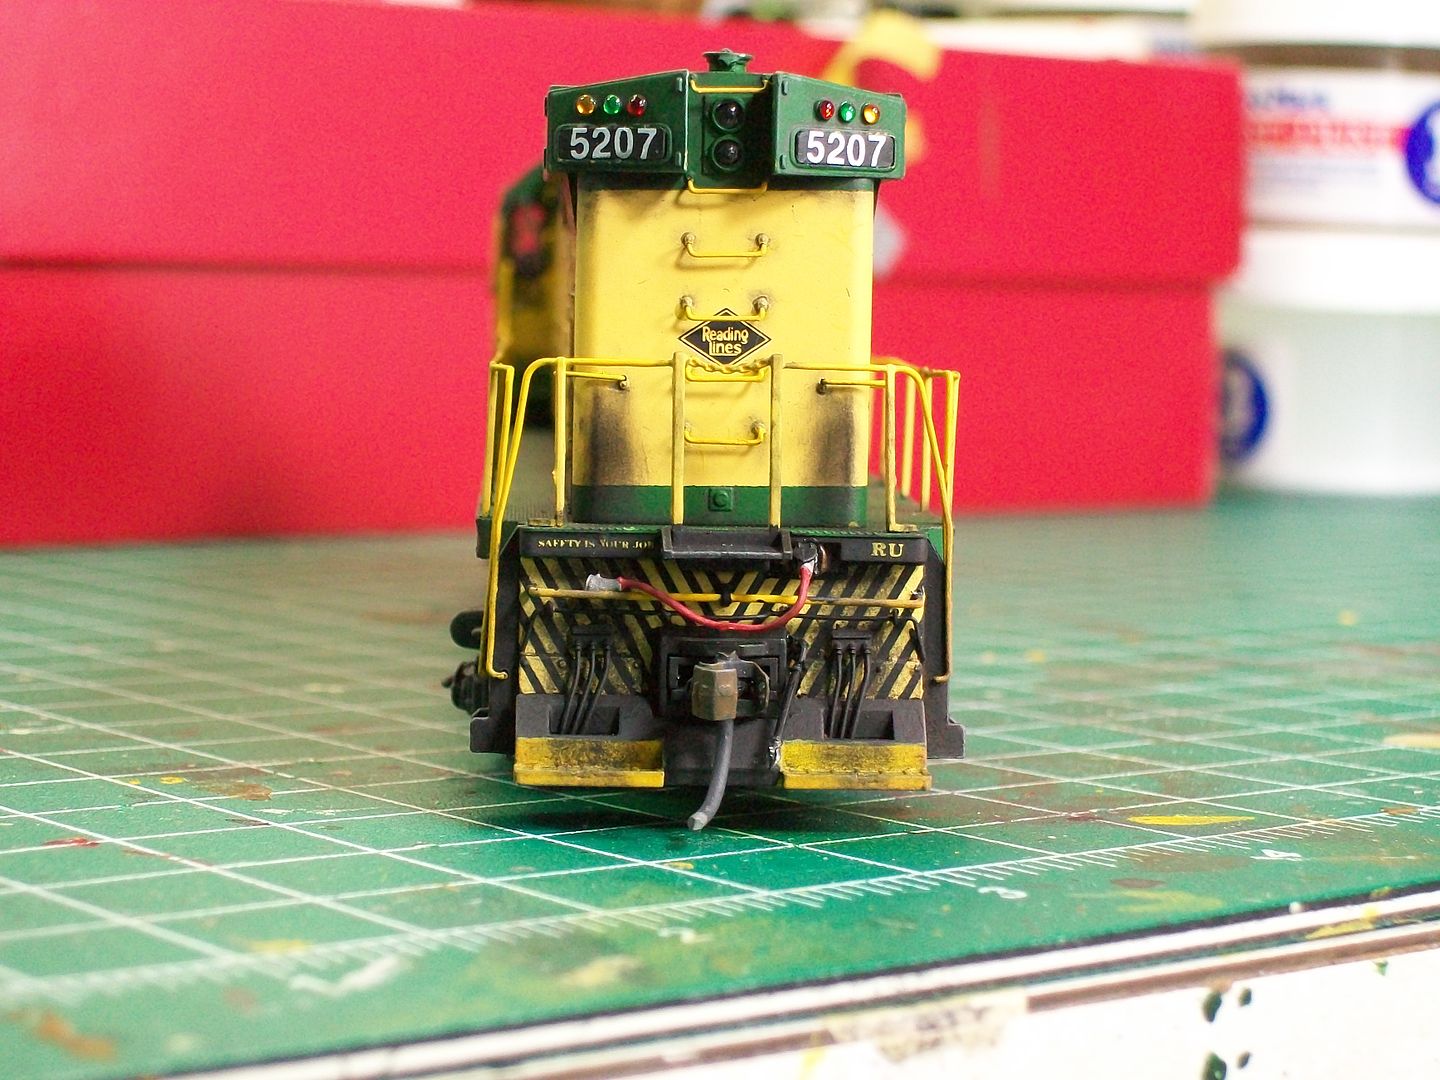
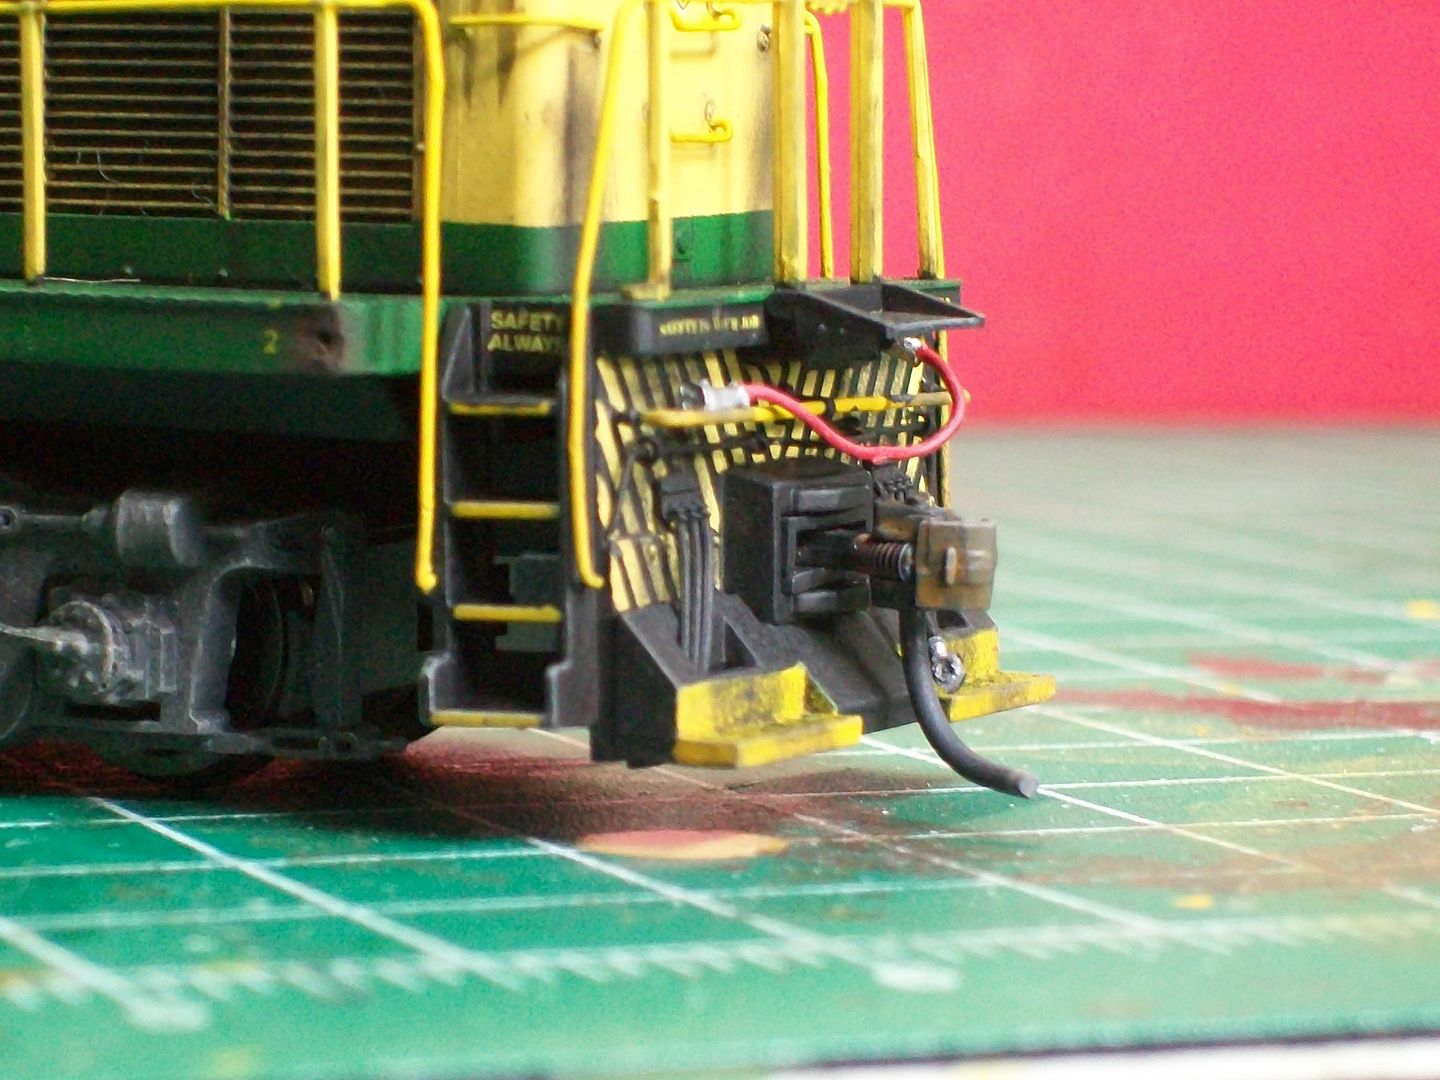
After mounting the couplers I decided to add the electrical cable hook up to both pilots.I used a pin and marked the center of the molded on receptical cover plate and drilled a #54 hole.I secured the Detail West parts using Goo and Microbond.Once set I bend the cable into the desired position and painted.The ends were painted silver,cable Model Master guard red and the cover area black.


Next I painted the couplers.I painted each coupler completely with Floqil weathered black.After it dried I added Floquil rust and painted the tip of the trip pin silver.
Rear

Front


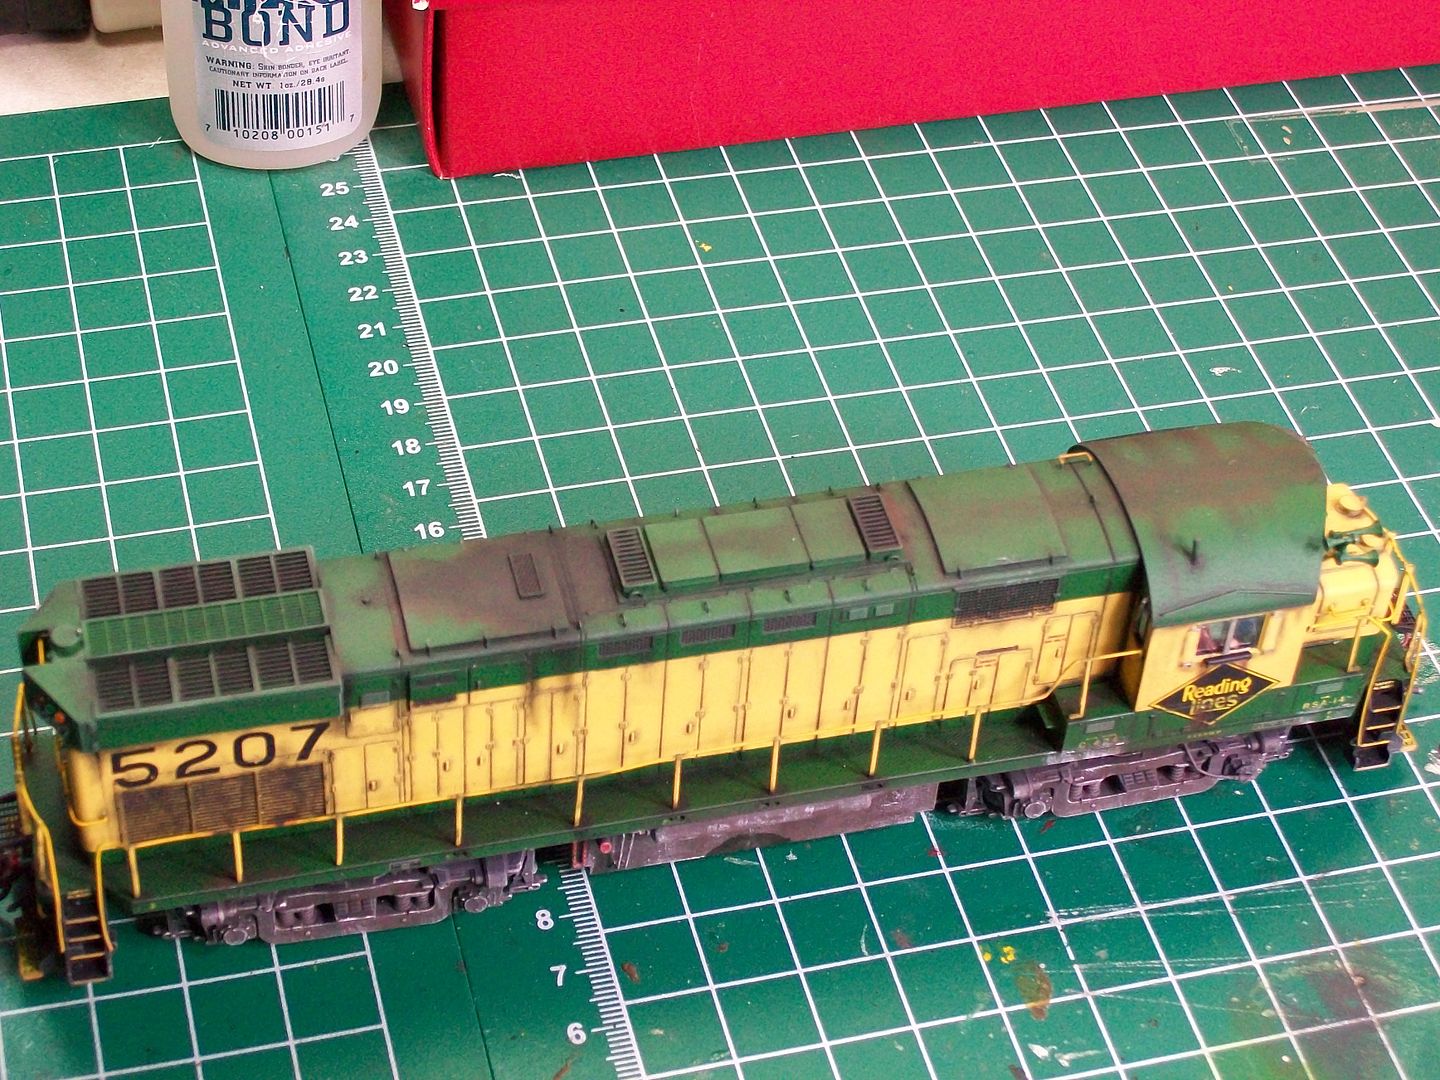
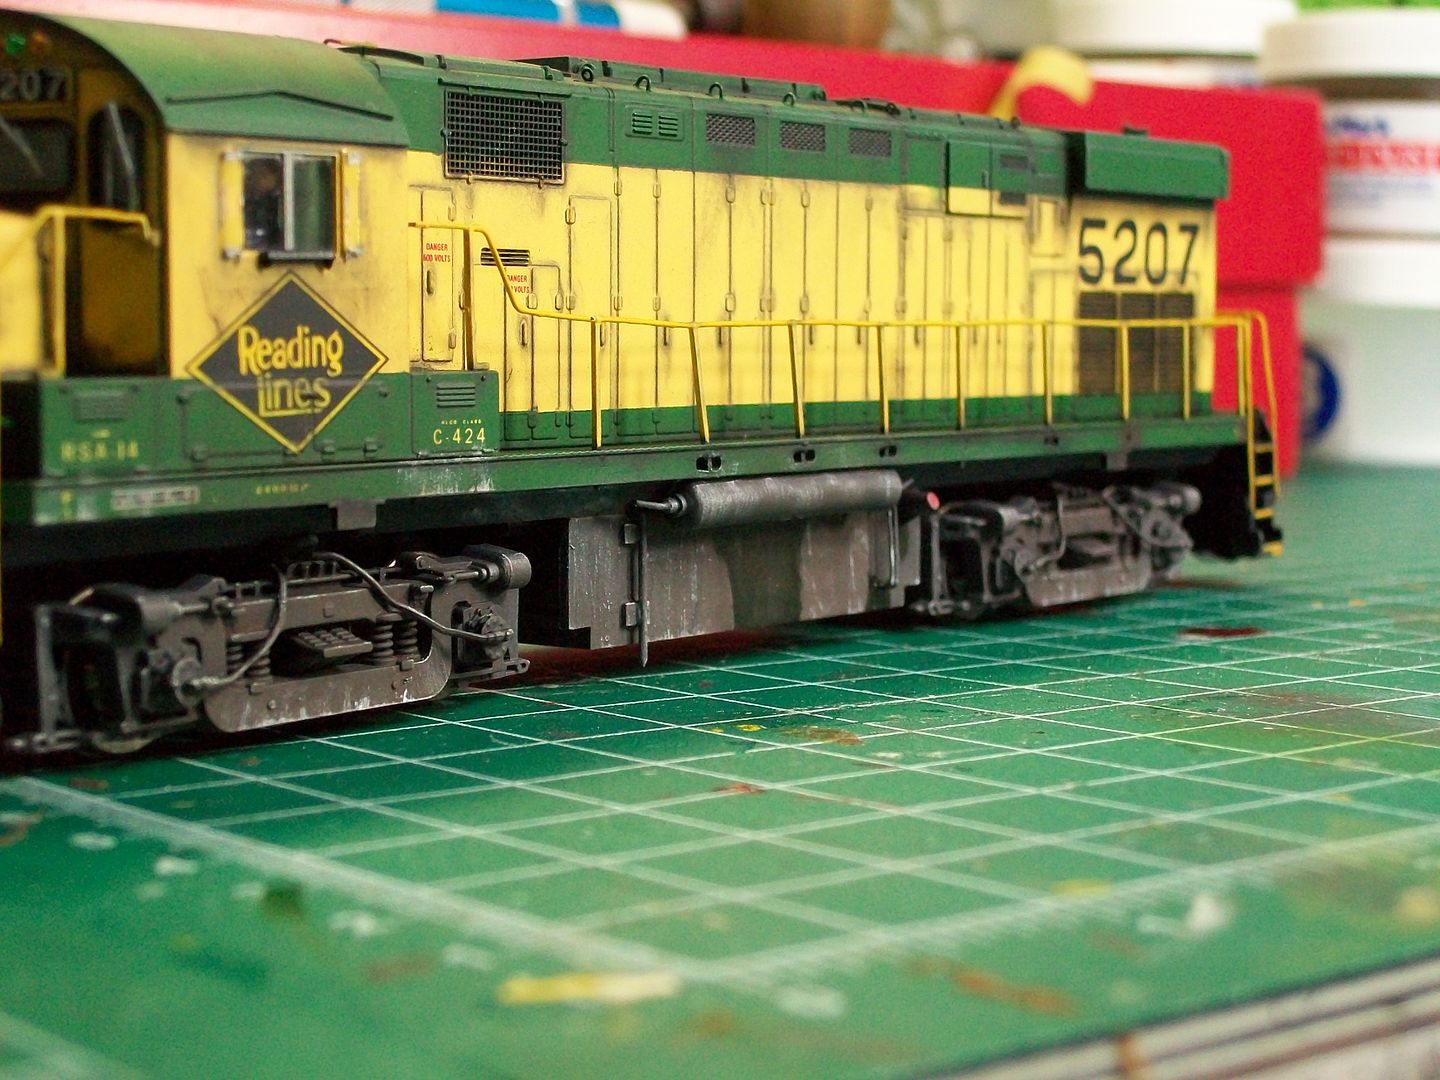
My next step was masking all the windows,marker and head lights.Once this was done I added more weathering,remember to wear gloves.I fine tuned areas around the cab windows with pencil and powders using the mini brush applicators.I used black,white and rust colored powders for the exhaust and roof areas.After I was satisfied I double checked the masking and sprayed the model down with dullcoat,this is either the 5th or 6th application.While it's drying I carefully remove all the masking with tweezers.NOTE;it doesn't always happen,but occasionally you might pull off a windshield wiper.Check the back of the masking tape as you remove it from the windows.I did pull one off,I just remounted it.


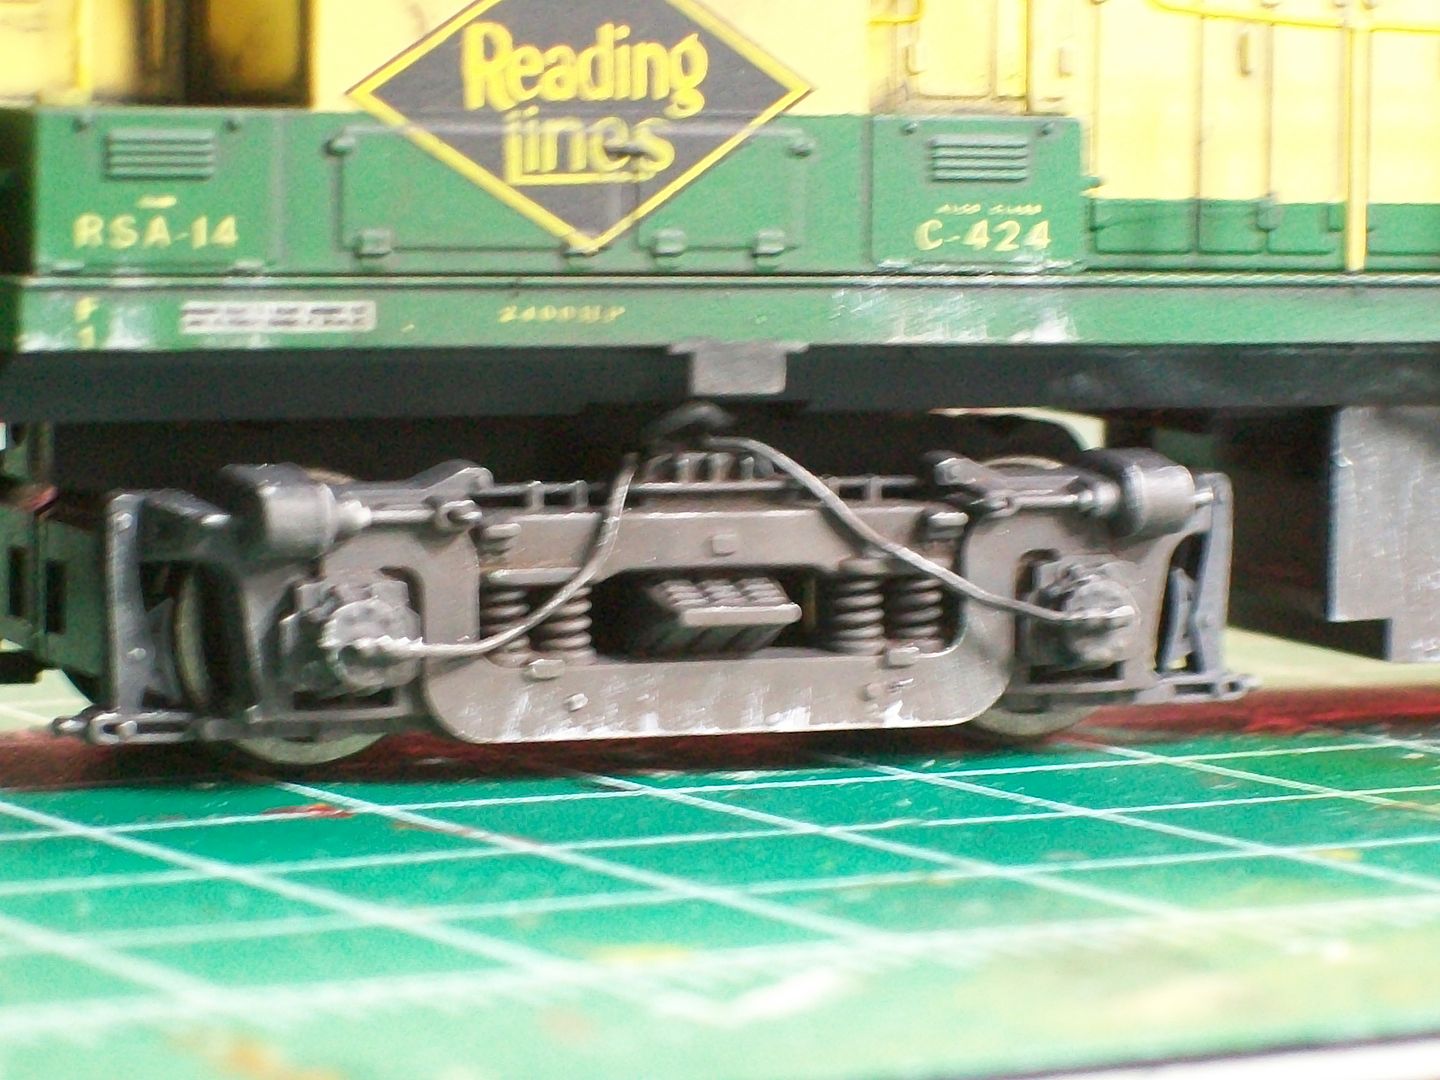
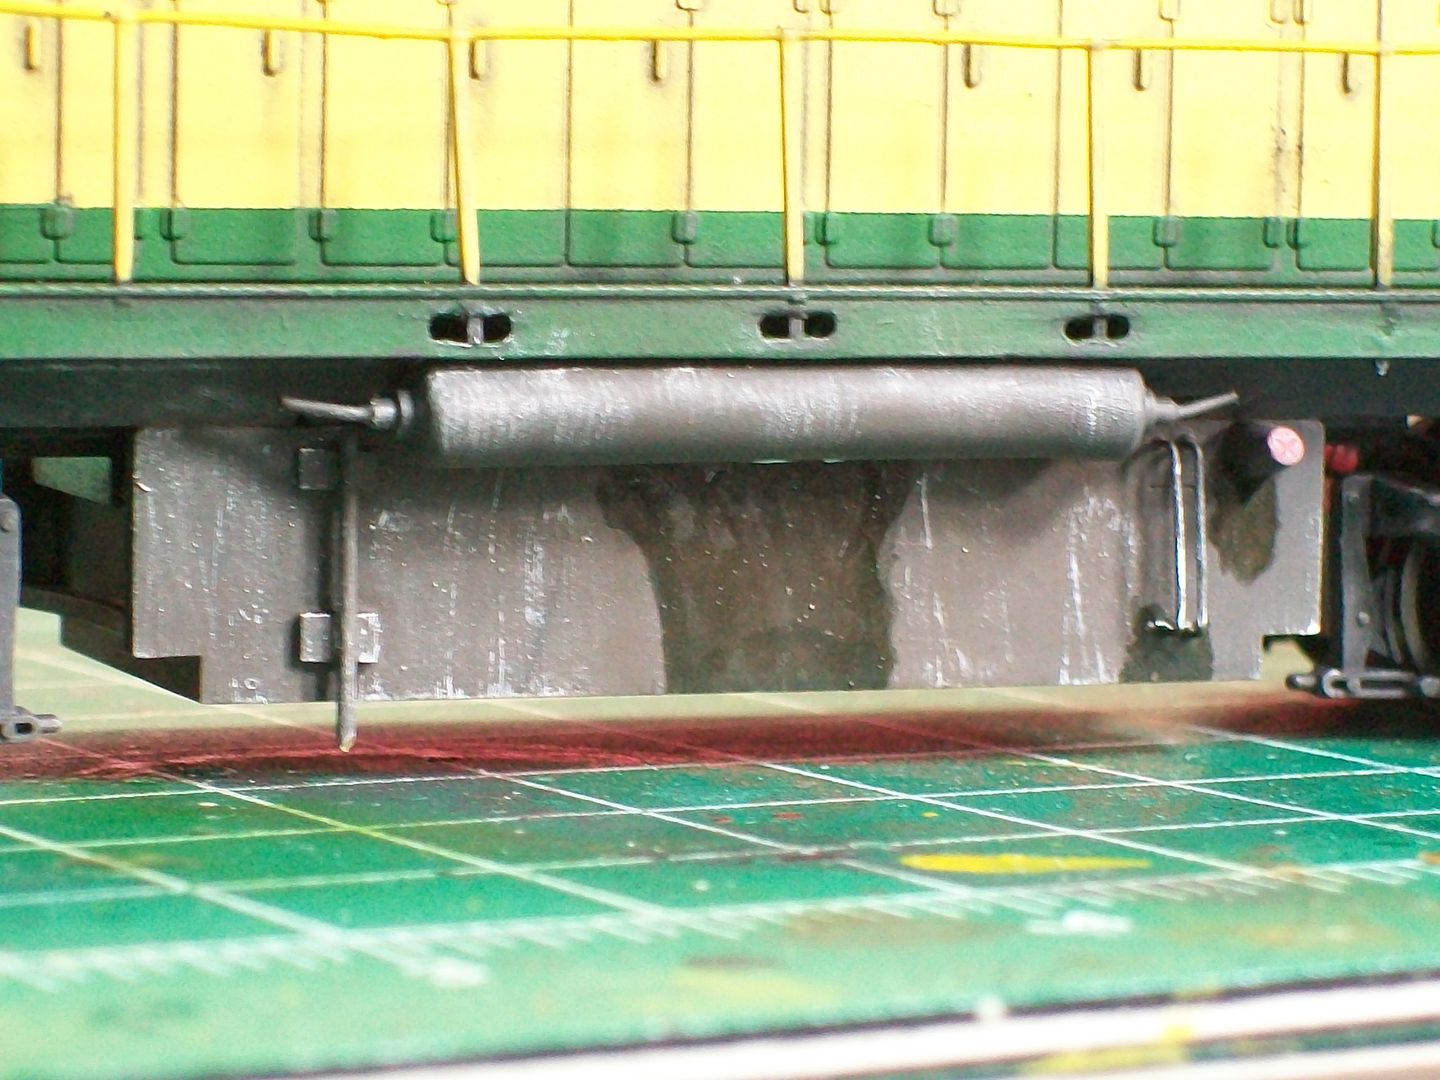
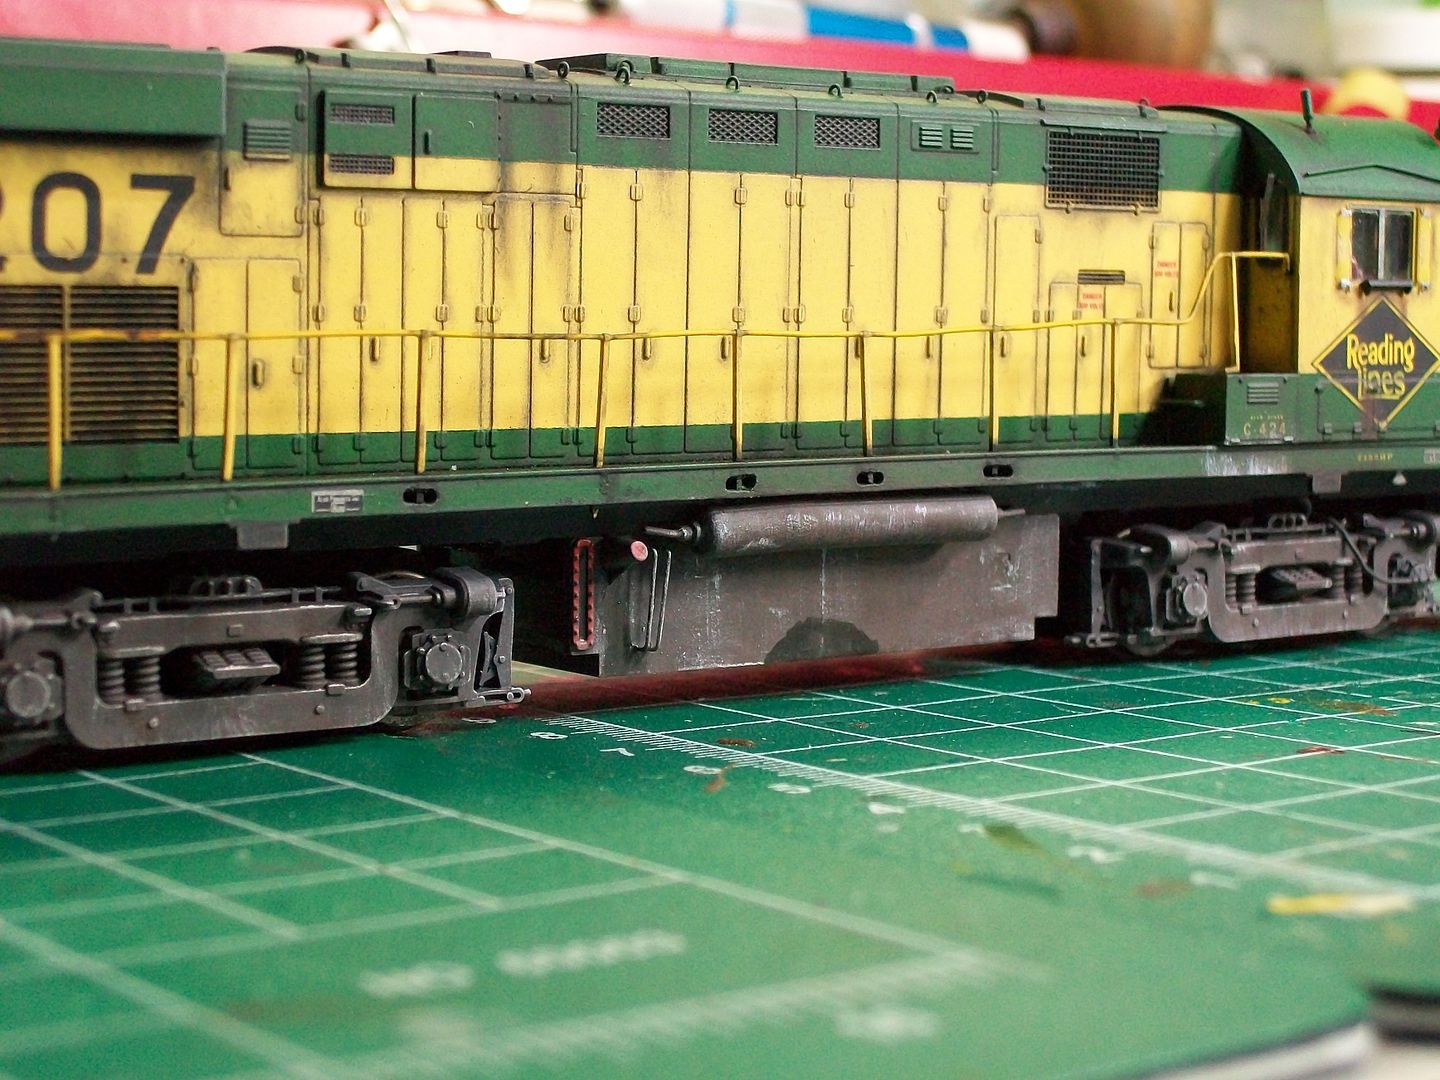
Finally came the trucks and fuel tank.I used wide soft brushes and applied white and earth colored powders.I put them on heavy because you lose alot when dullcoating.When you apply this final coat to the trucks and lower frame area use a piece of loose leaf paper and hold it as a barrier to protect the windows,no need to remask.For the corrosion below the battery boxes I used Art Studio acylic white.This stuff comes in a tube.Simply squeeze a dab on a piece of cardboard and pick some up with your brush.I use micro mark dry brushes.Brush it on the cardboard till most of the paint is off the brush and then apply light strokes to the area your painting,hence dry brushing.I also used this technique on the trucks and fuel tank.Here's a view of the battery box area and notice the brass bell through the steps.


After I sprayed the bottom half of the model I added the fuel spills using Poly-Scale oily black.When dried I added a coat of glosscoat on the spills to give that shine.


The last item was to use that micron marked and color in the sight glass.
The administrator has disabled public write access.

RDG C424 11 years 4 months ago #743

  • 2771-chris
  • 2771-chris's Avatar
  • OFFLINE
  • Road Foreman of Engines
  • Posts: 634
  • Thank you received: 94
Well...that's it for my 5207 project.Maybe when my undec.GP30's arrive I'll present one of them.I have enjoyed sharing my procedure and I hope I've helped out in anyway.The last 424 I did was 5204 and in future I think I'll apply the frame changes.It would be nice if Atlas came out with the proper frame.
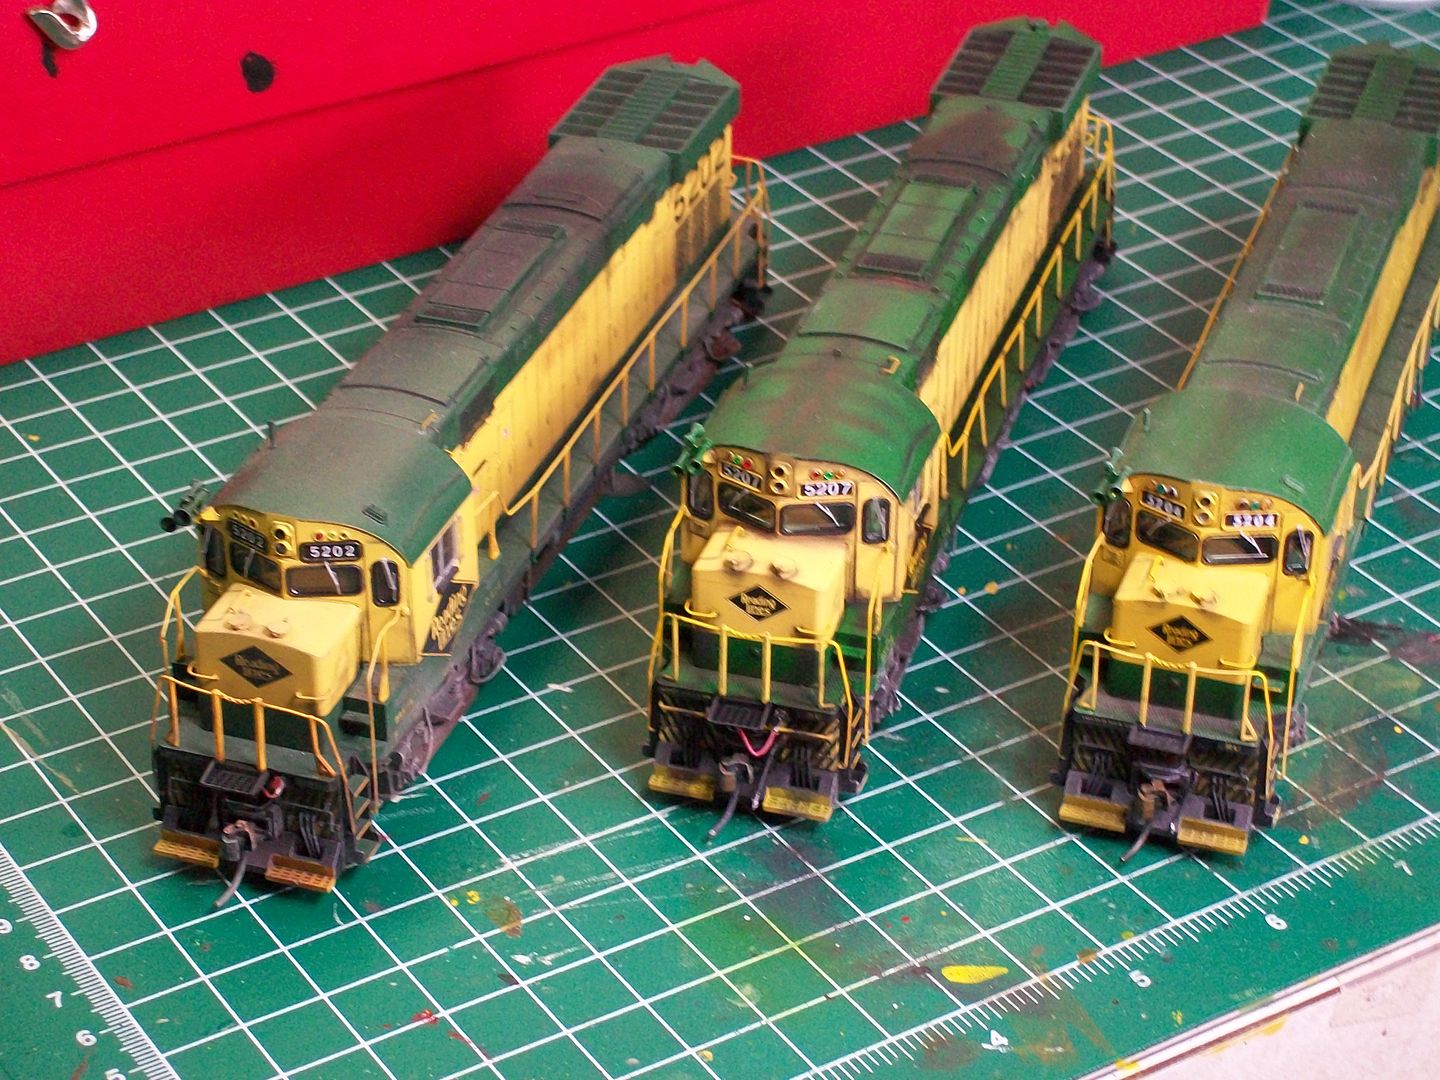
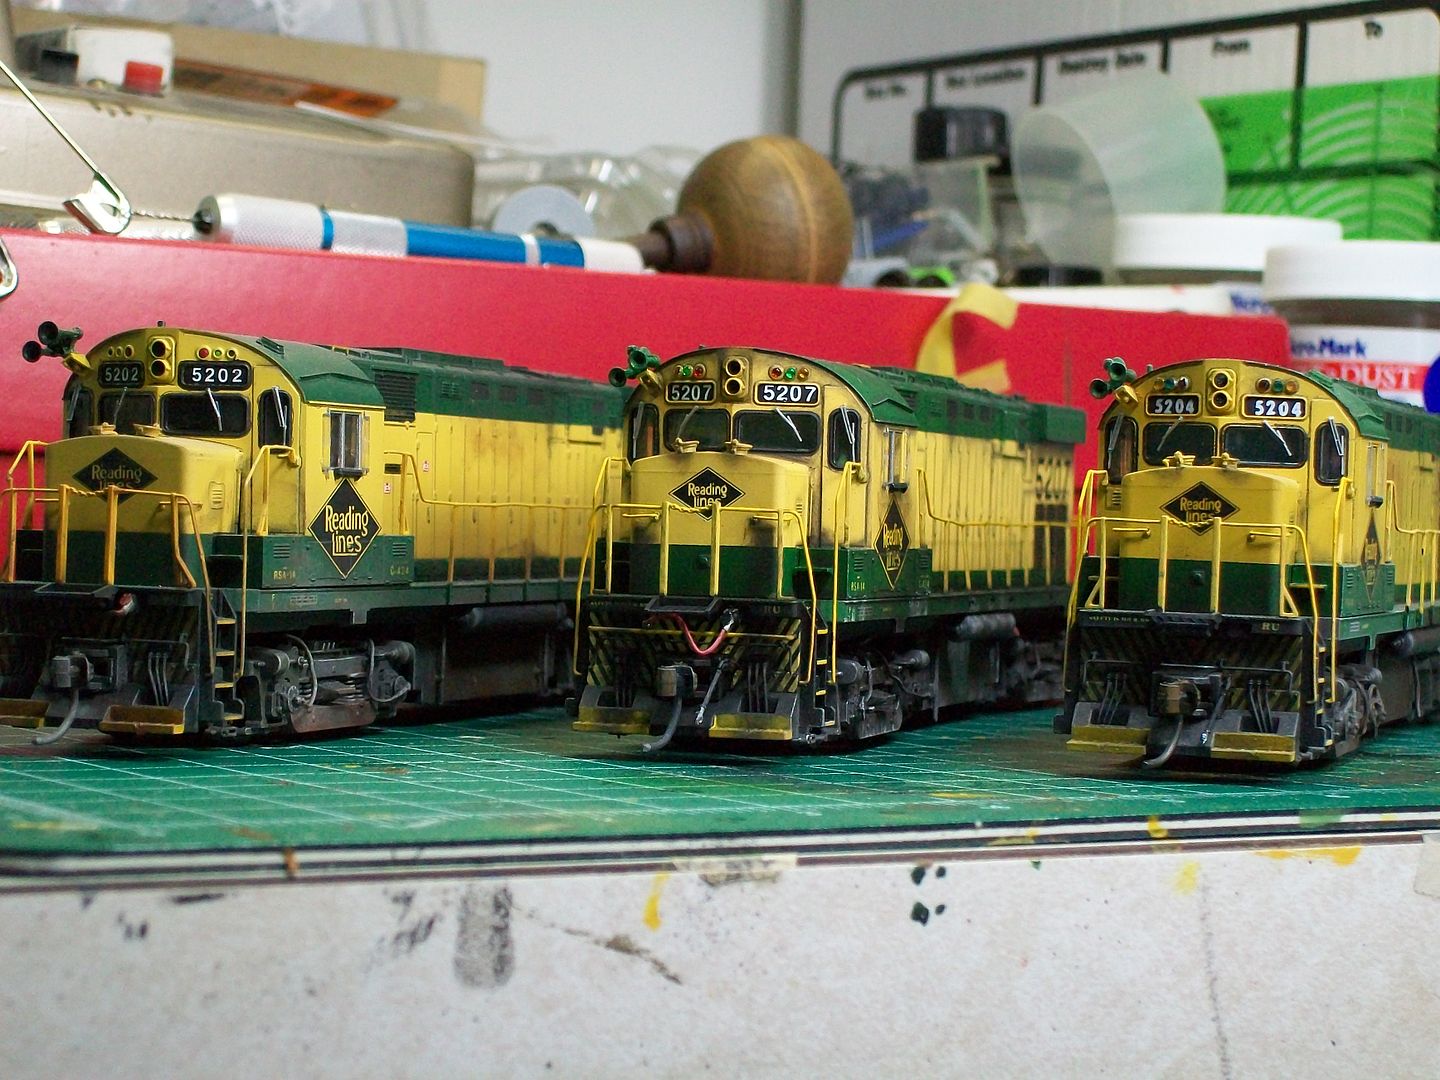
Below are pics of the 5202/04/07.5202 is an Atlas factory painted model with added details.Did you ever notice how the RDG diamond on the cab side is larger then the Microscale decal?Does anyone know which one is dimensionally correct?

The administrator has disabled public write access.
Time to create page: 0.175 seconds

Today's Image

Did You Know?

September 24, 1949
Service on the "King Coal" train from Philadelphia to Shamokin is inaugurated.

Downloads

Operations Information

Click Here!A variety of Reading Company operations related documents, etc. that may be of use in your modeling efforts.

Operations Paperwork

Click Here!A variety of Reading Company operations paperwork, such as train orders, clearance forms, etc. that will help you operate your Reading layout in a prototypical manner.

Timetables, Rulebooks, Etc.

Click Here!Public Timetables, Employe Timetables, and Rulebooks that provide much useful operational information.

Modeling Goodies

Click Here!Signs, billboards, and other FREE goodies for your use.  We ask only that you help spread the word about The Reading Modeler!

Rolling Stock Reference

Click Here!Downloadable reference documents on the various classes of Reading Company Freight and Passenger rolling stock.

Thanks for Your Support!

If you find the content on The Reading Modeler valuable, won't you please consider supporting our efforts? Your donation will help to offset operating costs and acquire new material to share on the site. Thank you!

Amount: 

Advertisements