FacebookTwitterDiggGoogle BookmarksRedditLinkedinRSS Feed
Welcome, Guest
Username: Password: Remember me
This section of The Interchange provides a space where members of the Reading Modeler community can showcase their Reading modeling efforts. If you've got a project that you'd like to share, start a new topic and "show and tell" the group how you did it!

TOPIC: RDG C424

RDG C424 11 years 2 months ago #582

  • RDGTurn
  • RDGTurn's Avatar
  • OFFLINE
  • Apprentice
  • Posts: 6
Looking great Chris!

Would you use the same size styrene to make the drip strips on the Atlas GP40-2's and MP15's?
The administrator has disabled public write access.

RDG C424 11 years 2 months ago #583

  • JoannaBill
  • JoannaBill's Avatar
  • OFFLINE
  • Road Foreman of Engines
  • Posts: 422
  • Thank you received: 63
I'm not certain what Chris would do, but the rain gutters should all be about the same size, and at 1:87.1 a fraction of an inch is not going to be noticed.
The administrator has disabled public write access.

RDG C424 11 years 2 months ago #584

  • RDGTurn
  • RDGTurn's Avatar
  • OFFLINE
  • Apprentice
  • Posts: 6
This is true!
The administrator has disabled public write access.

RDG C424 11 years 2 months ago #615

  • 2771-chris
  • 2771-chris's Avatar
  • OFFLINE
  • Road Foreman of Engines
  • Posts: 634
  • Thank you received: 94
RDGTurn,
I use the same styrene strips on all my RDG units.Check out page 1 of the 39-2 topic,I included two pics of Atlas factory painted 40-2's(3672/75)that I added the strips to...I painted them scalecoatII RDG green which doesen't quite match the Atlas paint so I blended it in with weathering.
I compared the height of the strips I use to the brass ones on the Bowser 630 and the strips are a hair taller.It would be nice if a detail parts manufacturer would add RDG drip strips to their line of products.While I'm at it,it be great if Cannon or somebody produced the RDG extended cab.
The administrator has disabled public write access.

RDG C424 11 years 2 months ago #624

  • 2771-chris
  • 2771-chris's Avatar
  • OFFLINE
  • Road Foreman of Engines
  • Posts: 634
  • Thank you received: 94
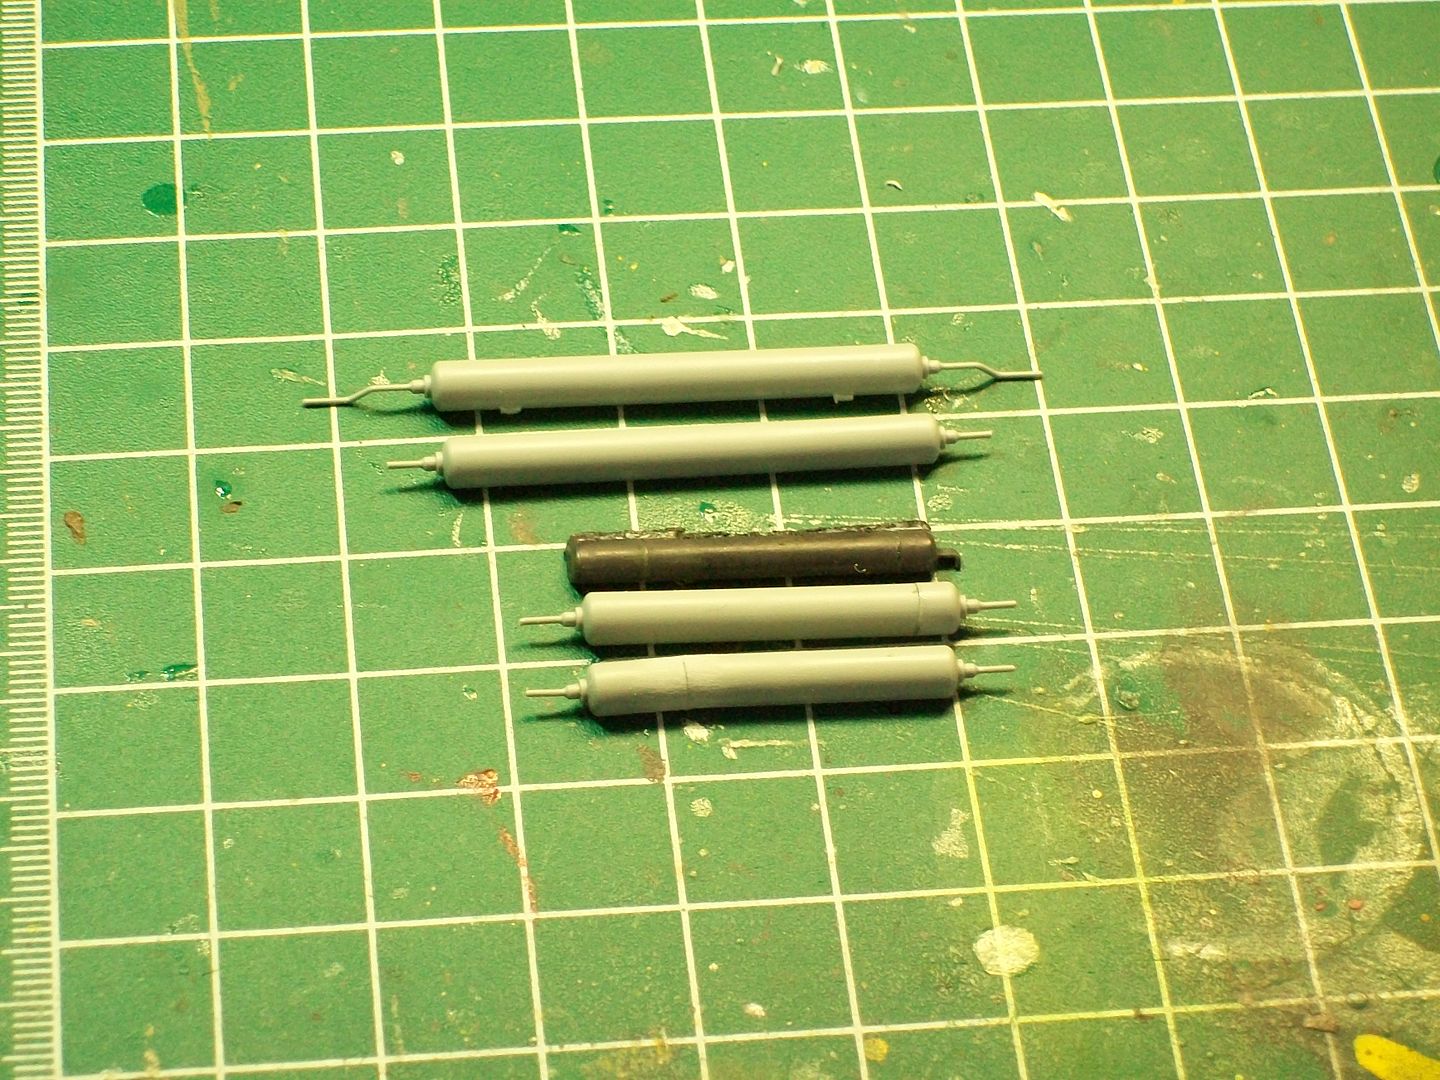
Moving on...the air tanks.Going back to when I started RDGizing the fuel tank on the 424 I couldn't find a correct detail part so I ended up using the air tanks from Atlas'MP15 model and cut them to size.Now,looking at Atlas'loco parts you could get by using the air tanks for their 425 model.Looks like their seperate parts.

The following pic shows the tanks.The two at the top are the MP15 tanks.The black one was cut off the 424.The bottom are the end result.


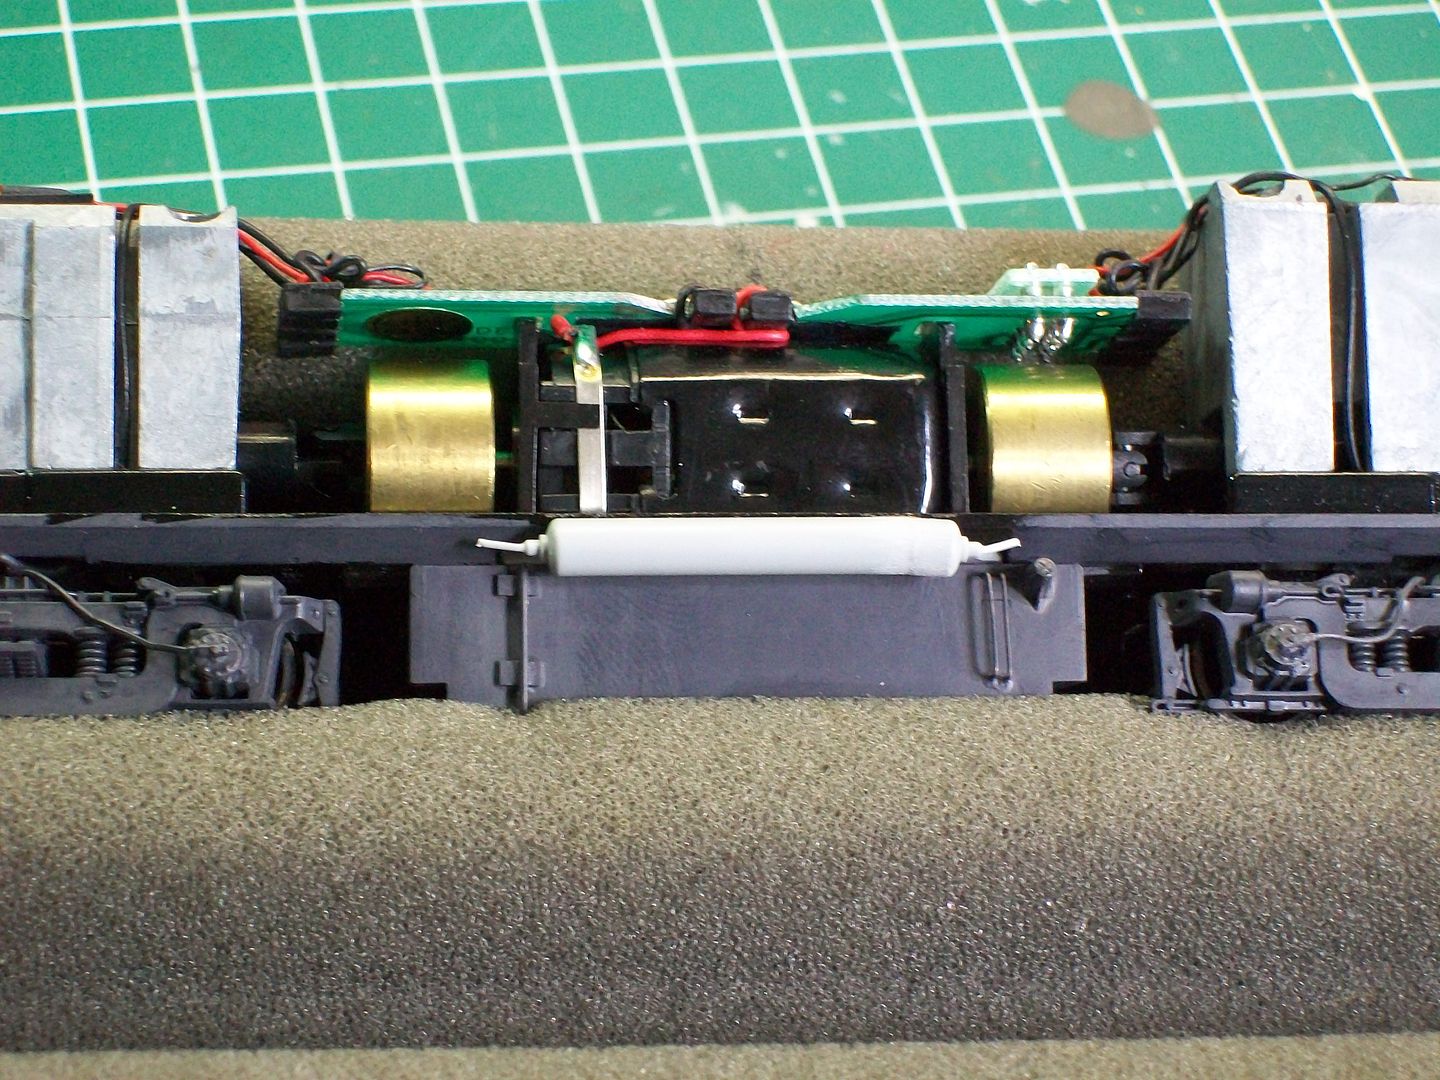
I cut off one end of the tank and save it for rebuilding.Using the original tank as a guide I remove the unwanted area and glue the ends back together.After it cures I sand the joint and mount it directly to the frame using Walter's GOO.


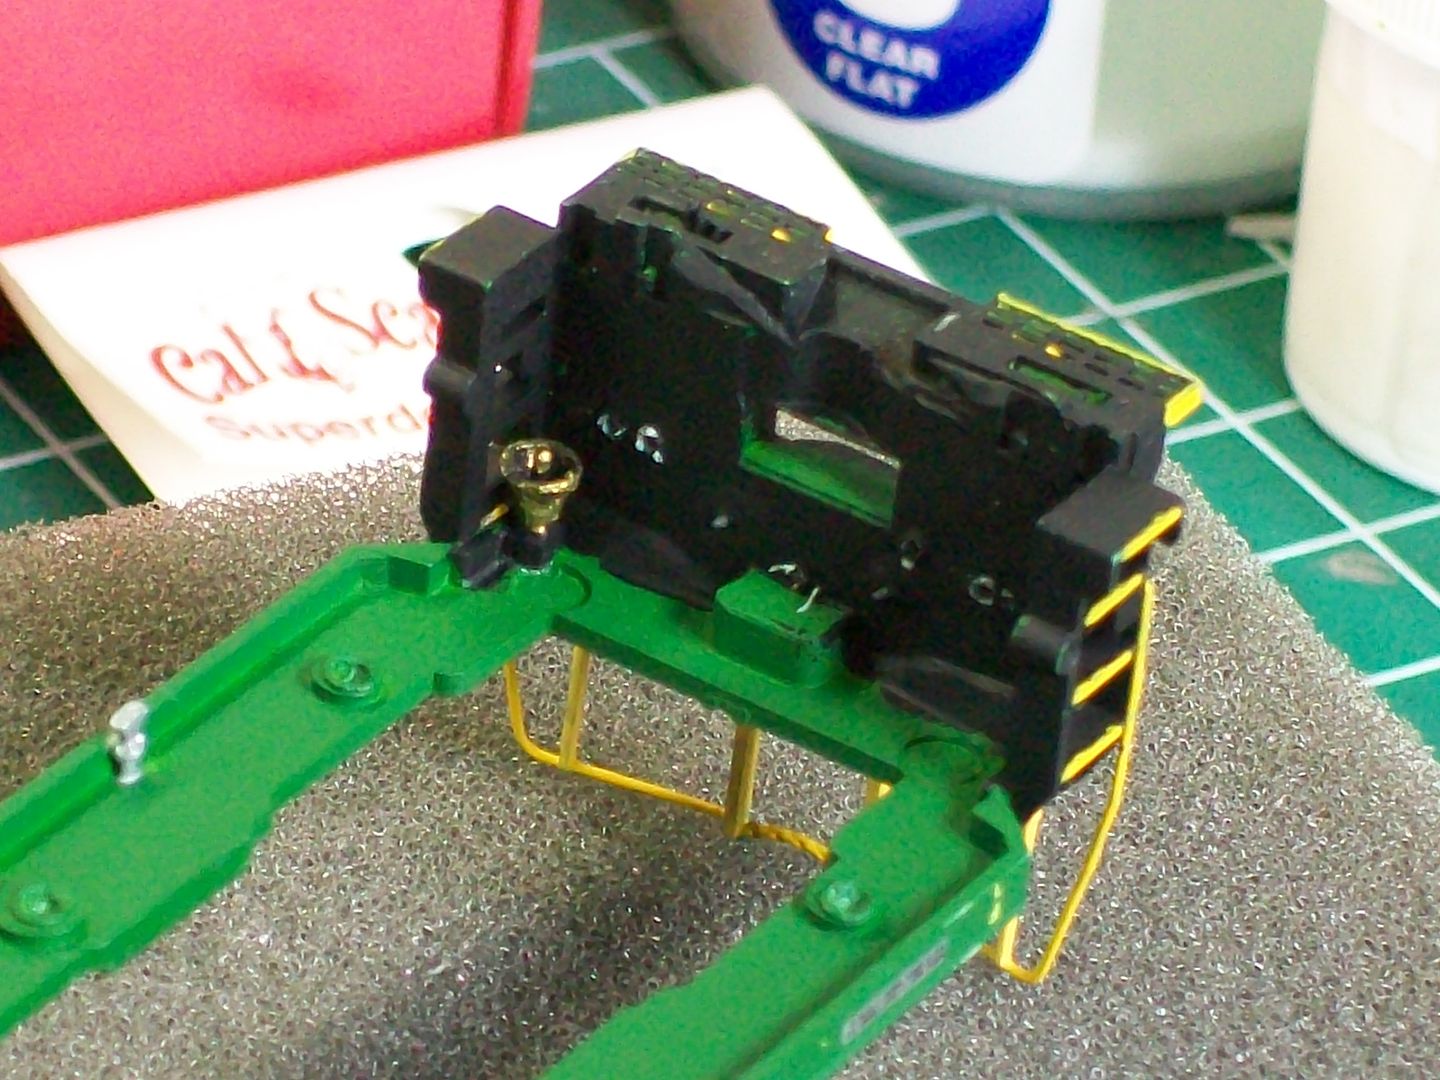
Pilot detail...the first thing I added was the coupler lift bar.I used a detail assoc.part,the Atlas part was missing.The long grab bars are from a Kato RS2 grab iron set I had laying around.MU hoses are from Atlas and the air line is from Cal Scale.I then painted.


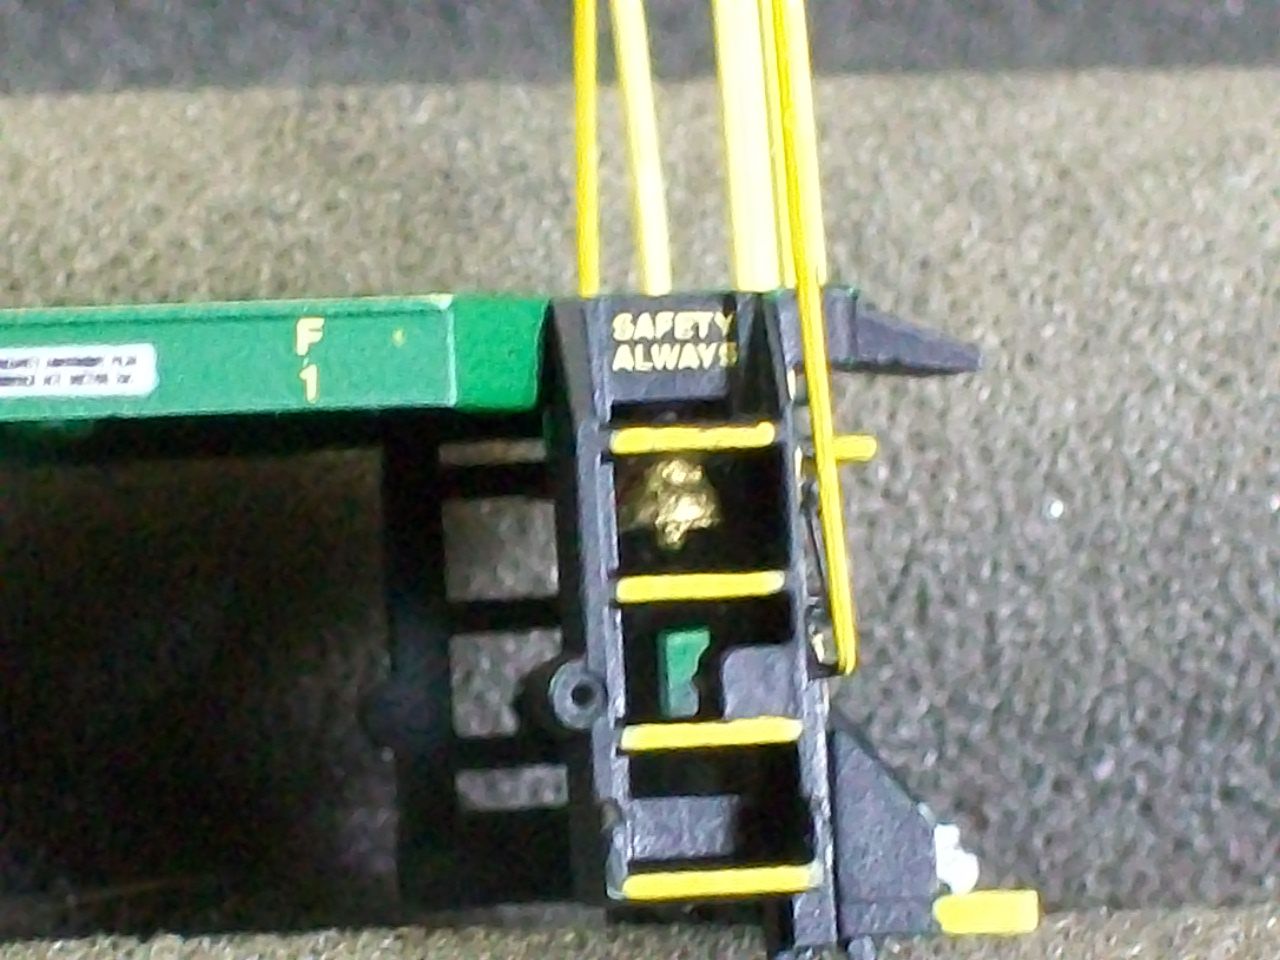
My next step was adding the bell to the underside of the frame.I first painted the base black and the bell brass so it would be able to be seen through the step opening.


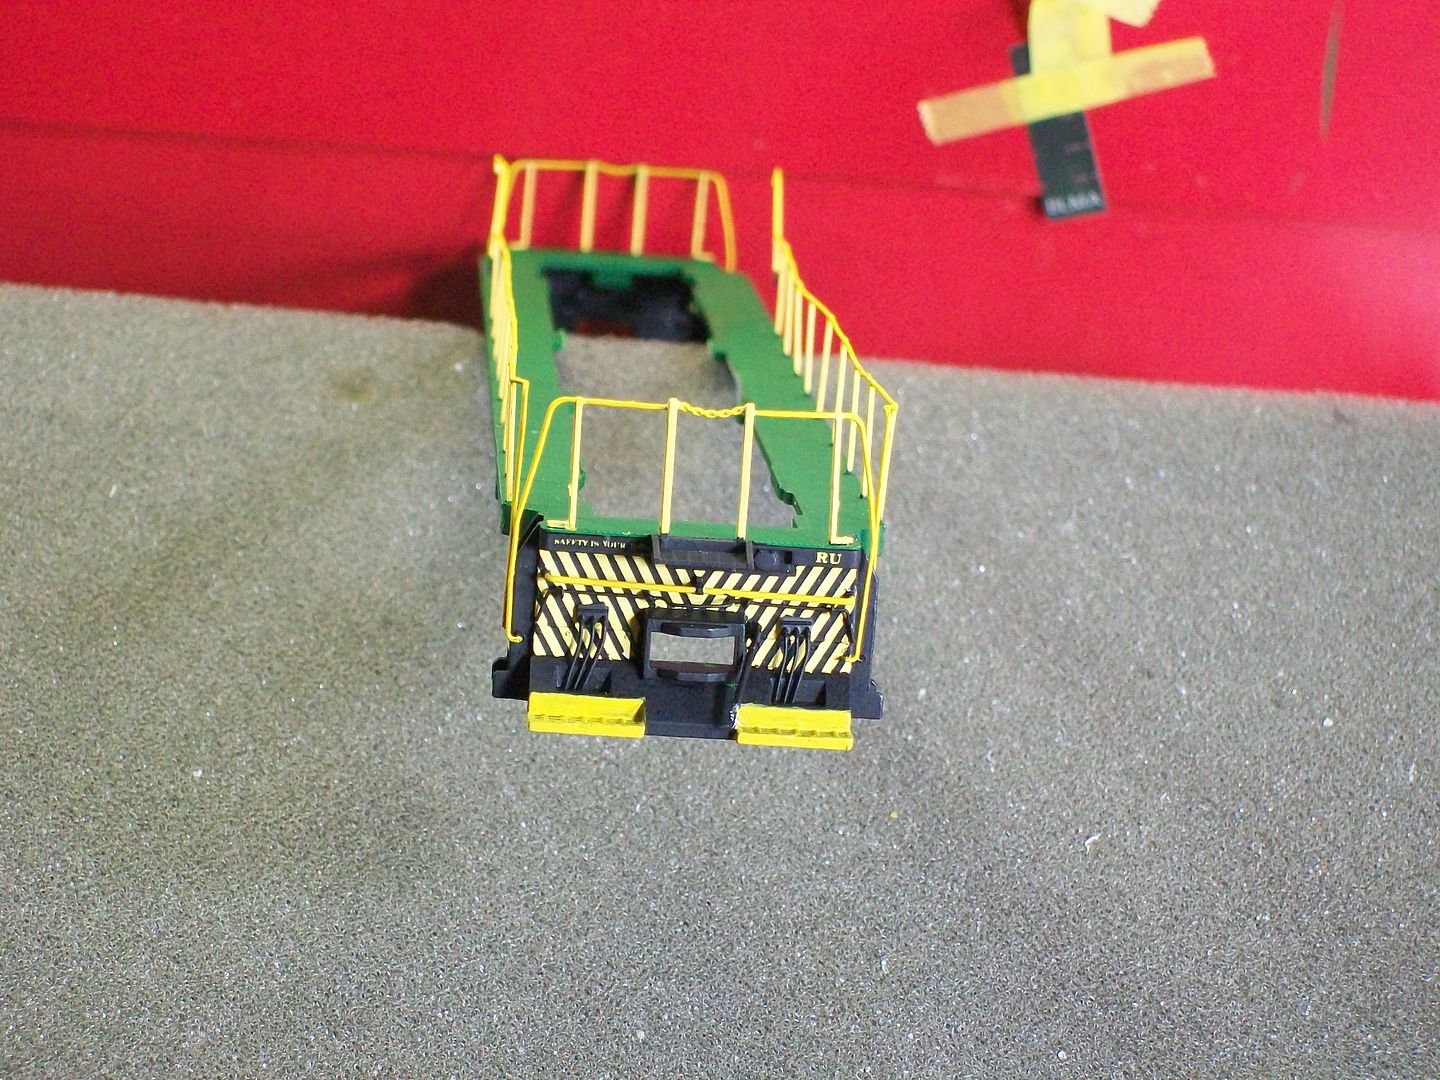
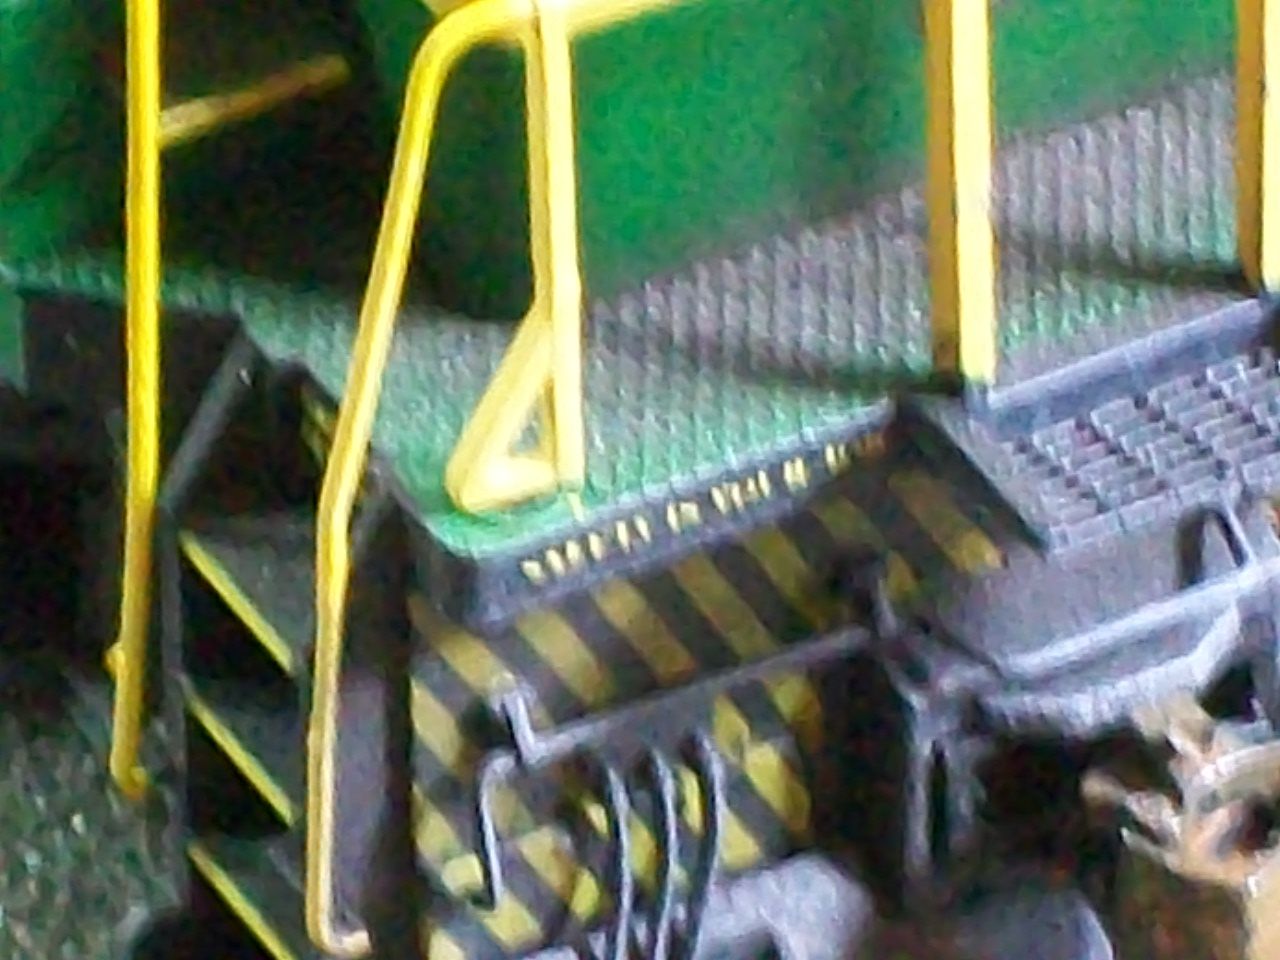
Next I added the end railings.On the RDG units(I never noticed this before until I started working on this unit)that little angled portion on the bottom of the end stanchions that forms the triangular shape must be carefully removed.I did this using a razor.
This first veiw is from my completed 5204.

This veiw shows the results you want.

I guess I could have cleaned that nub up a little better.I painted the drop step and anticlimber black and then the railings.I hand painted polyscale RDG yellow as my primer coat.Then I used my floquil RDG yellow mix.For the brighter safety yellow I applied floquils railbox yellow.

The long hand rails...first I cut off the angular piece from the stanchions that will mount to the top of the rear battery boxes.I then nipped off the mounting pins on the back of the remaining stanchions.I then started test fitting.Now except where the side sill ovals are the rest of the stanchion holes were drilled all the way through the center of the side sill.So counting from the back of the unit I had to cut off 1/32 on stanchions 4,6,7 and 8 and secured them in place with microscale's micro bond.

After I was satisfied with the placement I hand painted the railings as explained with the end railings.After touching up some areas with green and black paint I srayed with dullcoat.
The front railings will be addressed in the final assembly.


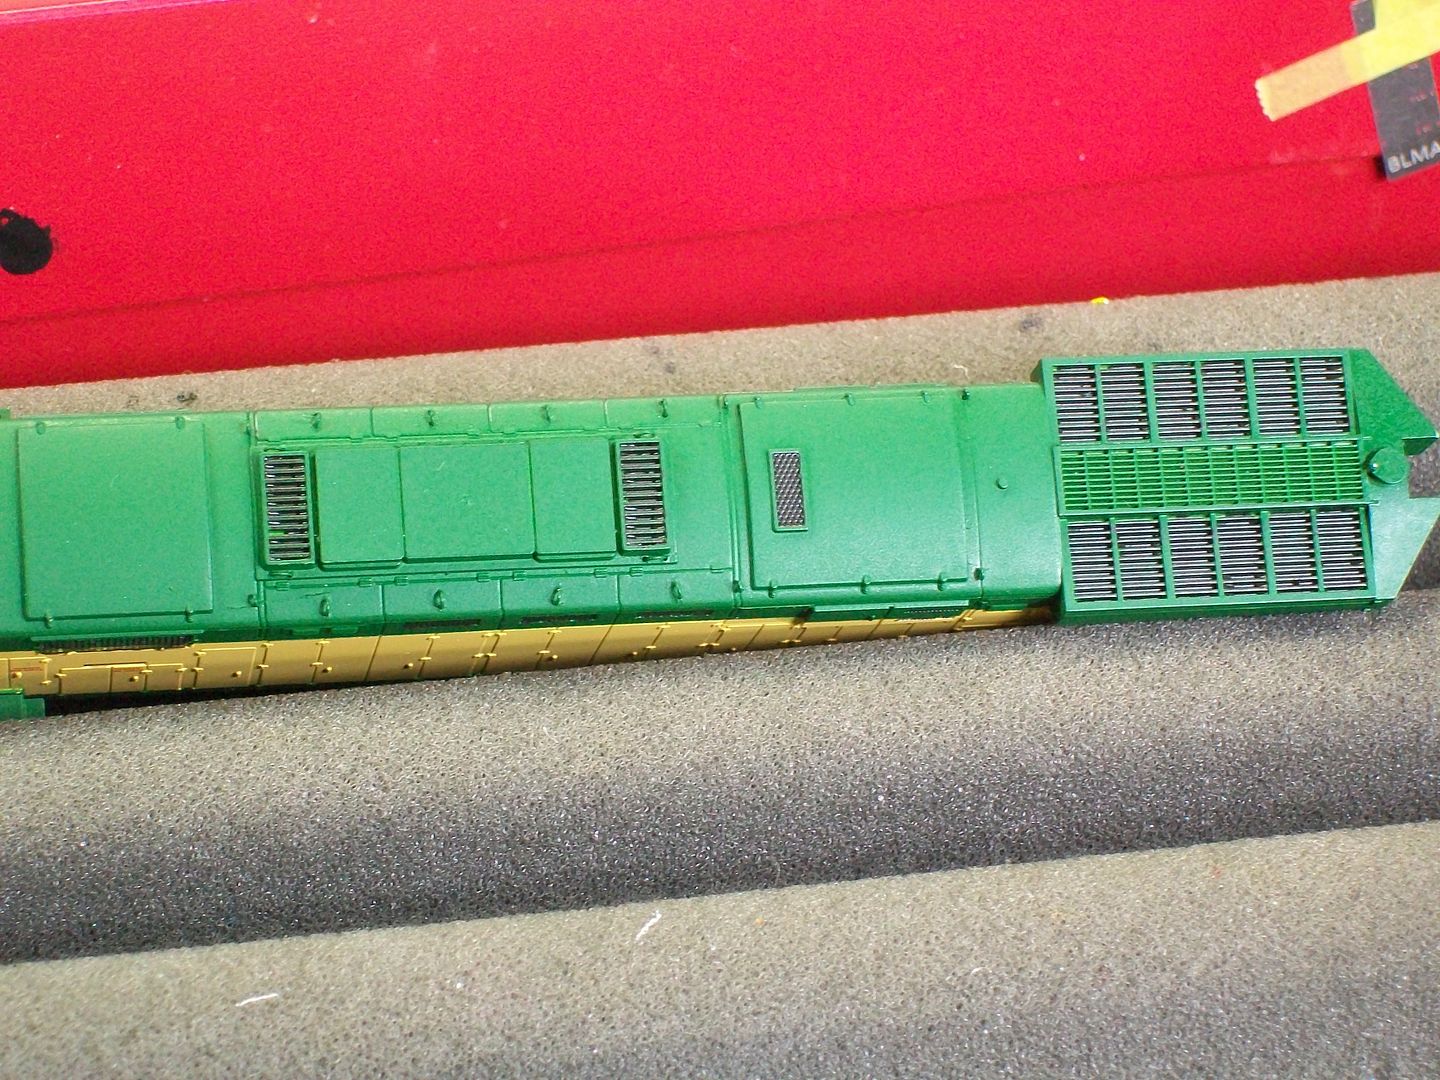
My next step is going to involve some weathering.Again weathering is in the eye of the beholder.I use powders,paint and pencil.I always start out with grill,exhaust openings.I use poly scale oily black and I blot it on with a fine brush.Don't worry if it looks like a puddle the goal at this point is to darken the inside areas of the grill,exhaust areas to create depth.

And don't worry if you go outside the lines.


That's all for now.
The administrator has disabled public write access.

RDG C424 11 years 2 months ago #651

  • rdgraildog
  • rdgraildog's Avatar
  • OFFLINE
  • Fireman
  • Posts: 59
  • Thank you received: 2
Great job Chris! Also great step by step instuction.When i get the time. Todd Shoffler
The administrator has disabled public write access.
Time to create page: 0.128 seconds

Today's Image

Did You Know?

March 1, 1948
The "Wall Street" begins service between Philadelphia and Jersey City, hauled by new G-3 Pacific locomotives and featuring new two-toned green cars.

Downloads

Operations Information

Click Here!A variety of Reading Company operations related documents, etc. that may be of use in your modeling efforts.

Operations Paperwork

Click Here!A variety of Reading Company operations paperwork, such as train orders, clearance forms, etc. that will help you operate your Reading layout in a prototypical manner.

Timetables, Rulebooks, Etc.

Click Here!Public Timetables, Employe Timetables, and Rulebooks that provide much useful operational information.

Modeling Goodies

Click Here!Signs, billboards, and other FREE goodies for your use.  We ask only that you help spread the word about The Reading Modeler!

Rolling Stock Reference

Click Here!Downloadable reference documents on the various classes of Reading Company Freight and Passenger rolling stock.

Thanks for Your Support!

If you find the content on The Reading Modeler valuable, won't you please consider supporting our efforts? Your donation will help to offset operating costs and acquire new material to share on the site. Thank you!

Amount: 

Advertisements