FacebookTwitterDiggGoogle BookmarksRedditLinkedinRSS Feed
Welcome, Guest
Username: Password: Remember me
This section of The Interchange provides a space where members of the Reading Modeler community can showcase their Reading modeling efforts. If you've got a project that you'd like to share, start a new topic and "show and tell" the group how you did it!

TOPIC: RDG C424

RDG C424 11 years 2 months ago #517

Having been a locomotive engineer,(now retired) and looking at those Alco steps, reminded me how much I preferred EMDs.
The administrator has disabled public write access.

RDG C424 11 years 2 months ago #528

  • 2771-chris
  • 2771-chris's Avatar
  • OFFLINE
  • Road Foreman of Engines
  • Posts: 634
  • Thank you received: 94
Thank You Rick.

John...Thank You for sharing the pilot photo,it compliments the build.
The administrator has disabled public write access.

RDG C424 11 years 2 months ago #529

  • 2771-chris
  • 2771-chris's Avatar
  • OFFLINE
  • Road Foreman of Engines
  • Posts: 634
  • Thank you received: 94
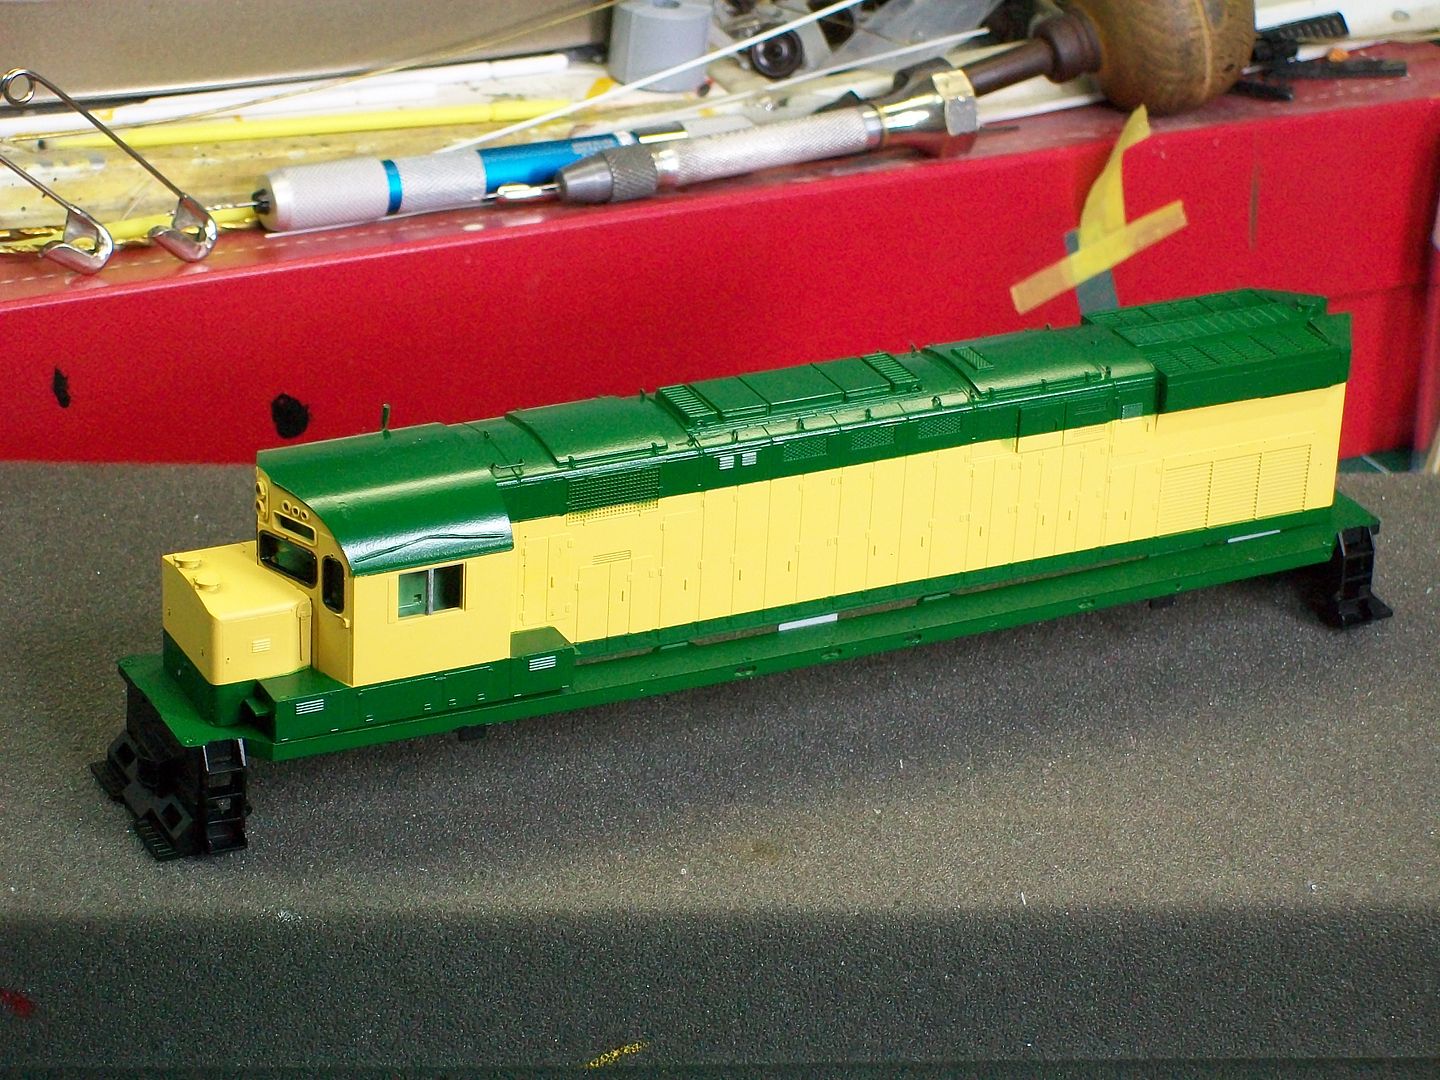
Did some painting yesterday and this morning.I decided to try something different in regards to the yellow paint.I usually use my SCII RDG yellow but decided to mix Floquil reefer yellow and white.I compared my mix to Polyscale's RDG yellow and proceeded from there.
First off I masked the mounting tabs.I found if I don't do this its sometimes a little difficult mounting the body to the frame.I did the same thing to the cab tabs.

I applied the paint with my Paashe at 15psi.The mix was roughly 75/25.

Floquil cures pretty quickly compared to SCII.After eight hours of curing time I applied the masking for the green,I use Tamiya tape.I used SCII RDG green.I thinned it approx.75/25 and also added quickdry to the mix.I applied at 15psi.After 15 min. I removed the tape with tweezers and let it sit overnight.
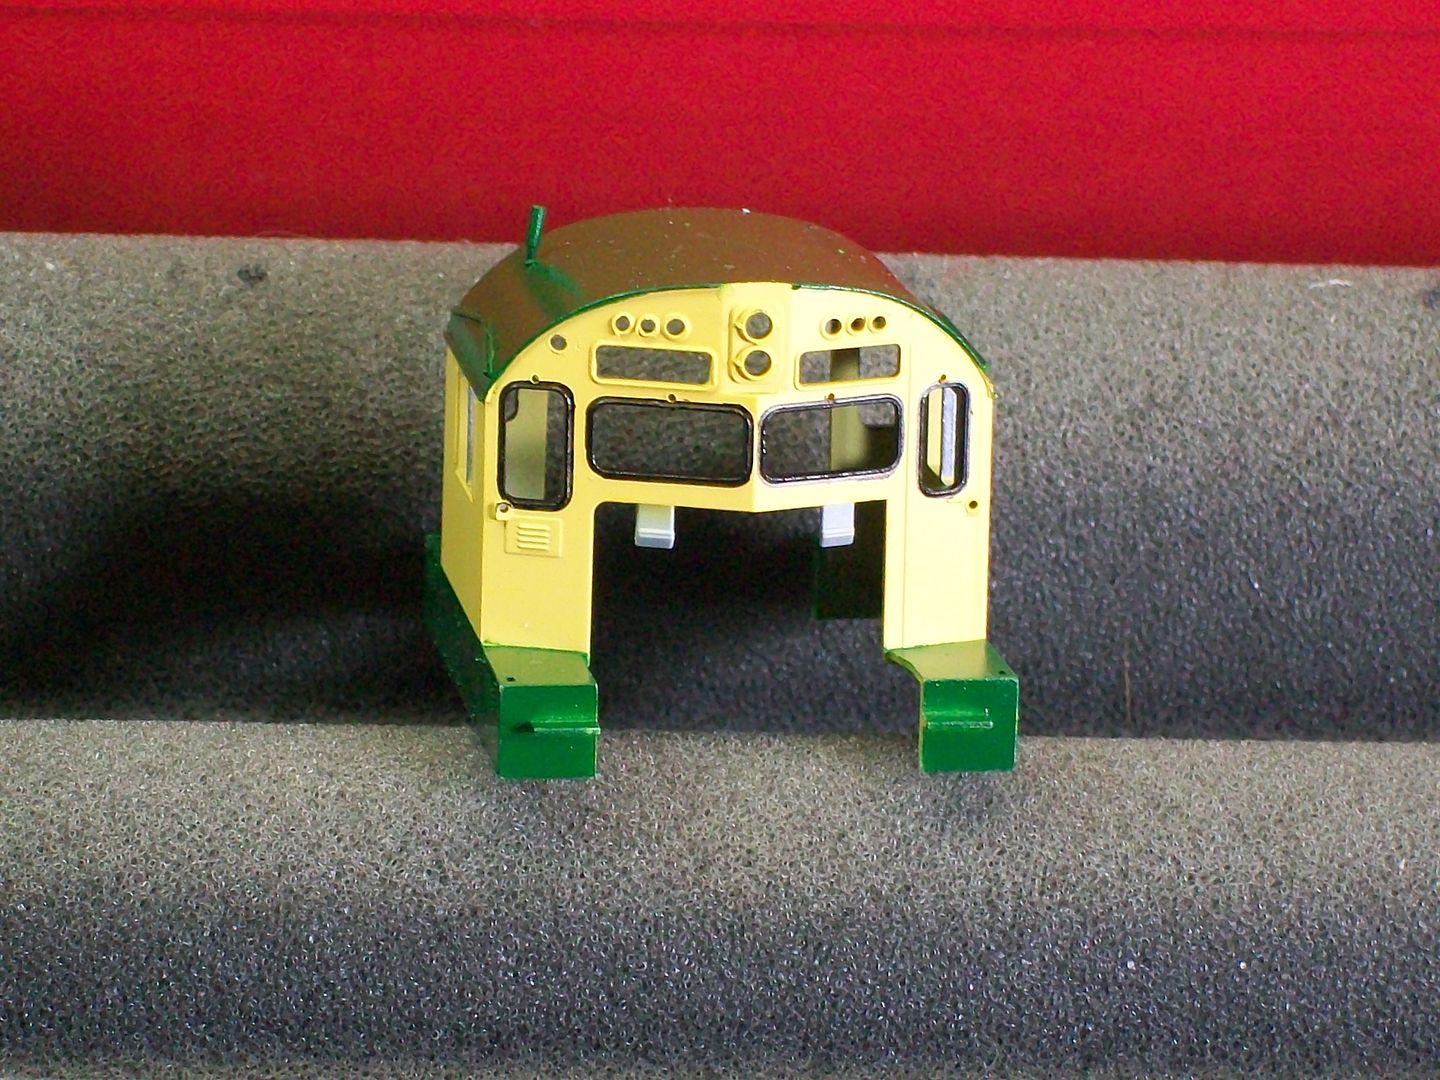
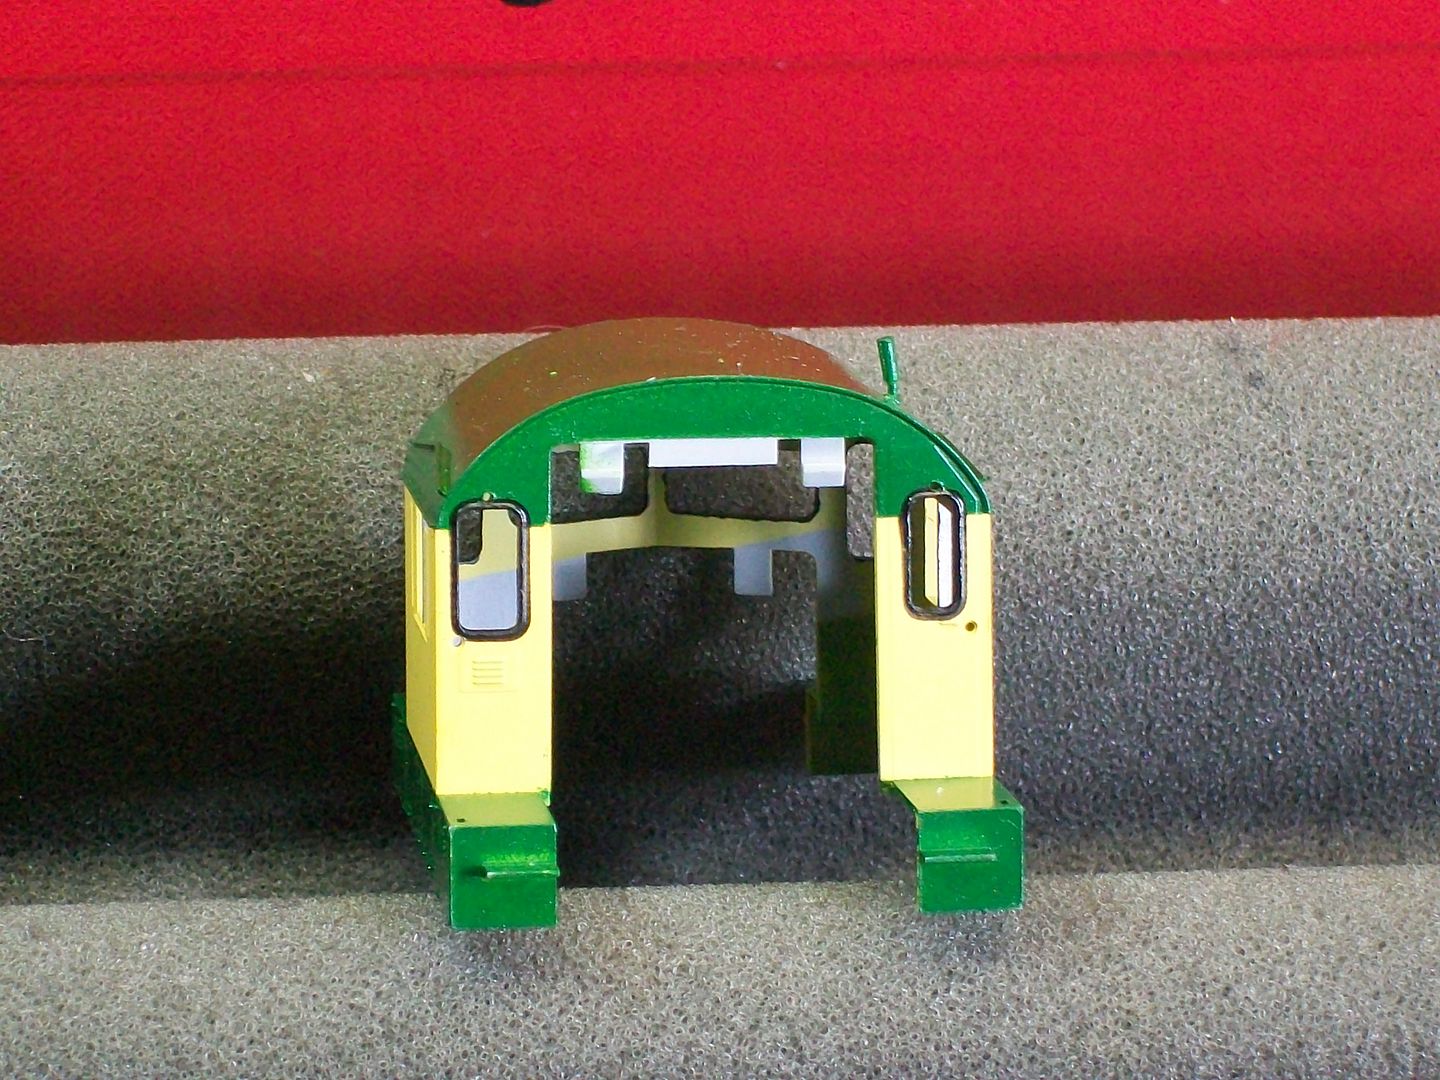
This a.m. I hand brushed the pilots,steps and jack plates black.The interior are I used Model Master's pale green.I added some silver to the window frame and inspection light.
The administrator has disabled public write access.

RDG C424 11 years 2 months ago #531

  • 2771-chris
  • 2771-chris's Avatar
  • OFFLINE
  • Road Foreman of Engines
  • Posts: 634
  • Thank you received: 94
Sorry,I wanted to go over the window gaskets.I do this two different ways or I combine them as I did today.If the mold is crisp I usually just hand paint them black with a fine brush.On this model I painted and used black marker.


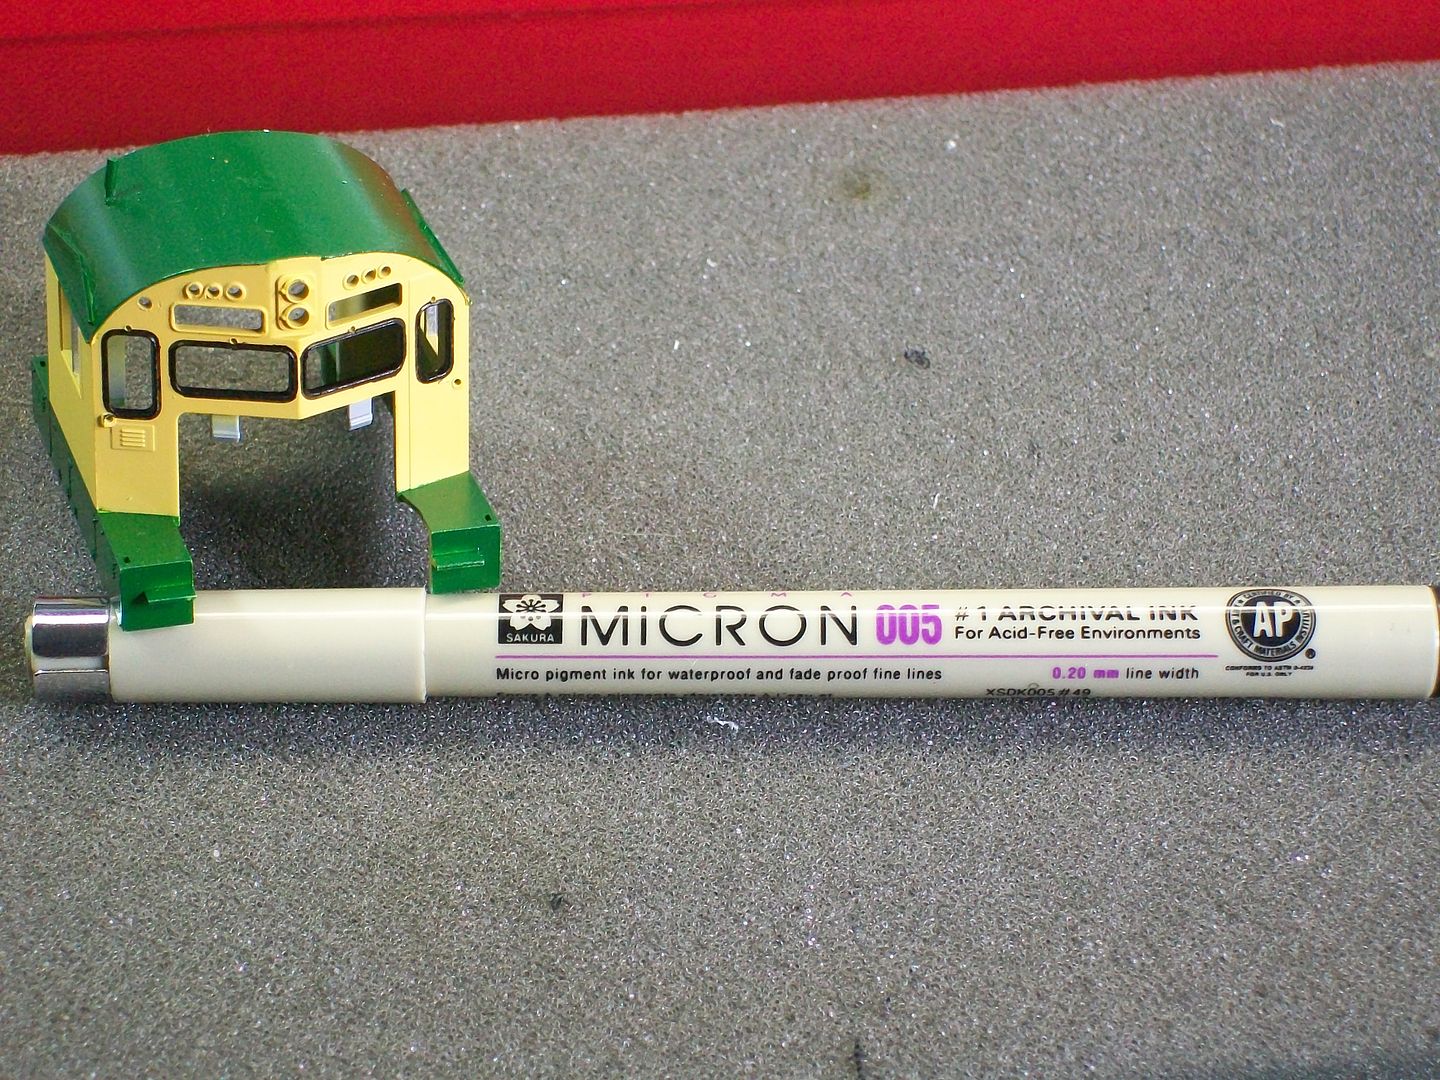
Now,if anyone decides to use the marker method,"DO NOT USE A SHARPIE".The ink in the sharpie pen will run when dull coat or gloss coat is applied and your day of modeling has turned into a day of a couple of beers.When using the marker I color the inside and the gasket molding itself.I then trace around the outside of the gasket.When completed it looks a little oversized,don't worry.When sprayed with dull coat it fades some,doesen't run,creating a weathering affect.
Here's a pic of the cab with the marker I use.I picked a bunch of these at Michael's a few years back.

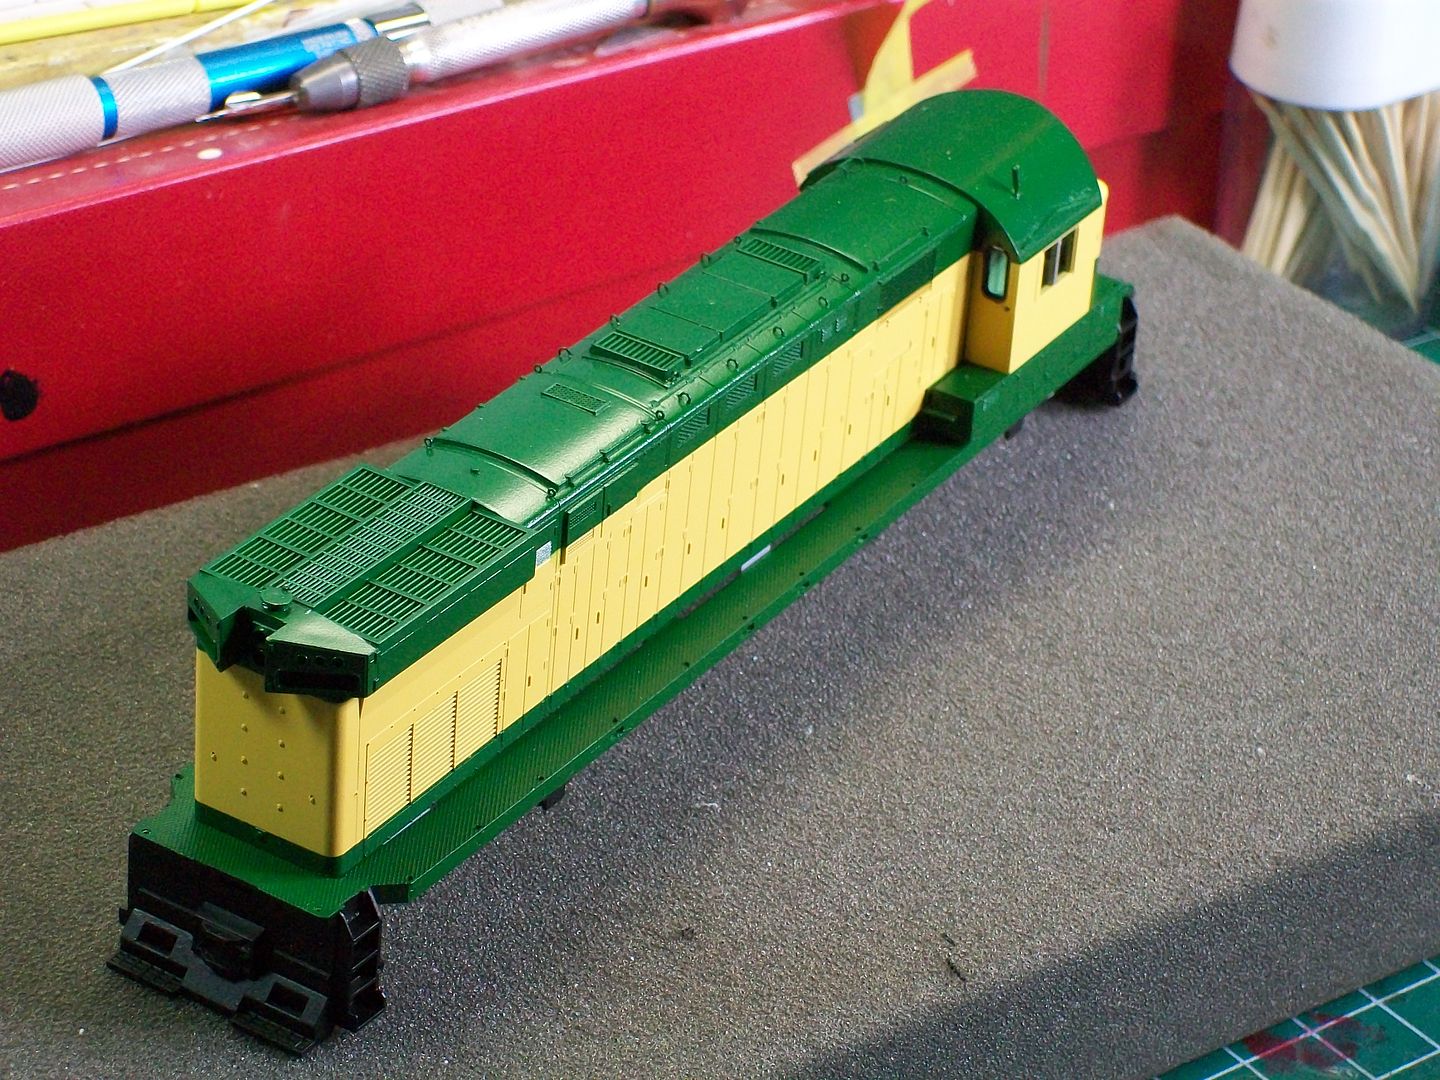
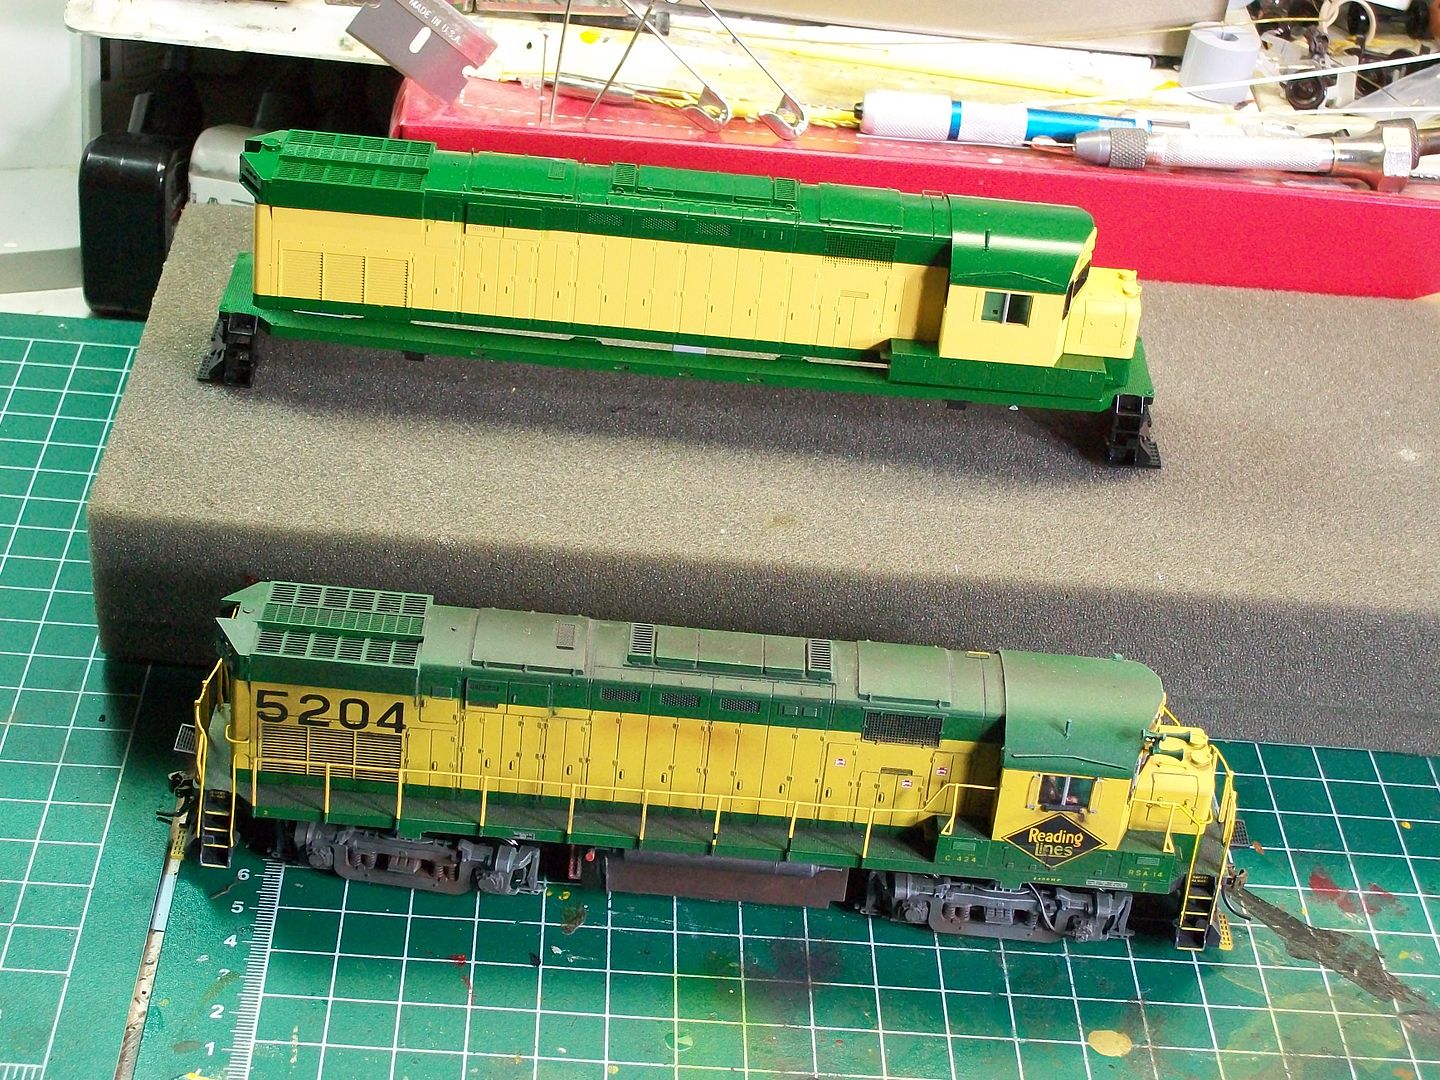
A couple of pics with the three body parts assembled.


Getting closer to the goal.
The administrator has disabled public write access.

RDG C424 11 years 2 months ago #575

  • 2771-chris
  • 2771-chris's Avatar
  • OFFLINE
  • Road Foreman of Engines
  • Posts: 634
  • Thank you received: 94
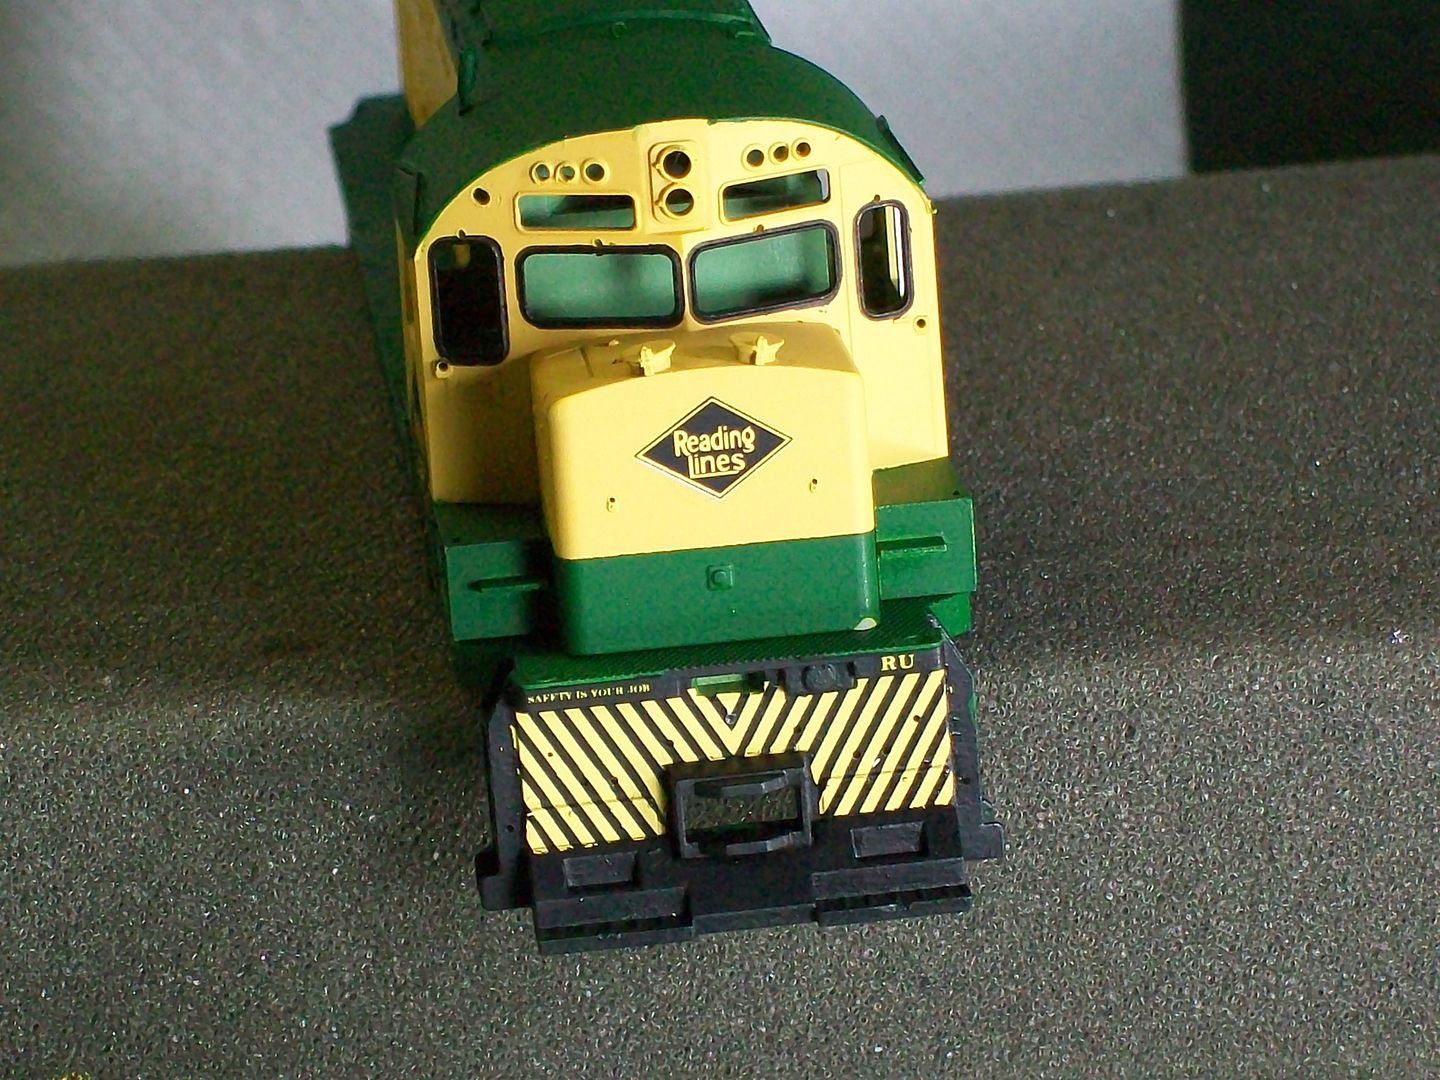
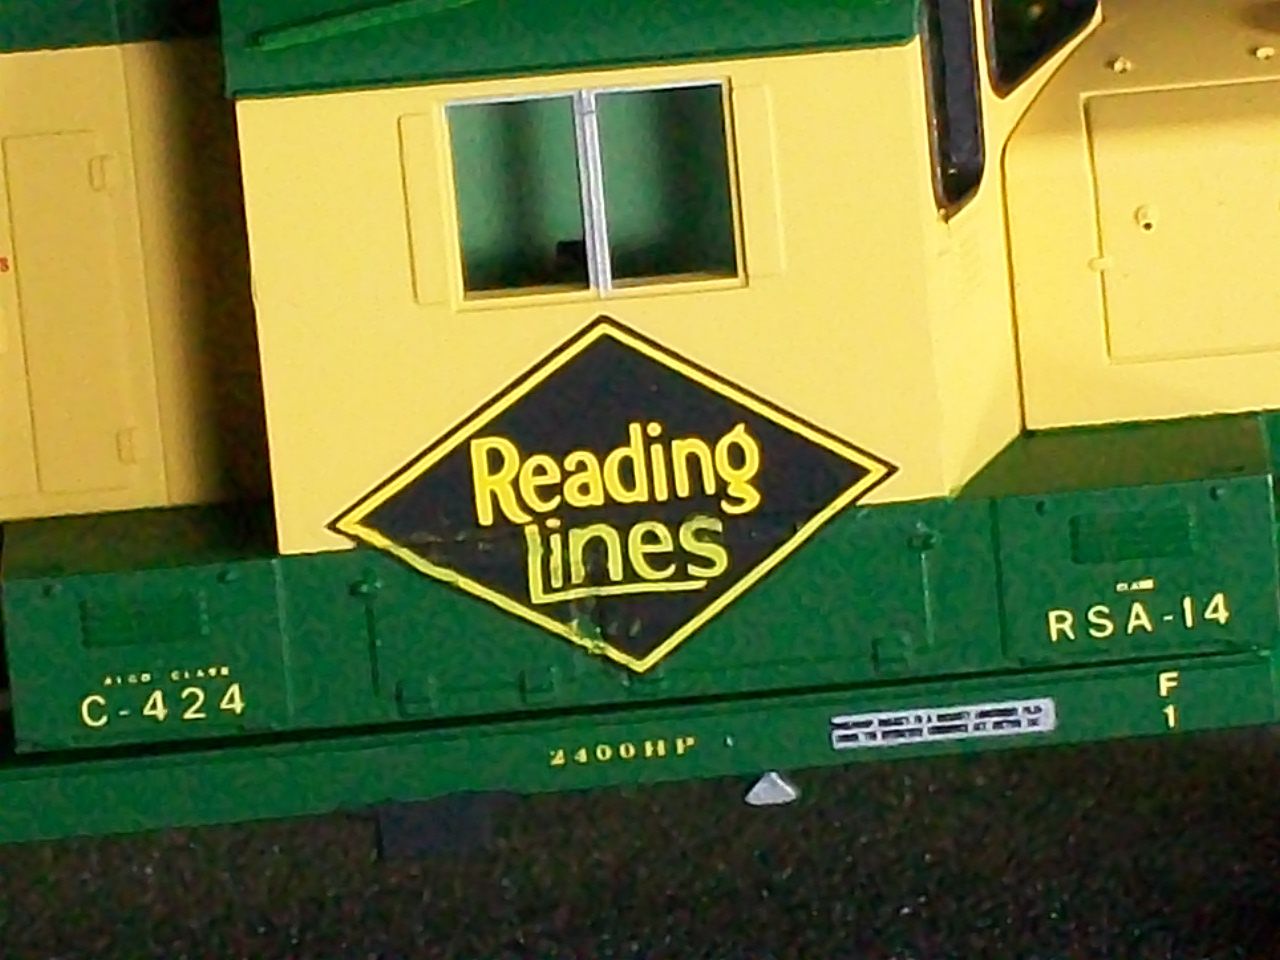
Added the decals yesterday.I used microscale decals from sheets 87-686,87-691 and 87-134.I started with the pilot,measured and cut to fit.


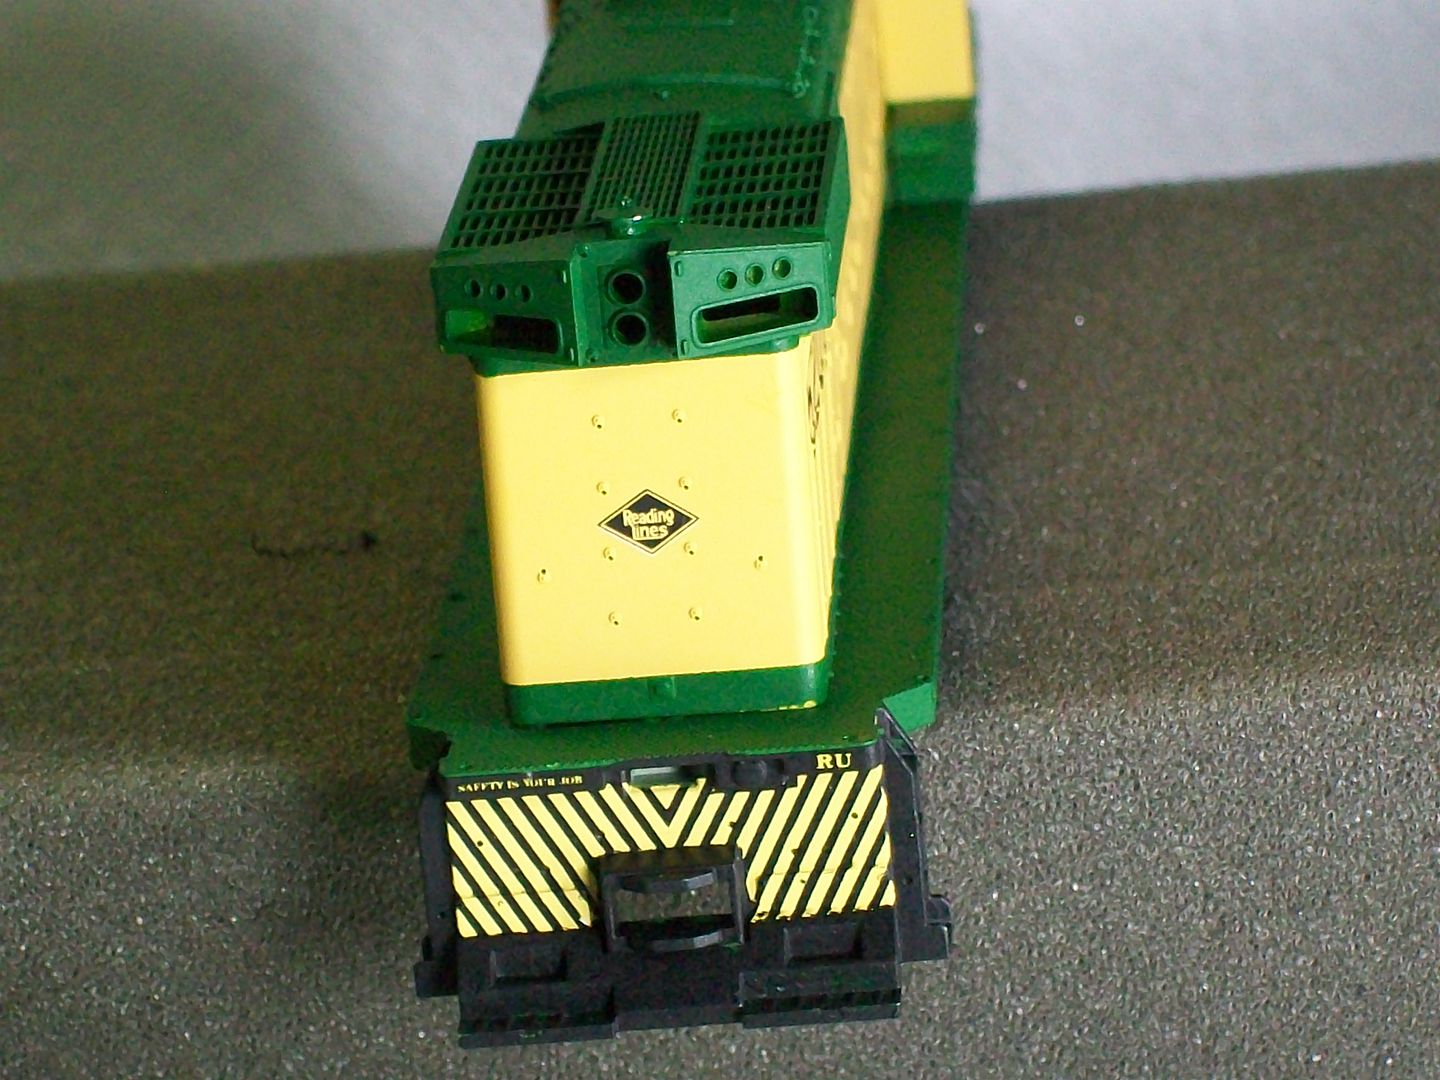
The following pics were taken after all decals were applied and the unit received its first dull coat application.I utilize dull coat several times in my process.In the first pic you can see the safety is your job and the ru.These were taken from decal sheet 87-691.


In this picture pay attention to the window gaskets on the right.You can see where I traced around the windows with the marker that it faded some after dullcoating to give the effect of dirt accumulating near the gasket.This will fade even more as I apply more dullcoat later.


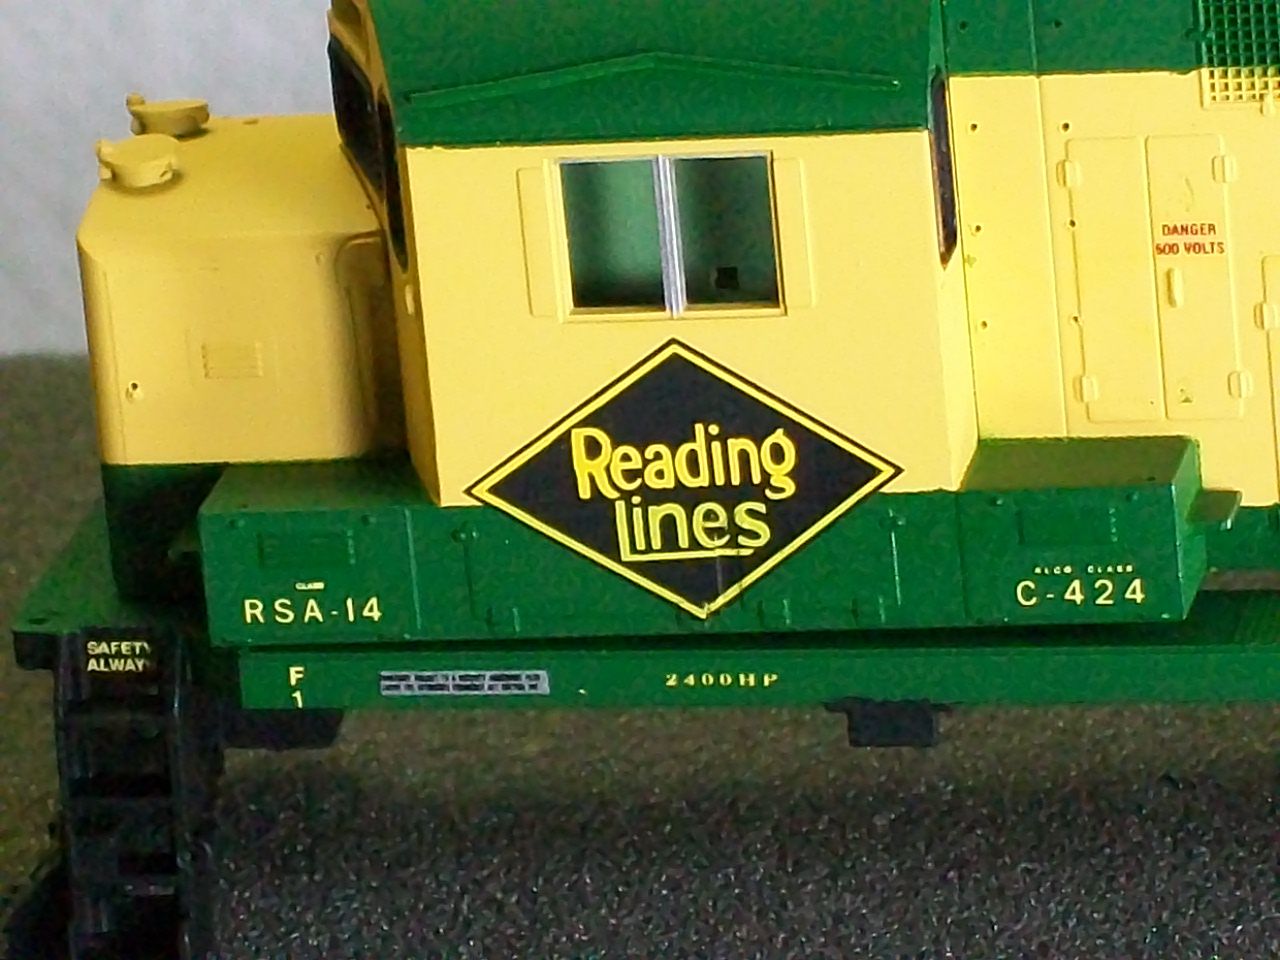
The owner's plate was taken from sheet 87-134 and the 2400hp was from sheet 87-691.I used sheet 87-686 for the remaining decals.

Two NOTES on the last pic;
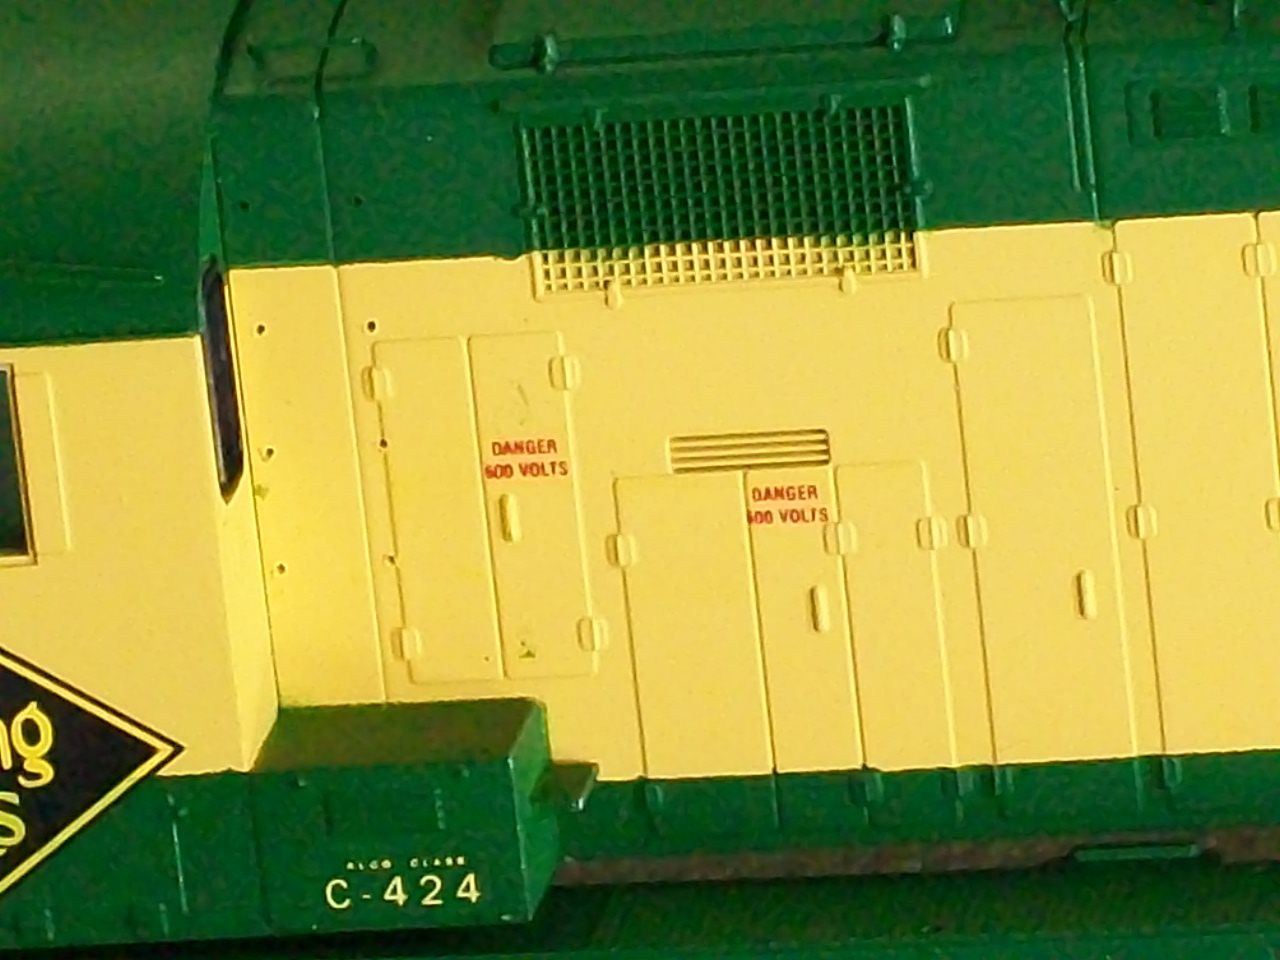
Researching all photos available the Class C424 decal was not applied to the rear battery boxes.The first 424 I did I copied the decal application off of a factory painted Atlas unit and they included this decal.Long story short,I like the look so I continued applying this decal to all my 424's.
The Safety Always is a bit larger then the prototype,maybe the "N" scale version might be an option in furure.

The warning labels were taken from 87-134 and applied to both sides of the unit.You can also see the mounting holes for the later installation of the ladder grabs.


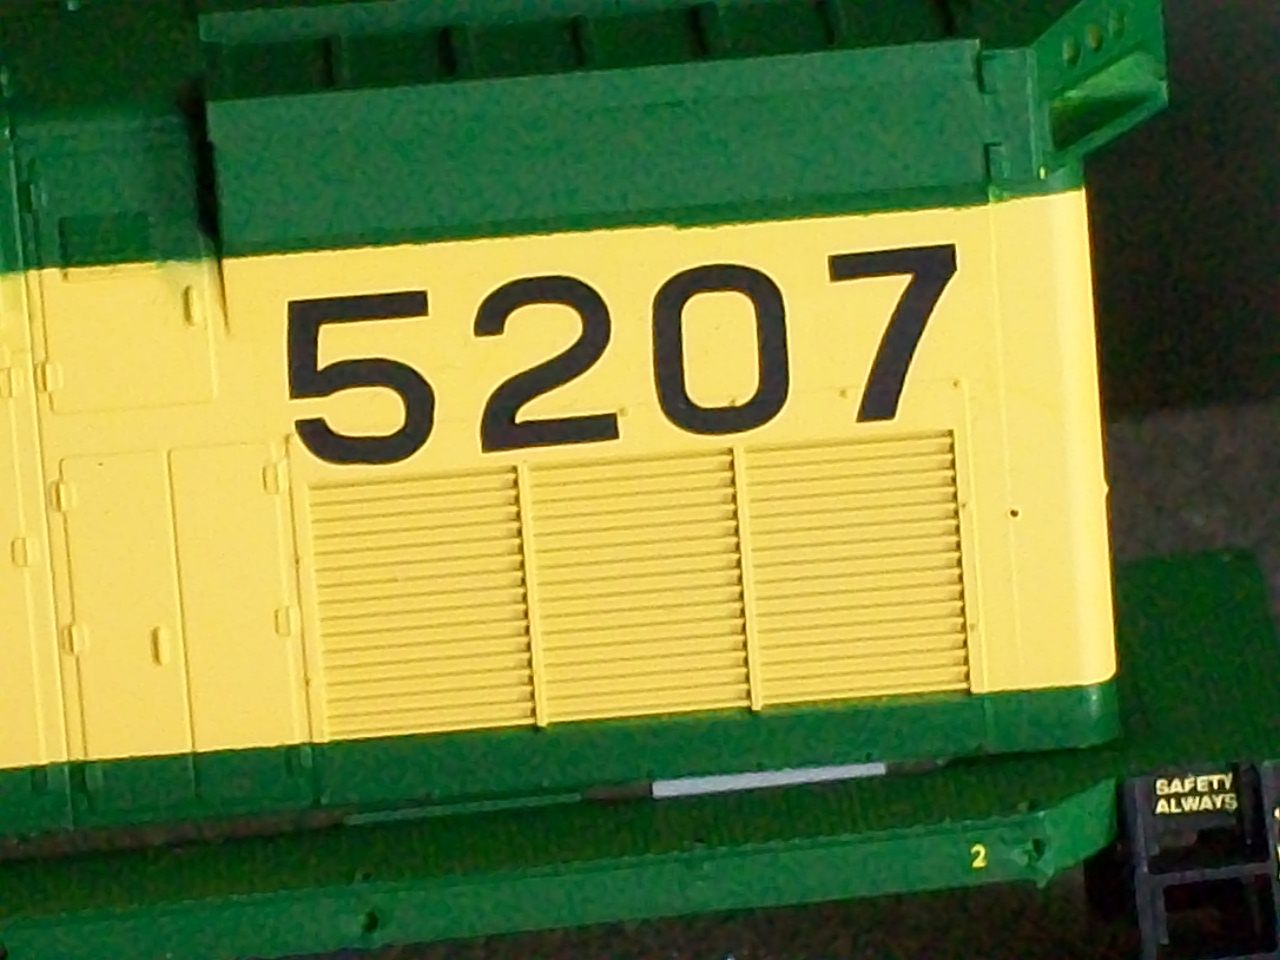
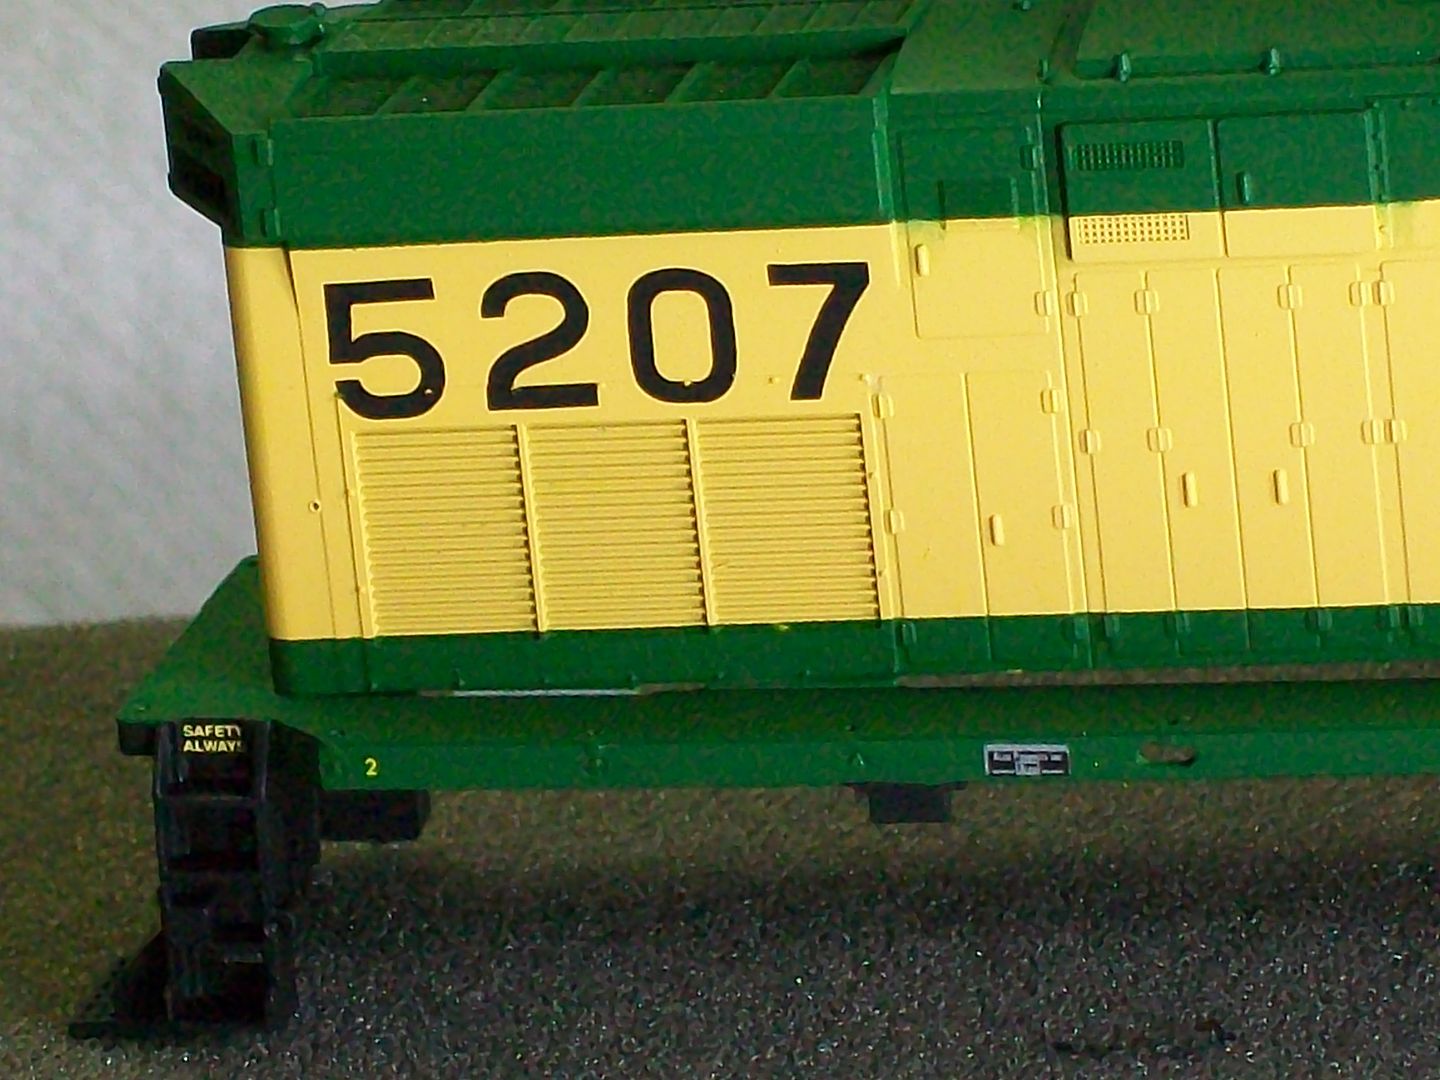
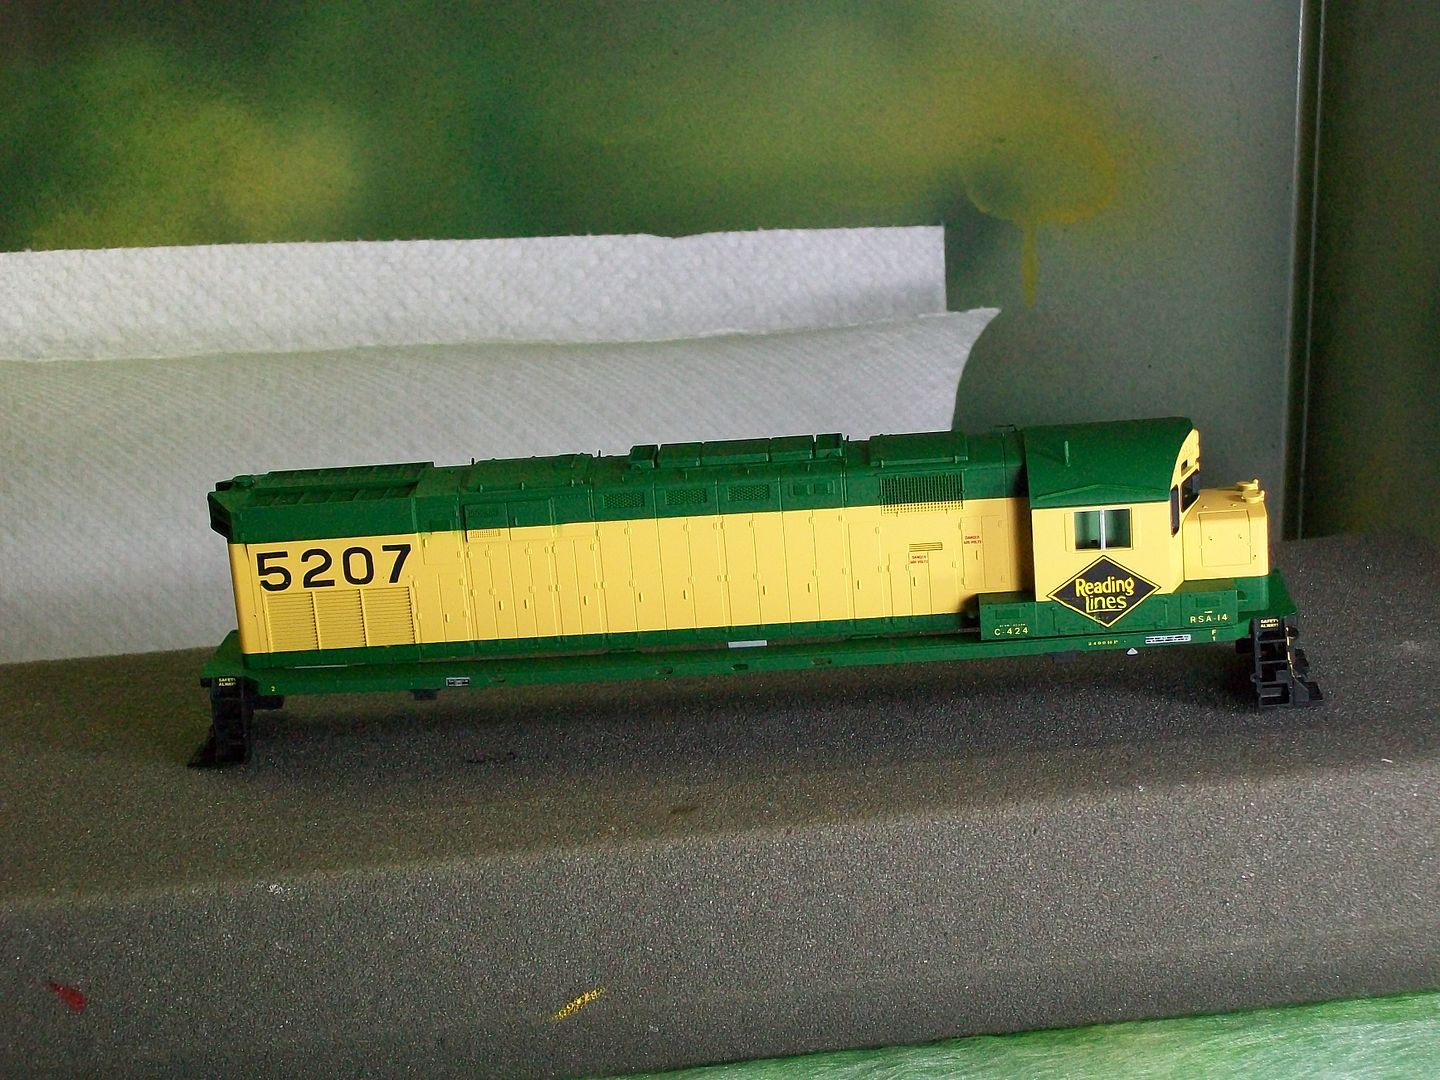
It was reported that 5207 was the problem child on the RDG's roster of 424's and since this is my first attempt at depicting the proper handrail locations and side sill openings I thought it would be the right number choice for my unit.

NOTE;in my photo research I found that the application of the unit number was a bit higher on 5203.All the remaining units seem to have the same unit number placement.
Here's a veiw of the left side of the unit.


The back of the unit.I used the medium herald from 87-686.The smaller heralds,which should be used,were terribly printed.


This veiw shows the placement of the builders plate,again 87-134.


Now,sometimes things don't look so good as in the next picture.This is not a problem because we'll use it to our advantage in the weathering process.


An overall veiw of the right side of the unit.
The administrator has disabled public write access.
The following user(s) said Thank You: otiscnj

RDG C424 11 years 2 months ago #577

  • rdg5310
  • rdg5310's Avatar
  • OFFLINE
  • Conductor
  • Posts: 265
  • Thank you received: 39
Coming together real nice Chris!
The administrator has disabled public write access.
Time to create page: 0.114 seconds

Today's Image

Did You Know?

June 20-23, 1972
The Reading is devastated by Hurricane Agnes; washouts and damage across the system require significant effort to repair, and also hasten the abandonment of marginal branches.

Downloads

Operations Information

Click Here!A variety of Reading Company operations related documents, etc. that may be of use in your modeling efforts.

Operations Paperwork

Click Here!A variety of Reading Company operations paperwork, such as train orders, clearance forms, etc. that will help you operate your Reading layout in a prototypical manner.

Timetables, Rulebooks, Etc.

Click Here!Public Timetables, Employe Timetables, and Rulebooks that provide much useful operational information.

Modeling Goodies

Click Here!Signs, billboards, and other FREE goodies for your use.  We ask only that you help spread the word about The Reading Modeler!

Rolling Stock Reference

Click Here!Downloadable reference documents on the various classes of Reading Company Freight and Passenger rolling stock.

Thanks for Your Support!

If you find the content on The Reading Modeler valuable, won't you please consider supporting our efforts? Your donation will help to offset operating costs and acquire new material to share on the site. Thank you!

Amount: 

Advertisements