FacebookTwitterDiggGoogle BookmarksRedditLinkedinRSS Feed
Welcome, Guest
Username: Password: Remember me
This section of The Interchange provides a space where members of the Reading Modeler community can showcase their Reading modeling efforts. If you've got a project that you'd like to share, start a new topic and "show and tell" the group how you did it!

TOPIC: RDG C424

RDG C424 11 years 3 months ago #398

  • JoannaBill
  • JoannaBill's Avatar
  • OFFLINE
  • Road Foreman of Engines
  • Posts: 422
  • Thank you received: 63
Chris:

That's a great tip on the footboards. And to think I was going to use lots of styrene strips with sanding and filing. Thanks.
The administrator has disabled public write access.

RDG C424 11 years 2 months ago #408

  • 2771-chris
  • 2771-chris's Avatar
  • OFFLINE
  • Road Foreman of Engines
  • Posts: 634
  • Thank you received: 94
After much deliberation(with myself)and some practicing on a spare side sill I decided to go for it.This area of the build has been the most tedious and time consuming part of the project.I never tried it before so there was alot of trial & error.IF I decide to update my remaining 424's I think it will proceed smoother.I'm going to contact Atlas and see if they would consider producing the proper early 424 side sill,pilot,walkway assembly.It would surely make things easier.

Pictured are the tools I used to complete this part of the build.

As I stated earlier I eyeball everything.According to specs.the railings were mounted on top of the walkway 3"s in from the edge of the side sill,if anyone believes I'm going to measure 3 scale inches please share with me whatever your taking so I could participate in your utopian world.

The first thing I worked on was creating the oval side sill openings.
You will need to create 4 on each side.Starting from the rear of the unit count the stanchions.The oval access openings will be placed below the 4th,6th,7th and 8th stanchion.
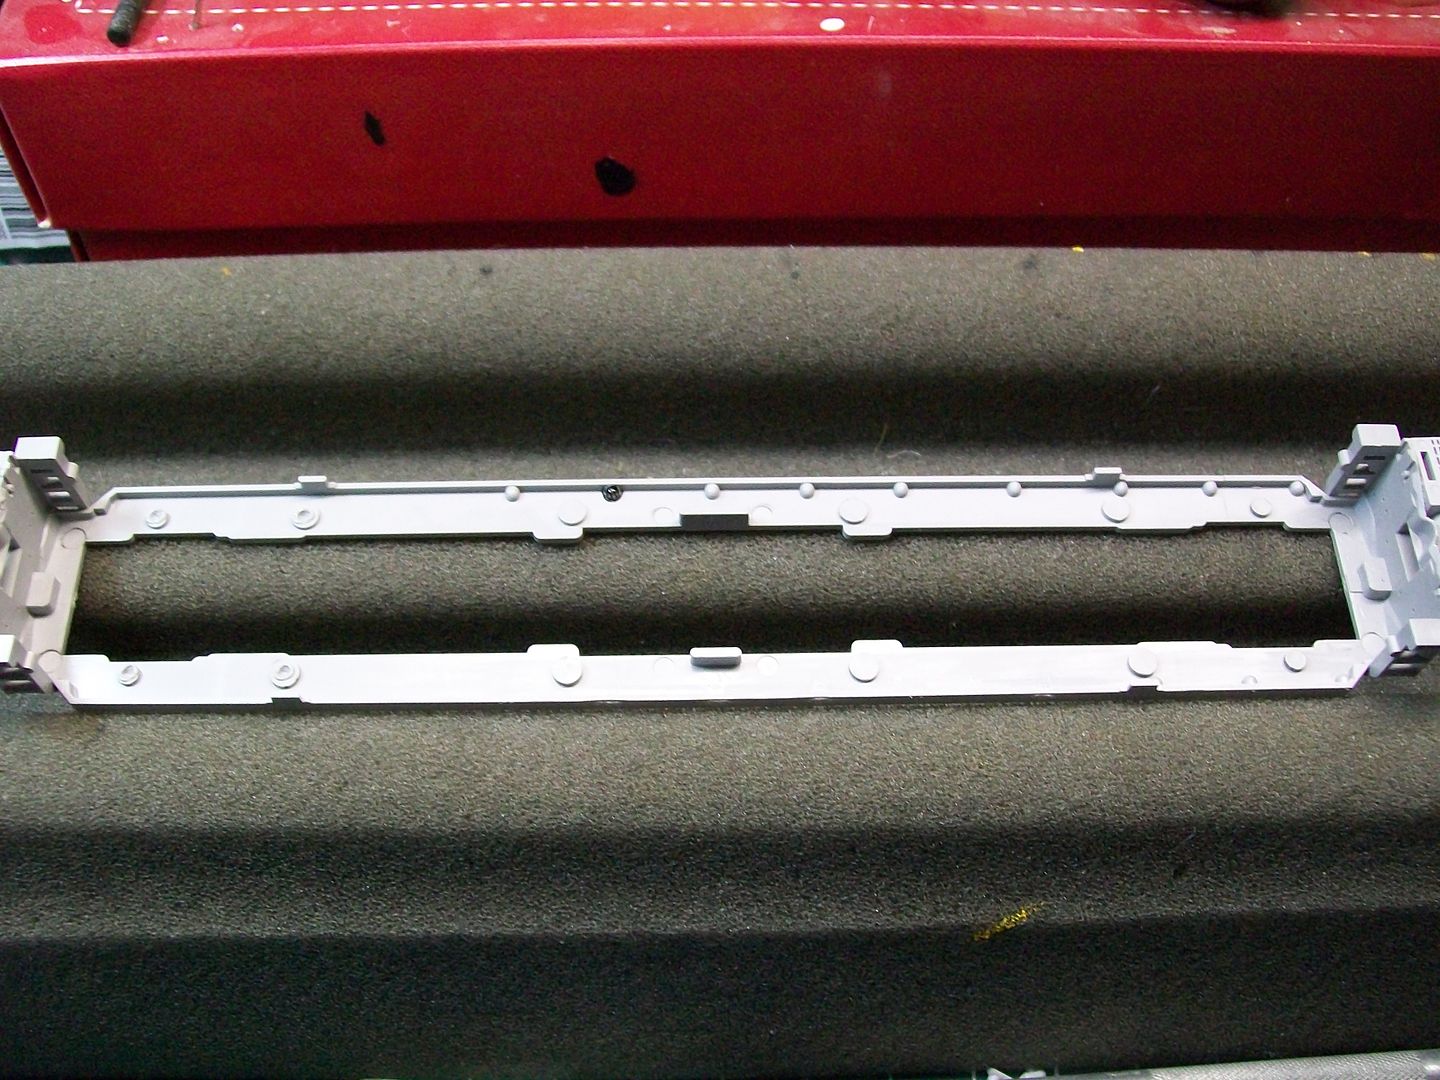
Turn the side sill upside down,notice the rounded areas on the inside of the frame.I highlighted one with black marker.


I removed all of these with a straight razor,I found that it was easier when it came to drilling the holes for both the sill opening and stanchions...less to drill through.


Next I used a pin and scored the area on each side of the original mounting hole on the side sill.

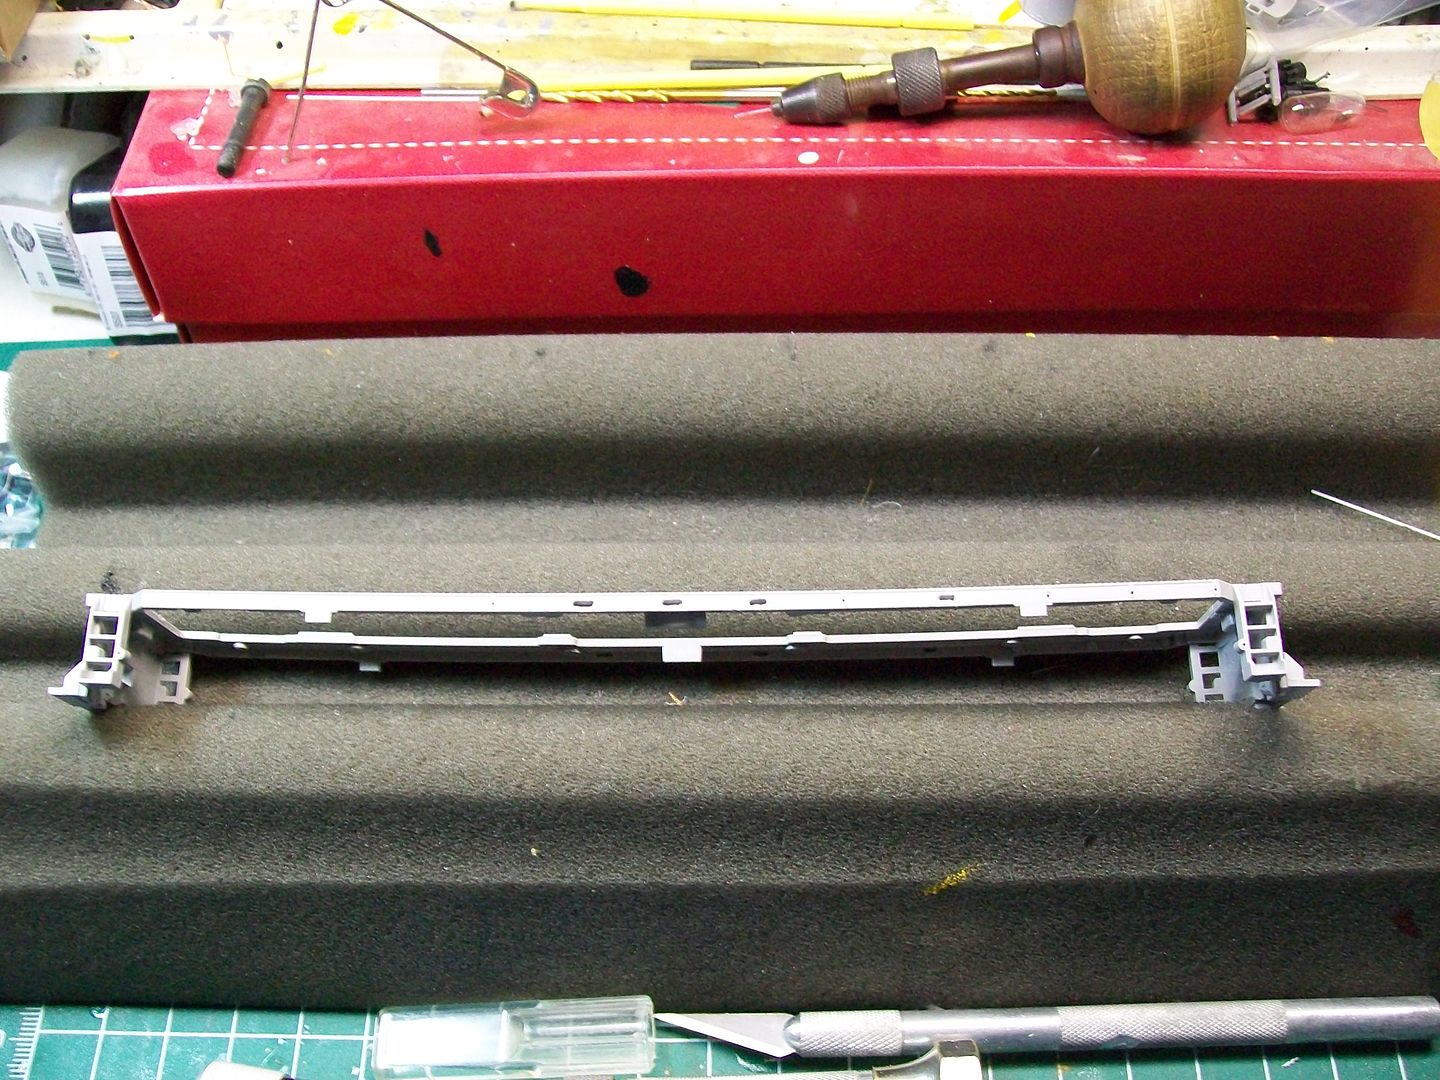
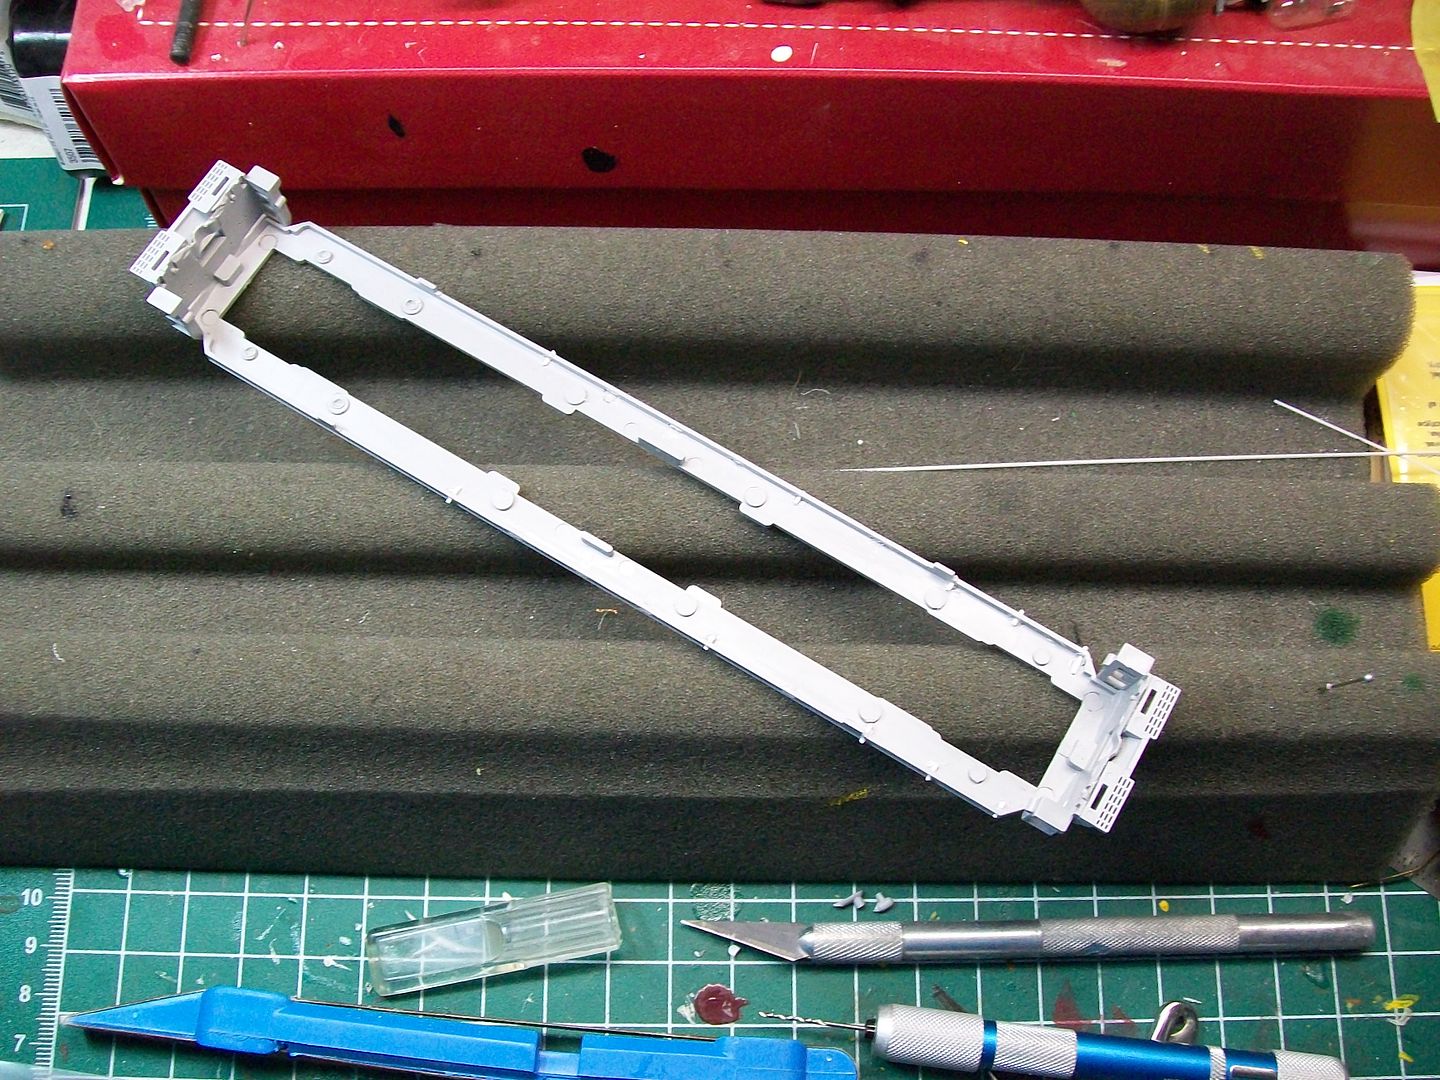
Starting either left or right of the original(center)hole I used a #68 drill bit.The material thats left between the drilled out holes was removed,very carefully, with a straight razor.I then used a needle fill and shaped the ovals.I just realized I failed to take some pics of this process...sorry.Here's a pic of a completed side.


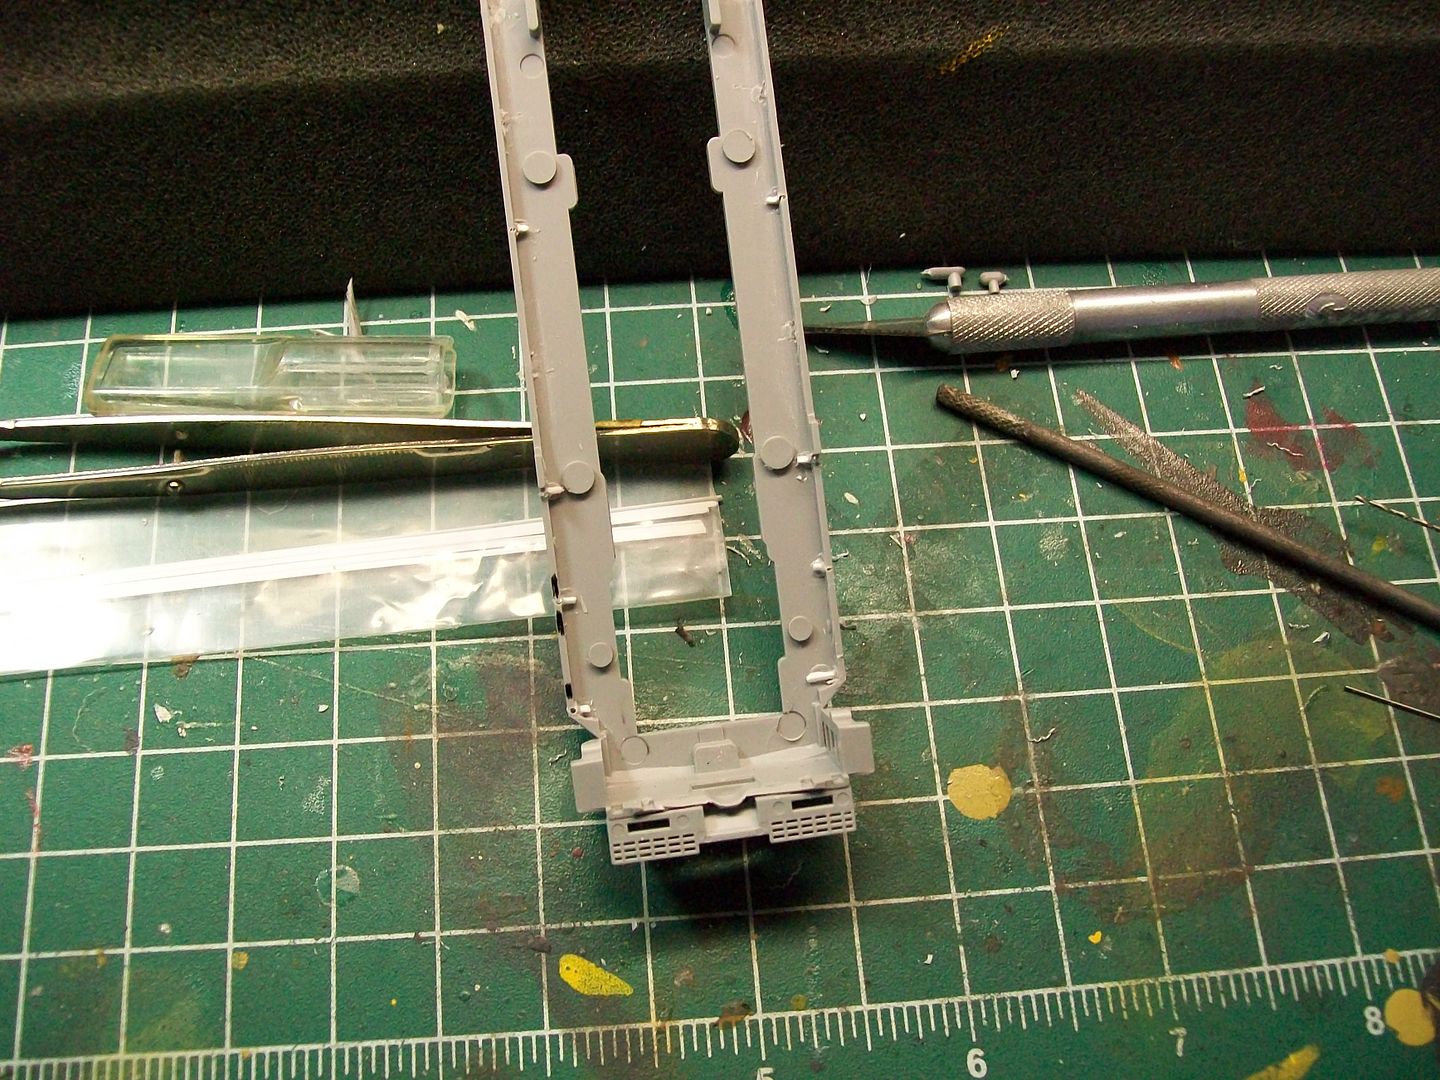
Next filling in the remaining side sill holes.Checking my styrene inventory I had no styrene rod stock but I did have triangular shaped stock,so that's what I used.I drilled out the holes so the styrene would fit and I glued them on place with testor's cement.I let these cure over night.

In this 2nd pic you can see the white styrene protruding from both sides of the sill.
The administrator has disabled public write access.

RDG C424 11 years 2 months ago #409

  • 2771-chris
  • 2771-chris's Avatar
  • OFFLINE
  • Road Foreman of Engines
  • Posts: 634
  • Thank you received: 94
This morning I drilled the stanchion mounting holes.I would like to point out that it is very important to take your time so you don't do any damage to the outside sill areas while drilling.The sill is very thin and your goal is to make your hole directly down the center.My process involved a pin for locating my drilling spot and drill bit nos.80.72.70.
Above the original mounting holes there is a cast on detail that I used as a center point to mark my target for drilling.Again,I eyeballed my scale 3"s and made my score for drilling.I marked all 9 stanchion with the pin before doing any drill work.This insures you have a nice staight line.You can also use the walkway thread as a guide.After I was satisfied with the placement of my predrill holes I used a #80 drill.Do this slowly and make sure you do not angle your drill...you don't want it to come through the side.


I drill down through the center of the sill until I could just start to feel the tip of the bit coming through the bottom of the sill.NOTE when drilling above the side sill access holes do not attempt to drill to the bottom of the sill.STOP when the drill bit makes contact with the lower area of the access opening.
After I completed my #80 holes I repeated the process using a #72.Again."GO SLOW"

Now do it again with a #70

I found by using this three bit system and taking it very slowly your less likely to go astray and damage the side sill.

This next pic illustrates that you don't have room for error.

Now that the drilling is done I cut off the excess styrene and sanded the entire side sill below the little walkway lip.Here's a veiw.


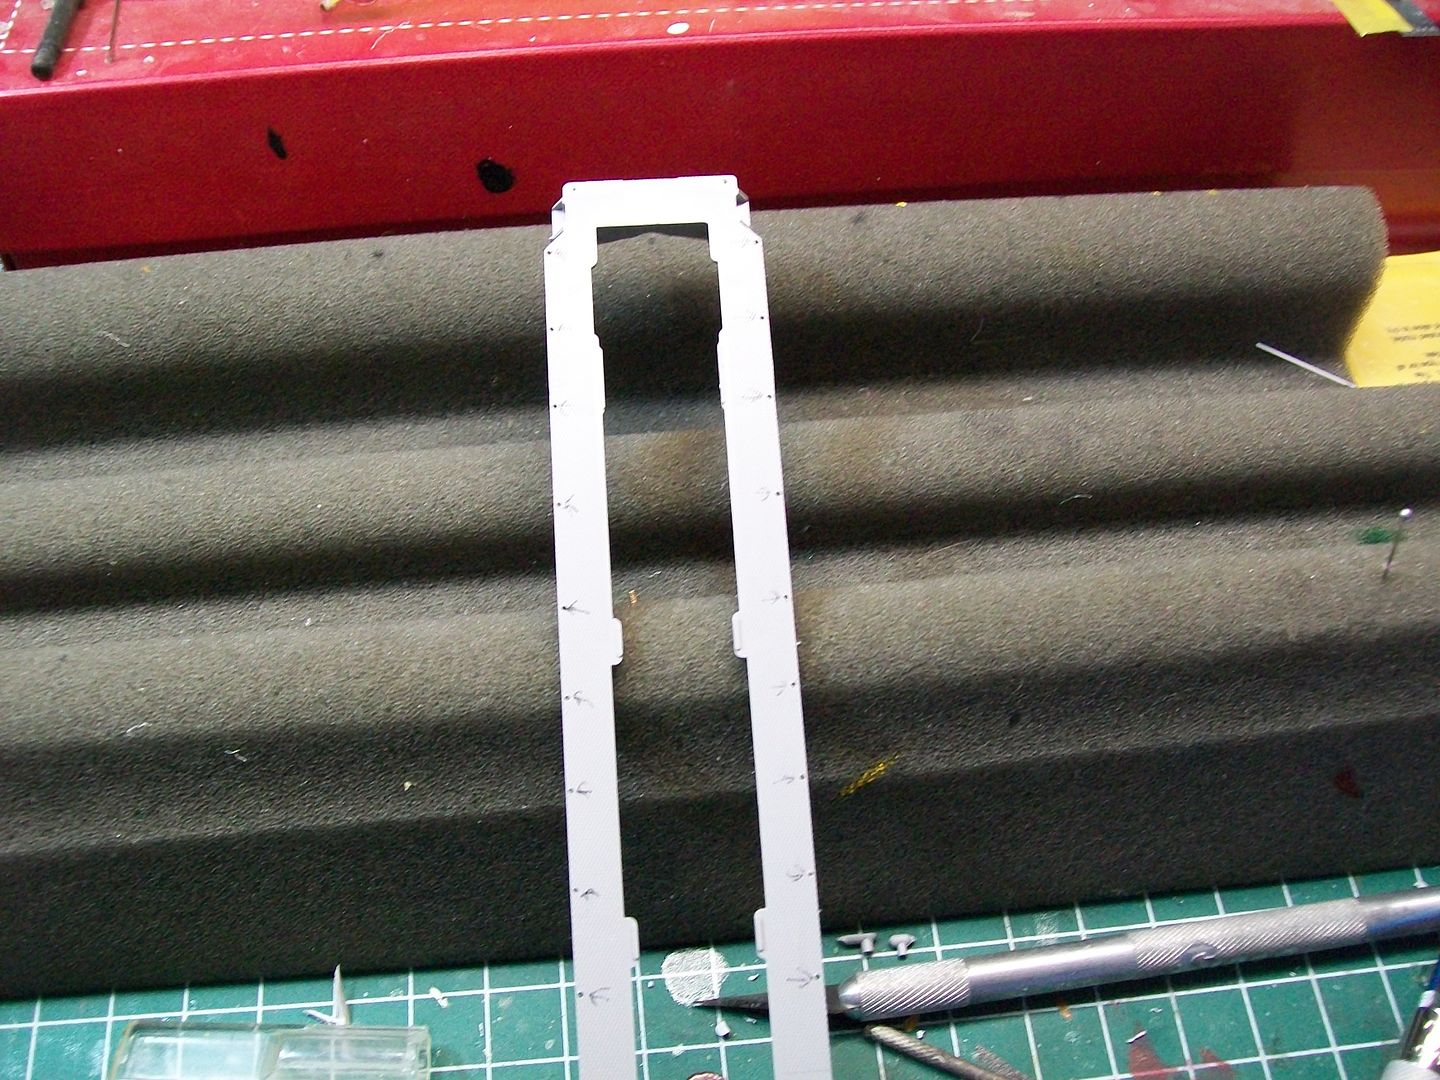
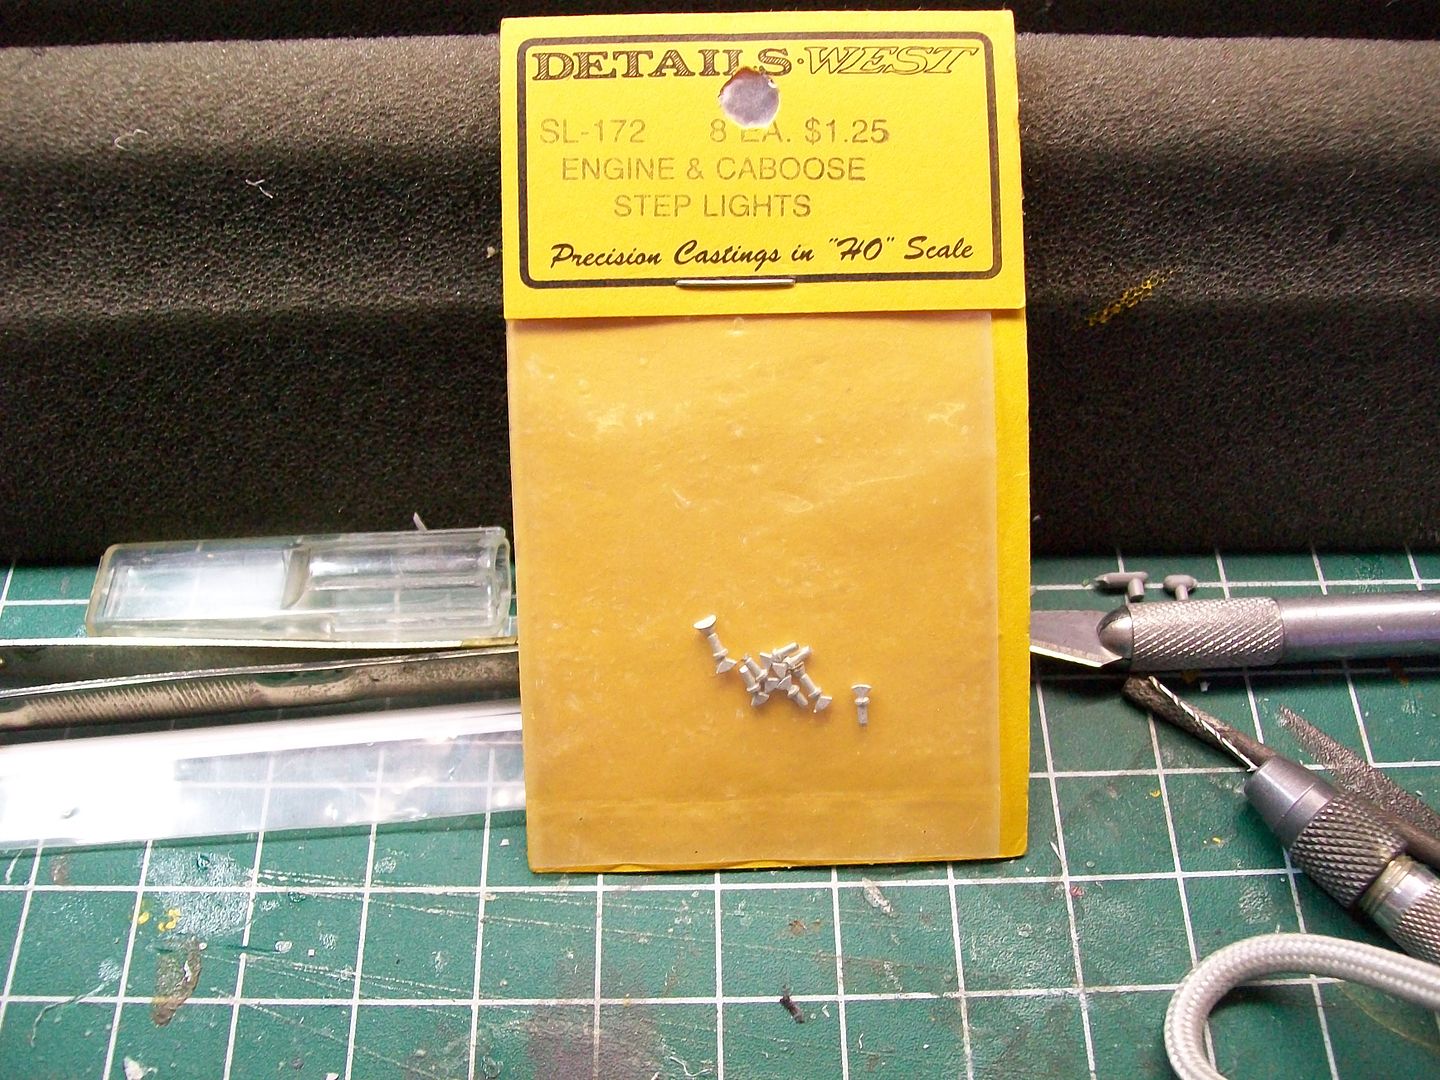
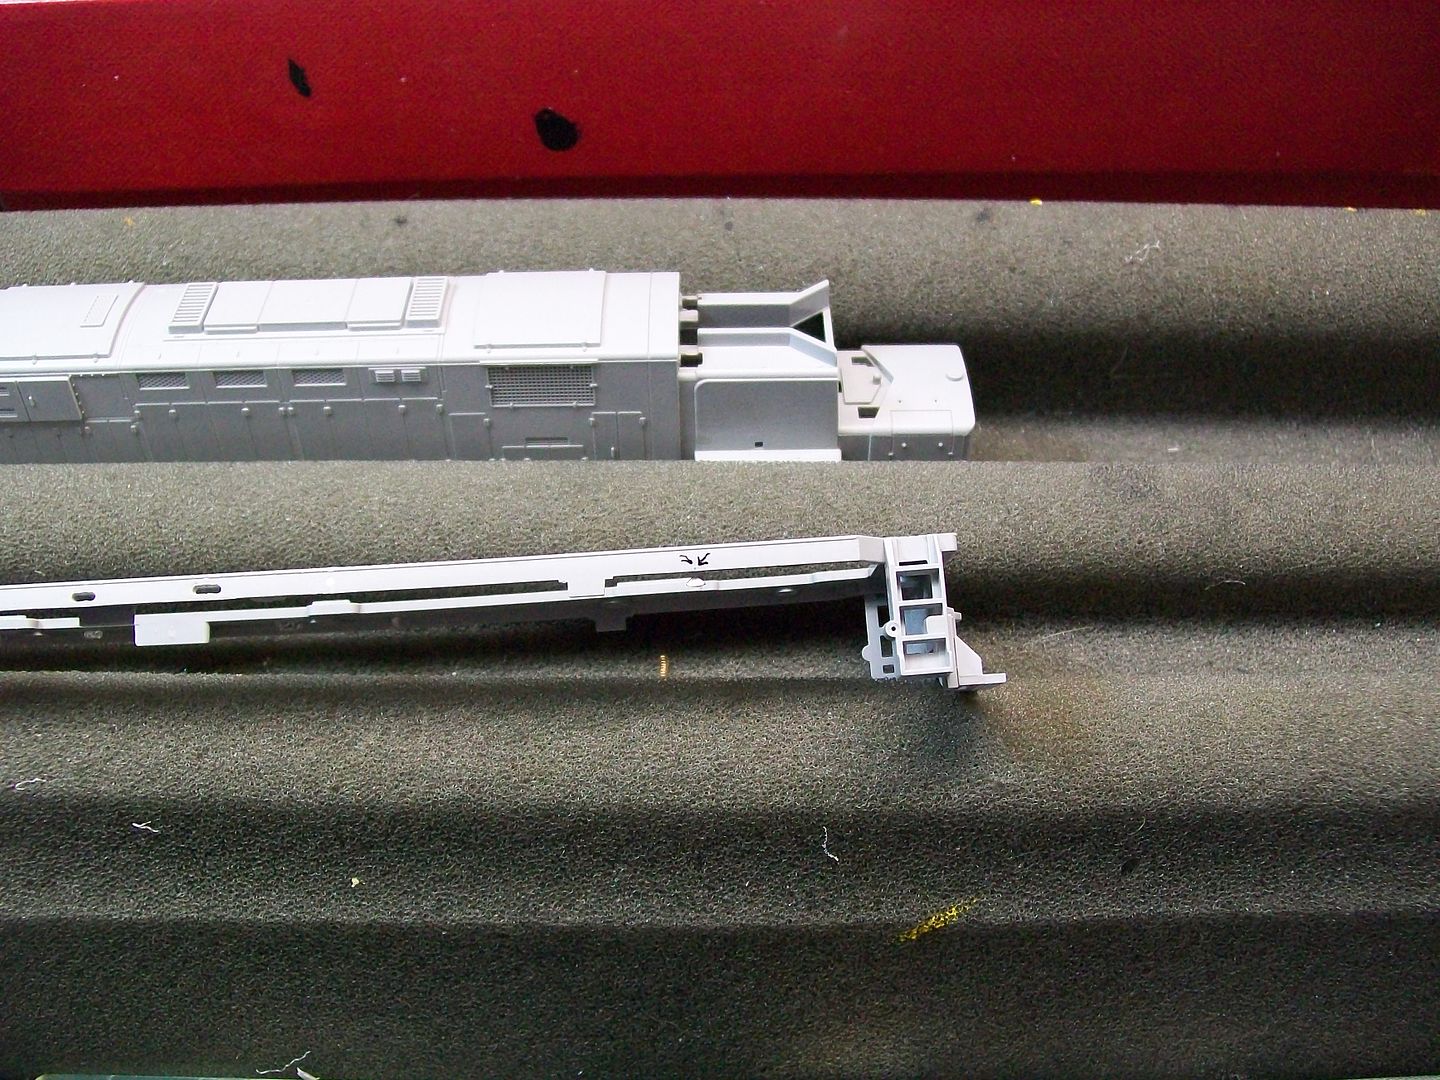
The next thing I added was the step light below the frame on the engineer's side.Checking all the photos and books that I have,it seems the RDG 424's only had this light mounted on the engineer's side as opposed to both sides on their other units.I used detail west parts.

It's hard to see so I drew arrows on the frame.


The bell will be added later.
The administrator has disabled public write access.

RDG C424 11 years 2 months ago #462

  • 2771-chris
  • 2771-chris's Avatar
  • OFFLINE
  • Road Foreman of Engines
  • Posts: 634
  • Thank you received: 94
Lets move on to the body.I decided I could live with the cast on "U" bolt lifts on the long hood.
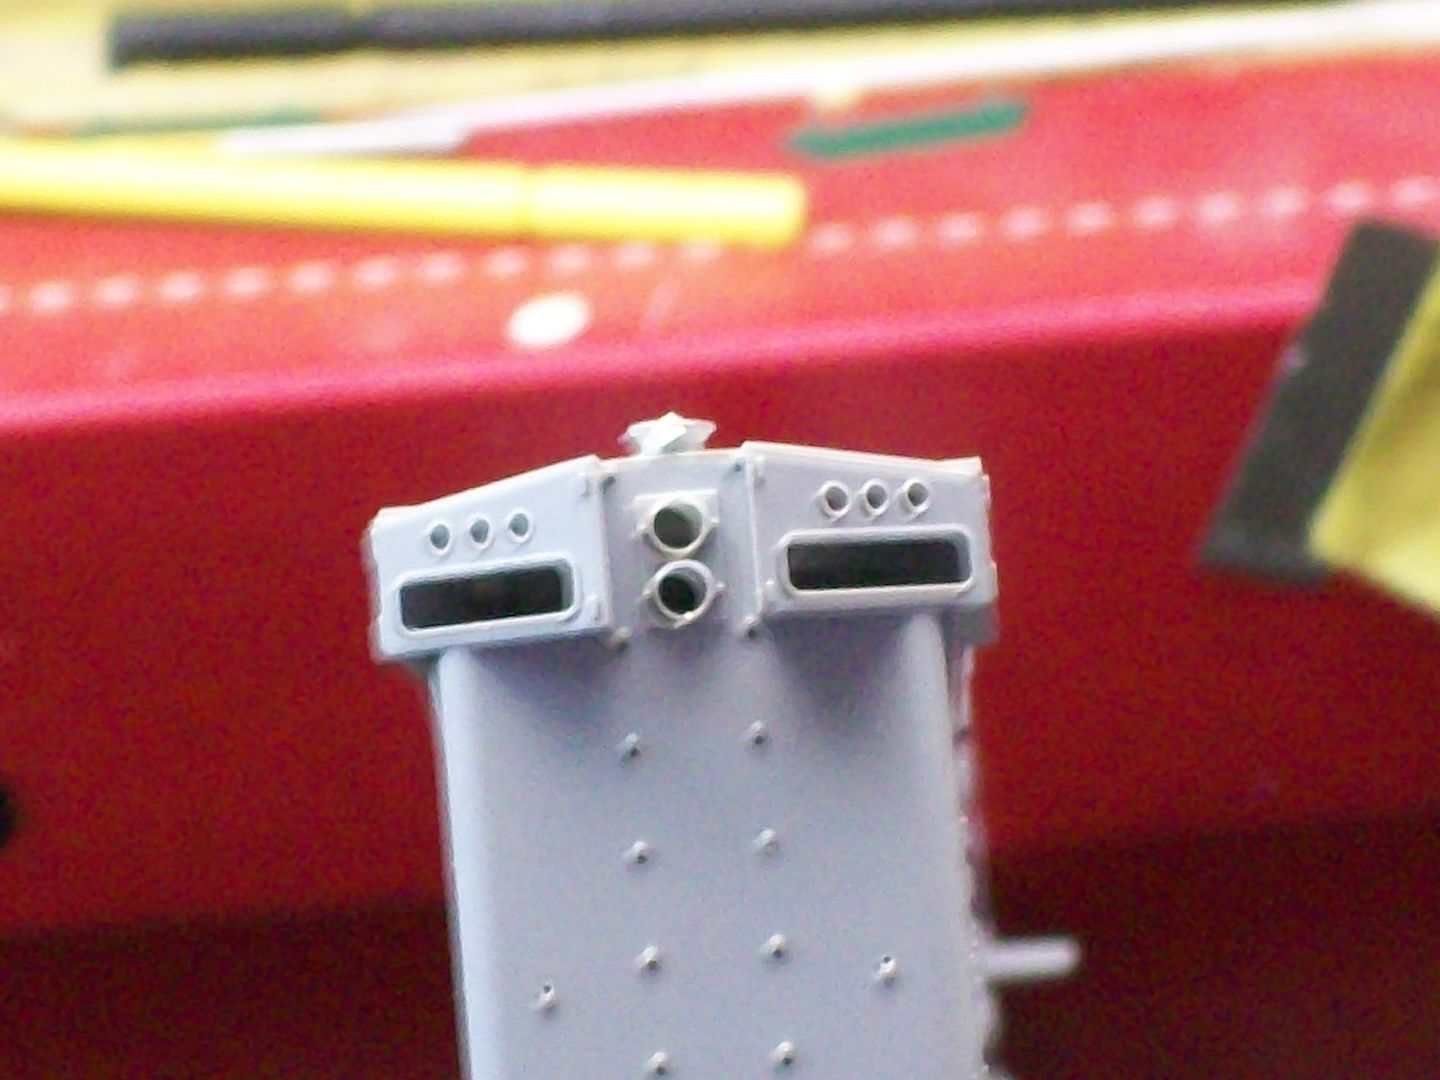
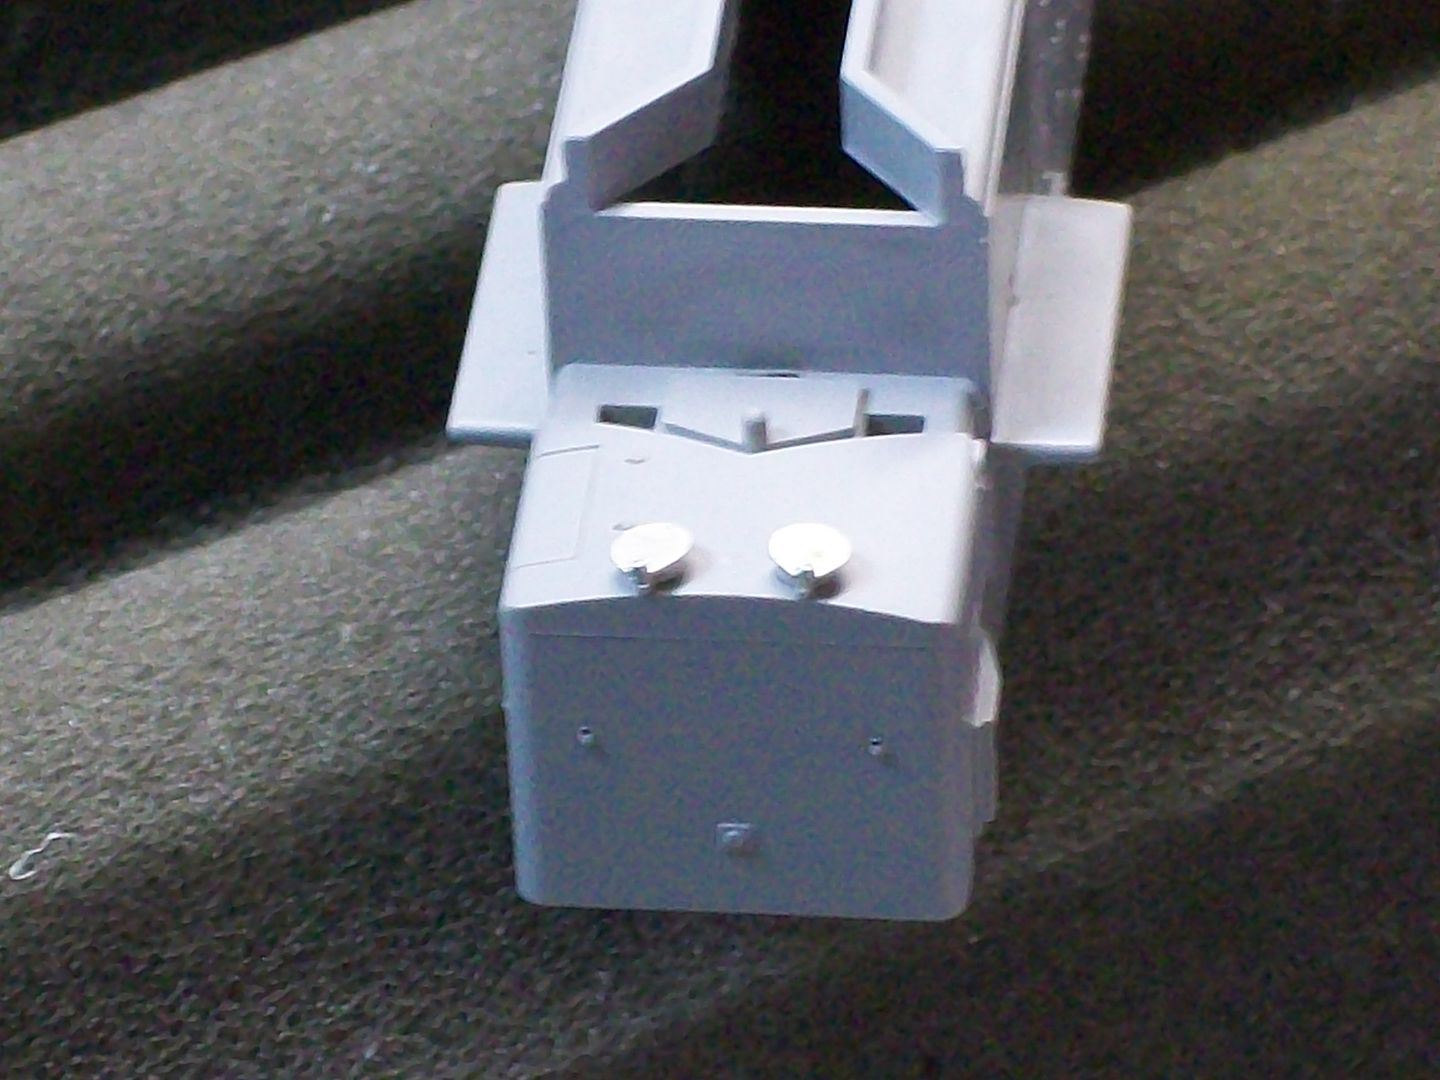
First,I drilled out #55 holes on the long hood rear for mounting the MV Products marker light lenses.

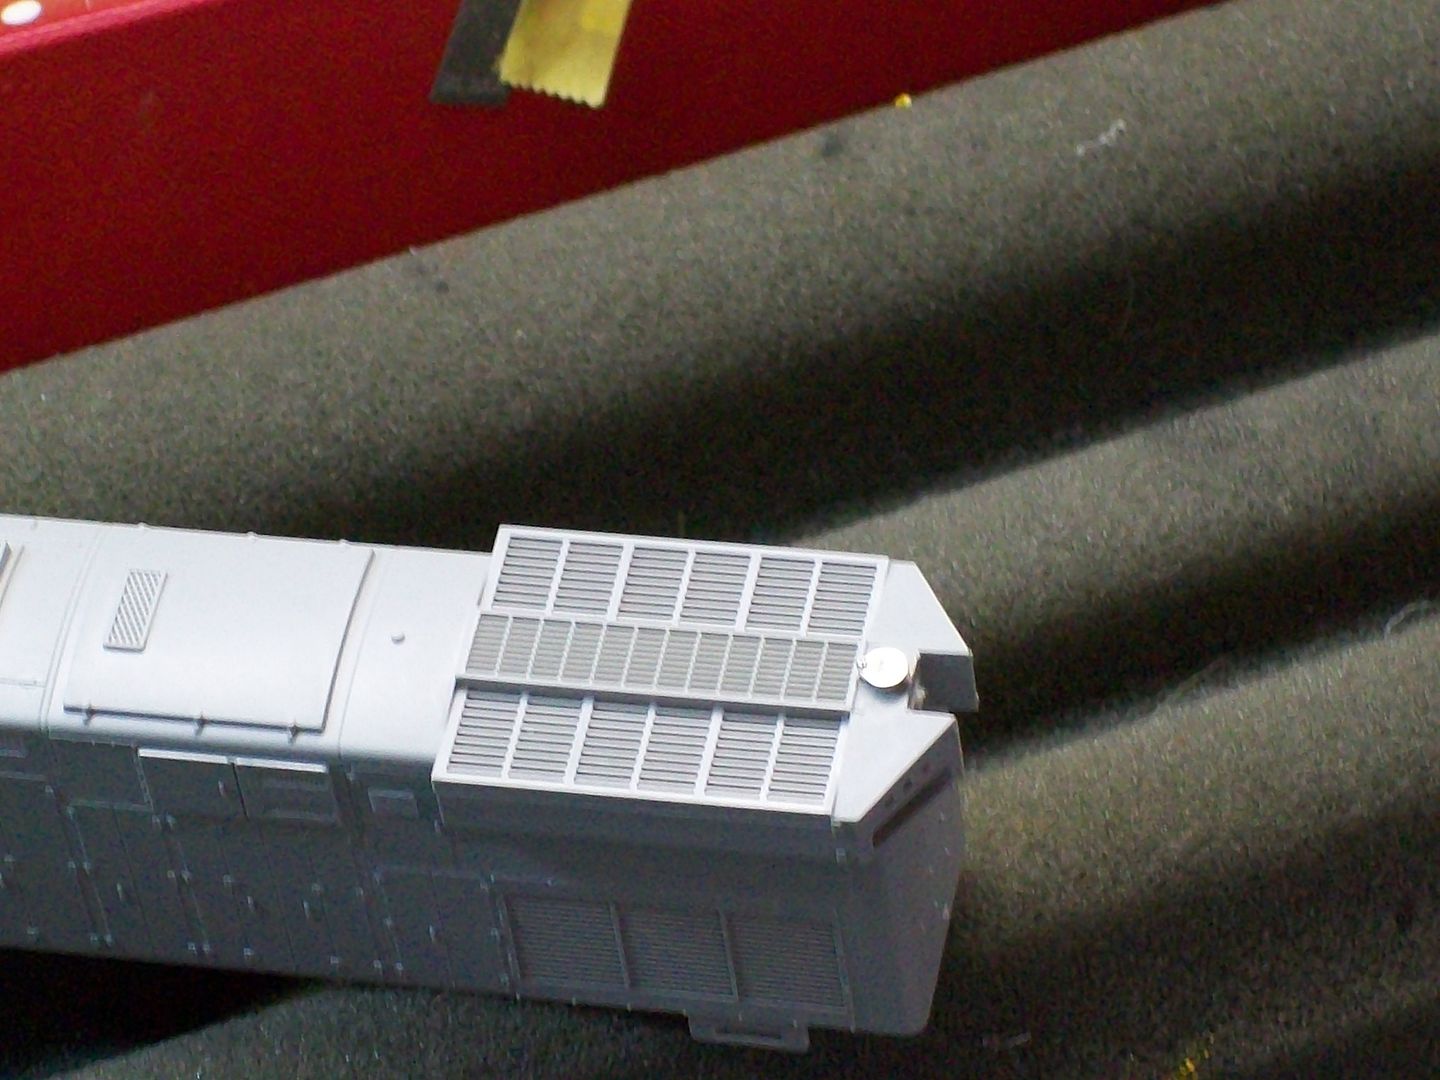
Next,I removed the cast on sand fill hatches with a straight razor and sanded.I drilled #54 holes and mounted the Details West castings,part #SF-202.NOTE;I trimmed off a little of the mounting pin on the rear hatch because it protrudes down on the inside of the long hood which will hinder the reinstallation og the rear headlight lenses.I secured them using MS micro-bond medium.


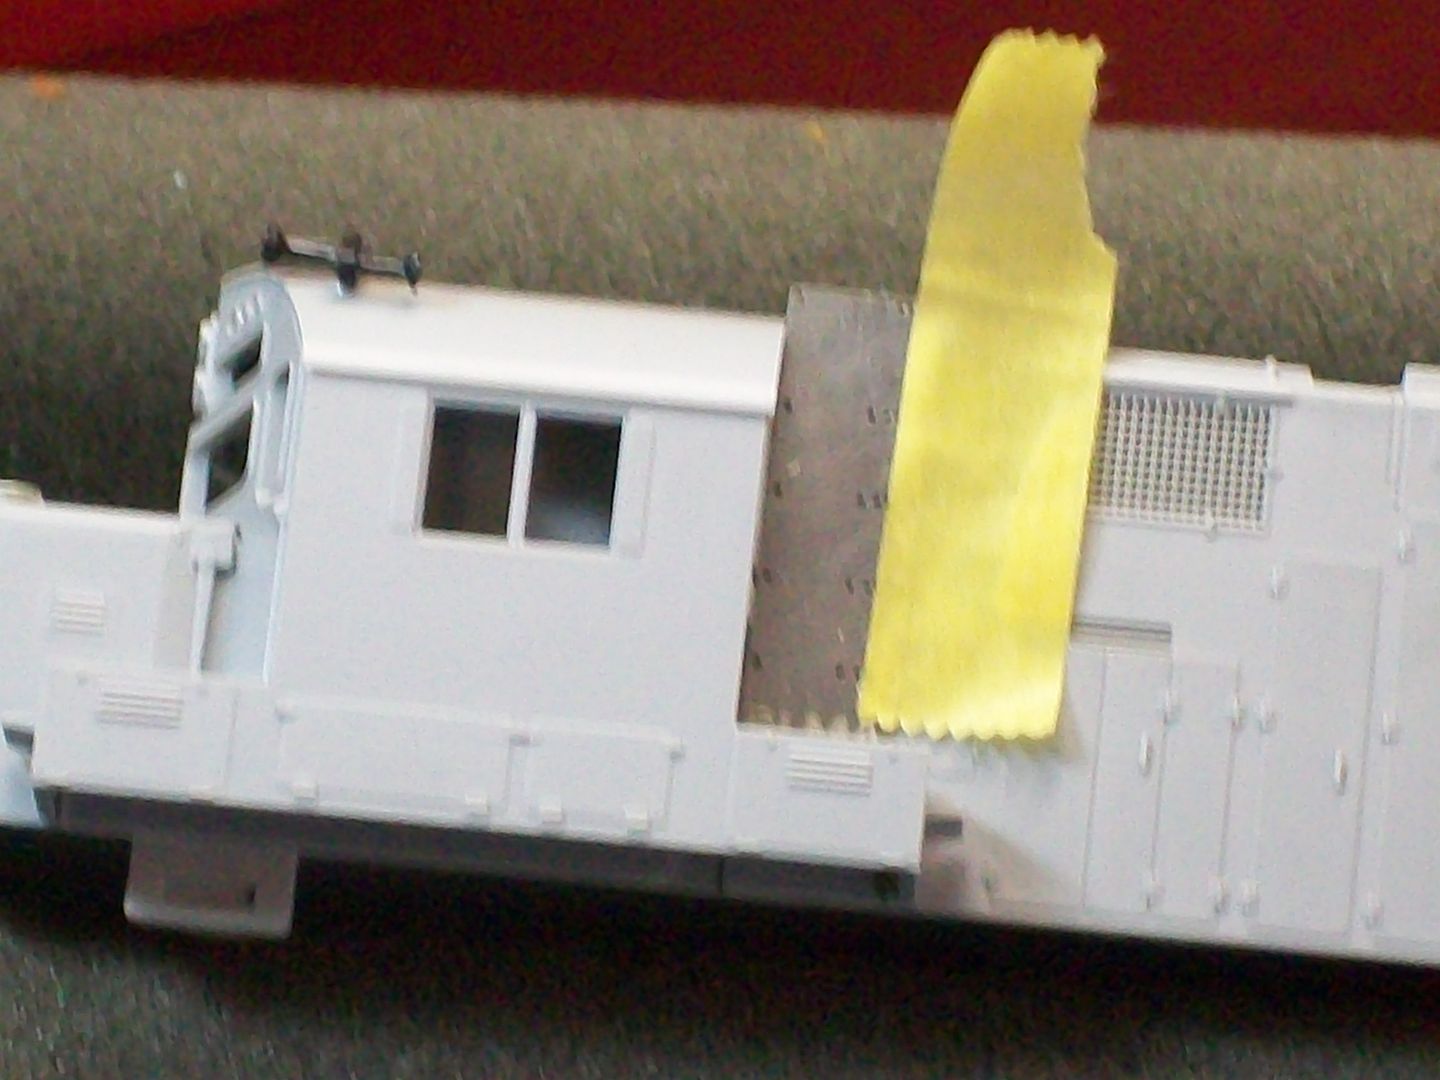
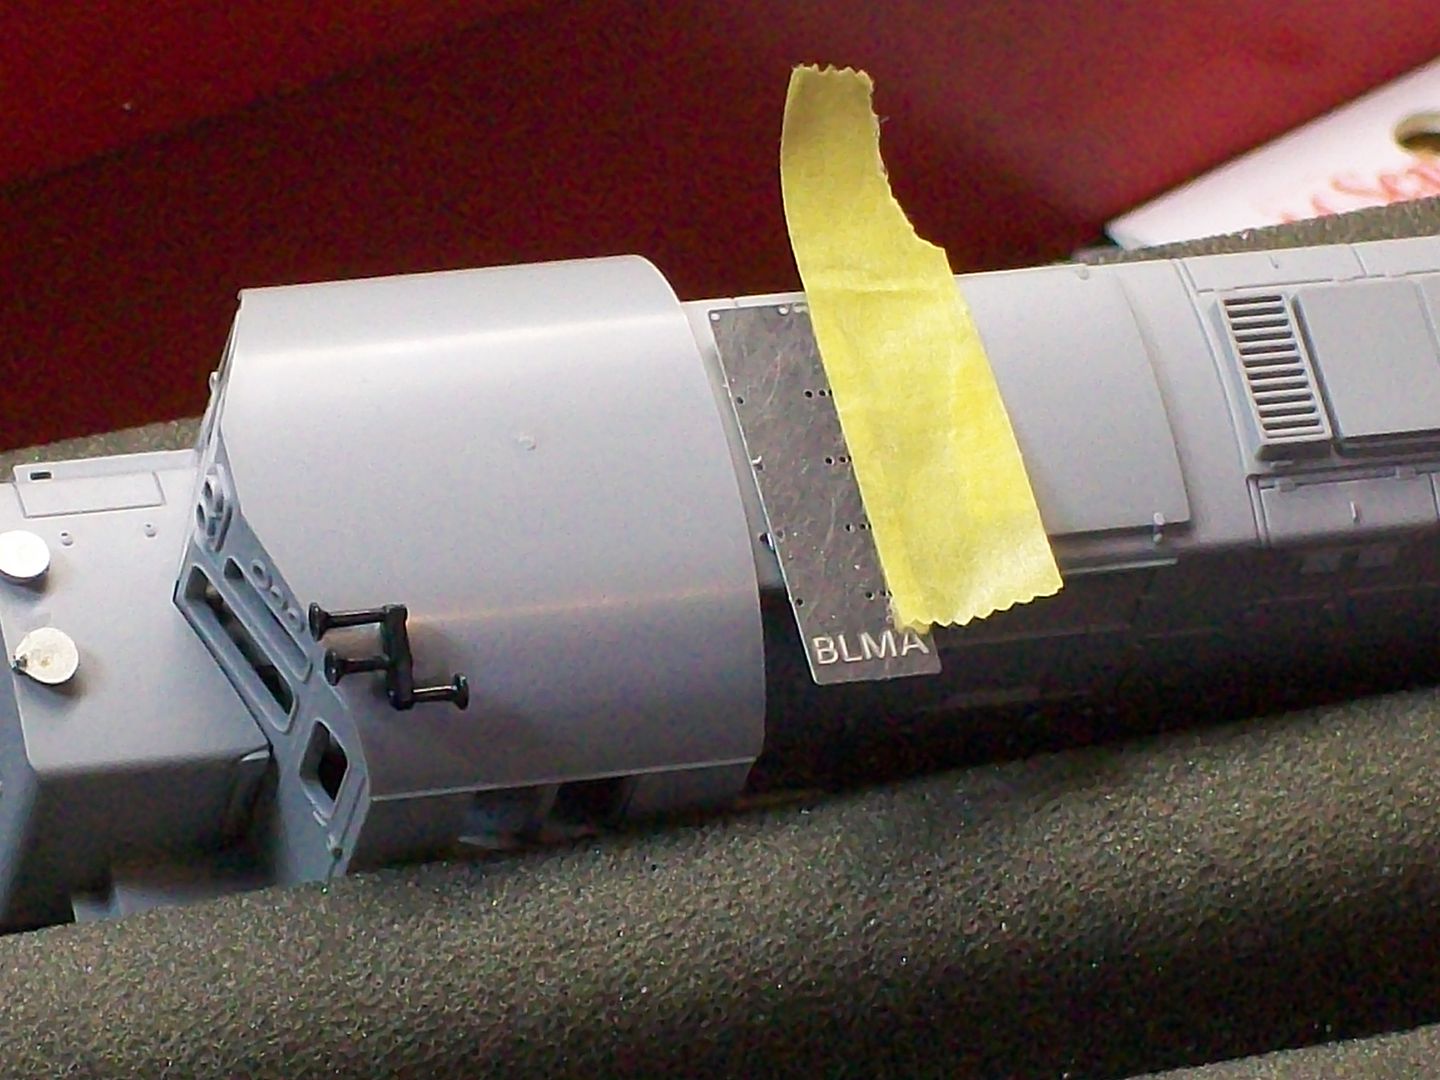
Next,with the cab in place I taped the BLMA grab iron template to the side of the long hood.I did this to establish the proper clearance between the rear cab wall and grab iron.

When I was happy with the position of the template I used a #80 and scored the placement of the holes through the template.

After the points were made I removed the template and finish drilling through the side wall.
I used the same process for adding the lone grab on the roof.

The grabs that I'll be using are Cal-Scale rs drop grabs #190-531.These are short in width and fit perfectly into the space between the cab wall and the cast on door detail on the long hood.Except for the grab iron on the roof the rest will be added after painting because of the masking process.

That template really helps with the allignment of the mounting holes.If you notice in the area of the bottom most rung you'll see two black marks one is on the cast on door.I did this to show that getting the proper width grabs wil prevent drilling through the door detail.
The administrator has disabled public write access.

RDG C424 11 years 2 months ago #467

  • JoannaBill
  • JoannaBill's Avatar
  • OFFLINE
  • Road Foreman of Engines
  • Posts: 422
  • Thank you received: 63
Chris:

Keep it coming. What handrail stanchions are you using?
The administrator has disabled public write access.

RDG C424 11 years 2 months ago #468

  • 2771-chris
  • 2771-chris's Avatar
  • OFFLINE
  • Road Foreman of Engines
  • Posts: 634
  • Thank you received: 94
JBill...I will be using the Atlas railings and stanchions that came with the unit.There will be some modifications,I'll cover that as I progress.
The administrator has disabled public write access.
Time to create page: 0.105 seconds

Today's Image

Did You Know?

July, 1947
The new Lebanon Valley Branch bridge over the Schuylkill River at Reading, PA is completed, featuring the large "READING LINES" letting.

Downloads

Operations Information

Click Here!A variety of Reading Company operations related documents, etc. that may be of use in your modeling efforts.

Operations Paperwork

Click Here!A variety of Reading Company operations paperwork, such as train orders, clearance forms, etc. that will help you operate your Reading layout in a prototypical manner.

Timetables, Rulebooks, Etc.

Click Here!Public Timetables, Employe Timetables, and Rulebooks that provide much useful operational information.

Modeling Goodies

Click Here!Signs, billboards, and other FREE goodies for your use.  We ask only that you help spread the word about The Reading Modeler!

Rolling Stock Reference

Click Here!Downloadable reference documents on the various classes of Reading Company Freight and Passenger rolling stock.

Thanks for Your Support!

If you find the content on The Reading Modeler valuable, won't you please consider supporting our efforts? Your donation will help to offset operating costs and acquire new material to share on the site. Thank you!

Amount: 

Advertisements